Removing Quarry Tile Floor
tile cleaning Quarry Tiled Floors Cleaning and Sealing

Removing efflorescence from old Quarry Tiles – Quarry Tiled Floors Cleaning and Sealing

Removing Levelling Screed from Quarry Tiles in Old Marston, Oxford – Tiling Tips – Tips and

Removing Quarry Tile Floor – Flooring Ideas
Removing Levelling Screed from Quarry Tiles in Old Marston, Oxford – Quarry Tiled Floors

Salt Damaged Quarry Tiles Replaced and Restored in Droitwich-Spa Kitchen – Worcestershire Tile

Removing Carpet Glue from Quarry Tiles – Quarry Tiled Floors Cleaning and Sealing

Cleaning and Removing Grout Haze from a Quarry Tiled floor in Kemsing, Kent – West Kent Tile Doctor
Removing Glue from Quarry Tiles – Quarry Tiled Floors Cleaning and Sealing

Removal of Grout Haze on a Quarry Tiled Floor – Quarry Tiled Floors Cleaning and Sealing

Removing Vinyl Glue From Quarry Tiles Cleaning Tile

Related Posts:
- Cuban Tile Floors
- Easy Way To Grout Tile Floor
- Types Of Marble Tile Flooring
- Slate Tile Floor
- Classic Bathroom Tile Floors
- Tile Floor Color Ideas
- Wet Mops For Tile Floors
- Staining Saltillo Tile Floors
- Terrazzo Tile Floor Outdoor
- Tile Flooring For Screened Porch
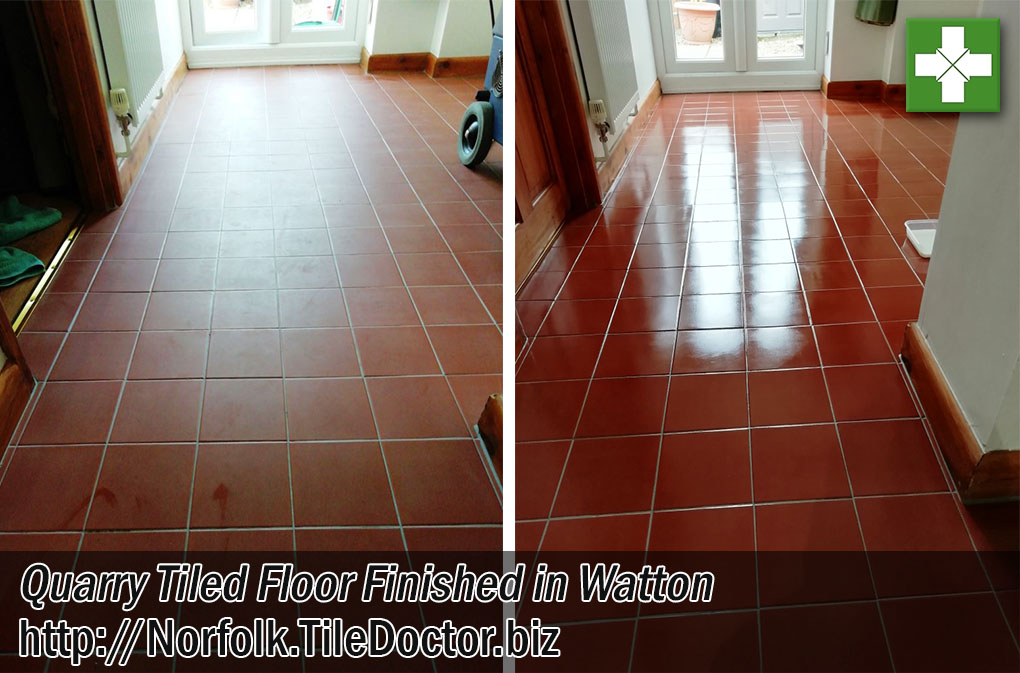
Quarry tile floors can bring a rustic charm and beauty to any room. Unfortunately, they are also difficult to remove when it comes time to replace them with a different flooring material. This guide will provide you with a step-by-step process for removing quarry tile flooring.
## Gather the Necessary Equipment
Before you begin, make sure you have all the necessary equipment to complete the job. You will need a crowbar, hammer, chisel, sledgehammer, grinder, and vacuum cleaner. Protective gear such as gloves and goggles should also be worn while working.
## Prepare the Floor
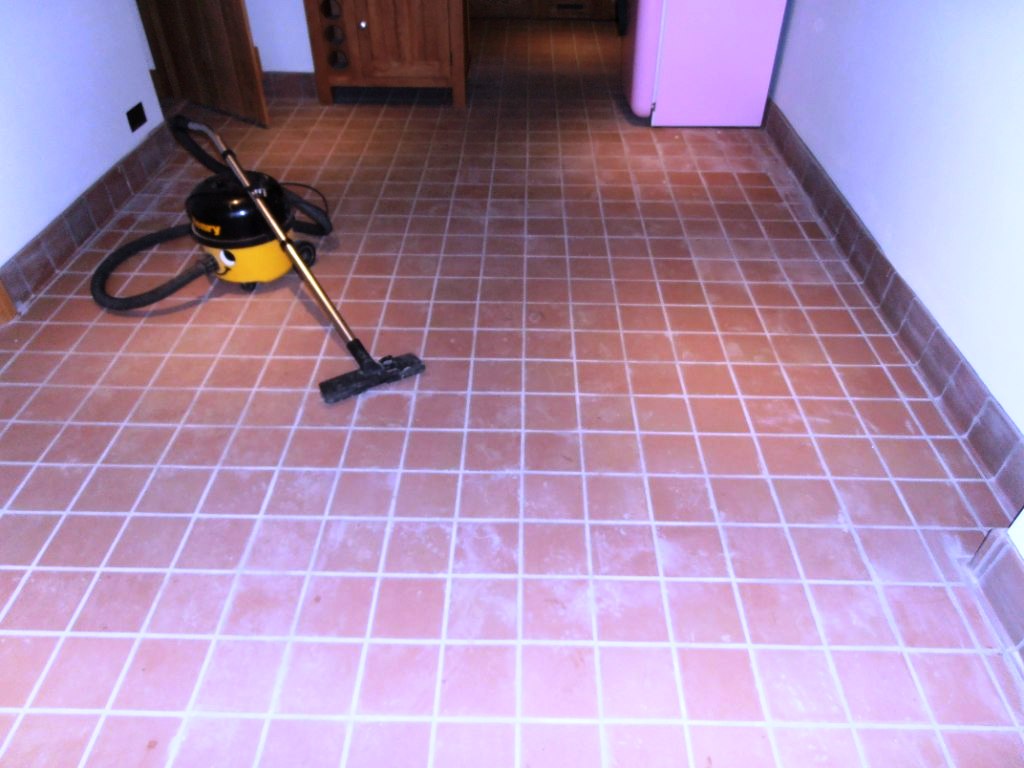
The first step is to prepare the floor for removal. This includes removing any furniture or other items that are on the floor and then vacuum cleaning it to remove any dust or debris.
## Remove the Tiles
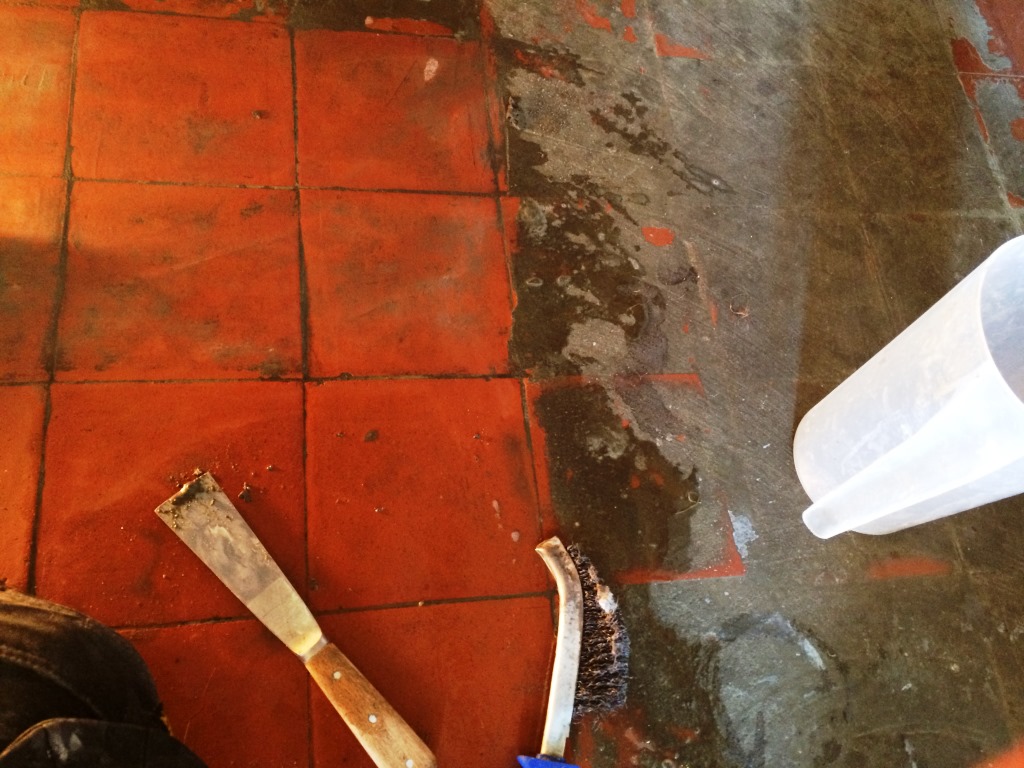
Once the floor is prepared, you can then begin to remove the tiles. Start by using a hammer and chisel to loosen the tiles from their adhesive and then use a crowbar to pry them up from the floor. The tiles may break into smaller pieces as you work, so it is important to work slowly and carefully to avoid damaging them further.
## Remove the Adhesive
Once all the tiles have been removed, you will then need to remove any remaining adhesive from the floor. This can be done by using a grinder or sledgehammer to break up the adhesive. Make sure to wear protective gear when using these tools as they can create dust and debris that can be hazardous if inhaled.
## Clean Up
The final step is to clean up any debris that was created during the removal process. This includes sweeping up any dust and debris created by the grinder or sledgehammer, vacuuming up any remaining adhesive, and wiping down the floor with a damp cloth.
Removing quarry tile flooring can be a difficult task but with the right tools and preparation, it can be done with ease. By following these steps, you will be able to quickly and efficiently remove your quarry tile floors and replace them with your desired flooring material.
How do you clean a quarry tile floor?
1. Sweep the floor to remove any loose dirt and debris.2. Mop the floor with an all-purpose cleaner, using a mop with a soft, white microfiber head.
3. Rinse the floor with clean water and let it dry completely.
4. Vacuum the floor to pick up any remaining dirt or debris.
5. Apply a sealer to the floor to protect it from spills and staining.