Replacing Wood Floor With Tile

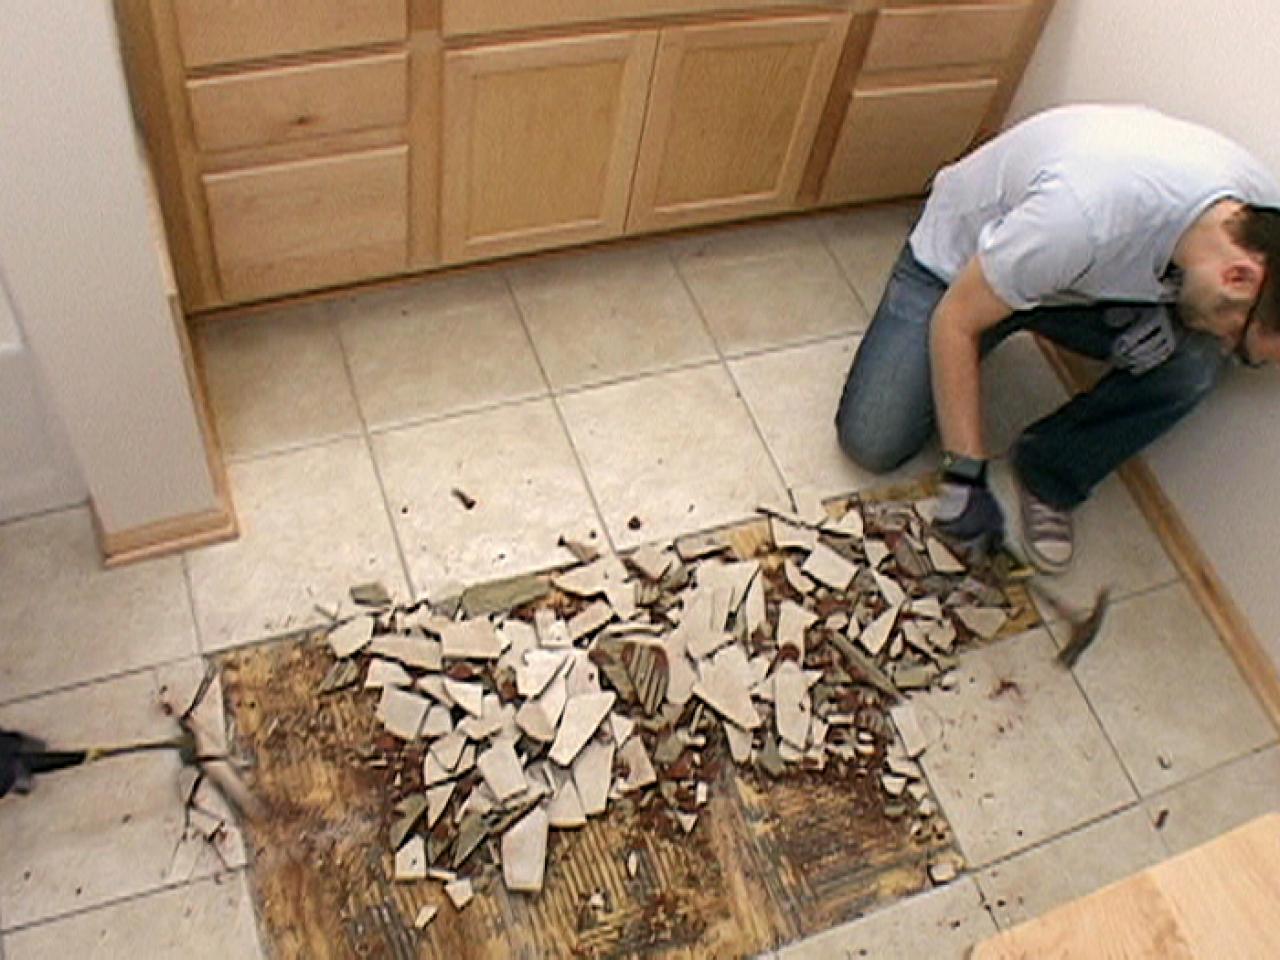
Kitchen sink cabinet bottom wood floor Replacement with Tile Floor after Water Damage part 2
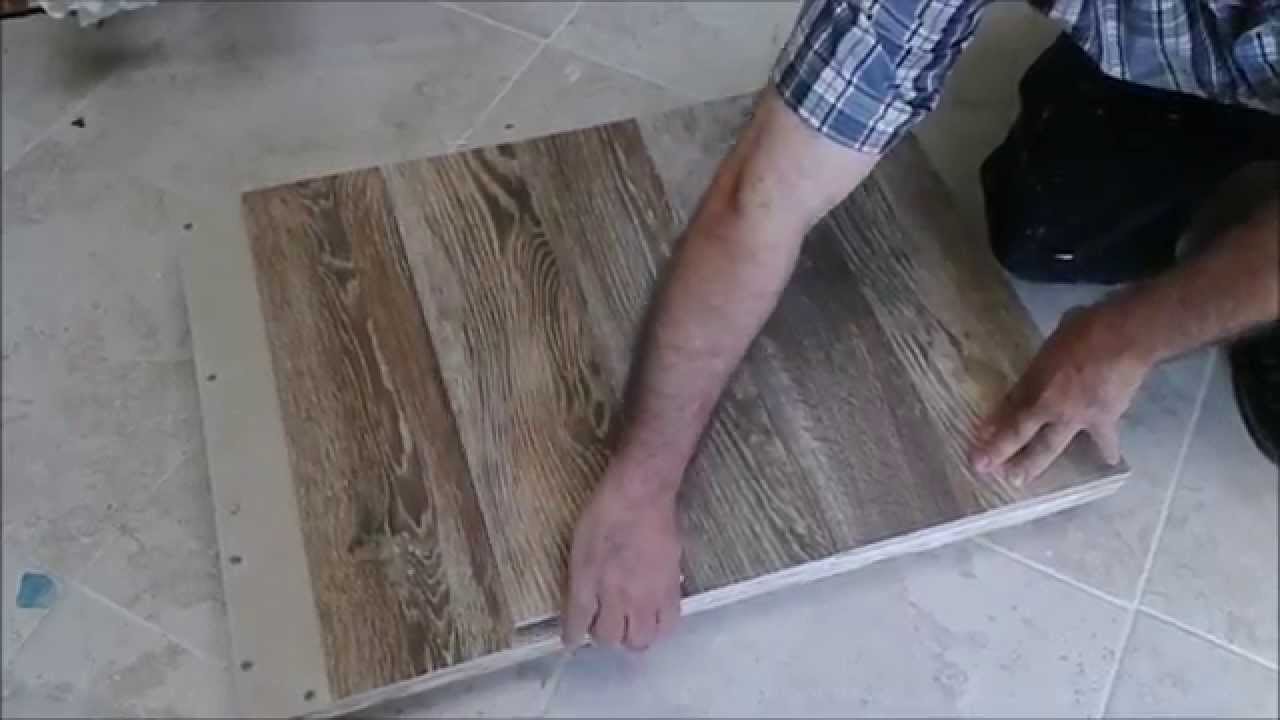
How To Remove Tile Floor And Replace With Hardwood – Flooring Ideas
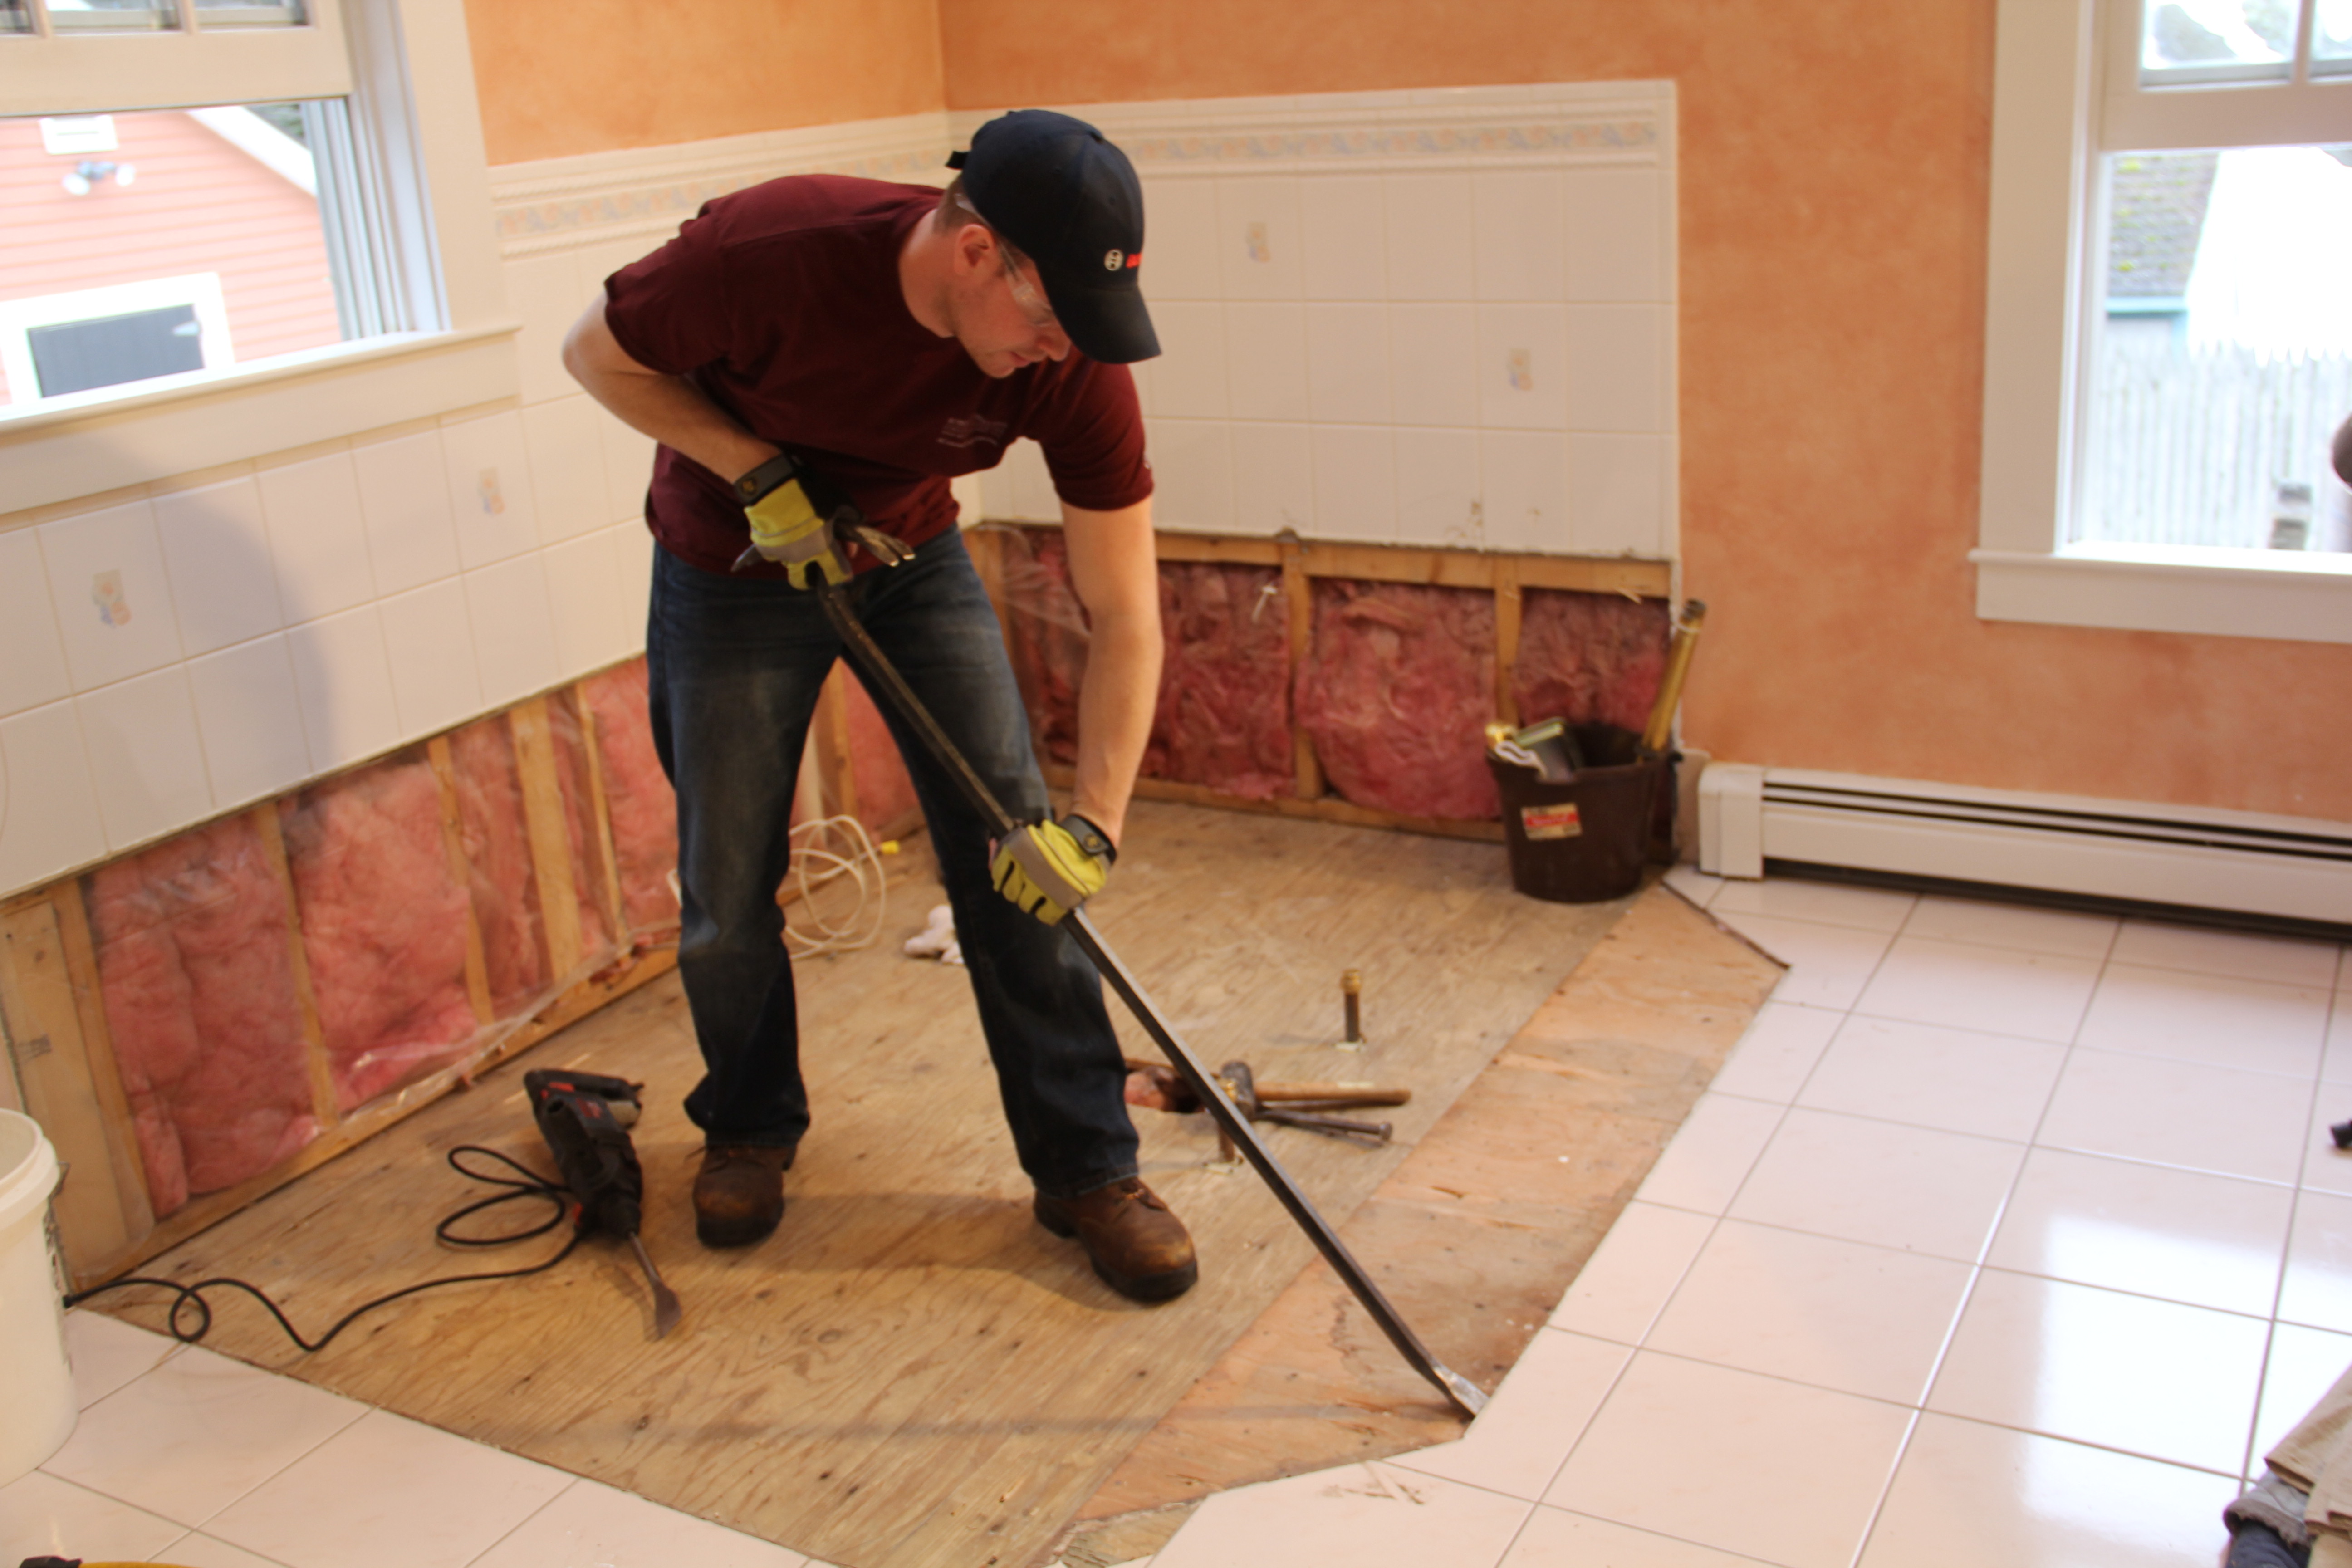
How To Remove A Tile Floor and Underlayment – A Concord Carpenter
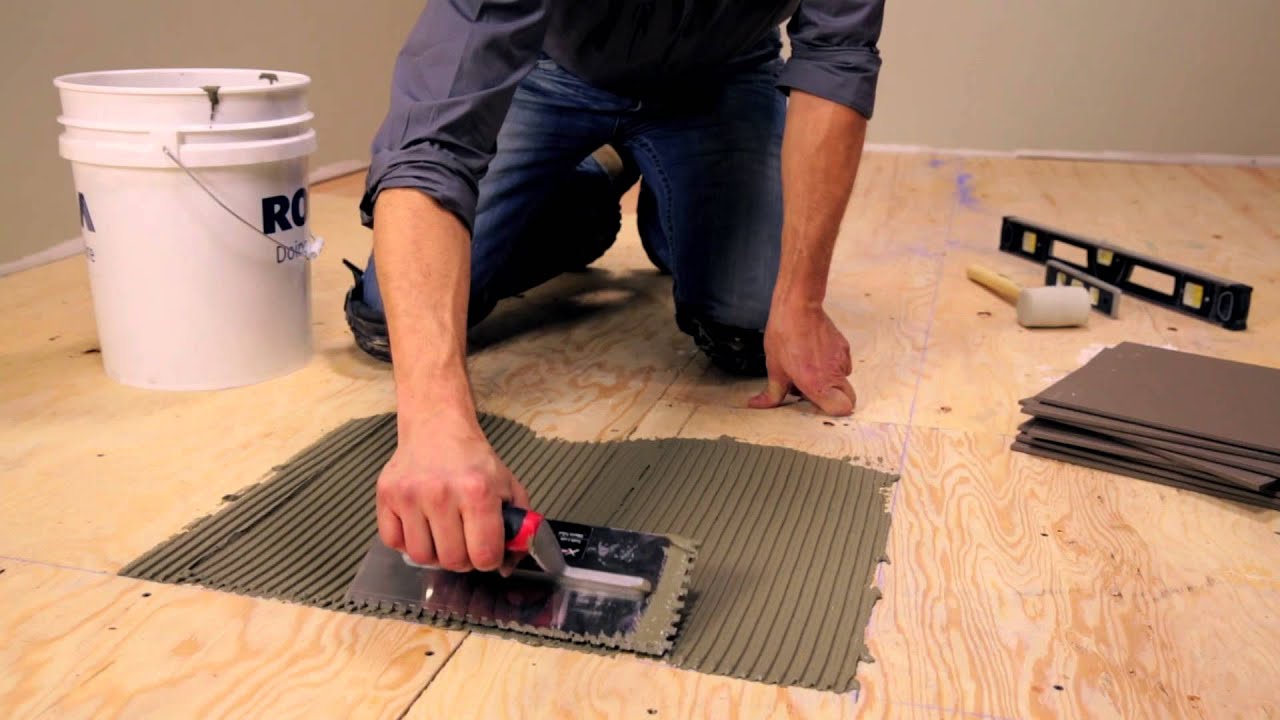
RONA – How To Lay Floor Tiles – YouTube
Replacing Tile Floor With Vinyl – Flooring House

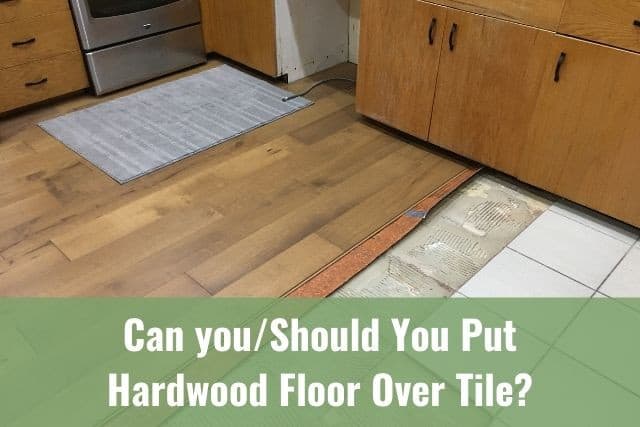
Flooring or Cabinets: Which to Install First
:max_bytes(150000):strip_icc()/Man-removing-floor-GettyImages-200467183-001-b20da3c5e3884f0ea2b171a20a8de124.jpg)
Lay Subfloor Bathroom / We’ll show you how to lay tile in the bathroom and save money on the

How to Install a Tile Floor Inset how-tos DIY
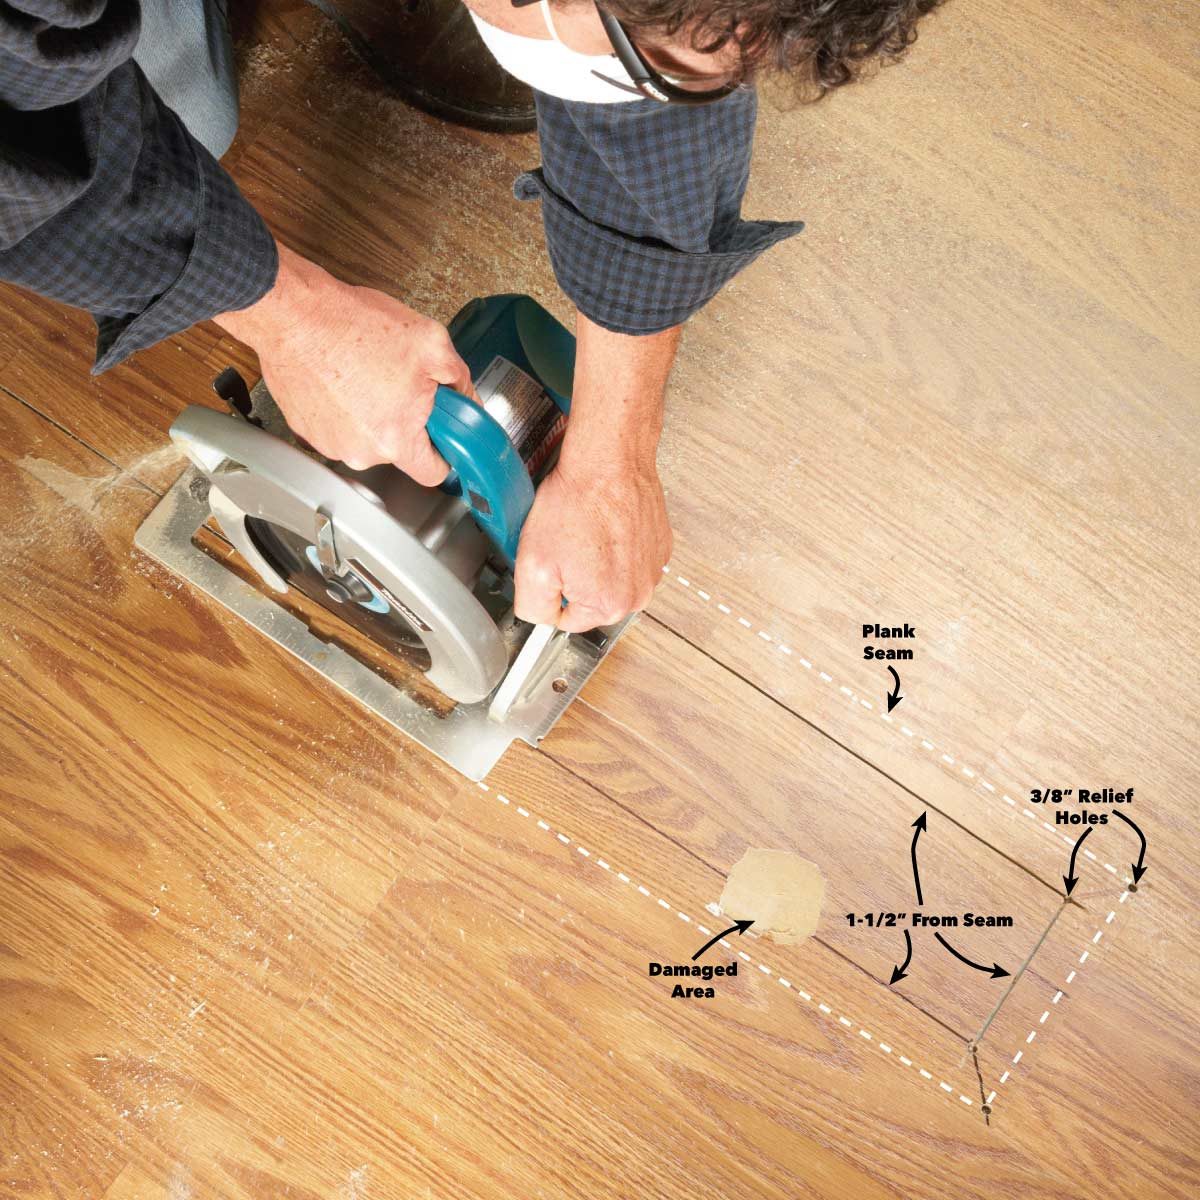
Laminate Floor Repair Family Handyman
Replacing the tile with wood flooring Home renovation, Wood floors, Flooring

Replacing sub floor, with 5 layer plywood. Flooring, Hardwood floors, Hardwood

Related Posts:
- Grey Parquet Wood Flooring
- How To Install Pergo Wood Flooring
- Dark Black Wood Flooring
- Solid Wood Flooring White
- Pallet Wood Flooring Ideas
- Wood Floor Chevron Pattern
- Wood Flooring Home Ideas
- Wood Floor Filler Resin
- Glossy Wood Flooring Ideas
- Pergo Wood Flooring Installation
# Replacing Wood Floor With Tile: A Step-By-Step Guide
Are you looking for an easy way to transform the look and feel of your home? Replacing a wood floor with tile can be a great way to achieve this. Not only does it give your home a completely new look and feel, but it also adds value to your property. But replacing a wood floor with tile isn’t something you can do without some preparation. Here’s a step-by-step guide to help you replace your wood floor with tile.
## Step 1: Preparing the Room
The first step in replacing your wood floor with tile is to prepare the room. Start by removing all furniture and other items from the room, as well as any baseboards or trim. Once everything is out of the way, you need to make sure that the subfloor is completely dry. If it’s not, use a dehumidifier or fan to dry it out before you start laying down the tile.
## Step 2: Prepping the Subfloor
After you’ve made sure that the subfloor is dry, you need to make sure that it’s level. This is an important step in making sure that the tile will lay down properly and last for years to come. While it’s possible to lay down tile on an uneven floor, it’s not recommended as it could lead to cracked tiles and other issues over time. Use a level to check for any dips or bumps in the floor and then use self-leveling compound to even out the subfloor before you start laying down the tile.
## Step 3: Laying Down the Tile
Once your subfloor is level and prepped, you can start laying down the tile. Before you start, make sure that you have enough tile to cover the entire area. It’s best to buy 10% more than what you need just in case there are any mistakes or if any tiles get damaged during installation. Lay down your tiles in rows, starting at one corner and working your way across the room. Make sure that each row is level before moving onto the next one and use spacers between each tile to ensure uniformity and a professional look when finished.
## Step 4: Applying Grout and Sealer
Once all of your tiles are laid down, it’s time to grout and seal them. Start by spreading grout over the entire floor with a float, making sure to get into all of the cracks and crevices between each tile. Let the grout set for a few hours before wiping off any excess with a damp cloth and then applying sealer over the entire floor. This will help protect your tiles from moisture and staining over time, making them last longer and look better for years to come.
## Step 5: Finishing Touches
Once all of your grout and sealer is applied, it’s time for some finishing touches. Start by reinstalling any baseboards or trim that you removed before starting the project. If there are any gaps between the edge of the tile and walls or other surfaces, use caulk to fill them in for a clean finish. Finally, add rugs or furniture back into the room for a complete new look!
Replacing a wood floor with tile can be an easy way to completely update your home’s look and feel. By following these five steps, you can guarantee that your new tile floor will last for many years without issue. From preparing the room to adding finishing touches at the end, replacing your wood floor with tile is an easy job that anyone can do!