Retro Vinyl Floor Covering

Cindy Vinyl PVC Flooring Boho Floor Covering Vintage Retro Etsy in 2021 Retro vinyl flooring

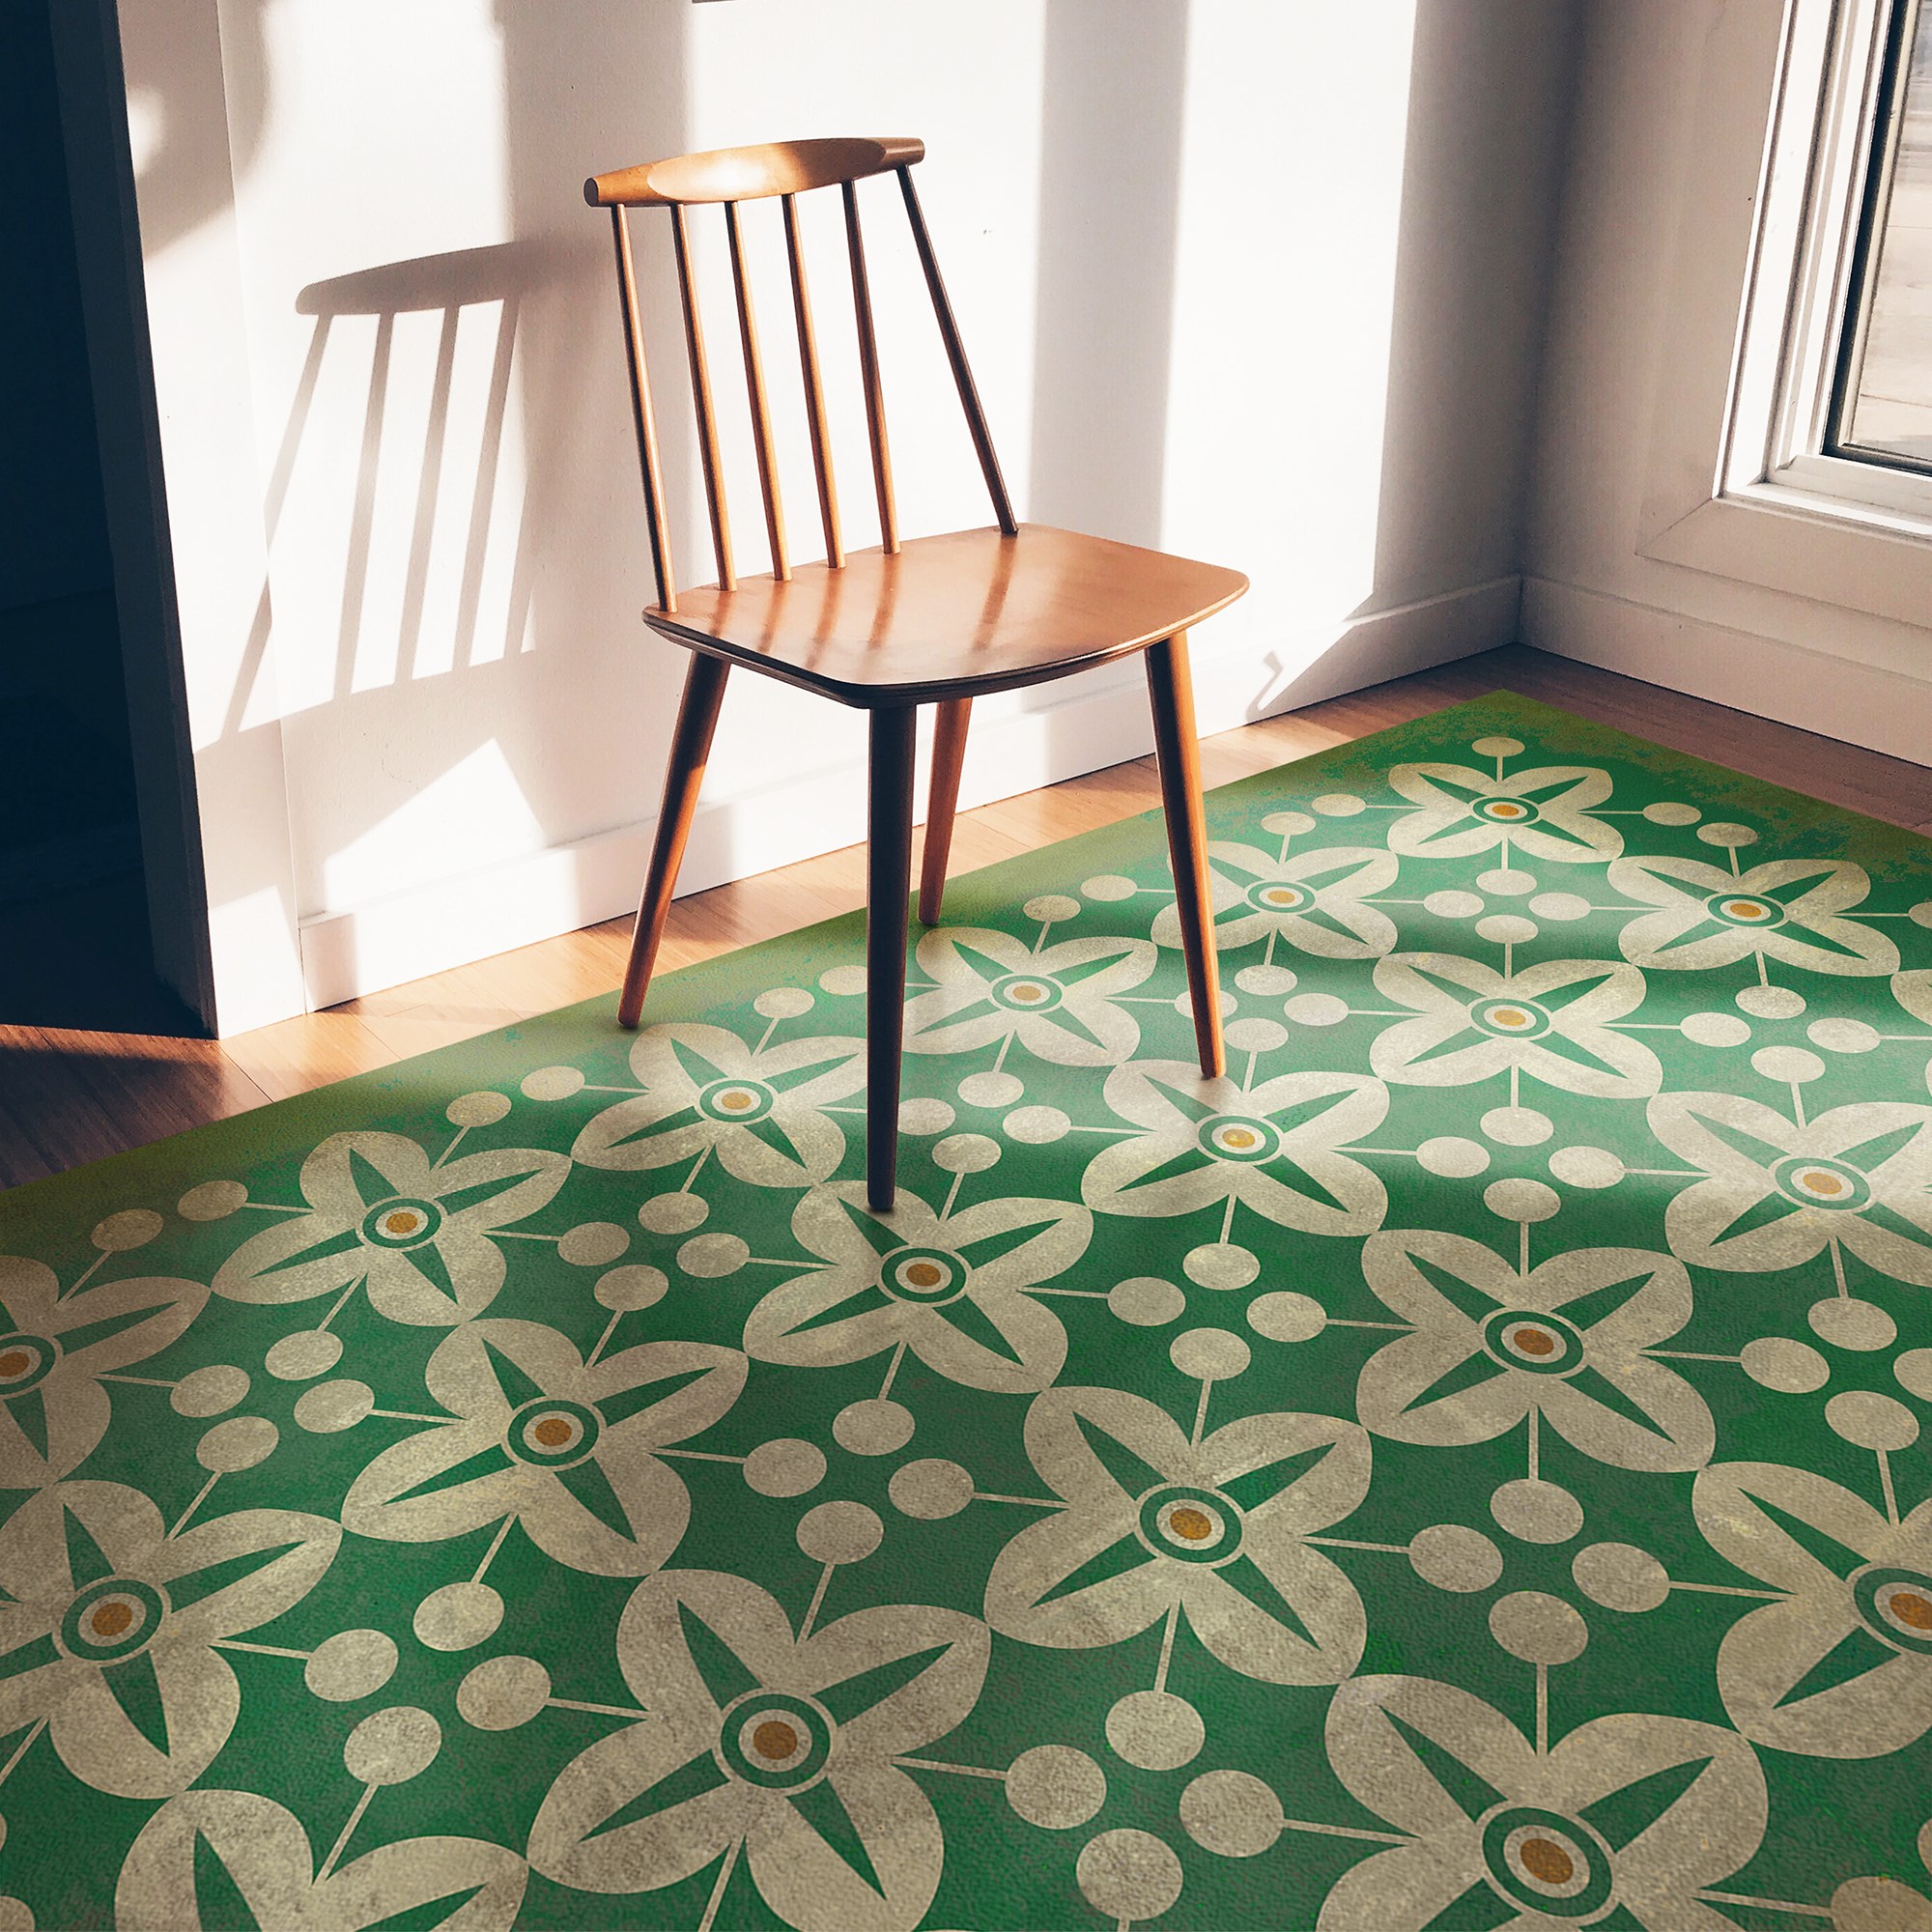
Steelfish // Retro Vinyl Floorcloth Vinyl flooring, Flooring, Vinyl floor covering

Vintage Vinyl Flooring Uk – Flooring Images

Retro Vinyl Sheet Flooring Usa – Flooring Images

Vintage Vinyl® Floorcloths Garnet Hill Vinyl floor covering, Vinyl flooring, Painted vinyl

Vintage vinyl flooring Vintage vinyl flooring, Interior floor, Wall coverings

Spicher and Company Vintage Vinyl Floor Cloths Oz Modern Area Rugs Rugs Direct
Vinyl flooring enables a multitude of designs, including concepts inspired by vintage 1950s

Vintage Vinyl® Floorcloths Vinyl flooring, Vintage vinyl flooring, Vinyl floor covering

Get down with 70 groovy vintage vinyl floors from the ’70s & ’80s in 2021 Vinyl flooring

100+ fabulous ’50s floors of linoleum & vinyl in 2021 Vinyl flooring, Flooring, Vintage house

Related Posts:
- Pine Vinyl Flooring
- Vinyl Floor Laying DIY
- Cortex Vinyl Flooring
- Grey Slate Effect Vinyl Floor Tiles
- Dark Oak Vinyl Flooring
- Limestone Effect Vinyl Flooring
- Vinyl Floor With Border
- Adhesive For Vinyl Flooring To Concrete
- Teak Wood Vinyl Flooring
- Cheap Vinyl Flooring
Retro vinyl floor covering has been increasing in popularity over the years and for good reason. Whether you’re looking to give your home a modern look or just want to spruce things up a bit, retro vinyl floor covering is the perfect option for adding a contemporary touch to any space.
With its easy-to-install design and stylish patterns, retro vinyl flooring can be used to create an eye-catching display in any room of your house. Not only is it easy to install, but it can also add a touch of personality to any space, giving the area a unique look that sets it apart from other décor elements.
From checkered designs to colourful patterns, retro vinyl flooring can provide a beautiful contrast or complementary to other interior design elements. Plus, the material itself is lightweight and durable, so it won’t require any regular maintenance or repairs down the line.
What Are The Benefits of Retro Vinyl Floor Covering?
One of the main benefits of retro vinyl floor covering is its affordability and versatility. Not only will you get an attractive look for less money than many other types of flooring, but you’ll also have plenty of options when it comes to choosing something that fits both your budget and design aesthetic.
In addition to its affordability, retro vinyl flooring is also incredibly easy to install. It doesn’t require any special tools or materials, making it ideal for those who are looking for quick and simple renovation projects. For those who are more experienced in the world of DIY projects, retro vinyl floor covering can also be used for difficult installations – though some skill may be needed.
The durability of retro vinyl flooring is another major benefit. It’s tough enough to withstand everyday wear and tear, while also being resistant to stains, moisture, and dirt. This means it won’t have to be replaced as often as some other types of flooring and will stay looking great for much longer.
Plus, retro vinyl floor covering is available in various designs and can be used in various locations around your home. Whether you’re looking for patterned tiles for the kitchen or a classic checkered design for the living room, there are plenty of ways you can incorporate retro vinyl into your home décor.
How To Install Retro Vinyl Floor Covering
Once you’ve chosen the perfect retro vinyl floor covering for your home, it’s time to get down to business and install it! Fortunately, the process is fairly simple and requires minimal tools and supplies.
First off, make sure the installation area is clean and free from debris before laying down your new vinyl planks. This includes sweeping up any dirt or dust and removing furniture from the space so you have enough room to work comfortably.
It’s important to measure the space prior to purchasing any materials; this way you’ll know exactly how much you’ll need for your project. To make sure the installation is even across the entire area, use a chalk line – or string – as a reference line when laying down first layer of planks.
Once you’ve got the first layer laid down, begin securing each row with adhesive tape or glue specifically designed for vinyl floors (or use nails if desired). If using adhesive, make sure each plank has been securely in place by pressing down firmly on all edges with a roller or another heavy object.
You’ll also need to use transition strips on the edges where your new vinyl planks meet up with other surfaces like carpeting or tile. This will help ensure that there are no spots left unprotected from moisture or dirt. Finally, carefully inspect all planks once installed, fixing any problems immediately if necessary before continuing on with the next step of your project.
Conclusion
Retro vinyl floor covering is an affordable and stylish way to give any room in your house a modern touch. Not only is it incredibly easy to install but its durability also makes it perfect for busy households who don’t have time for regular maintenance and repairs – creating an attractive look that will last for years down the line!
What type of adhesive should be used to install retro vinyl floor covering?
The best type of adhesive to use for installing retro vinyl floor covering is a pressure-sensitive adhesive. Pressure-sensitive adhesives are designed specifically for vinyl flooring and provide secure adhesion for long-lasting performance. They also provide a safe and strong bond between the tackstrip, subfloor, and planks.What type of surface preparation is needed before installing retro vinyl floor covering?
The surface should be completely clean, dry, and smooth prior to installing retro vinyl floor covering. All loose paint, plaster, or existing flooring should be removed first. The surface should then be leveled and any uneven spots filled in. If the surface is not level or smooth enough, a patching compound may need to be applied. Finally, the surface should be thoroughly vacuumed to remove any dirt or debris prior to installation.What type of adhesive is needed for installing retro vinyl floor covering?
A pressure sensitive adhesive specifically designed for vinyl flooring is typically recommended for installing retro vinyl floor covering. This type of adhesive is designed to provide a secure bond between the planks, subfloor, and tackstrip which ensures your new vinyl floor will remain in place for years to come. Additionally, pressure sensitive adhesives are usually much easier to apply than other adhesives and require less clean-up afterwards.What tools are needed to install retro vinyl floor covering?
1. Tape Measure2. Chalk Line
3. Flat Head Screwdriver
4. Utility Knife
5. Scissors
6. Seam Roller
7. Vinyl Tiles
8. Adhesive
9. Notched Trowel
10. Grout Float
11. Grout Sponge
12. Soft Cloth
13. Transition Strips
For a successful installation of retro vinyl floor covering, these tools are essential. With the right preparation and tools, you can ensure your new floor looks great and lasts for years to come.