Sealing Garage Floor Do It Yourself

Tutorial: How To Seal Your Garage Floor

Tutorial: How To Seal Your Garage Floor

Tutorial: How To Seal Your Garage Floor

Epoxy seal garage floor – DoItYourself.com Community Forums

Epoxy seal garage floor – DoItYourself.com Community Forums

How to Seal Your Concrete Garage Floor Garage floor, Concrete garage, Flooring

How to Perfectly Seal a Garage Floor? A Step-By-Step Guide

Epoxy seal garage floor – DoItYourself.com Community Forums

Epoxy seal garage floor – DoItYourself.com Community Forums

Epoxy seal garage floor – DoItYourself.com Community Forums

Do-It Yourself Epoxy – Garage Floor Coating – The Great Lakes
Related Posts:
- Marble Garage Floor
- Cheap Garage Floor Covering
- Garage Floor Coating
- Heavy Duty Garage Flooring
- Checkerboard Garage Floor Tiles
- Garage Floor Sealer Paint
- Epoxyshield Garage Floor Paint
- Benefits Of Epoxy Flooring In Garage
- Garage Floor Preparation For Epoxy
- Garage Workshop Flooring
When it comes to protecting your home and garage, proper sealing and maintenance of your garage floor is essential. Not only can a sealed floor protect the surface from dirt, oil, and moisture, but it also adds an attractive finish to your space. Sealing your garage floor not only adds convenience and efficiency to your everyday life, but it also increases the value of your home.
If you’re looking for a way to extend the life of your garage flooring and enhance its appearance, this DIY guide will walk you through the process of sealing your garage floor.
## Preparing Your Garage Floor for Sealing
Before you begin sealing your garage floor, it’s important to make sure that the surface is properly prepped. This includes cleaning the floor thoroughly and removing any existing sealant or paint.
Start by sweeping out any debris and dust from the floor. Once you’ve done this, create a mixture of warm water and detergent or degreaser and use it to scrub off any dirt or oil stains. If necessary, you can also use a pressure washer to clean the surface.
Next, remove any existing sealant or paint with a chemical stripper or sandpaper. This is an important step as it ensures that the new sealant properly adheres to the surface.
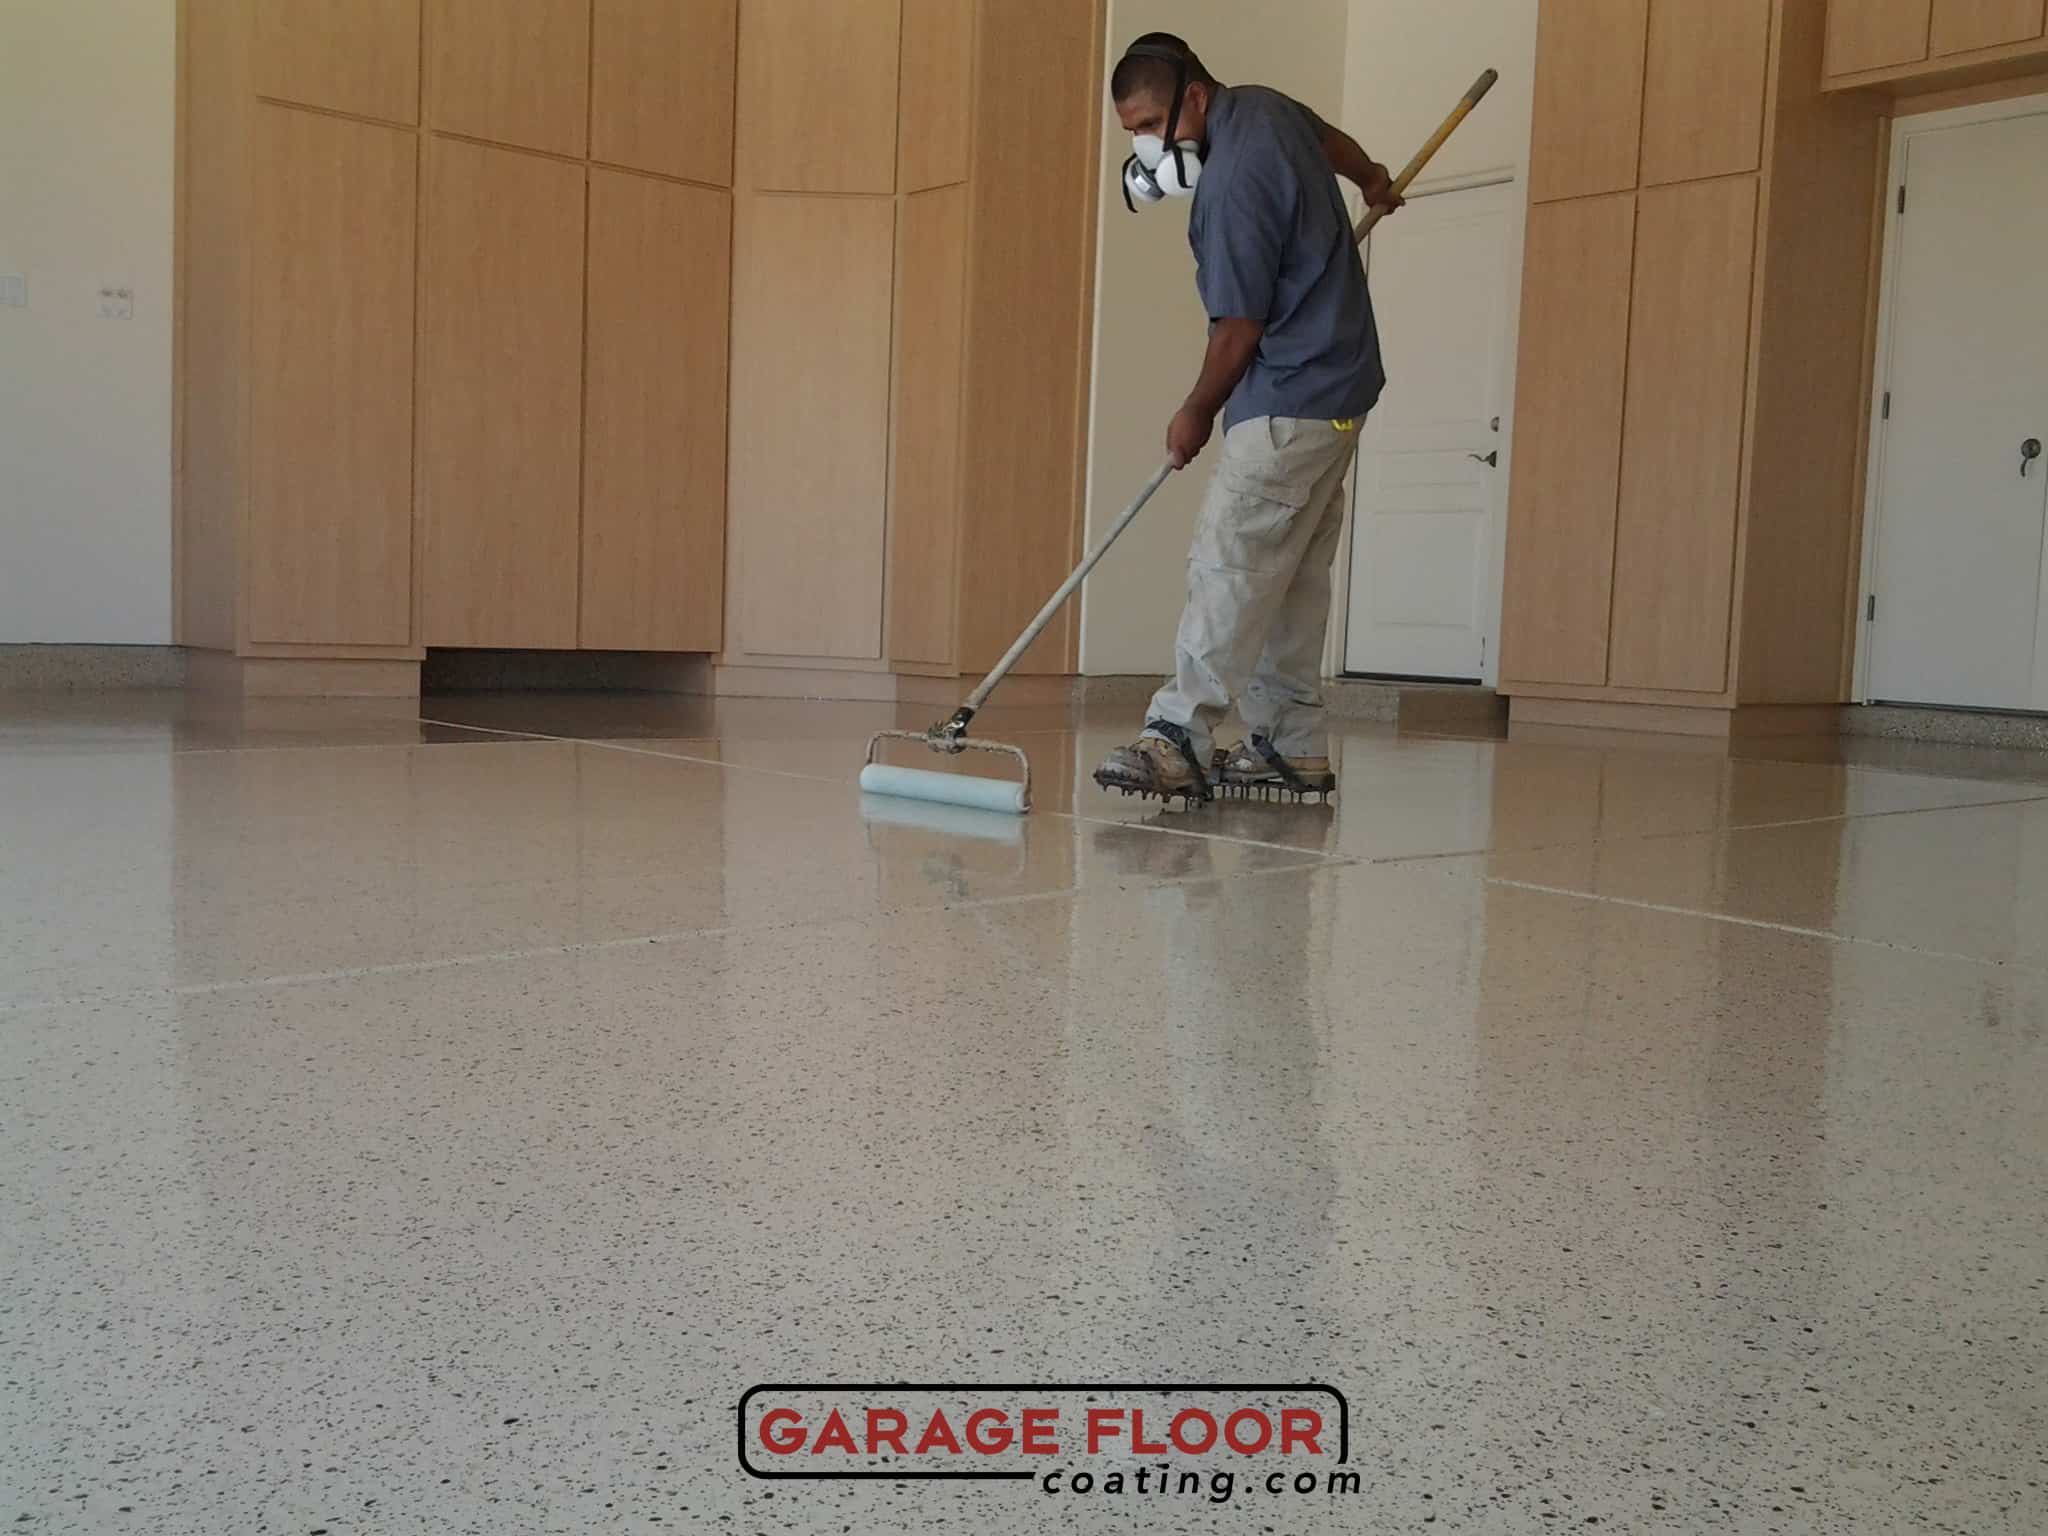
## Applying Your Garage Floor Sealant
Once you’ve prepped the floor, you’re ready to apply the sealant. Begin by rolling out a layer of primer onto the floor using a paint roller. Let this dry for about 24 hours before starting on the main sealant.
When applying the sealant, use two layers to ensure proper protection. After each layer has dried (about 24 hours), use an emery cloth to buff out any imperfections in the surface. This will give your floor a smooth, professional finish.
## Finishing Touches
After your sealant has been applied and dried, it’s time to add some finishing touches to complete the look. For example, you can add decorative chips or flakes to give your garage floor a unique appearance. You can also choose from a variety of paint colors to create a custom design for your space.
## Keeping Your Garage Floor Sealed
To keep your garage floor looking its best for years to come, make sure to use protective mats when working on cars or bikes in the space. This helps prevent oil and other substances from staining or damaging the surface of your sealed garage floor. Additionally, make sure that you clean up any spills as soon as possible and reapply sealant every few years to prevent wear and tear.
## Conclusion
Sealing your garage floor is an easy way to protect and enhance the look of your space. The process isn’t complicated and only requires basic tools and materials that can be found at most home improvement stores. With just a few simple steps, you can have a professionally sealed garage floor that adds value and convenience to your home.