Tearing Out Tile Floor
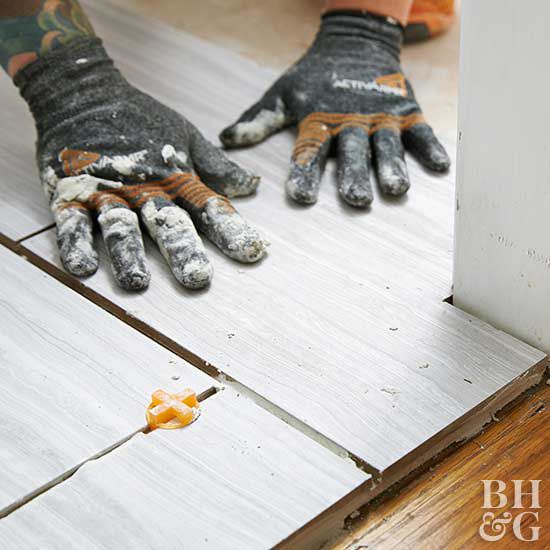
Tearing Up Old Tile Floor – Ottawa Diamond Flooring

Floor No More, and How to (Mostly) Remove Thinset from Wood Subfloors – Plaster & Disaster

Remove tile from a concrete floor Linoleum Flooring, Concrete Floors, Modern Flooring, Flooring

Floor No More, and How to (Mostly) Remove Thinset from Wood Subfloors – Plaster & Disaster

Floor No More, and How to (Mostly) Remove Thinset from Wood Subfloors – Plaster & Disaster

Renovation Costs Checklist Networx

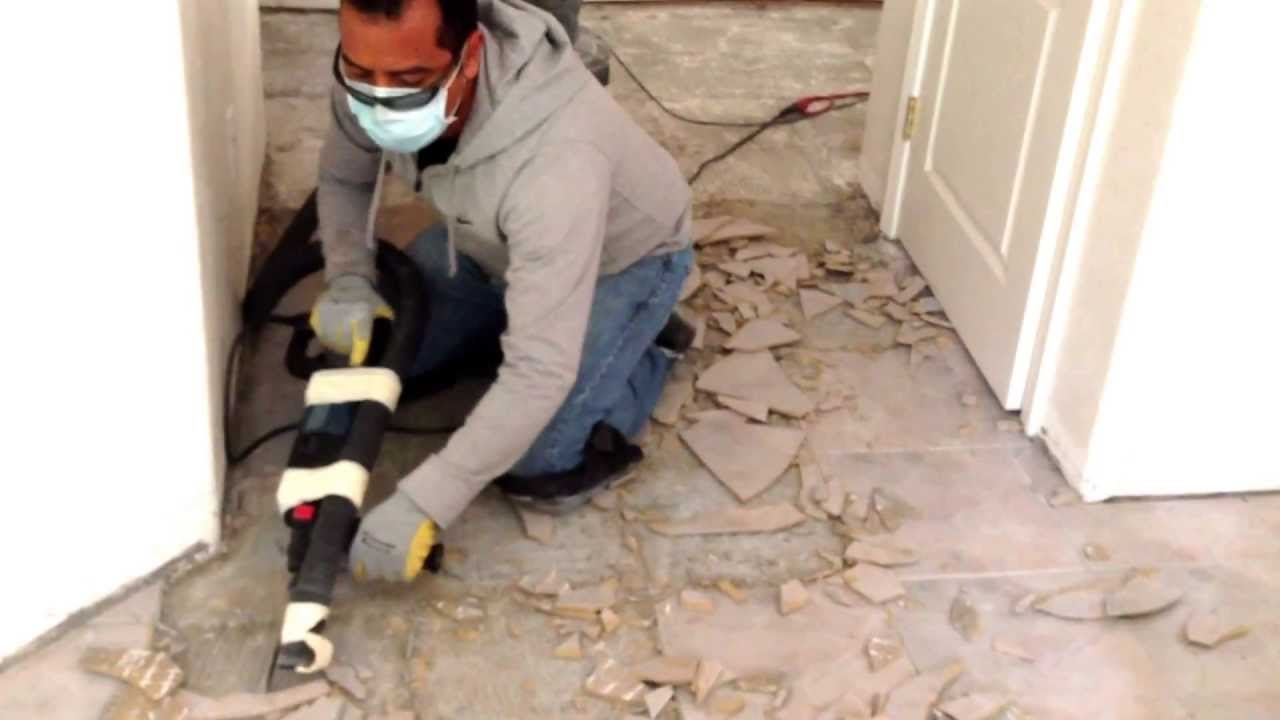
Tearing up Tile & Subfloor – Part 3 of Remodeling My Kitchen – YouTube

The Best Ways To Remove Floor Tiles – Wave Magazine
Tearing up the tile flooring Envy’s Farm

Old tile tear-out. Floors are concrete and unlevel. Flooring, Bathrooms remodel, Remodel

Tearing Out Old Kitchen Flooring Kitchen flooring, Diy flooring, Diy repair

Related Posts:
- Cuban Tile Floors
- Easy Way To Grout Tile Floor
- Types Of Marble Tile Flooring
- Slate Tile Floor
- Classic Bathroom Tile Floors
- Tile Floor Color Ideas
- Wet Mops For Tile Floors
- Staining Saltillo Tile Floors
- Terrazzo Tile Floor Outdoor
- Tile Flooring For Screened Porch
Tile flooring can be a beautiful addition to any home, but when it’s time to replace or upgrade your tile, you may find yourself facing a daunting task. While it is possible to tear out tile flooring yourself, the job is labor intensive and messy. If you’re not familiar with the process of removing tile flooring, it’s best to contact a professional for help. However, if you are looking to take on the task yourself, this guide will provide you with key steps for safe and successful tile removal.
Steps for Removing Tile Flooring
Before beginning any project, it’s important to make sure that you have all the necessary tools and safety equipment at hand. When removing tile flooring, you will need rubber gloves, eye protection, a hammer, chisel, utility knife, pry bar and a vacuum cleaner with a HEPA filter.
Step 1: Preparing the Room
The first step in safely removing your tile is to prepare the room by covering any furniture and other items with dust sheets or plastic tarps. This will protect them from dust and debris that will accumulate during the removal process. Once everything is covered, open all windows and doors in the room to ensure proper ventilation.
Step 2: Removing Grout
Using a utility knife or grout saw, begin to score along the grout lines between tiles. Start at one corner of the room and work your way across. Once all the grout has been scored, use a hammer and chisel to chip away any excess bits of grout.
Step 3: Removing Tiles
Once all the grout has been removed, use a pry bar to slowly start lifting up the tiles from one corner of the room. If any tiles are stuck down too firmly, use a hammer and chisel to loosen them. When removing larger sections of tile, be sure to use caution as tiles may break or chip while being removed.
Step 4: Clean Up
When all tiles have been removed from the floor, use a vacuum cleaner with a HEPA filter to carefully suck up any remaining debris. Wipe down the entire floor area with a damp cloth and allow it to dry completely before proceeding with new installation.
Conclusion
Removing tile flooring can be a messy and labor-intensive job but with proper preparation and the right tools it’s possible to get the job done safely and efficiently. Carefully consider whether you are up for the task or if you need help from an experienced professional before getting started. With these steps in mind, you can feel confident tackling your next tile removal project! SEO Description: Removing tile flooring can be a messy and labor-intensive job, but with the right tools and safety equipment, it’s possible to do the job safely and efficiently! Follow these steps to remove your tile flooring easily and without any mess.