VCT Tile Floor Preparation

Vct Flooring Installation Lanunmuda

Vct Tile Floor Preparation – Flooring Blog

Lino Floor Tiles Adhesive / Self Adhesive Vinyl Floor Tiles Pros And Cons – Do you need to
It may look boring, but sub-floor preparation is key to a successful installation! Luxury

Vct Tile Floor Preparation – Flooring Ideas

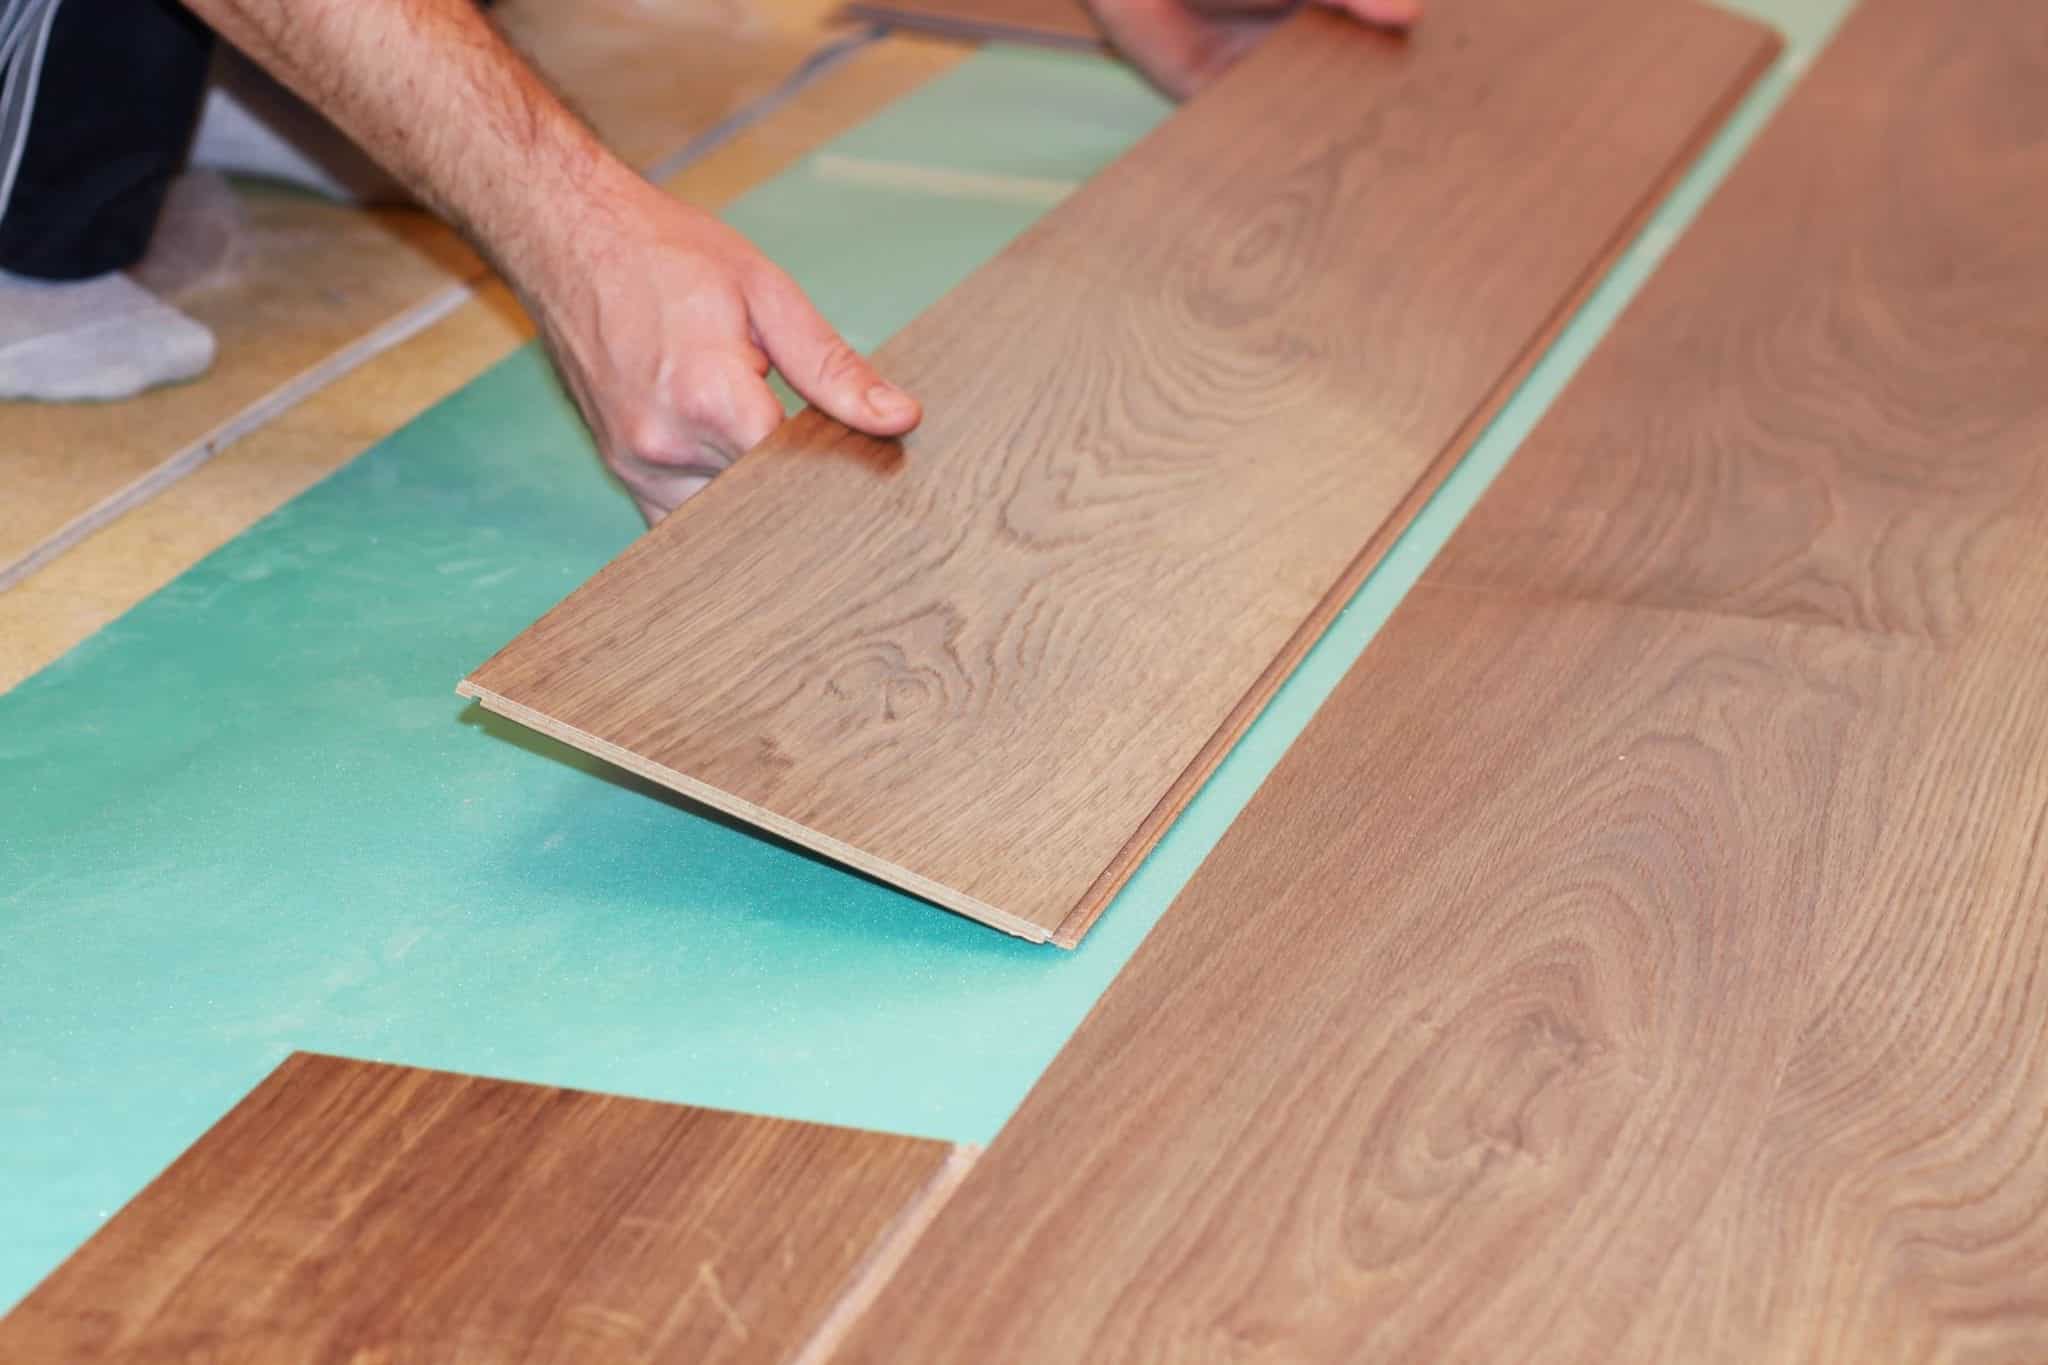
Proper Subfloor Preparation for Laying Luxury Vinyl Tile
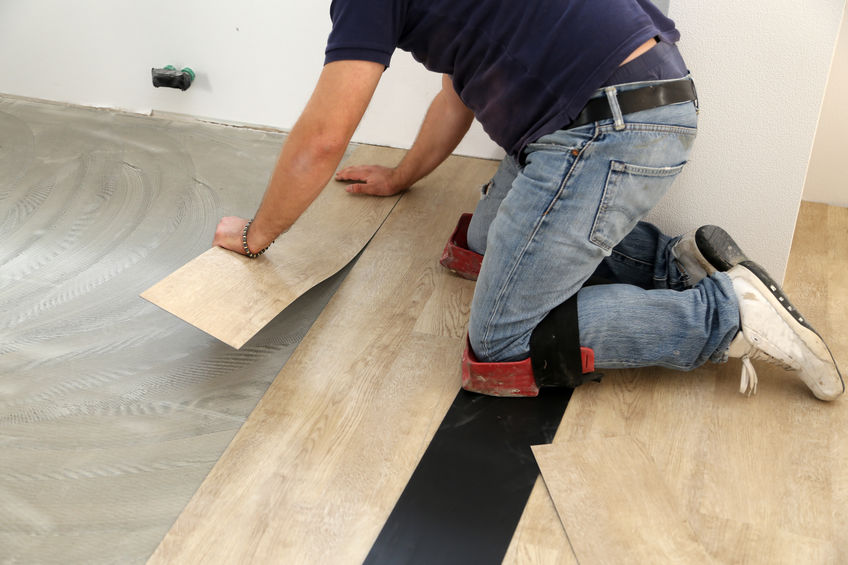
LVT floor prep Luxury vinyl tile, Flooring, Vinyl tile

How To Prepare Laminate Floor Subfloor And Then Put Vinyl On Top?
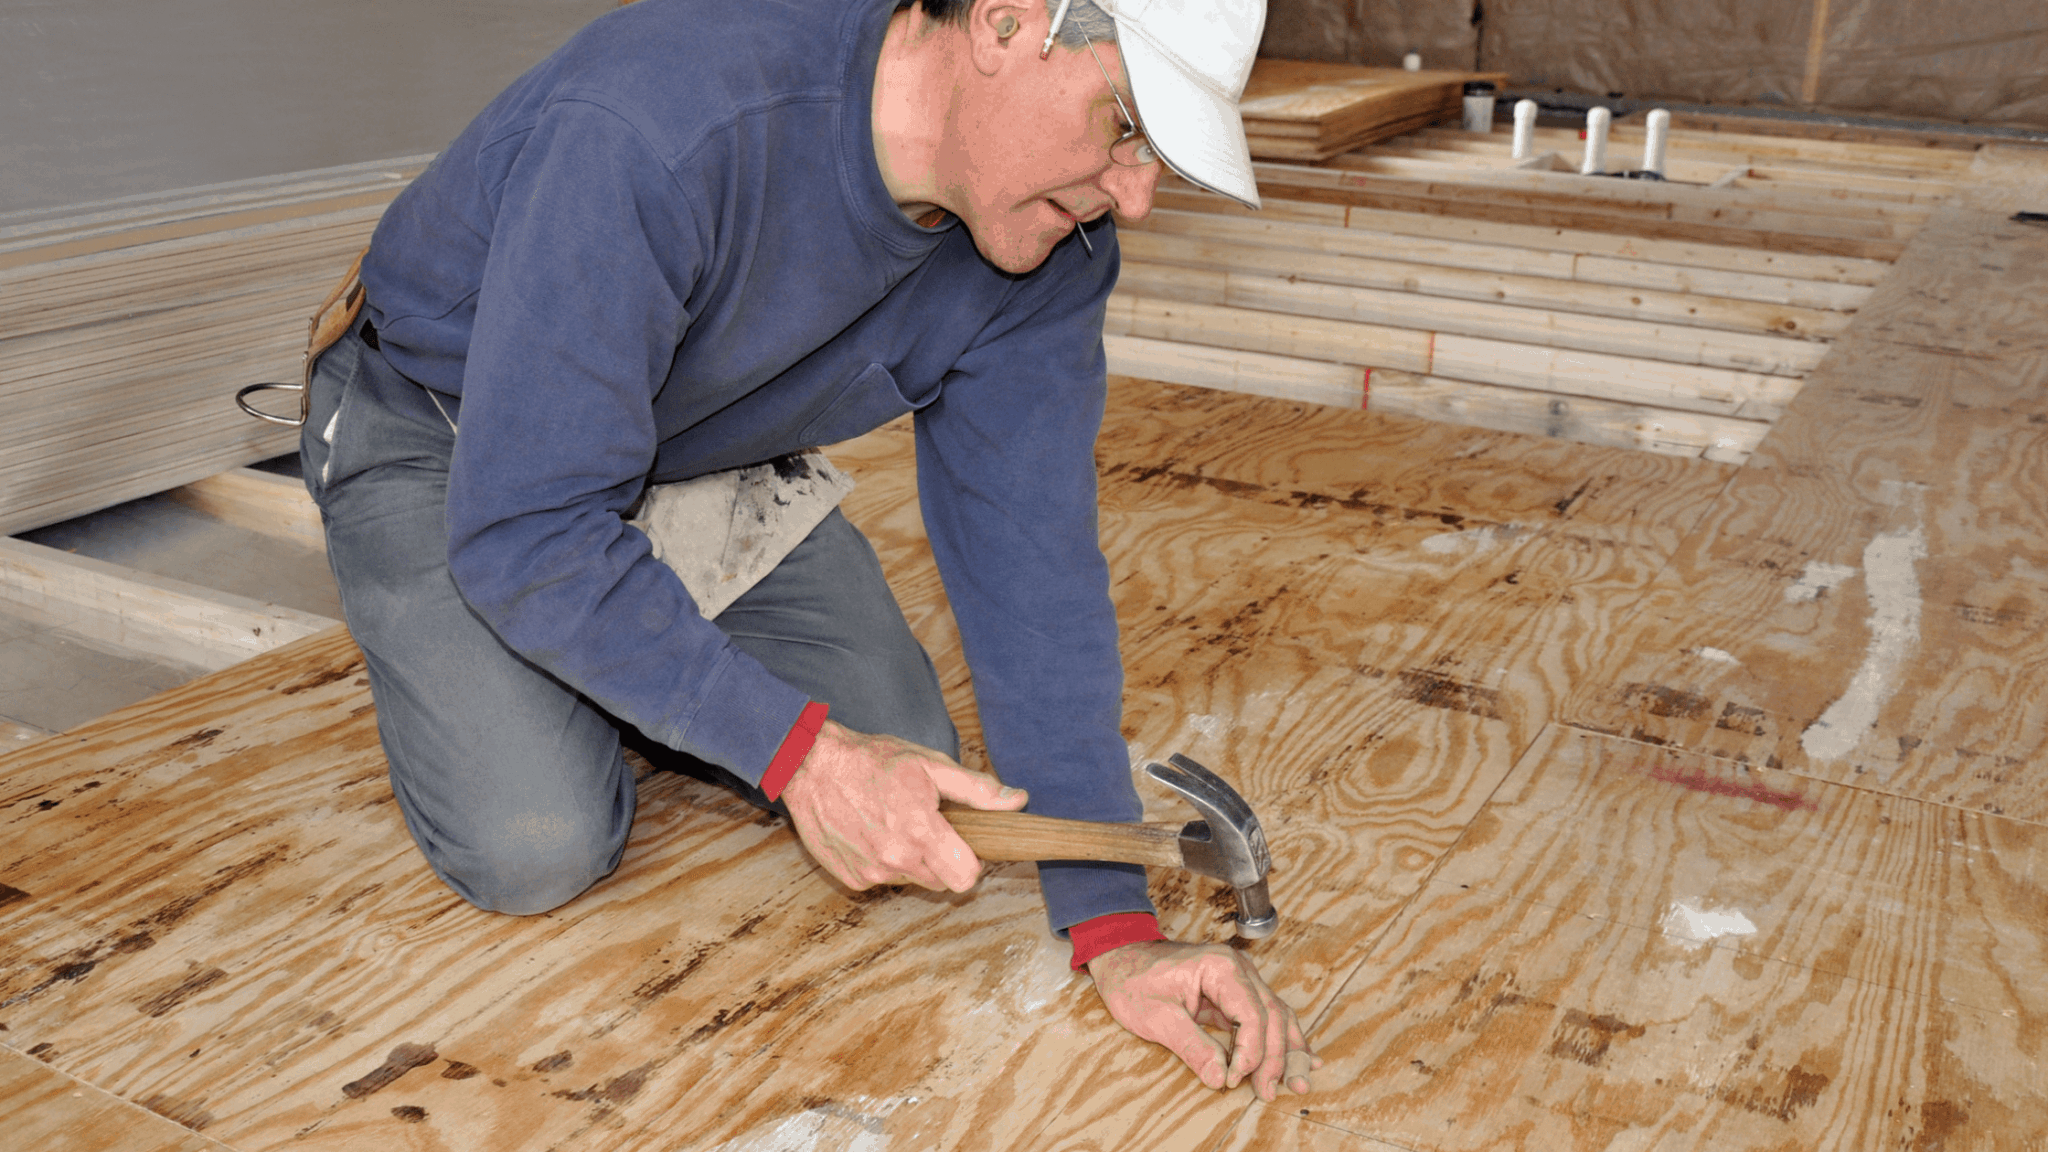
How To Prep Floors For Luxury Vinyl Planks: NYNR Refresh Challenge – Casa Watkins Living

Can You Install Vinyl Flooring Over Tile – Atkinson Inspection Services
How to Prepare a Vinyl Floor for Ceramic Tile – Kitchen Infinity

Related Posts:
- Cuban Tile Floors
- Easy Way To Grout Tile Floor
- Types Of Marble Tile Flooring
- Slate Tile Floor
- Classic Bathroom Tile Floors
- Tile Floor Color Ideas
- Wet Mops For Tile Floors
- Staining Saltillo Tile Floors
- Terrazzo Tile Floor Outdoor
- Tile Flooring For Screened Porch
VCT tile floor preparation is essential for achieving the best possible results with minimal effort. Whether you’re installing new VCT tile, repairing existing tiles, or refinishing your floor, proper preparation is key to ensuring a beautiful, long-lasting finish. In this article, we’ll discuss the various methods for preparing VCT tile floors and how to complete each step properly.
## Step 1: Removing Old Floor Coverings and Adhesive
The first step in preparing a VCT tile floor for refinishing is to remove any existing floor coverings and adhesive. This can be done by using a scraper or a heat gun to carefully remove the old covering and adhesive. If you’re working with an old floor that has been painted or varnished, you may need to use a chemical stripper to remove the paint or varnish. Additionally, you may need to use a grinder to remove any old adhesives from concrete or wood subfloors.
## Step 2: Cleaning and Prepping the Surface
Once all of the old coverings have been removed, it’s time to clean and prep the surface for the new finish. This involves sweeping any debris from the surface and then using a vacuum cleaner to remove any remaining dirt and dust. Then, use a mild detergent solution and a scrub brush to thoroughly clean the surface. Allow the floor to dry completely before continuing to the next step.
## Step 3: Leveling and Filling Cracks and Holes
The next step in VCT tile floor preparation is to level any uneven areas of the surface, fill in any cracks or holes, and repair any damage to the underlying subfloor. If you find any large cracks or holes, use a patching compound to fill them in. If there are small cracks or holes, you can use an epoxy filler instead. Make sure that all of these repairs are done prior to applying the new finish so that they don’t show through later on.
## Step 4: Priming and Sealing the Surface
Once all of the repairs have been made and the surface has been cleaned, it’s time to prime and seal it before applying the new finish. This will help ensure that your new finish binds properly with the surface and lasts longer. Start by using an oil-based primer on all surfaces that will be receiving a new finish. Once this has dried, apply two coats of sealer—one coat of sealer on top of another—to give your new finish a smooth base and protect it from moisture damage.
## Step 5: Applying Your New Finish
Finally, it’s time to apply your new finish! Depending on what type of finish you’re using—whether it’s wax-based, polymer-based, or something else—follow your manufacturer’s instructions for proper application. Once complete, allow your new finish to dry completely before walking on it or adding furniture back onto your floor.
VCT tile floor preparation is essential for achieving beautiful results with minimal effort. By following these steps, you can ensure that your VCT tile floors look great for years to come!