Transform your tired wood floors into a stunning masterpiece with a DIY refinishing project. Not only will you save money, but you’ll also gain the satisfaction of a job well done. With the right tools and knowledge, you’ll be amazed at the stunning results you can achieve.
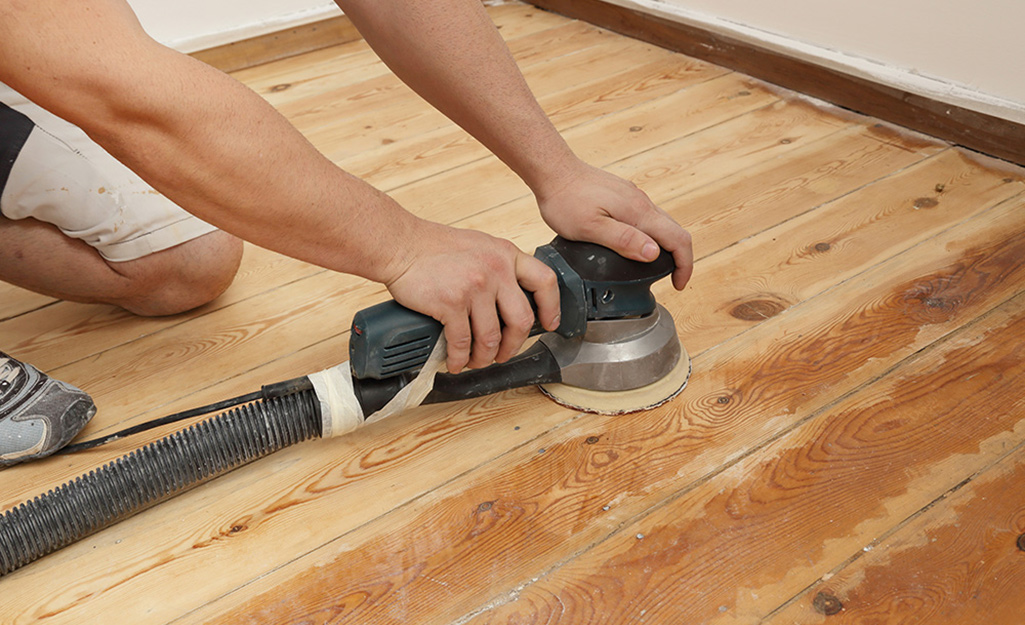
Start by prepping the room. Clear all furniture, rugs, and decorations to create a clean canvas for your transformation. Sand the floor with a drum sander and edger, which can be rented from most hardware stores. Gradually sand with different grits of sandpaper, starting with coarse and moving to finer, to remove the old finish without damaging the wood beneath. Vacuum up the resulting dust.
If desired, apply a coat of stain, ensuring to choose the right finish for your wood type. Allow the stain to dry completely before sealing it with a protective layer of polyurethane. Finally, buff or polish your newly refinished floors to reveal a brilliant shine and a professional finish. Safety is key, so be sure to follow all instructions when using these tools.
Embrace the challenge and reward yourself with stunning, beautifully refinished wood floors. Unleash your inner DIYer and give your home the makeover it deserves!
Wood Floor Refinishing DIY

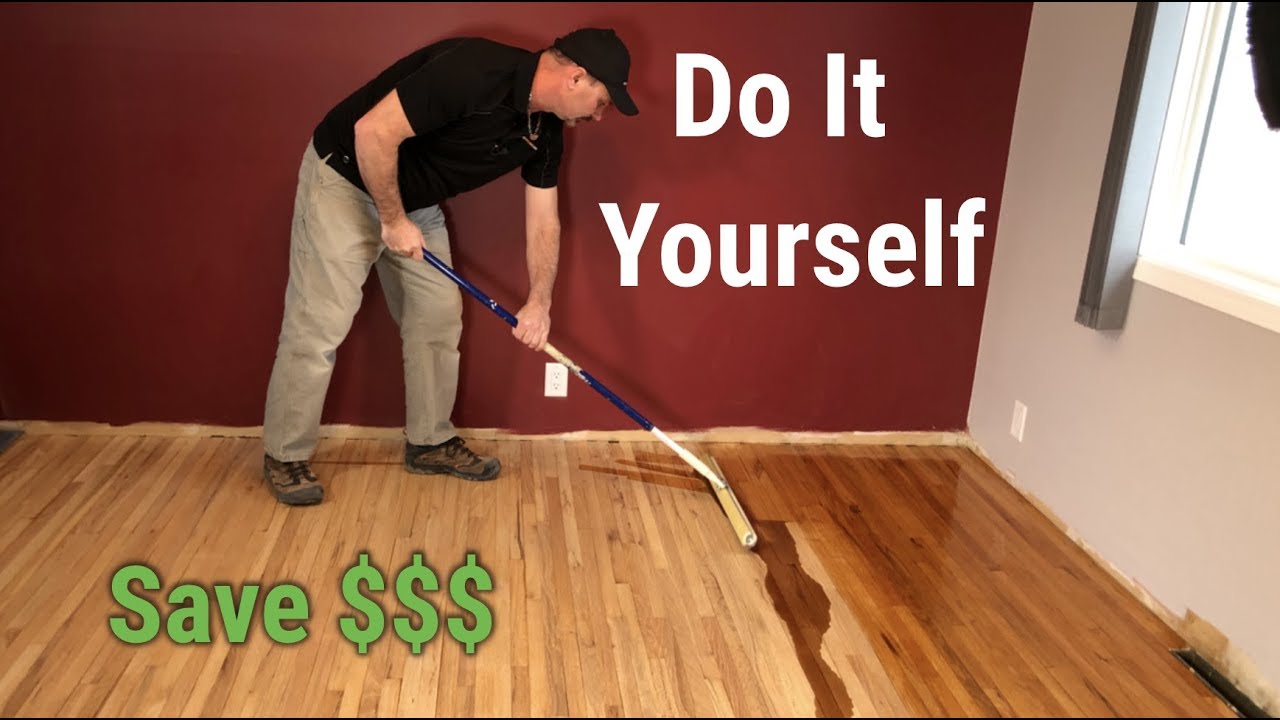
How To Sand u0026 Refinish Hardwood Floors
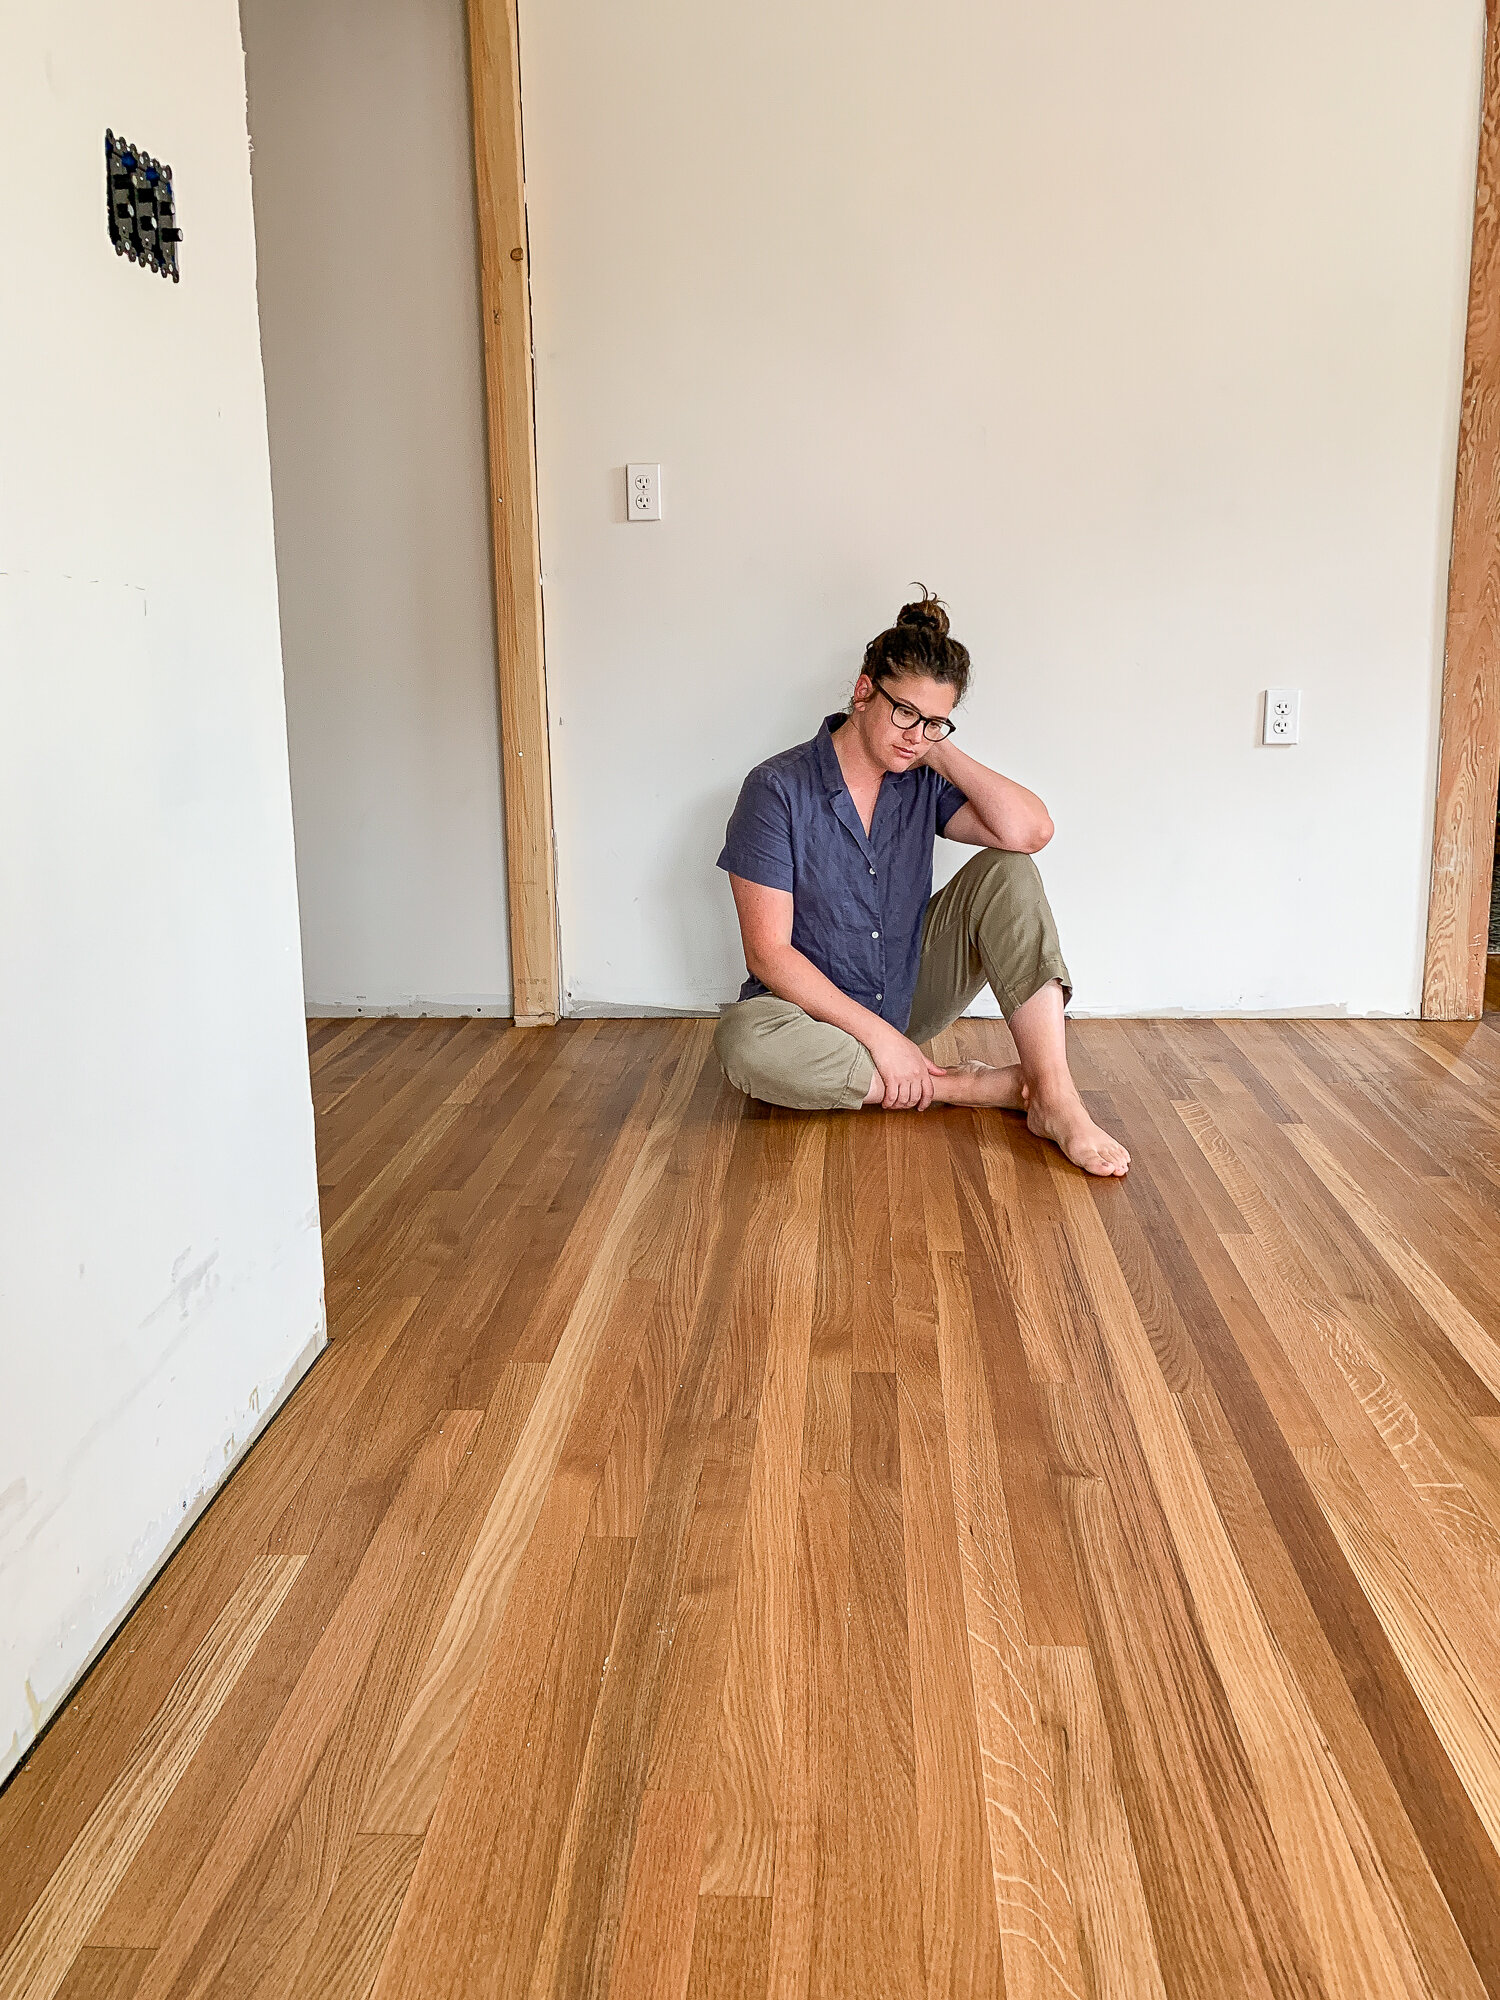
We Hit A Snag And Had to Refinish Our Floors Twice – DIY Fail
How to Refinish Hardwood Floors the Easy Way – This Old House
/cdn.vox-cdn.com/uploads/chorus_image/image/65891819/00_refinishing_xl.0.jpg)
How To Refinish Hardwood Floors – DIY Home Improvement HGTV
Frugal DIY Hardwood Floor Refinishing for Beginners – Pretty Passive

DIY: Hardwood Floor Refinishing – LIVING A DESIGNED LIFE

How To Refinish Hardwood Floors – The Home Depot
DIY Floor Refinishing – Hardwood Floor Refinishing

Refinish Hardwood Floors – Should You DIY? BuildDirectLearning

We Hit A Snag And Had to Refinish Our Floors Twice – DIY Fail

Related Posts:
- Grey Parquet Wood Flooring
- How To Install Pergo Wood Flooring
- Dark Black Wood Flooring
- Solid Wood Flooring White
- Pallet Wood Flooring Ideas
- Wood Floor Chevron Pattern
- Wood Flooring Home Ideas
- Wood Floor Filler Resin
- Glossy Wood Flooring Ideas
- Pergo Wood Flooring Installation
Wood Floor Refinishing: A DIY Project
If you’re considering giving your hardwood floors a makeover, refinishing them is a great DIY project. However, before you embark on this journey, there are some things you need to consider. Make sure you have the knowledge of using the tools, time, energy, and finances to complete the project within one to two days. It’s also important to accept that some imperfections may occur in the finished product. A professional has the experience and tools to achieve a better result in a shorter amount of time.
Tips for DIY Hardwood Floor Refinishing:
-
Preparing the Floor: Rent a drum sander and a vibrating sander from a local hardware store. Most floor refinishing experts recommend using a drum sander, while the vibrating sander is best for the edges. The drum sander removes the finish and some of the wood layer, so multiple passes may be necessary. Start with a rough sandpaper and gradually move to a finer one. Practice with the sander before you use it on the floor, and make sure to keep it moving while in use.
-
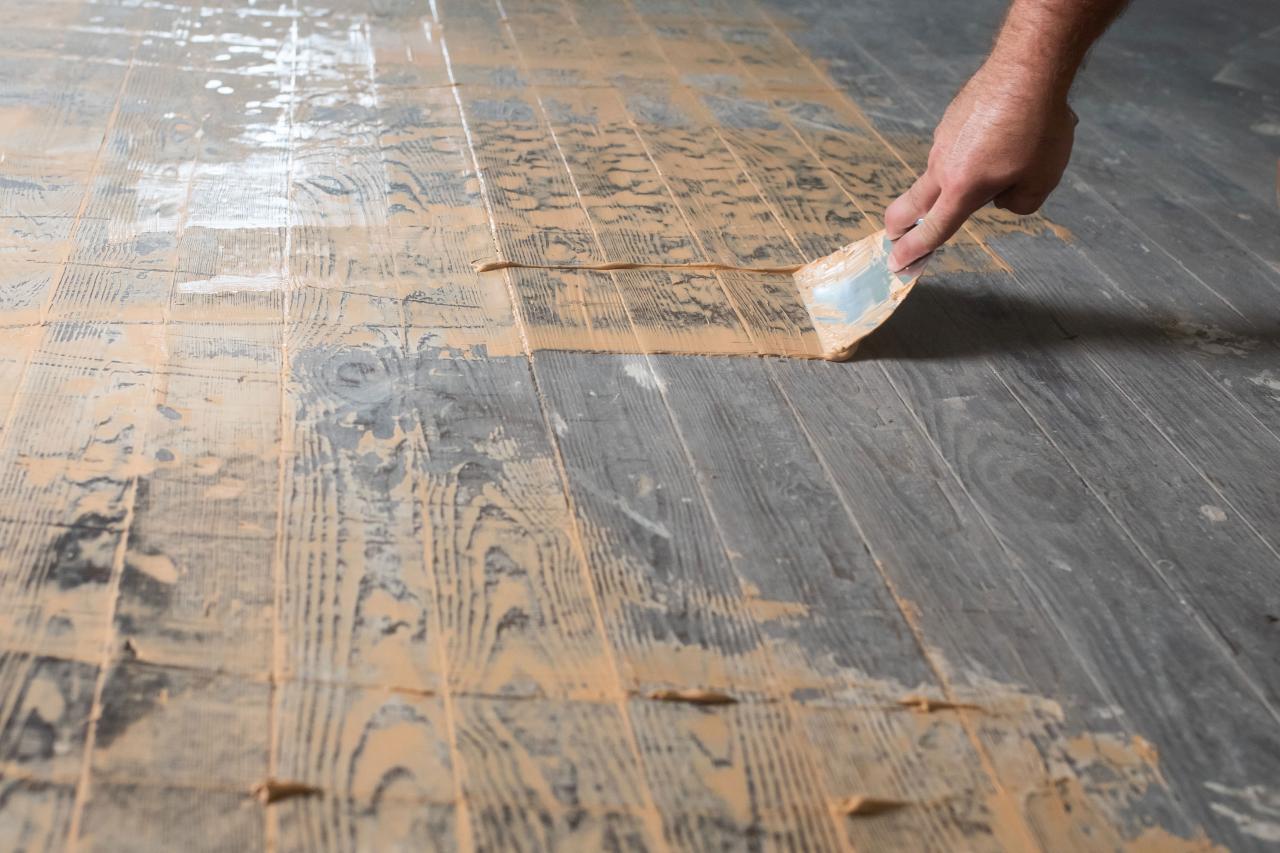
Staining the Floor: After removing all the finishes, clean the floor with a vacuum and a damp mop. Allow the floor to dry completely before staining. Apply the stain with a brush or rag, starting from the back of the room and working your way out. Apply the stain following the grain of the wood. Let it dry before applying a polyurethane finish.
-
Applying Polyurethane: You can use a brush, roller, or rag to apply polyurethane. This protective coating preserves the beauty of the floor and can be applied with a matte, satin, or glossy finish. Multiple coats may be necessary. Wait for at least 24 hours before walking on the floor after applying the last coat of polyurethane.
In conclusion, refinishing hardwood floors is a rewarding DIY project, but it requires time, effort, and some knowledge of the tools involved. If you decide to go for it, make sure to follow these tips for the best results.