Wood Floor Texture Sketchup

SKETCHUP TEXTURE: UPDATE SEAMLESS TEXTURE WOOD FLOORS
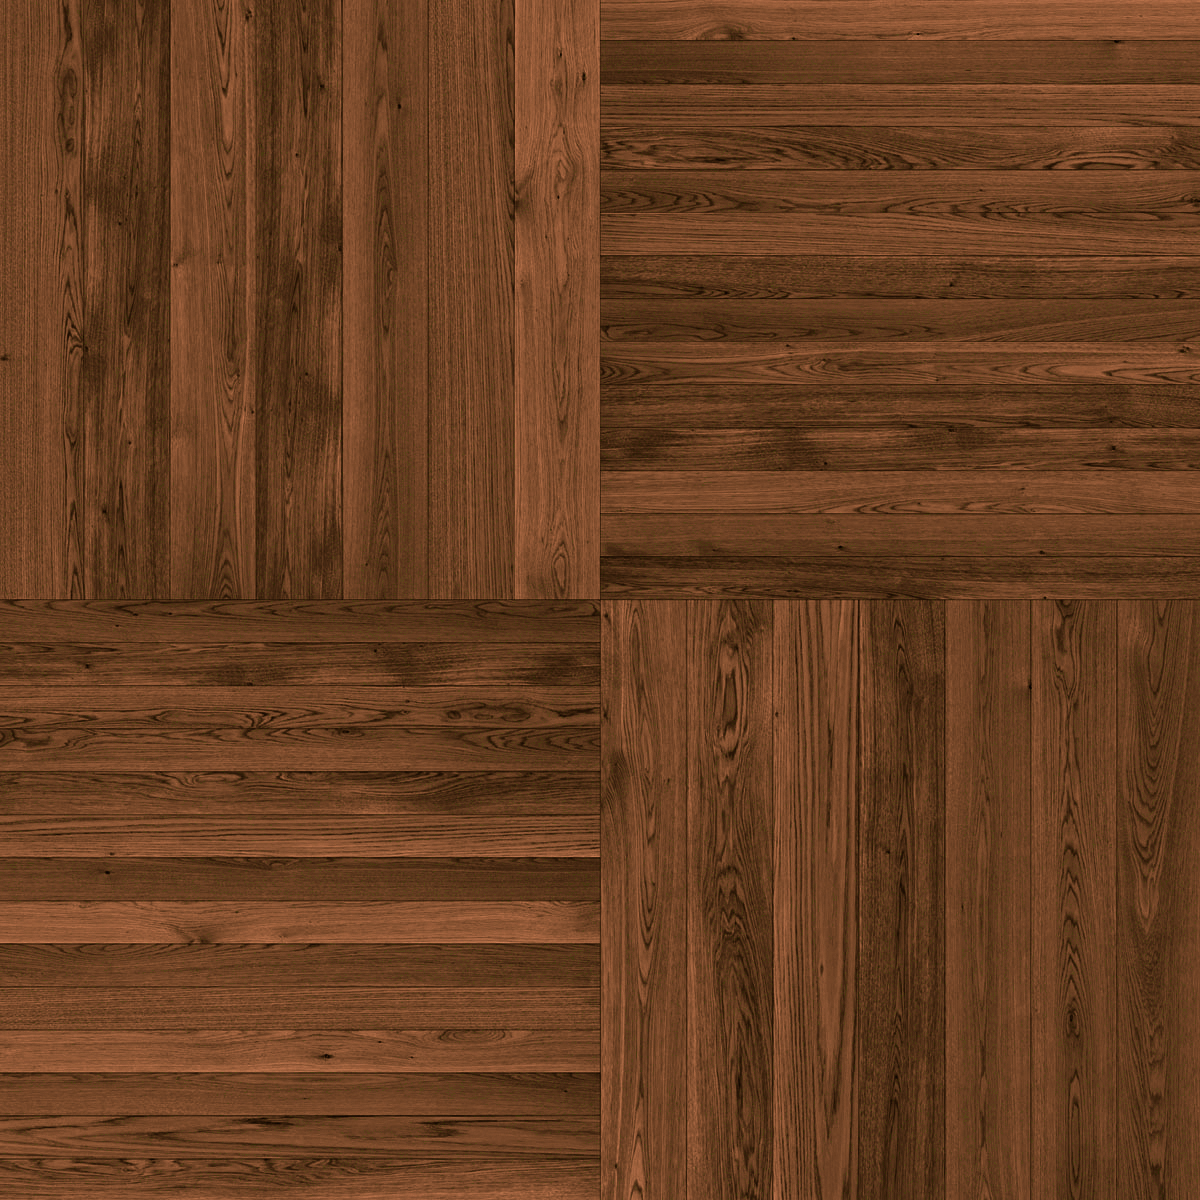
SKETCHUP TEXTURE: UPDATE NEWS WOOD FLOOR LAMINATE SEAMLESS TEXTURE
wood textures for sketchup – DriverLayer Search Engine

19 Beautiful Wood Floor Sketchup
19 Beautiful Wood Floor Sketchup

19 Beautiful Wood Floor Sketchup
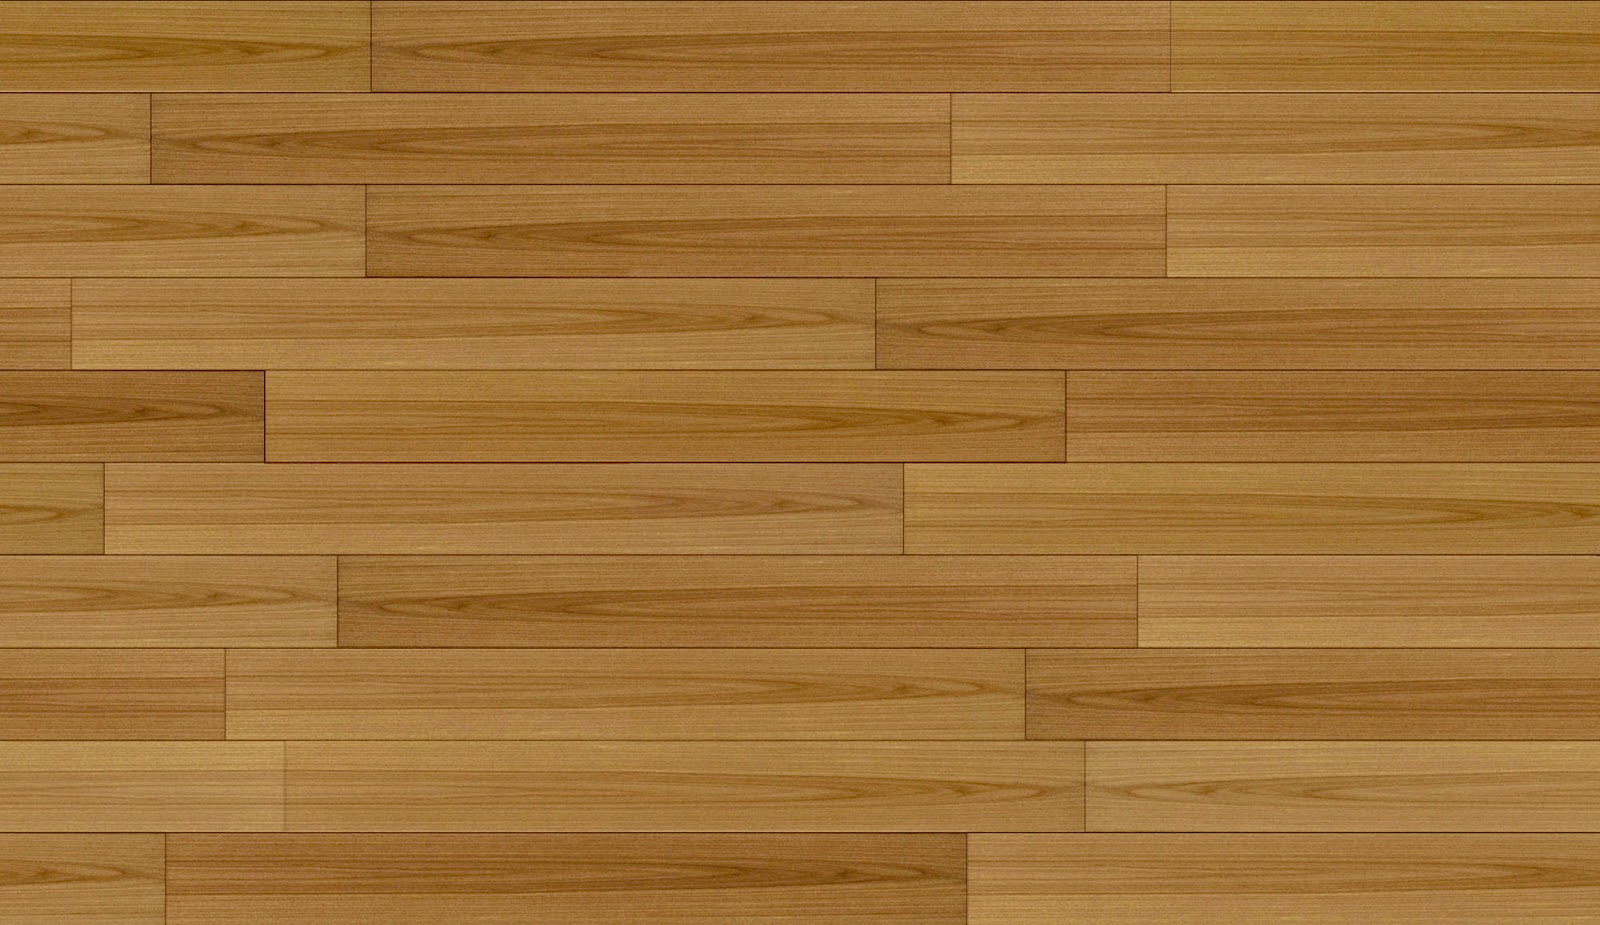
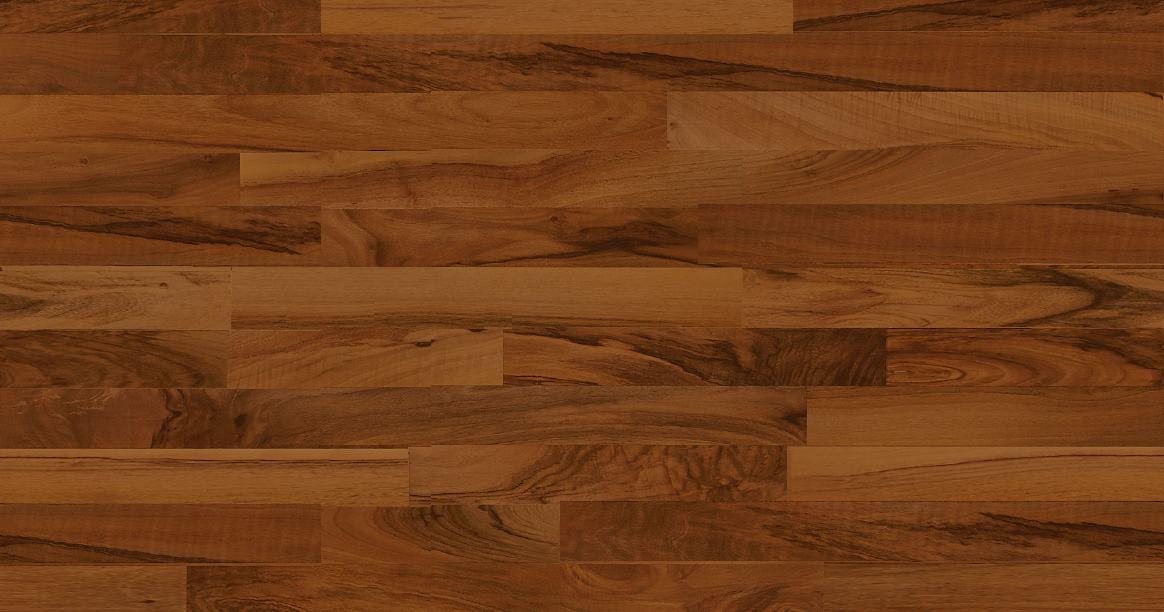
http://www.sketchuptut.com/sites/default/files/resource-image/Wood_floor_texture_sketchup

Wood floor texture sketchup warehouse type008 Sketchuptut Wood floor texture, Wood, Floor texture

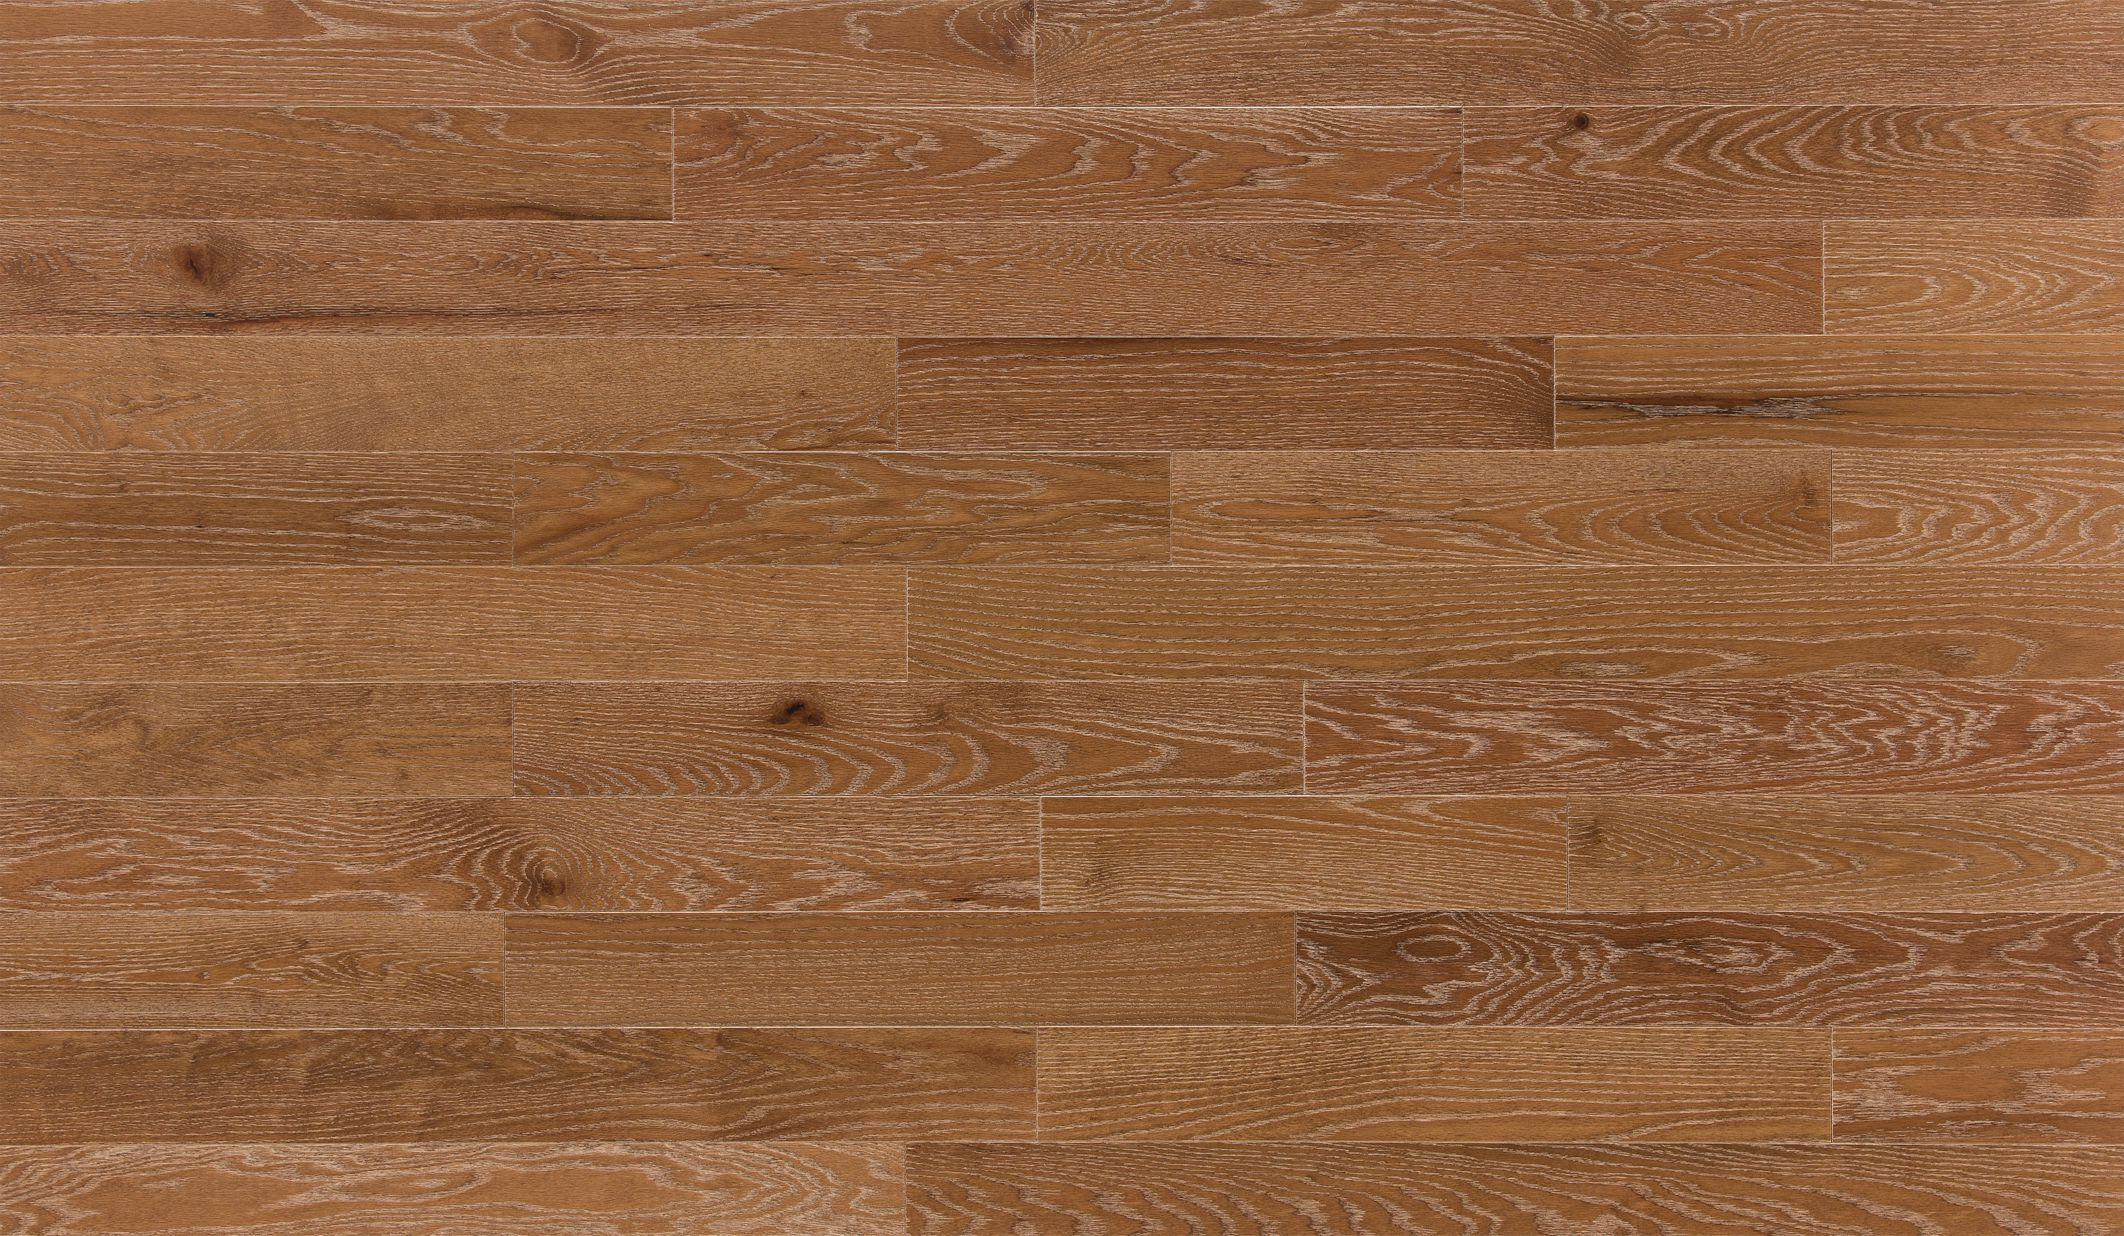
Wood Floor Textures For Sketchup – Types Of Wood
Wood Floor Texture Sketchup – Carpet Vidalondon

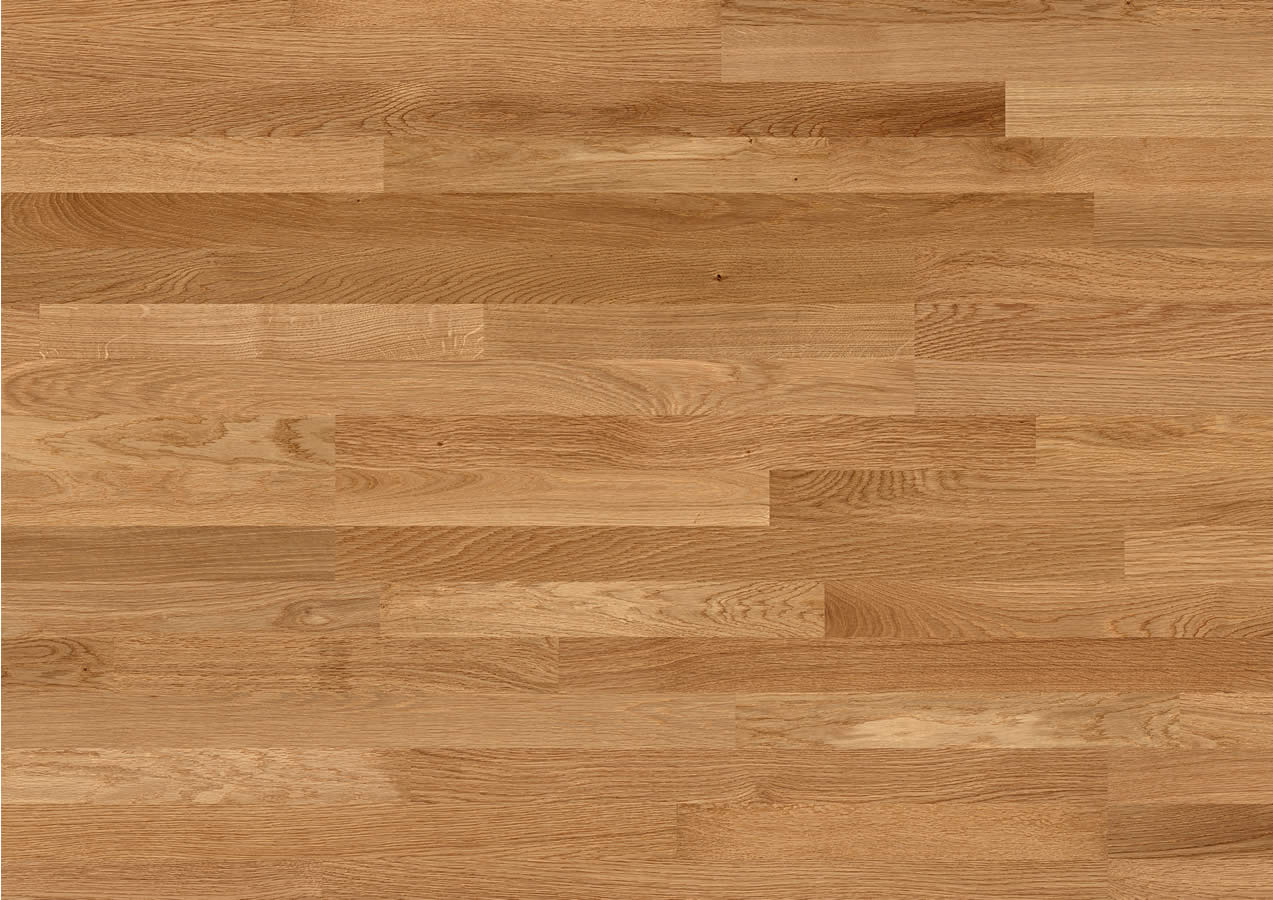
Wood floor texture sketchup warehouse type059 Sketchuptut – Types of Wood Flooring

Related Posts:
- Grey Parquet Wood Flooring
- How To Install Pergo Wood Flooring
- Dark Black Wood Flooring
- Solid Wood Flooring White
- Pallet Wood Flooring Ideas
- Wood Floor Chevron Pattern
- Wood Flooring Home Ideas
- Wood Floor Filler Resin
- Glossy Wood Flooring Ideas
- Pergo Wood Flooring Installation
Are you looking to create an authentic wood floor texture for your SketchUp models? If so, then you’ve come to the right place. In this guide, we’ll provide step-by-step instructions on how to easily create a realistic wood floor texture for your next SketchUp project.
## Step 1: Find the Right Image
The first step in creating a realistic wood floor texture is to find the right image. You can search for images of wood floors on stock photography sites such as Shutterstock or Adobe Stock. Look for images with high resolution and good lighting that will help you create a realistic look. Once you have selected an image, download it and save it to your computer.
## Step 2: Create the Texture in Photoshop
Once you have downloaded the image, it’s time to create the texture in Photoshop. Start by opening the image in Photoshop and selecting the ‘Filter’ menu. From there, choose ‘Render’ and then select ‘Difference Clouds’. This will create a noise effect on the image, which will help give it a more realistic look. Once you have finished editing the image, save it as a PNG file.
## Step 3: Import Into SketchUp
Now that you have created your wood floor texture in Photoshop, it’s time to import it into SketchUp. Start by selecting ‘File’ and then ‘Import’ from the top menu bar. Select your PNG file and choose ‘OK’ to import it into SketchUp.
## Step 4: Apply the Texture
Once you have imported your image into SketchUp, it’s time to apply the texture. Select the surface that you want to apply the texture to and then select ‘Edit Texture’ from the top menu bar. This will open up a new window where you can select your texture file from the dropdown menu. Select your PNG file and then click ‘OK’ to apply it to the surface.
## Step 5: Adjust Settings
The last step is to adjust the settings of your wood floor texture. Select the ‘Texture’ tab from the top menu bar and adjust the settings as desired. This includes adjusting the size, brightness, contrast, and other settings to achieve your desired look. Once you are happy with your texture, click ‘OK’ to save your settings and apply them to the surface.
Creating a realistic wood floor texture for your SketchUp models doesn’t have to be complicated or time-consuming. With these simple steps, you can quickly create an authentic look that will bring your models to life. So what are you waiting for? Get started now!