I never thought much about my concrete floors until I discovered polishing. What I once considered just a utilitarian surface has become one of my favorite design elements in my home. Concrete floor polishing transforms dull, gray slabs into sleek, reflective surfaces that work in everything from industrial lofts to modern farmhouses. The process reveals the natural beauty in the aggregate while creating a durable, low-maintenance floor. After helping several friends with their polishing projects, I’ve learned what makes this technique so special and how to get the best results.
Why Choose Polished Concrete Floors
Polished concrete offers durability that’s hard to match with other flooring options. In my kitchen, where I previously had tile that constantly needed regrouting, the polished concrete has held up perfectly to daily wear and tear. Unlike wood or laminate, it won’t scratch from furniture movement or pet claws. I’ve even dropped heavy pots without leaving marks. The sealed surface resists stains better than any other floor I’ve lived with.
The cost comparison surprised me when I first researched flooring options. While the initial polishing investment might seem high, it’s actually more affordable long-term than many alternatives. I calculated that over ten years, my polished floors would cost less than replacing carpet twice or refinishing hardwood. The maintenance is simpler too – no special cleaners or treatments needed, just occasional damp mopping.
Aesthetic flexibility is another advantage I appreciate. Through different polishing levels and aggregate exposures, you can achieve looks ranging from matte modern to terrazzo-like sparkle. In my living room, I chose a medium polish that shows some aggregate for character while maintaining enough sheen to brighten the space. Friends have gone with high-gloss finishes that look almost liquid. The customization options let the floor complement any design style.
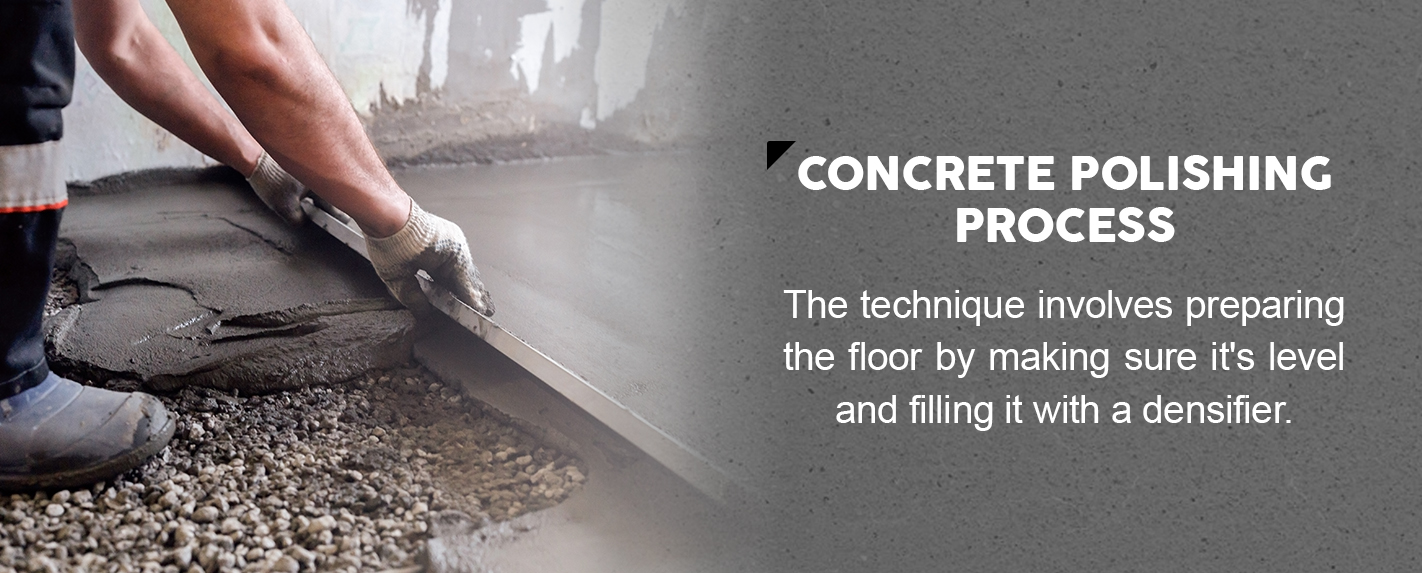
The Polishing Process Explained
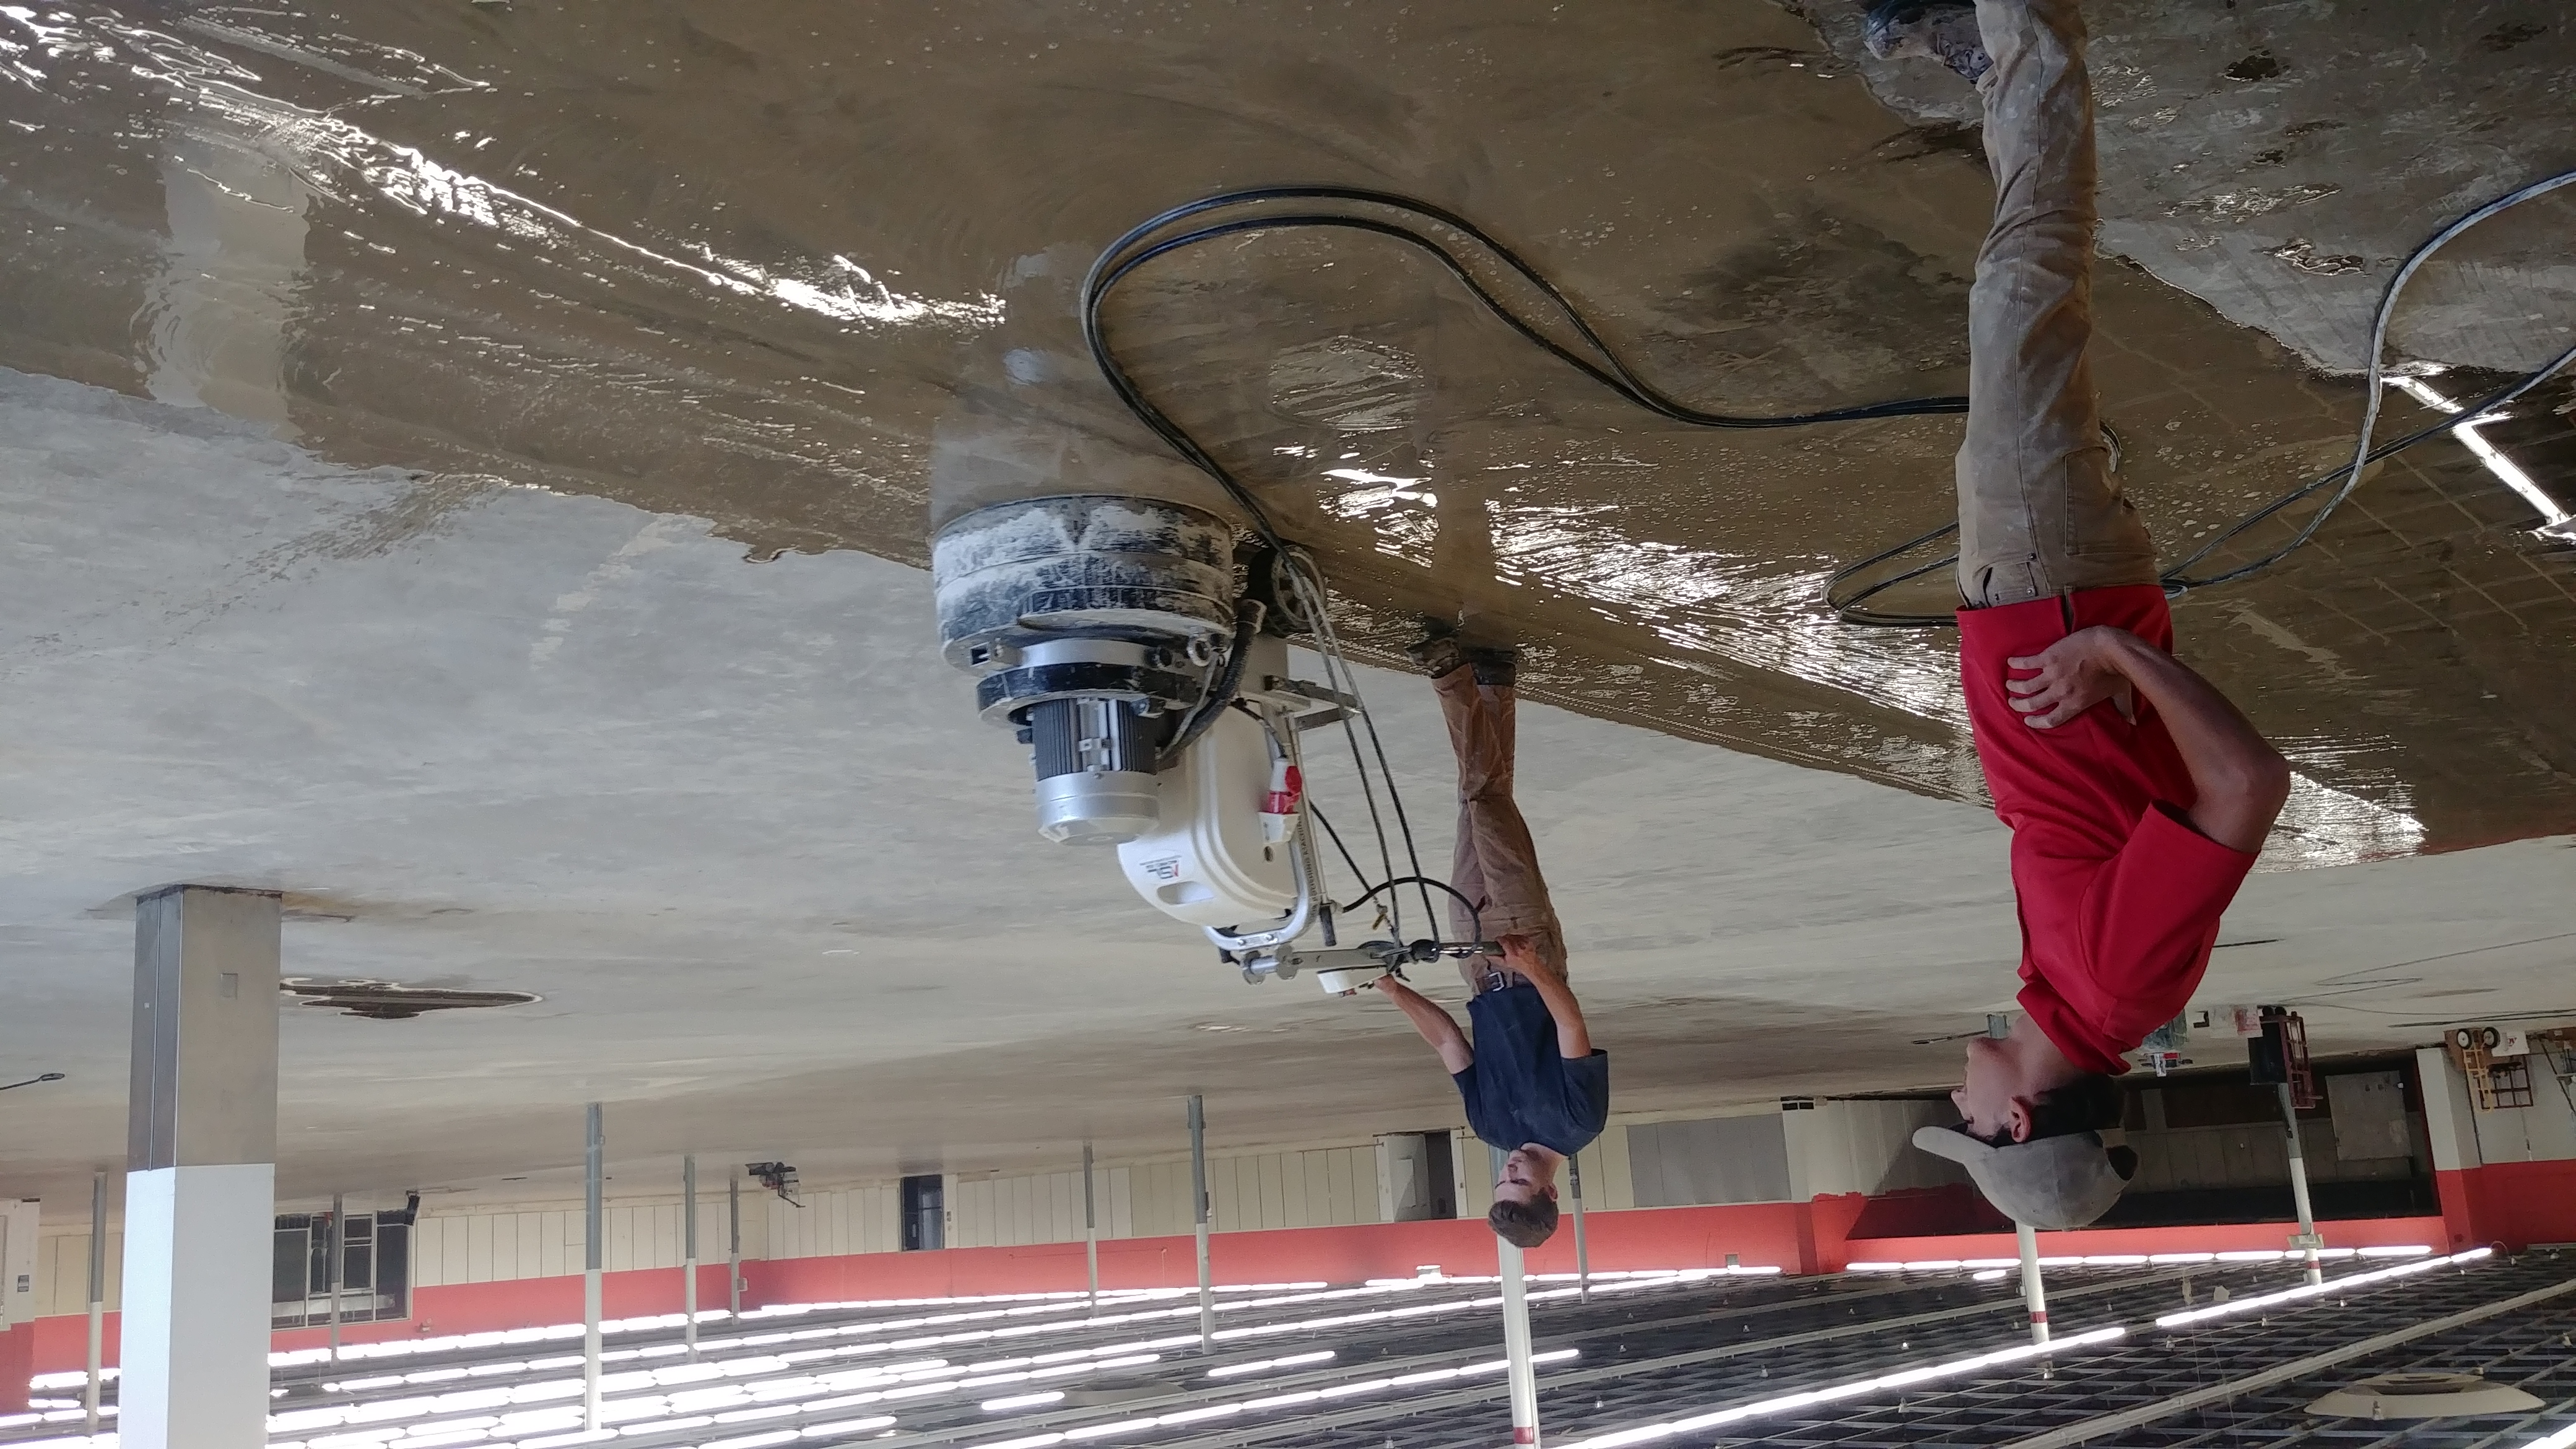
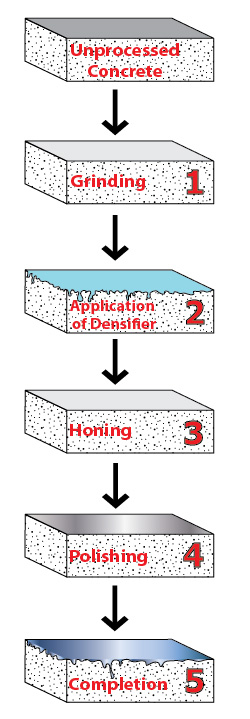
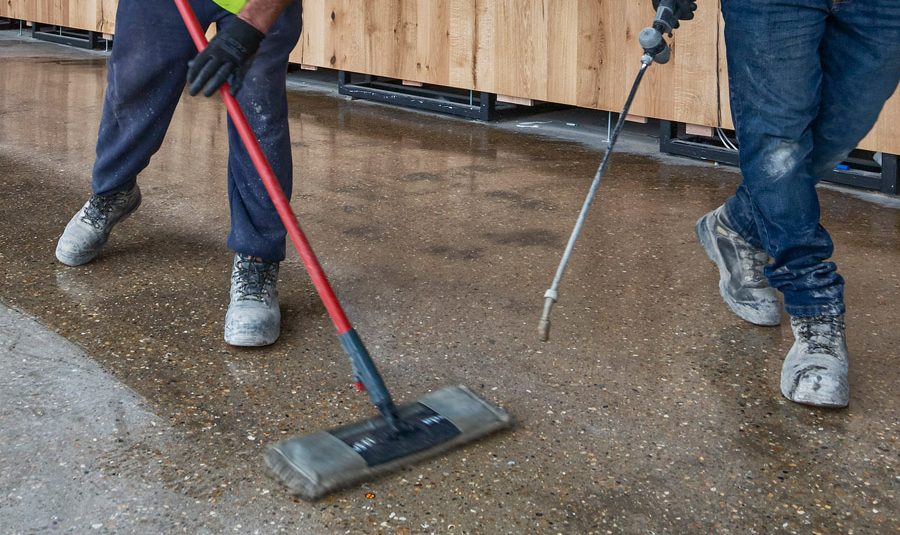
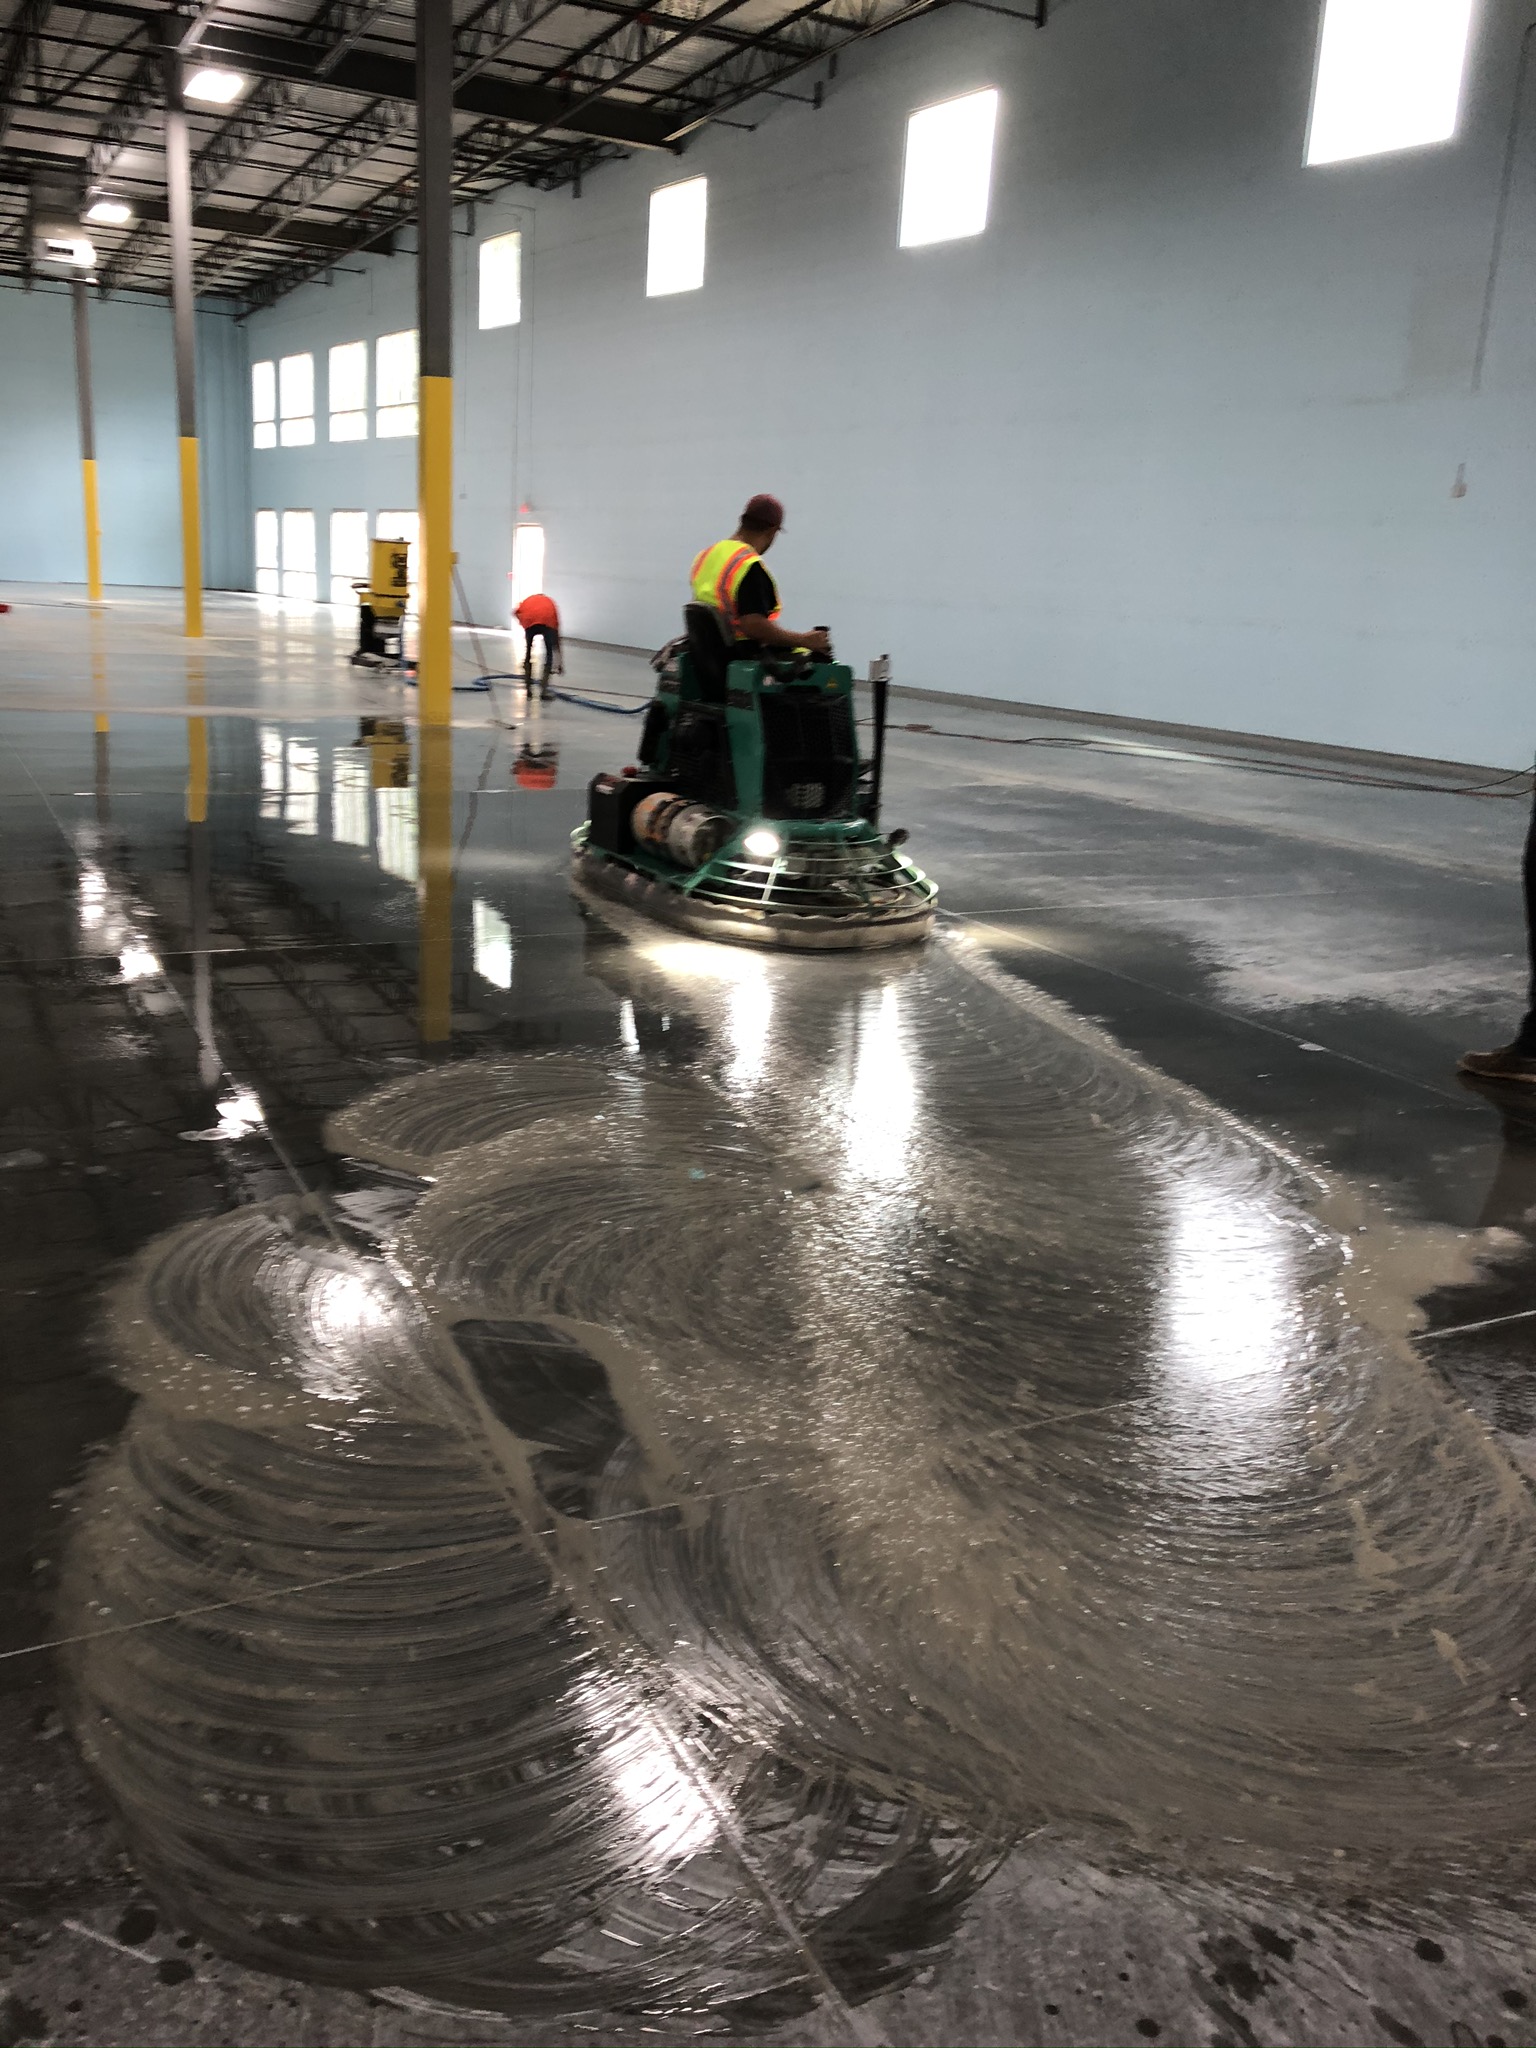
Understanding the polishing steps helped me appreciate why the results look so professional. It begins with coarse diamond grinding to remove imperfections and expose aggregate. Watching my floors transform during this stage was fascinating – what started as uneven, patchy concrete became uniform and full of character. The contractor used progressively finer grits, similar to sanding wood but with specialized equipment.
After grinding comes the hardening and densifying stage. A chemical solution penetrates the surface to strengthen the concrete. I noticed how this changed the floor’s appearance, bringing out depth in the stone particles. This step is crucial for durability – my floors have resisted chips and cracks that untreated concrete might develop. The hardening process also prepares the surface for polishing by creating consistent density.
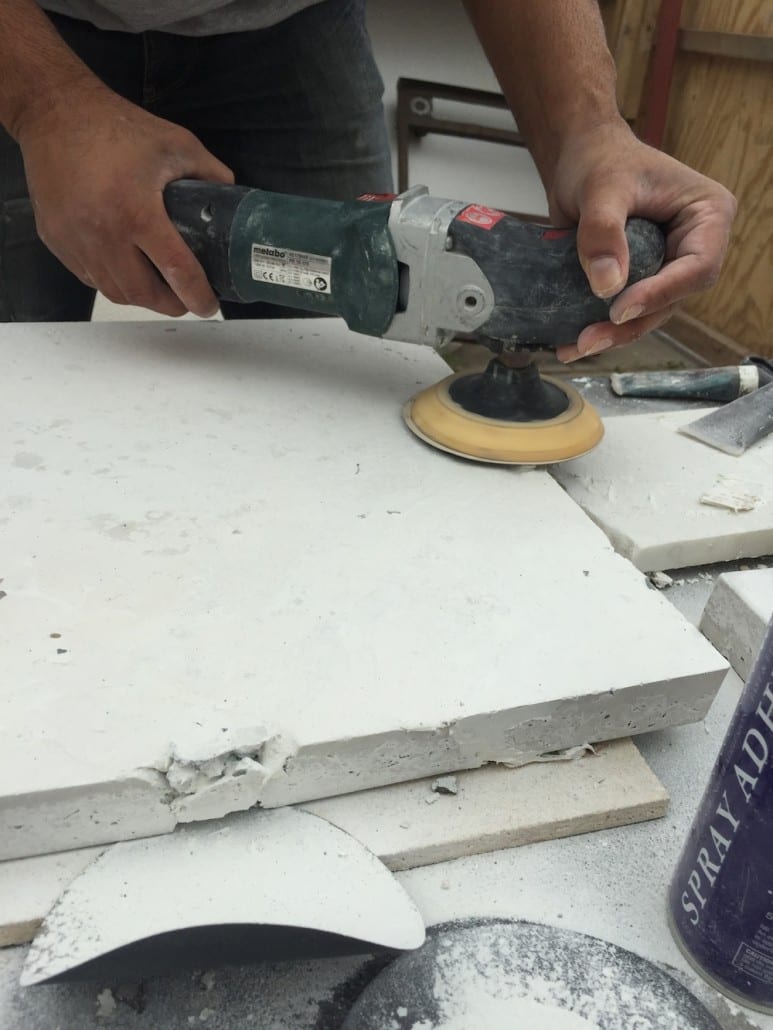
The final polishing stages create the desired sheen. For my medium polish, they used up to 800-grit diamonds before applying the sealer. The difference between each pass was subtle but cumulative. What impressed me most was how the contractor could adjust the process based on how much aggregate I wanted visible. Seeing the before-and-after convinced me this wasn’t something I could have DIYed with rented equipment.

Choosing Your Finish Level
Polished concrete offers range in both appearance and texture through different finish levels. A matte finish, achieved with lower grit polishing, provides traction while still offering easy cleaning. I recommended this for a friend’s art studio where she needed non-slip floors that could handle paint spills. The subtle texture hides dust between cleanings better than higher gloss options.
Medium polish creates what I consider the most versatile finish. In my home, this semi-gloss sheen reflects enough light to brighten rooms without becoming slippery. It shows just enough aggregate to add visual interest but remains smooth underfoot. This level works well in most living spaces and is what I typically suggest for first-time polished concrete owners.
High-gloss polishing creates dramatic, mirror-like surfaces. While stunning, I’ve found these require more maintenance to keep looking perfect. A client’s showroom with gloss floors shows every footprint until cleaned. However, in the right space with proper lighting, the effect is breathtaking. The reflective quality can make rooms appear larger and works beautifully with modern minimalist designs.
Design Possibilities with Color and Aggregate
Many people don’t realize polished concrete doesn’t have to be gray. Integral color added during mixing creates floors in earth tones, blacks, or even bold hues. I once saw a deep blue polished floor in a boutique that looked incredible. For my sunroom, I used a warm tan color that makes the space feel cozy yet contemporary. The color goes all the way through the slab, so scratches or wear won’t reveal a different shade underneath.
Exposing aggregate creates terrazzo-like effects that add personality. The amount exposed depends on how deeply the contractor grinds. In my garage-turned-guest suite, we exposed just enough small stones to add texture without being rough underfoot. For a bolder look, some homeowners expose larger stones or colorful glass aggregates. I’ve helped select mixes with marble chips that sparkle when polished.
Decorative scoring and patterns offer additional customization. Using different polishing levels in alternating sections can create checkerboard or striped effects without changing materials. A restaurant I consulted on had their logo subtly incorporated into the floor through differential polishing. These techniques let polished concrete function as both flooring and art.
Maintenance and Long-Term Care
One of my favorite aspects of polished concrete is how little maintenance it requires. My weekly cleaning routine takes half the time it did with previous floors. A microfiber mop with plain water removes most dirt, and I occasionally use a pH-neutral cleaner for deeper cleaning. Unlike wood or tile, there are no grout lines or grooves to trap dirt. The smooth surface actually seems to stay cleaner longer.
While durable, polished concrete isn’t indestructible. I’ve learned to use felt pads under furniture legs and avoid dragging heavy items. When I accidentally dropped a sharp knife, it did leave a small chip that needed professional repair. For most minor scratches, a refresher polish every few years can restore the surface. My floors are seven years old now and still look nearly new with this basic care.
The sealer may need reapplying depending on traffic levels. High-use areas like my kitchen entry needed resealing after five years, while less-trafficked spaces still have their original coating. Watching for water absorption (when droplets stop beading up) tells me when it’s time. This simple maintenance keeps the floors protected and looking their best with minimal effort.
Cost Comparison With Other Flooring Options
When I first considered polished concrete, I assumed it would be more expensive than traditional options. After running the numbers, I discovered it’s often comparable or even cheaper over time. The initial installation cost for my 1,500 square foot home was less than premium hardwood would have been. Unlike wood or carpet that needs replacing every decade or so, polished concrete should last the life of the building.
The savings continue with maintenance costs. I no longer buy specialty floor cleaners or pay for professional carpet cleaning. My utility bills decreased slightly too because the thermal mass helps regulate indoor temperatures. In winter, the floors absorb heat from sunlight and release it gradually, reducing heating needs. These long-term savings offset the initial investment within a few years.
Resale value was another factor I considered. While some buyers prefer traditional flooring, many appreciate the modern look and durability of polished concrete. My realtor friend says homes with quality polished floors often sell faster in our market. The unique character and low-maintenance appeal to buyers who value both design and practicality.

Can existing concrete floors be polished or does it require new concrete?
Existing concrete slabs can absolutely be polished in most cases. I had my 25-year-old basement floor polished, and it turned out beautifully. The contractor assessed the slab first to check for major cracks or unevenness that might need repair. Older concrete sometimes develops more character during polishing as the aggregate has weathered uniquely. However, very damaged or improperly installed slabs might need replacement before polishing.
New concrete offers more control over color and aggregate selection but isn’t necessary for polishing. My neighbor polished the concrete that was already in her mid-century home, and the variations in the old slab created a one-of-a-kind look. Whether new or existing, proper preparation is key to achieving great results. A professional can evaluate your specific situation.
How slippery are polished concrete floors?
The slipperiness depends on the polish level and sealant used. My medium-polish floors have good traction, even when wet. The contractor added a non-slip additive to the sealer in bathrooms and entryways for extra safety. High-gloss finishes can become slippery, especially with water or spills, so I recommend those primarily for low-traffic areas or commercial spaces where maintenance is frequent.
I’ve found polished concrete less slippery than polished tile or stone because the surface has microscopic texture even at high gloss levels. For households with elderly members or children, choosing a matte or satin finish provides more traction. Area rugs in key spots also help prevent slips while adding visual warmth to the hard surface.

Can you polish concrete outdoors?
Outdoor concrete can be polished, but there are important considerations. I polished my patio and have been pleased with how it’s held up, but the process differs from indoor polishing. Outdoor slabs require special sealers that withstand UV exposure and temperature fluctuations. The contractor used a penetrating sealer rather than a topical one to prevent peeling or yellowing.
Drainage is another factor – my patio has a slight slope that prevents water pooling, which could degrade the polished surface over time. In freezing climates, the concrete mix and sealer must be rated for freeze-thaw cycles. While high-maintenance compared to plain concrete, my polished patio looks fantastic and stays cleaner than the original broom-finished surface did.
Does polished concrete get cold in winter?
Polished concrete does feel cooler underfoot than carpet or wood, but not as cold as many people assume. The thermal mass actually helps moderate temperatures – my floors absorb heat from sunlight during the day and release it gradually. In winter, area rugs provide warm spots, but I’ve found the floors comfortable with normal indoor temperatures.
For added warmth, some homeowners install radiant heating beneath polished concrete. A friend did this in her bathroom and says the heated floors make the polished surface luxurious year-round. Without heating, wearing slippers in coldest months solves any discomfort. The coolness can be an advantage in hot climates – my floors stay pleasantly cool even during summer heat waves.
How long does the polishing process take?
The timeline depends on the slab condition and desired finish. My 1,200 square foot main floor took three days for grinding and polishing, plus a day for sealing and drying. New concrete requires curing time (typically 28 days) before polishing can begin. Complex jobs with color staining or decorative scoring may take longer.
Preparation work like moving furniture and any necessary repairs add to the timeline. The contractor worked section by section, allowing me to remain in the house during the process. While not instantaneous, the transformation happens relatively quickly compared to other flooring installations I’ve experienced. The wait is worthwhile for results that last decades.
Can polished concrete be repaired if damaged?
Most damage to polished concrete can be repaired, though the process depends on the severity. Small chips like the one from my dropped knife were filled with a color-matched compound and repolished locally. Larger areas may require grinding down and repolishing a section. The repairs blend surprisingly well when done professionally.
Stains that penetrate beyond the sealer sometimes need more extensive work. A red wine spill at a party left a faint mark that required light grinding to remove completely. This is why I recommend cleaning spills promptly. Unlike surfaces that need complete replacement when damaged, polished concrete can usually be spot-repaired, extending its lifespan significantly. Regular maintenance minimizes the need for repairs.
Concrete Polishing – Danek Flooring Inc. Concrete Flooring Contractor

Concrete Polishing Concrete cleaning and restoration Cleaning Floor

Polishing Process2 – Diamond Kote Decorative Concrete Resurfacing and Epoxy Floors

Wet and Dry Concrete Polishing Liquid Floors Inc Southeast USA
Polishing Process Concrete Construction Magazine

Related Posts:
- Outdoor Concrete Flooring Ideas
- Concrete Floor Polishing
- Interior Concrete Floor Paint Ideas
- Concrete Floor Epoxy Crack Filler
- Concrete Floor Basement Ideas
- Painting Concrete Floor With Epoxy
- Outdoor Concrete Floor Paint Ideas
- Concrete Floor Painting Tips
- Outdoor Concrete Floor Finishes
- Non Slip Concrete Floor