Best Way to Remove Cork Floor Tiles (1)
How to Remove Cork Tiles Removing Cork Floor Tiles and Cork Tiles from Walls Cork flooring

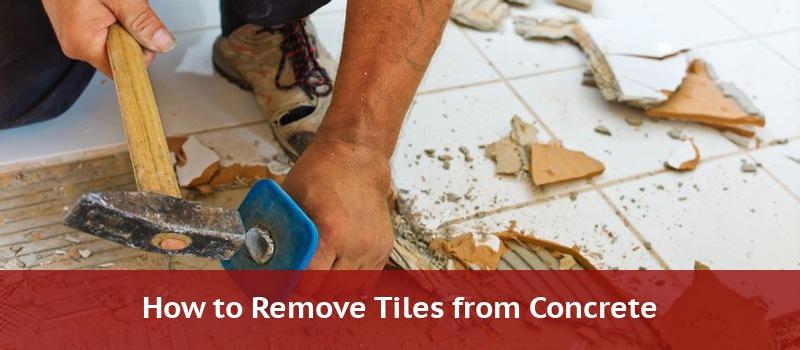
The Best Ways To Remove Floor Tiles – Wave Magazine
Easiest Way To Remove Cork Floor Tiles Or Not Viewfloor.co
Removing Floor Tiles Including Cork Tiles and Quarry Tiles DIY Doctor
How to Remove Cork Tiles Removing Cork Floor Tiles and Cork Tiles from Walls Cork flooring

How To Remove Cork Tiles From Floor – Flooring Ideas
Asbestos Floor Tile Removal Procedure – Carpet Vidalondon
voxelwebdesign: Best Way To Remove Floor Tile
/woman-removing-old-tiles-645377785-5852d2215f9b586e02d2ee25.jpg)
How To Remove A Tile Floor and Underlayment Tile removal, Bathroom wall tile, Tile floor

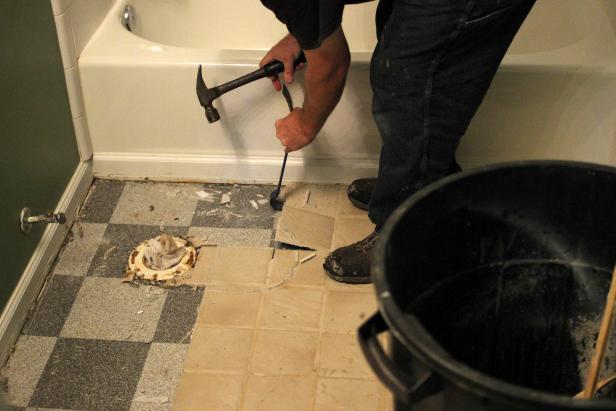
How to Remove a Tile Floor how-tos DIY
Removing cork flooring before tiling – YouTube

Related Posts:
- Glue Down Cork Flooring
- Cork Flooring for Exercise Room
- What Are The Benefits Of Cork Flooring
- Cork Flooring in Laundry Room
- Scandia Plank Cork Flooring
- Cork Floors That Look Like Hardwood
- How To Paint Cork Flooring
- Cork Flooring Renovation
- Cork Flooring Interior Design
- Natural Cork Flooring Ideas
When it comes to renovating a room or making repairs to an existing floor, removing cork floor tiles is a task that must be done with great care. Although cork floor tiles are durable and last quite a long time, they may eventually need to be removed due to age or damage. In some cases, the tiles may need to be replaced entirely for aesthetic reasons. Regardless of the reason for removal, it is important to understand the best way to remove cork floor tiles in order to avoid damaging them or your home.
### Tools Needed for Removing Cork Floor Tiles
The first step in removing cork floor tiles is to gather the tools you will need for the job. A hammer and chisel can be used to chip away at the tiles and break them up into smaller pieces for easier removal. You will also need a utility knife, a pry bar, and a vacuum cleaner with a brush attachment for the job. Be sure to wear safety goggles and gloves when using any of these tools.
### Preparing the Room for Tile Removal
Before you begin removing the cork floor tiles, you should prepare the area by removing any furniture or other objects from the room. This will make it easier to access the tiles and reduce the risk of damaging them or your belongings during the removal process. You should also make sure that there are no loose nails or screws in the subfloor that could cause harm when you begin chipping away at the tiles.
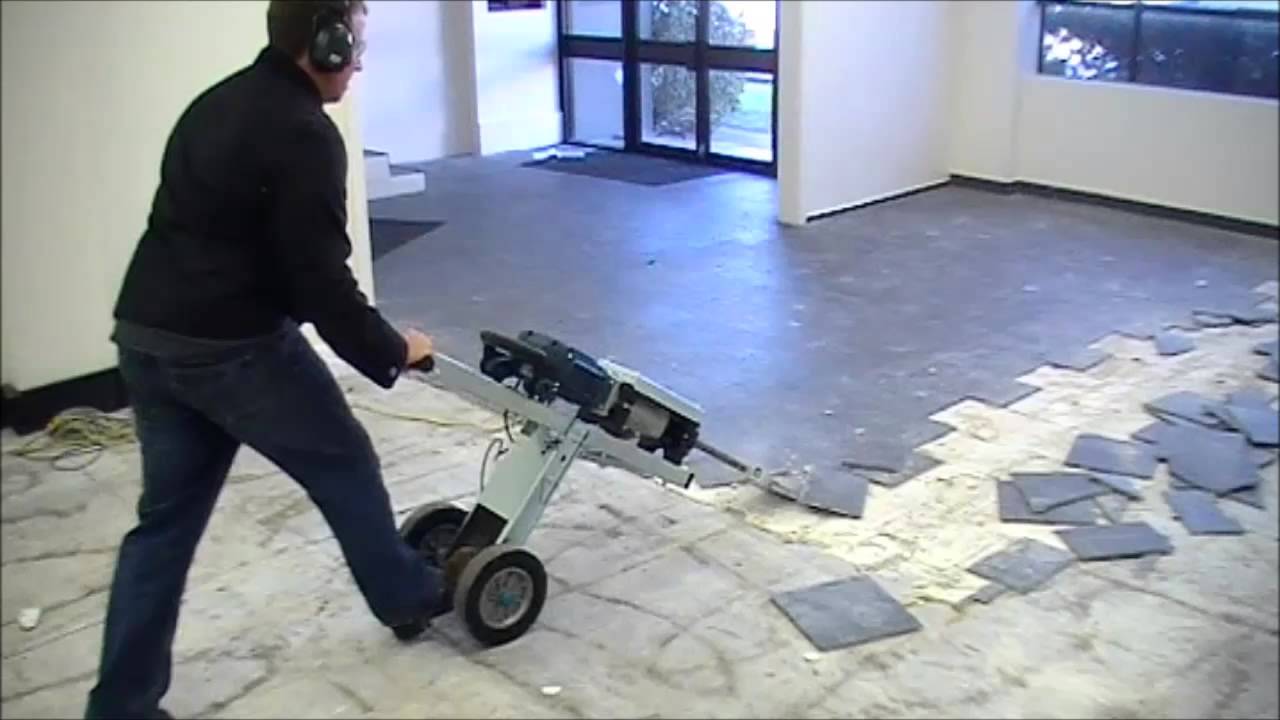
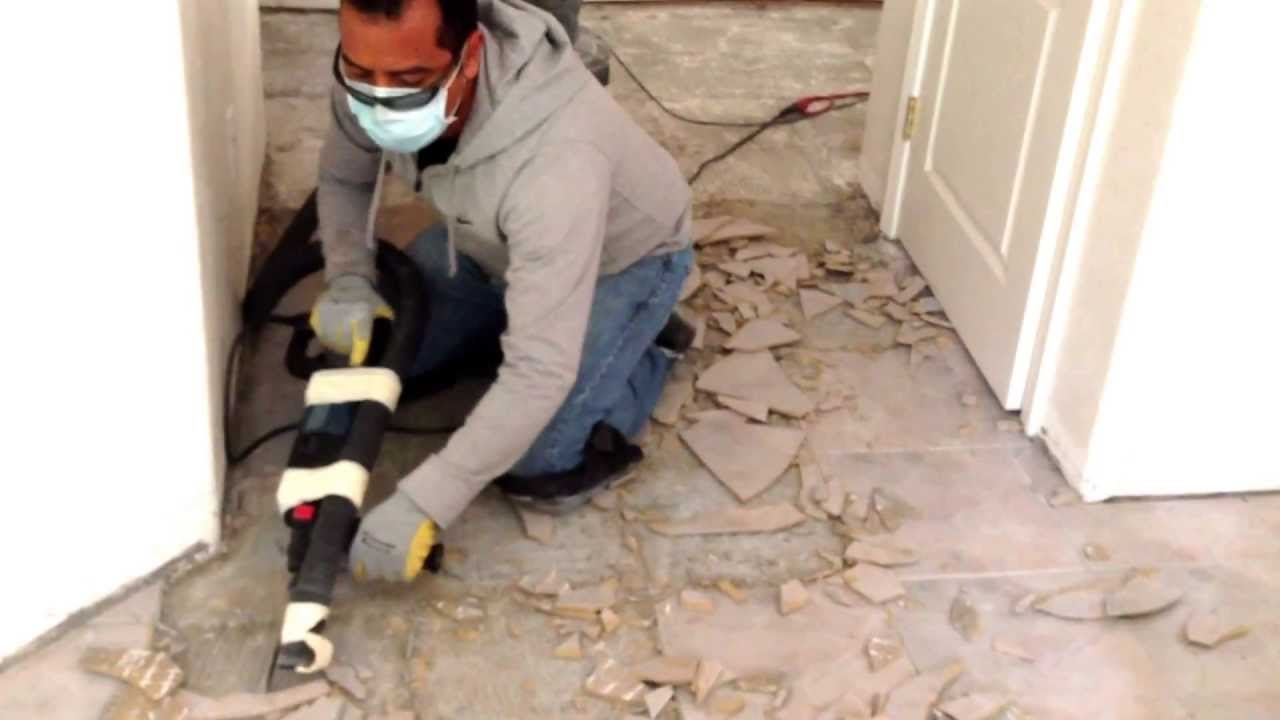
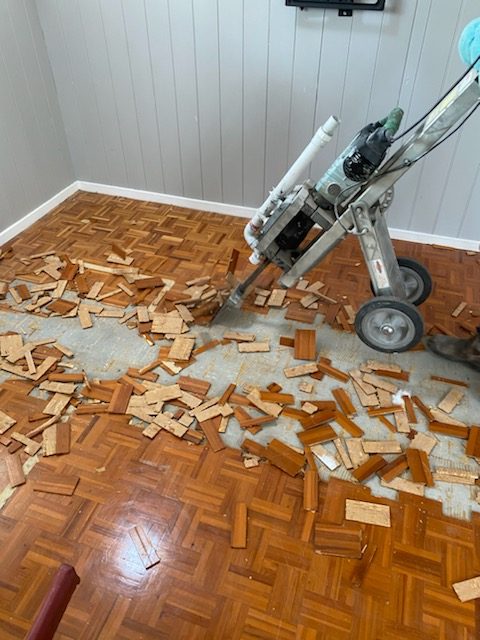
### Removing Cork Floor Tiles
Once you have gathered all of your tools and prepared the room, you can begin removing the cork floor tiles. Start by using a hammer and chisel to chip away at one corner of each tile. Once there is enough space between the tile and the subfloor, you can use a pry bar to lift up each tile and remove it from the room one by one. As you remove each tile, use a vacuum cleaner with a brush attachment to remove any dust or debris that may be left behind.
### Cleaning Up After Tile Removal
Once all of the cork floor tiles have been removed, you should inspect the subfloor for any nails or screws that may have been left behind during removal. If any are found, be sure to remove them before beginning any new installation process. Finally, use a damp cloth and mild detergent to wipe down the surface of the subfloor and remove any residue from adhesive that may have been left behind by the old tiles.
Removing cork floor tiles is a task that requires patience and precision in order to ensure that no damage is done during removal. Be sure to follow these steps carefully in order to complete your cork tile removal project safely and effectively. With these tips, you can easily remove your existing cork floor tiles without damaging them or your home in any way.