Cork Floor Glue Down
Glue down cork floor tiles Wicanders Dawn WRT 4x300x600mm
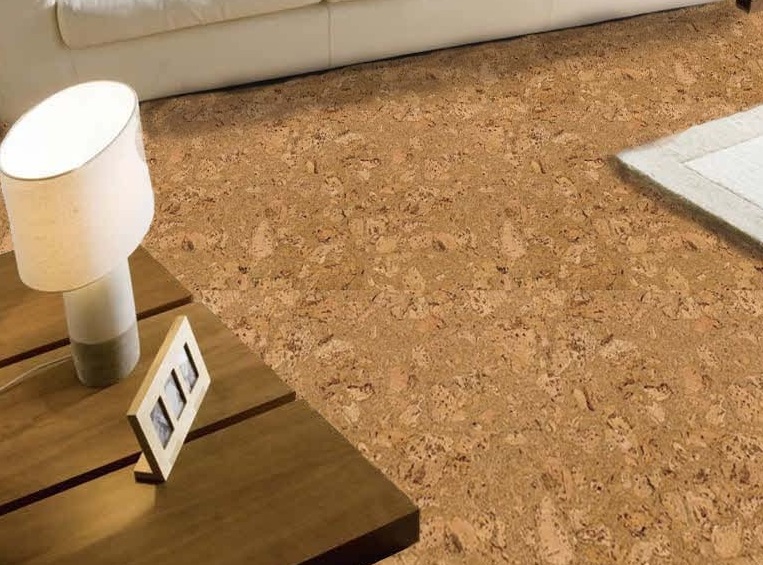
Glue down cork floor tiles LISBOA 4x300x300mm (mat varnish) – Price per 0,81m2
Cork Glue Down Floors — Jelinek Cork Group®
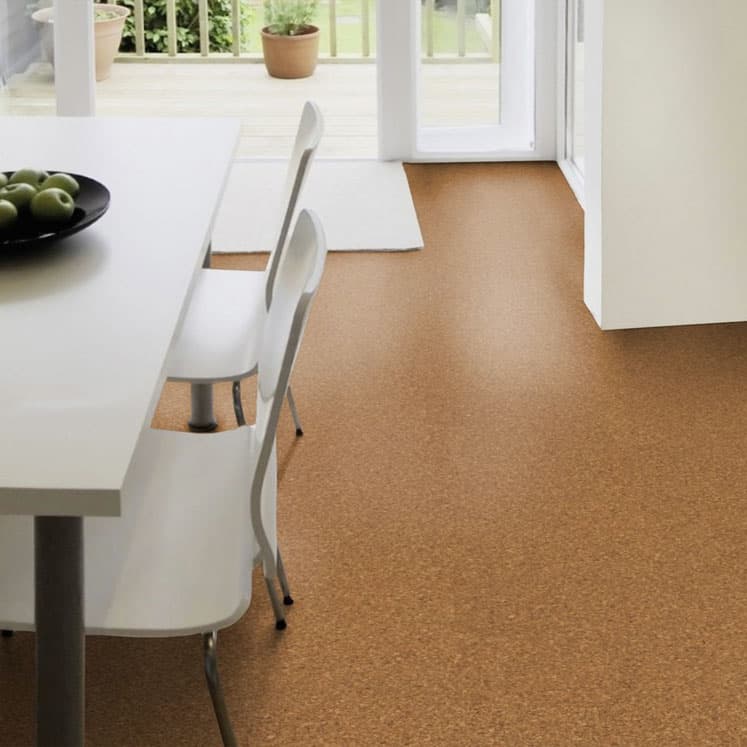
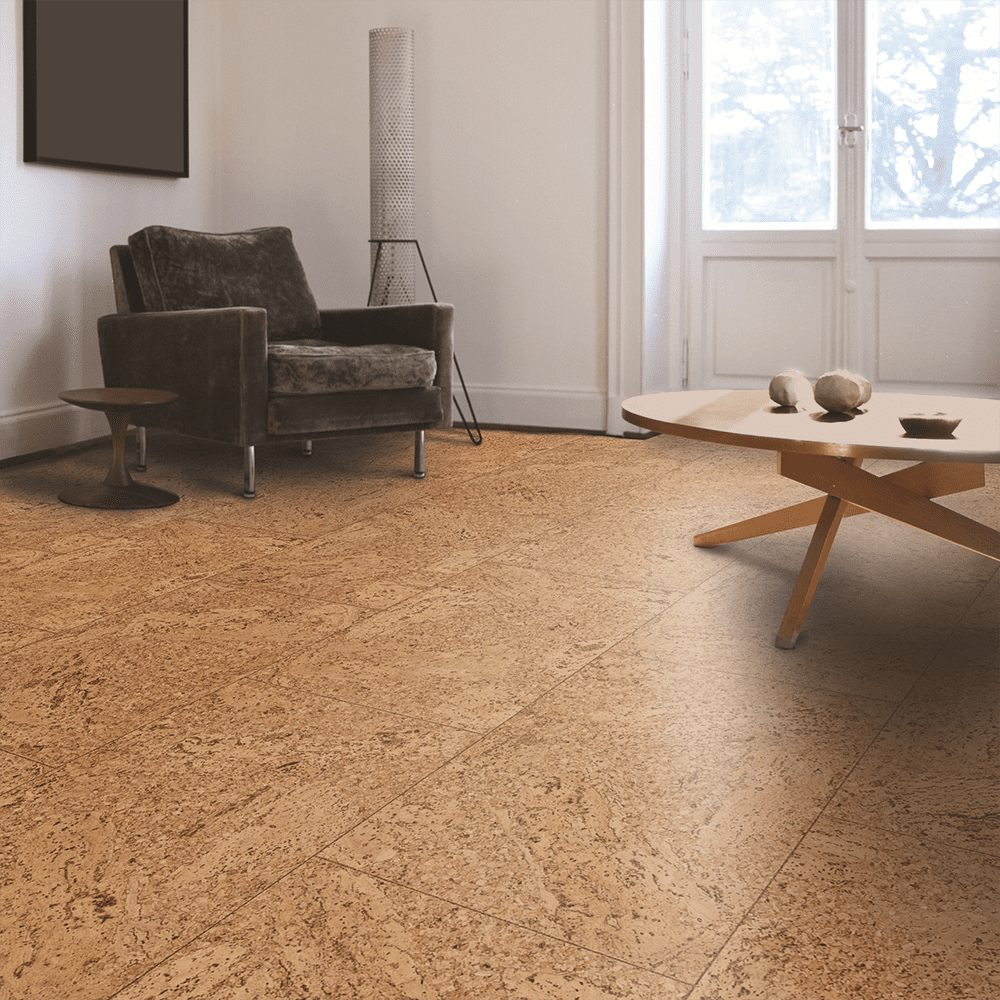
Cork PURE – Prefinished Glue Down Cork Flooring in Originals Accent
Cork Glue Down Floors — Jelinek Cork Group®

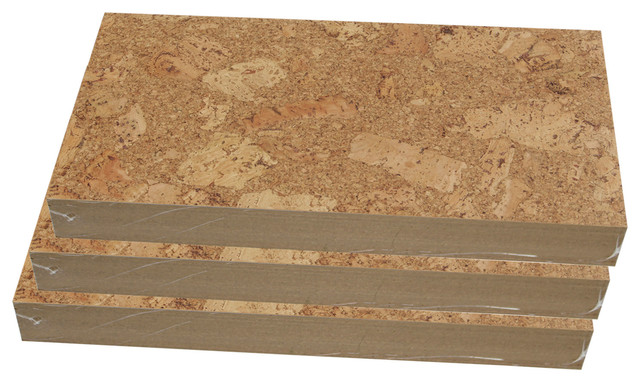
12"x24" Salami Forna Cork Glue Down Tiles Cork Flooring Top Density, Set of 33 – Traditional
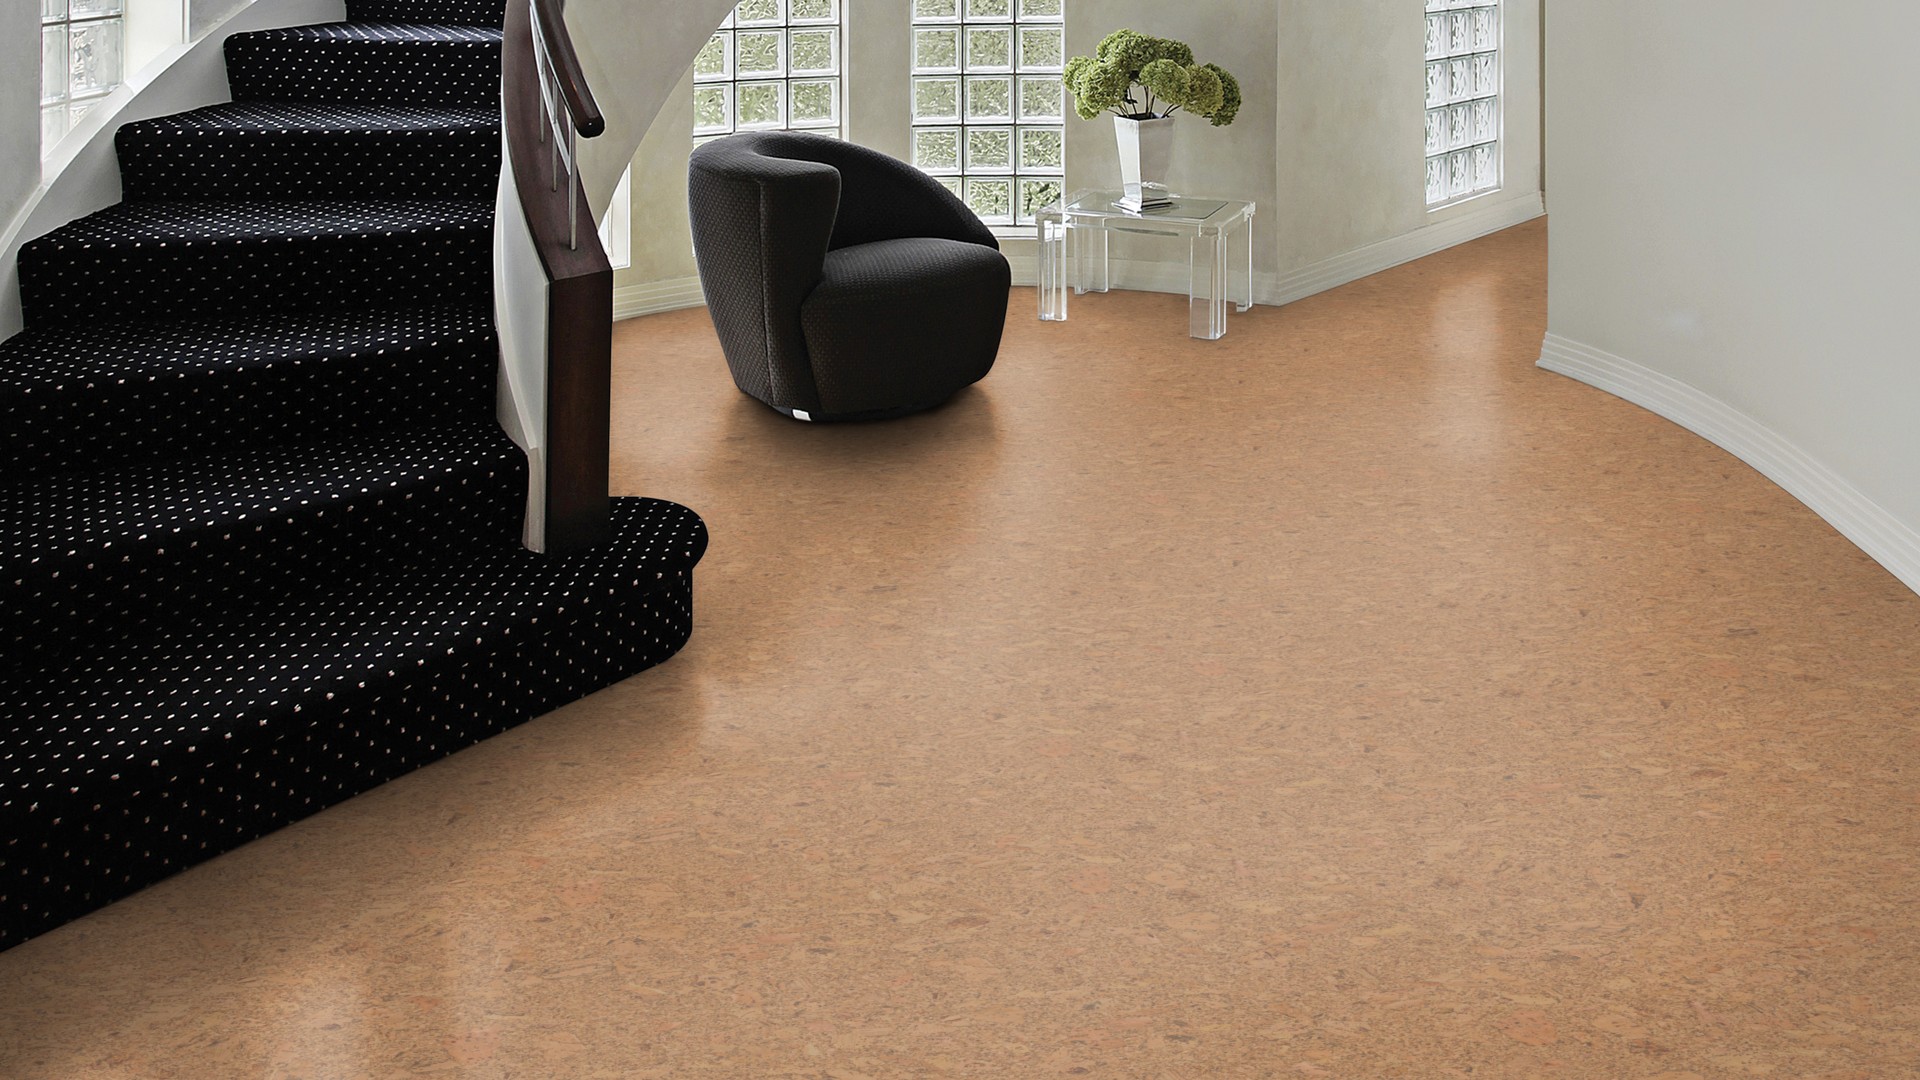
Wicanders Cork PURE – Prefinished Glue Down Cork Flooring in Novel Edge Natural

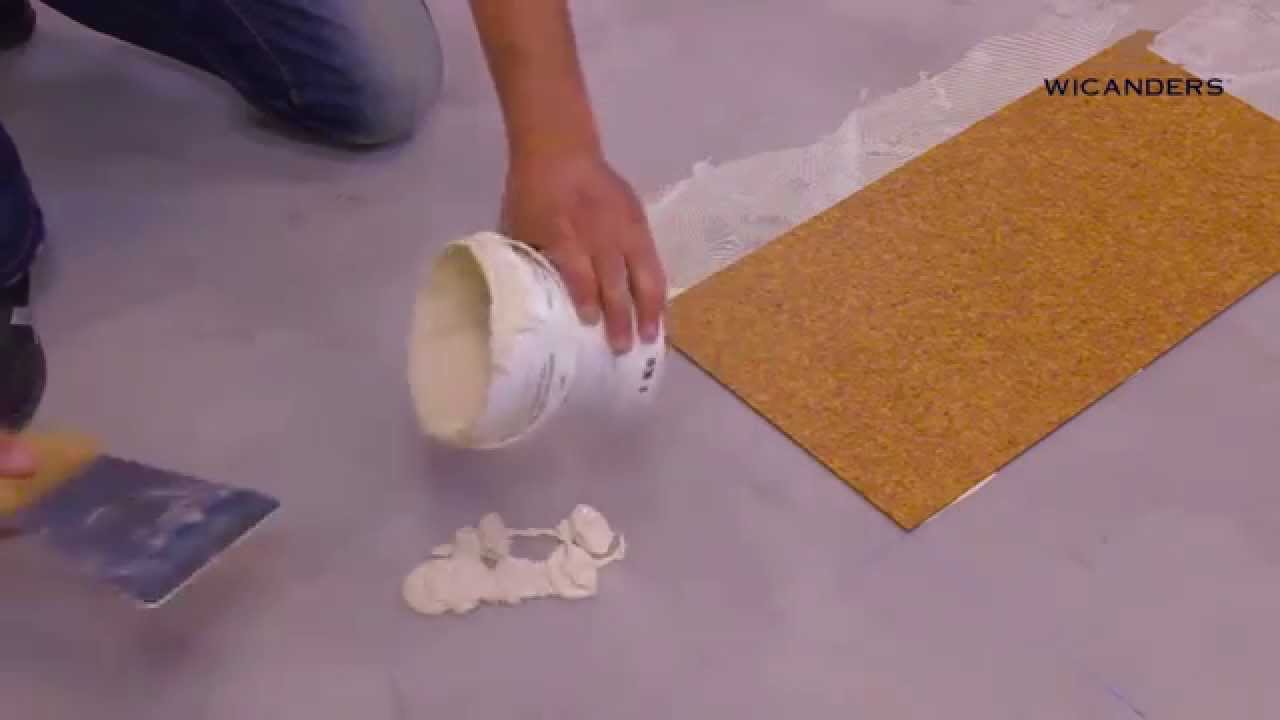
How to install Wicanders glue down cork flooring – YouTube
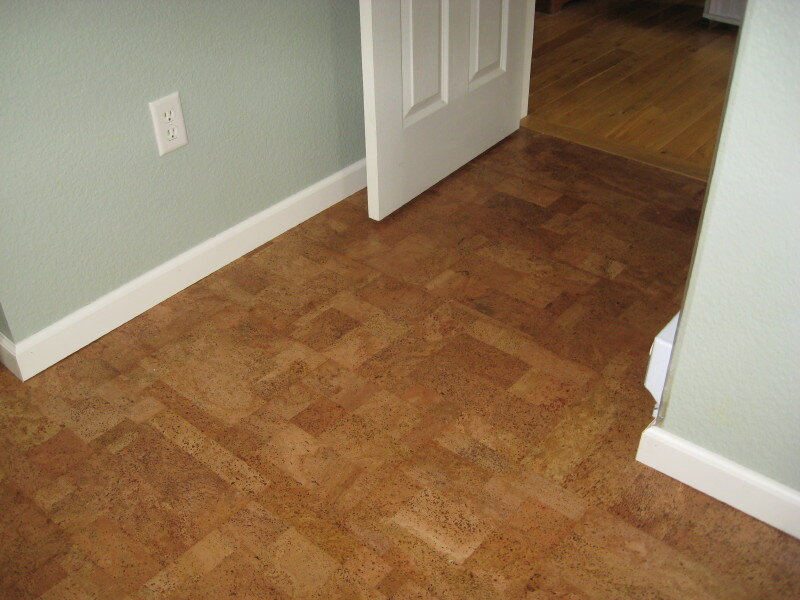
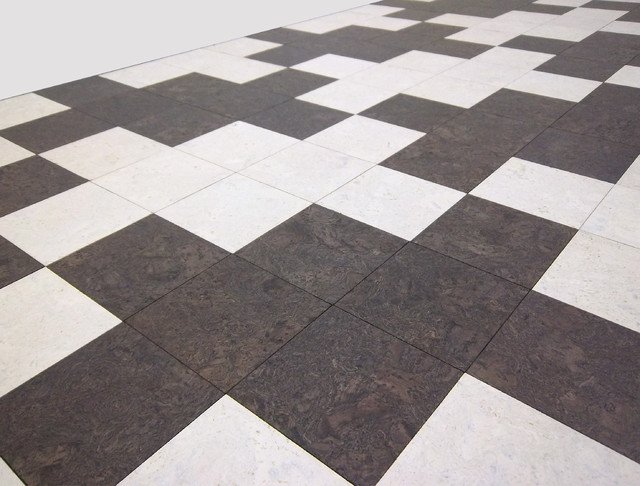
Cork glue down tiles. Where does it lead to? Cork flooring, Flooring, Tiles

BuildDirect®: Evora Pallets Cork – Porto Tile Collection – Glue Down Floor Cork flooring

Globus Cork Glue-down Cork Tiles – Traditional – new york – by Globus Cork
Related Posts:
- Glue Down Cork Flooring
- Cork Flooring for Exercise Room
- What Are The Benefits Of Cork Flooring
- Cork Flooring in Laundry Room
- Scandia Plank Cork Flooring
- Cork Floors That Look Like Hardwood
- How To Paint Cork Flooring
- Cork Flooring Renovation
- Cork Flooring Interior Design
- Natural Cork Flooring Ideas
Cork flooring is a great choice for those looking to add a unique touch to their home or office. Known for its thermal and acoustic insulation, as well as its soft, cushiony feel underfoot, cork flooring has become a popular option for many homeowners. Installing cork flooring is easy – all you need is the right tools and materials, and you’ll be ready to get started!
When it comes to installing cork flooring, one of the most popular methods is glue down installation. Glue down installation ensures that the cork flooring is securely attached to the subfloor, creating a stable foundation that will last for years to come. Here’s what you need to know about glue down installation of cork flooring.
## What You’ll Need
Before you get started on your cork floor glue down installation, make sure you have all the necessary tools and materials on hand. You’ll need:
* Cork flooring
* Adhesive (the type of adhesive will depend on the type of subfloor)
* A roller
* Masking tape
* A utility knife
* A trowel
* A chisel
## Preparing the Subfloor
Once you have all your materials ready to go, it’s time to prepare the subfloor. Start by cleaning the area thoroughly – use a vacuum cleaner to remove any dust and debris. It’s also important to check for any signs of moisture, as this can cause problems with the adhesive bond later on. If there is any moisture present, use a dehumidifier or fans to dry out the area before proceeding.
Once the subfloor is clean and dry, it’s time to apply the adhesive. Use a notched trowel to spread the adhesive evenly over the surface in thin layers, making sure that it covers every inch of the subfloor. Allow the adhesive to set for at least 30 minutes before proceeding.
## Installing Your Cork Flooring
Once the adhesive has had a chance to set, it’s time to start installing your cork flooring. Begin by laying down one sheet at a time, starting at one corner of the room and working in a straight line until you reach the other end. Make sure that you leave a small gap between each sheet – this will allow for expansion and contraction of the cork flooring over time. Use masking tape around each sheet to ensure that they stay in place while you work.
Once all your sheets are in place, use a roller to press them firmly into the adhesive. This will help create an even bond between the cork flooring and the subfloor. You can then use a utility knife and chisel to trim any excess material from around the edges of each sheet.
## Finishing Touches
Now that your cork floor glue down installation is complete, there are just a few finishing touches left before your project is finished. Make sure that you clean up any excess adhesive from around the edges of each sheet using a damp cloth or sponge. It’s also important to check for any gaps between sheets – if there are any gaps present, use some more adhesive to fill them in and press down firmly with your roller. Allow 24 hours for everything to dry before walking on your new cork floor!
With proper care and maintenance, your cork floor glue down installation should last for many years to come! Enjoy all the benefits of cork flooring – thermal and acoustic insulation, softer-than-hardwood floors, as well as a unique look that will make your home or office stand out from the rest!