Polished concrete floors instructions

DIY guide to concrete flooring installation Duraamen
DIY – How to Polish Concrete : Concrete Grinder – Concrete Edger
The Beginner’s Guide to DIY Stained Concrete, A Step by Step Tutorial
How to Polish Concrete (with Pictures) – wikiHow

How to Polish Concrete (with Pictures) – wikiHow

How to Polish Concrete (with Pictures) – wikiHow

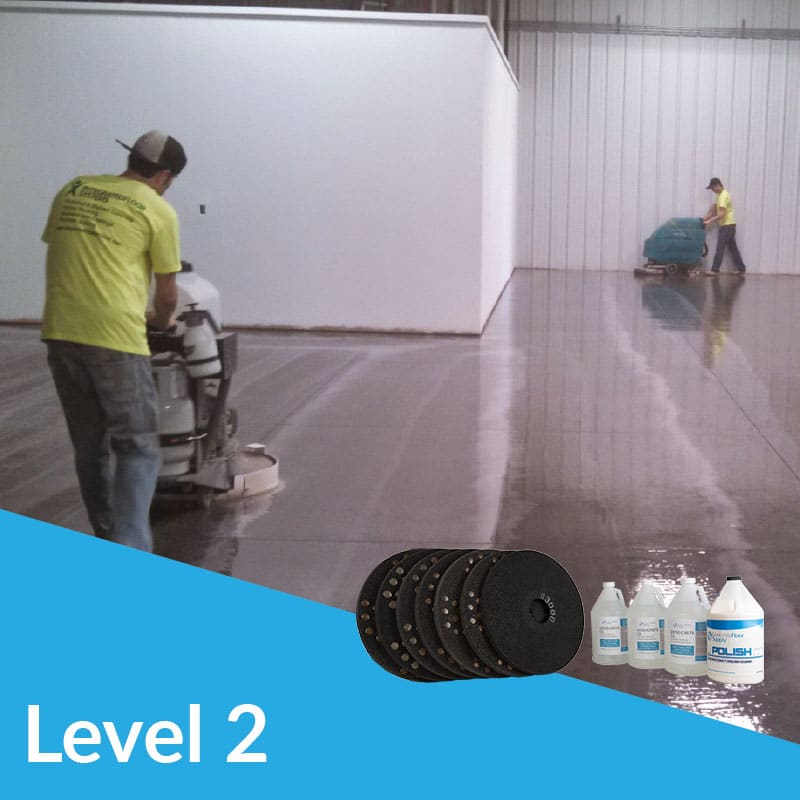
Polish Level Two – easy way to polish concrete diy Concrete
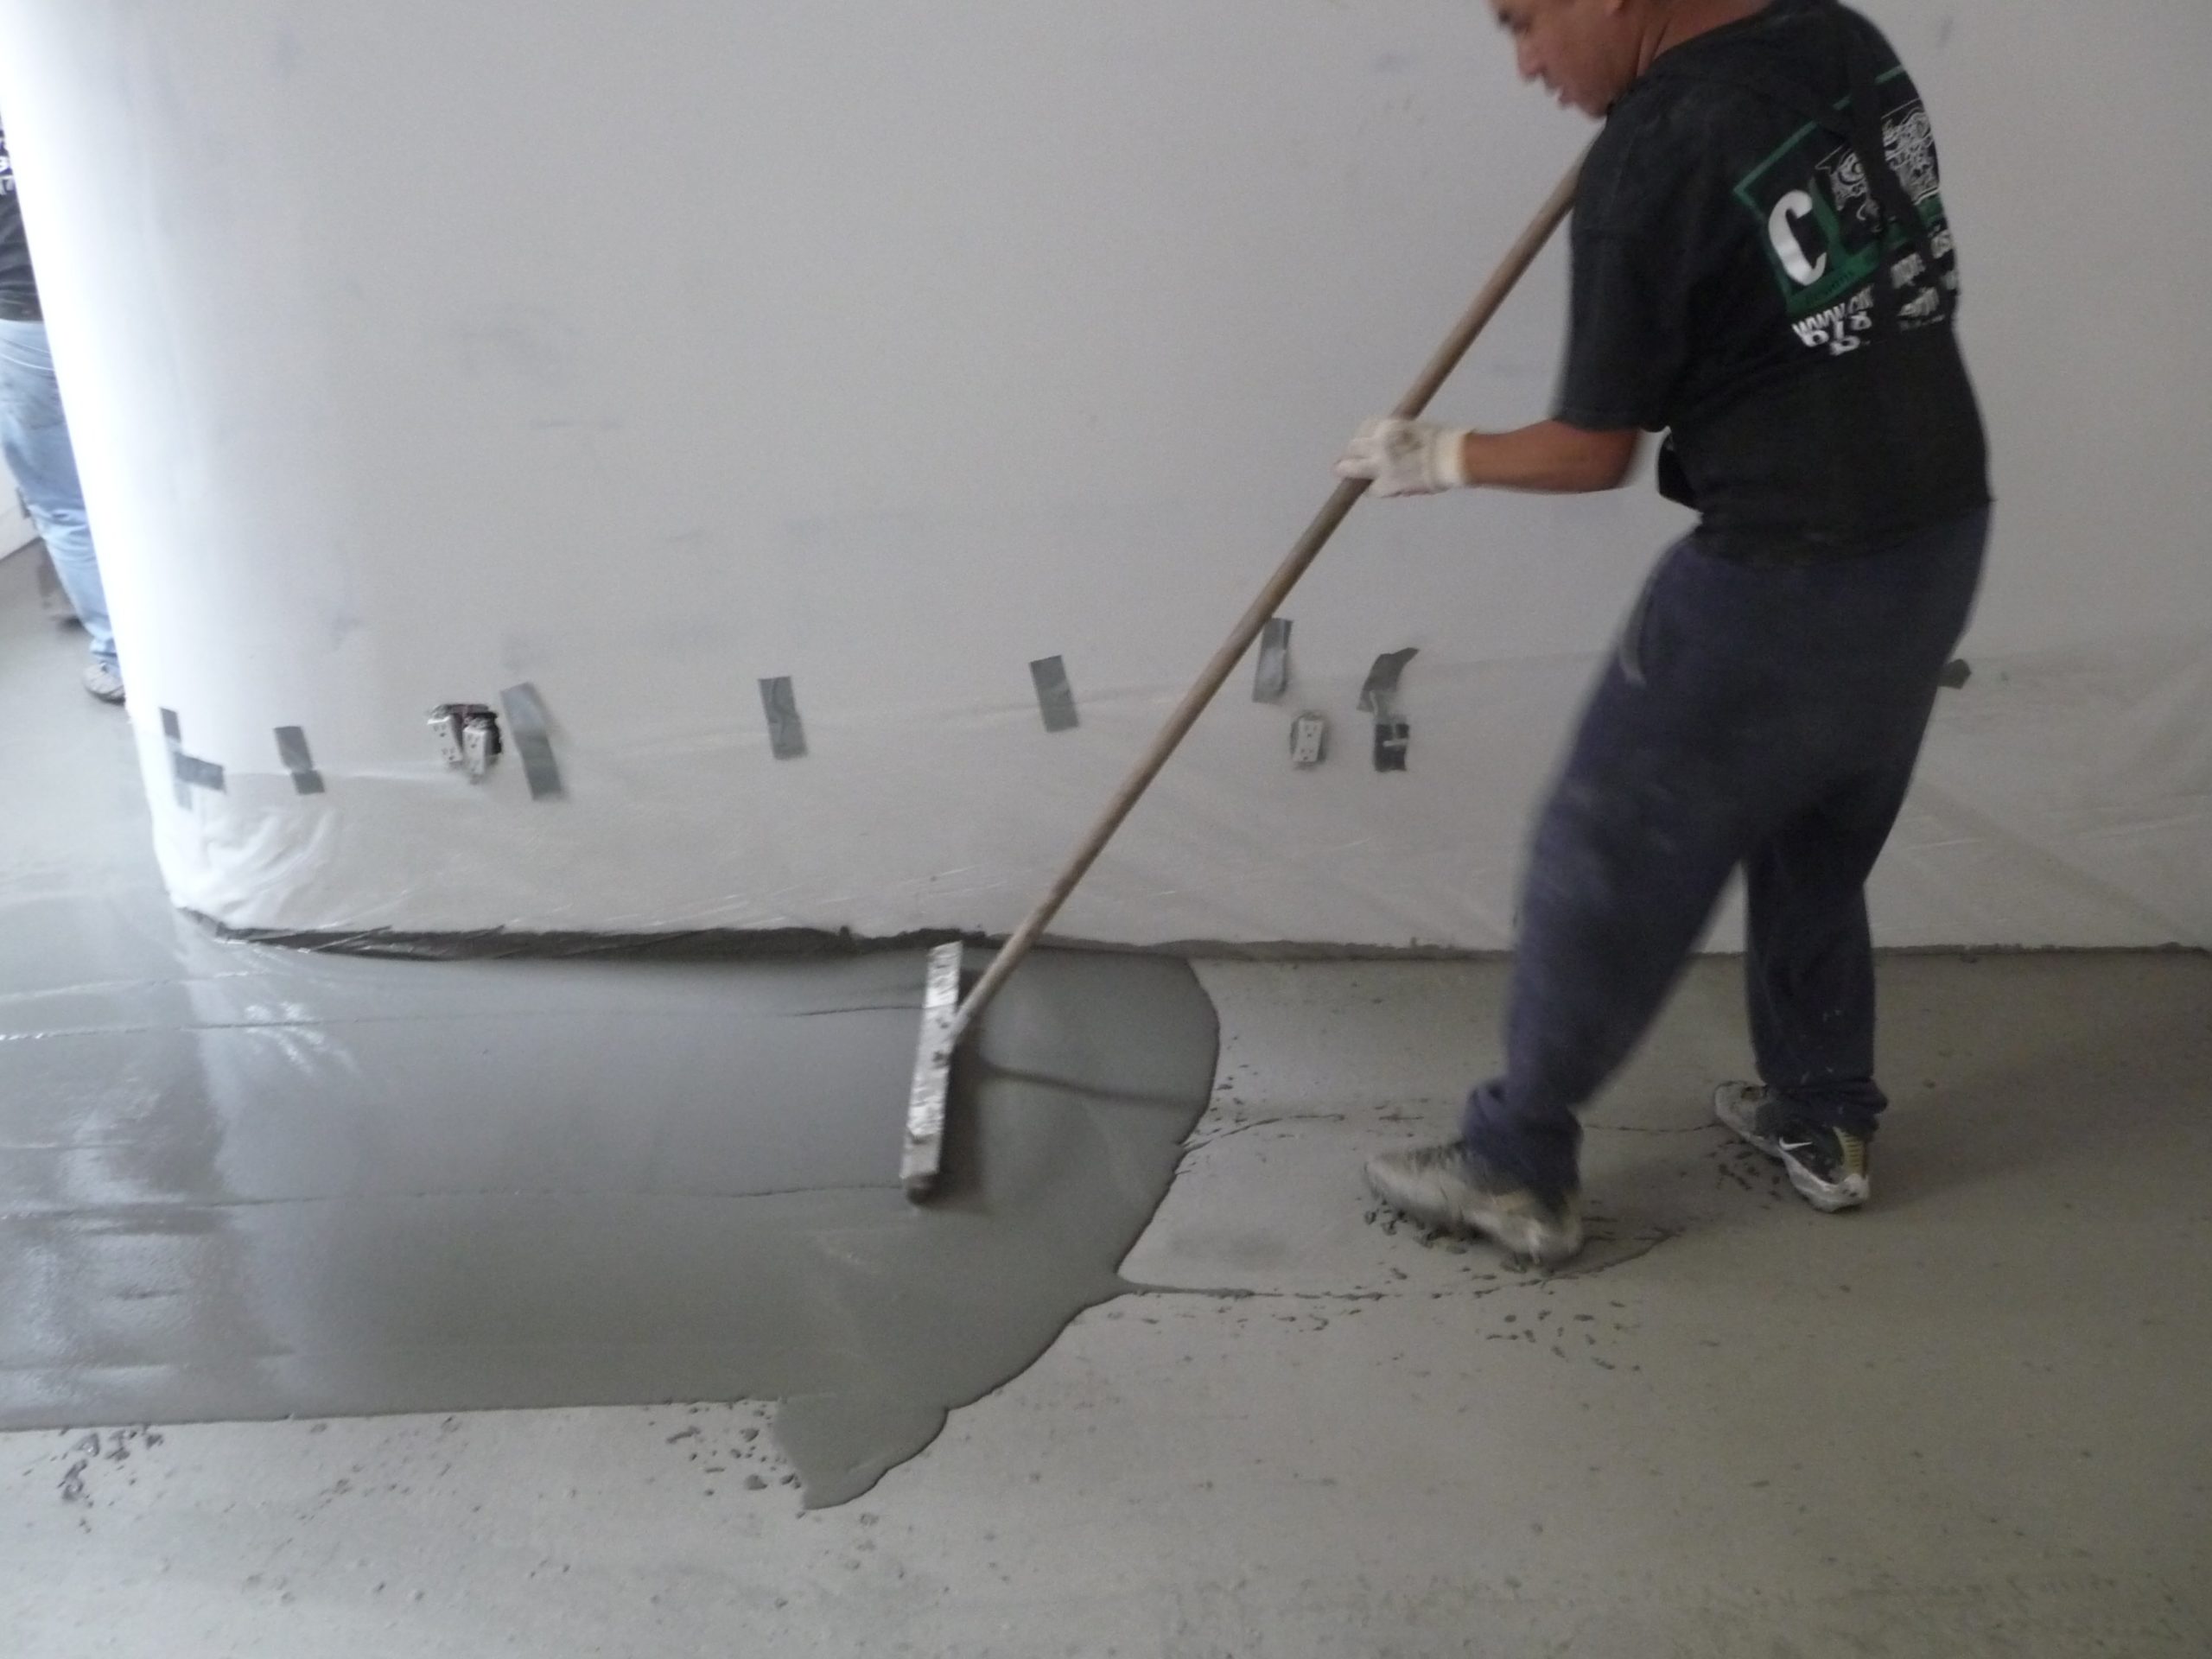
DIY guide to stained concrete floors Duraamen
Polished Concrete Floor on a Budget
DIY Concrete Stained flooring – A Thrifty Mom – Recipes, Crafts
Related Posts:
- Outdoor Concrete Flooring Ideas
- Concrete Floor Polishing
- Interior Concrete Floor Paint Ideas
- Concrete Floor Epoxy Crack Filler
- Concrete Floor Basement Ideas
- Painting Concrete Floor With Epoxy
- Outdoor Concrete Floor Paint Ideas
- Concrete Floor Painting Tips
- Outdoor Concrete Floor Finishes
- Non Slip Concrete Floor
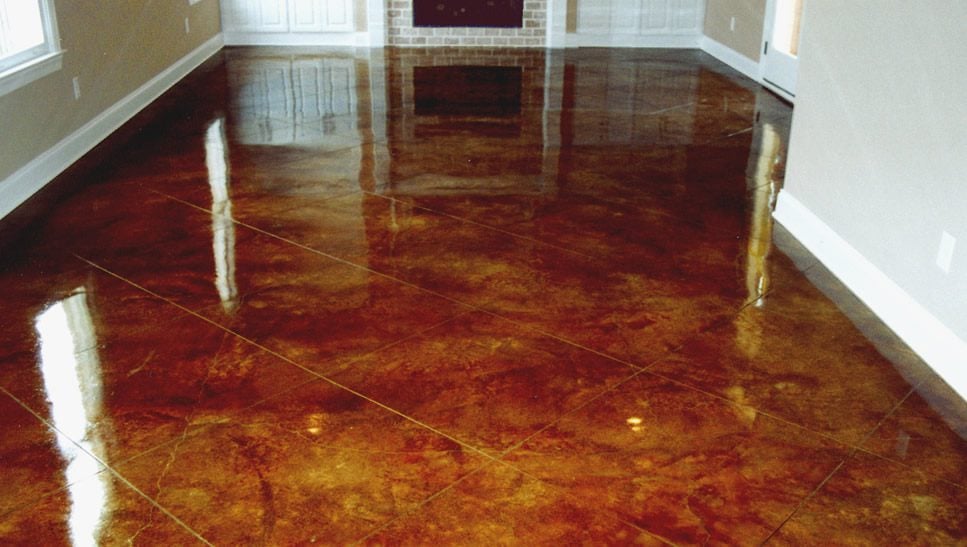
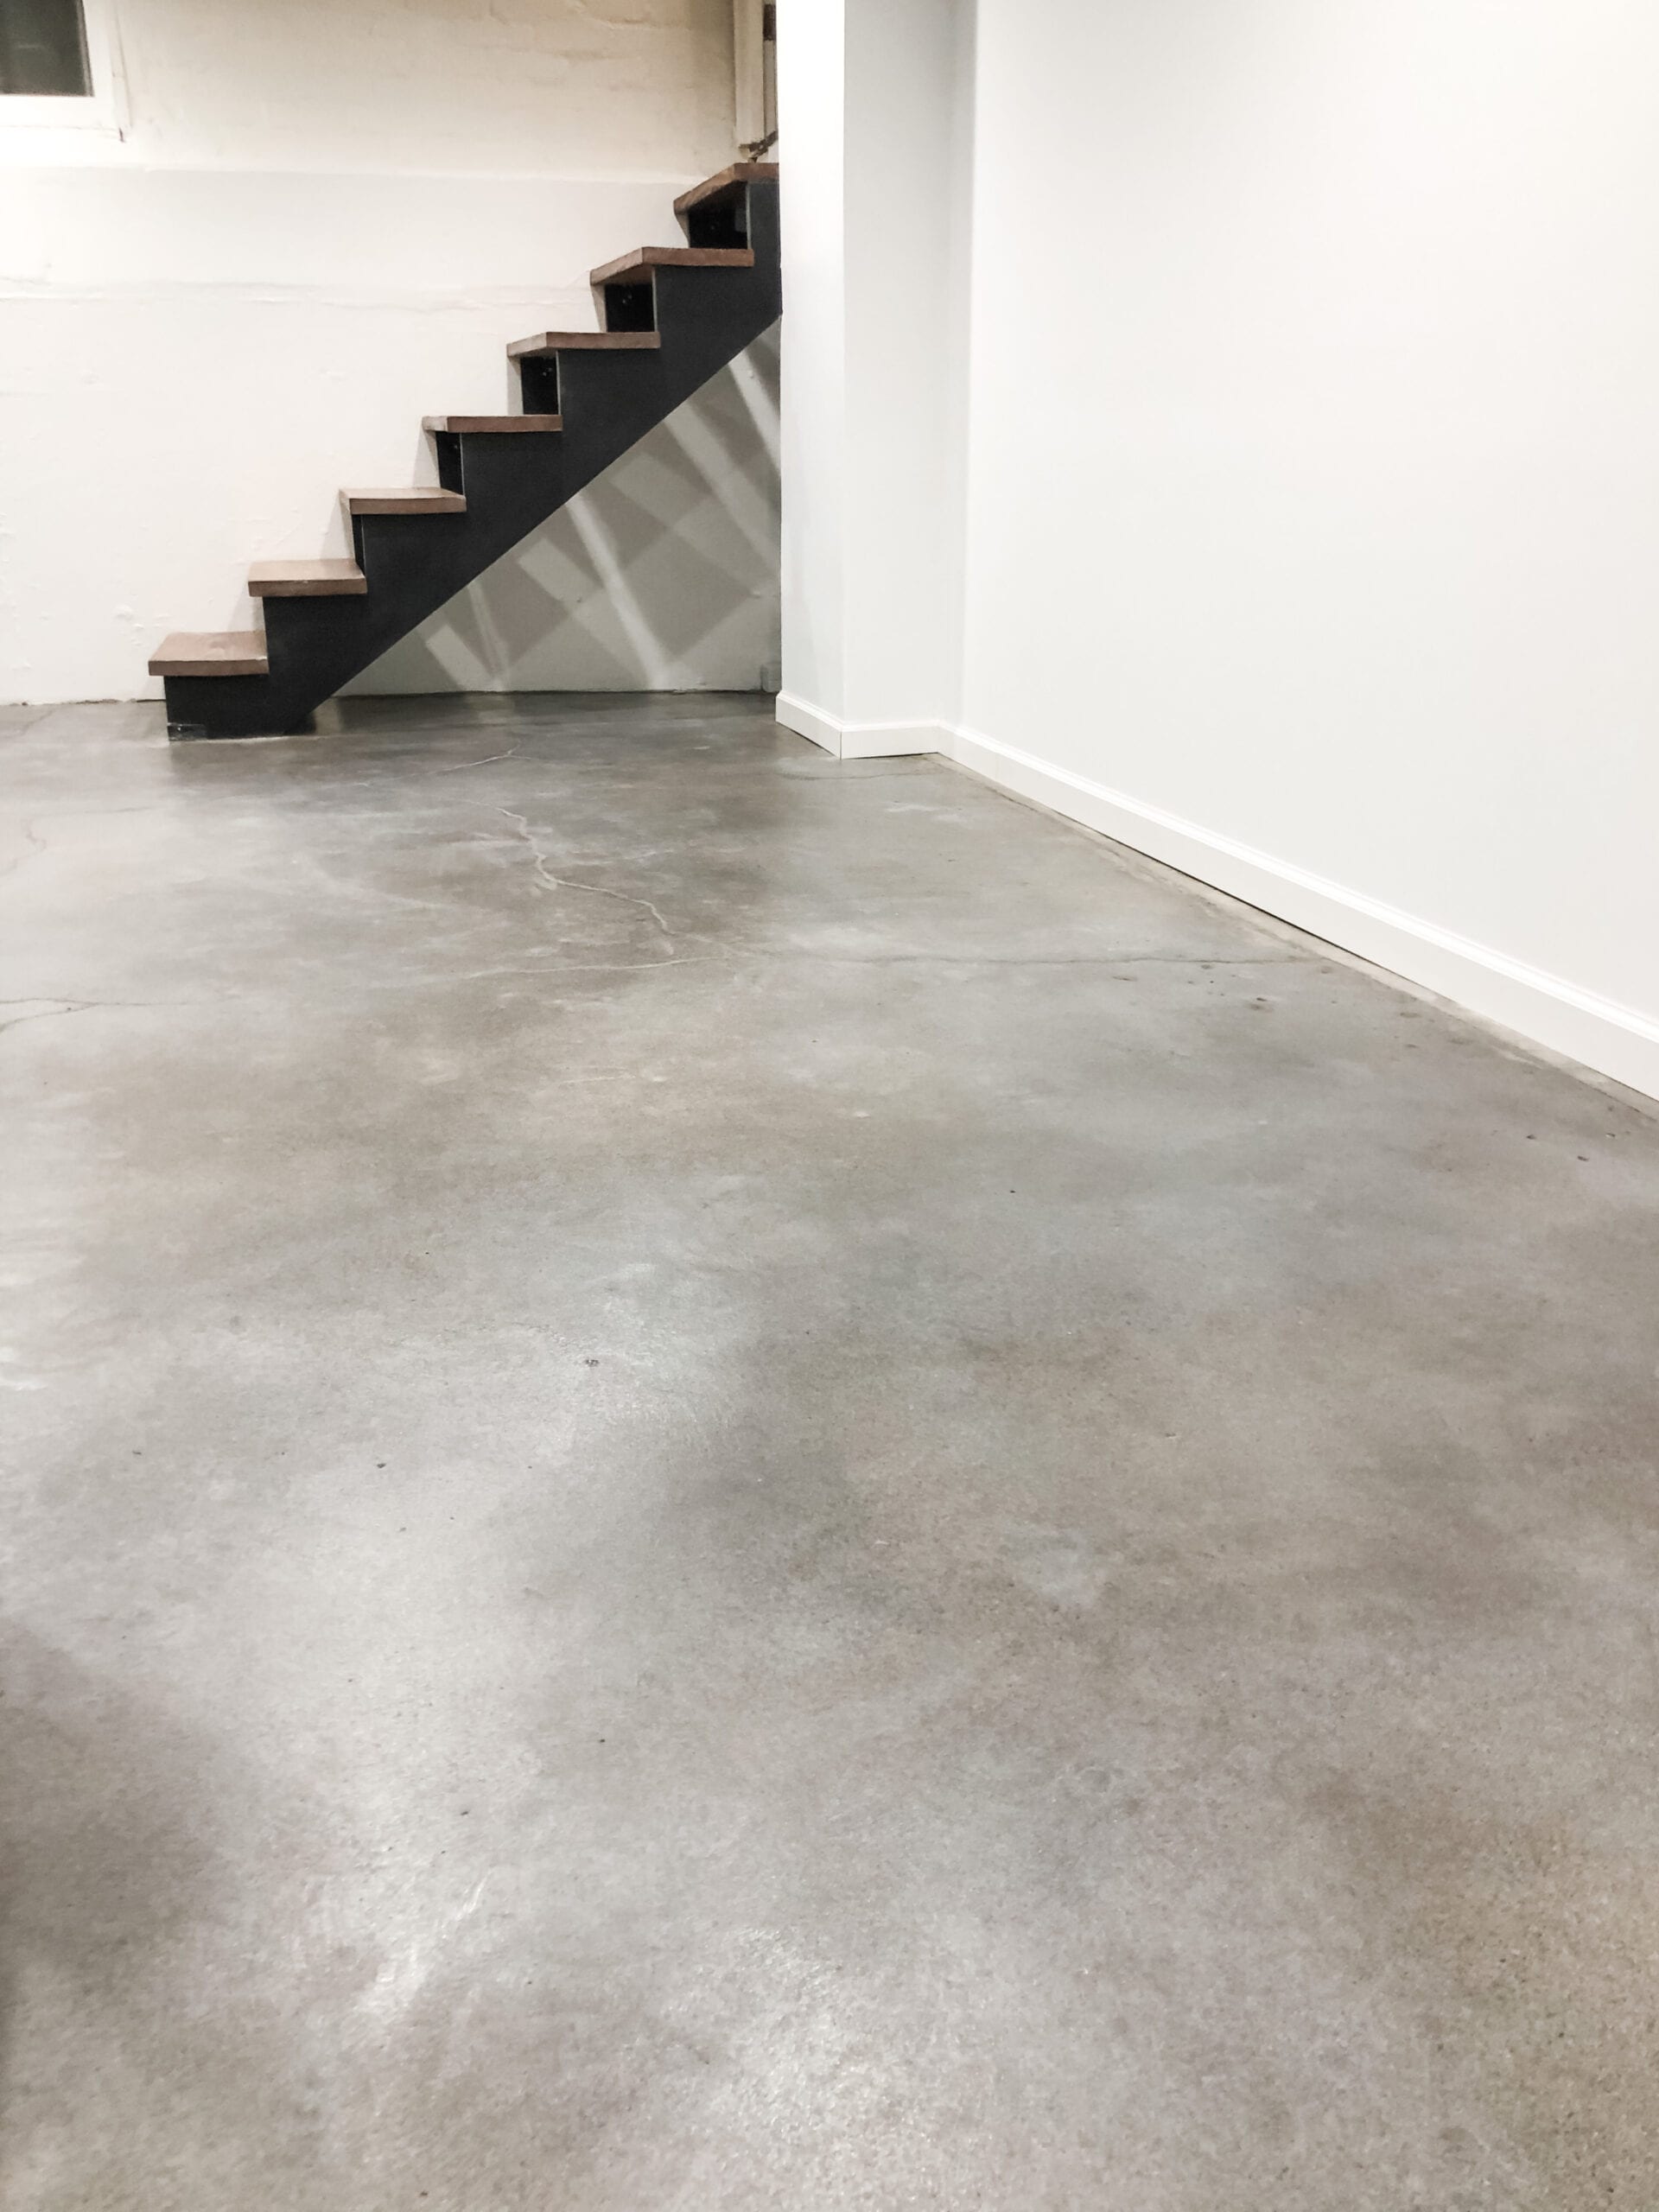
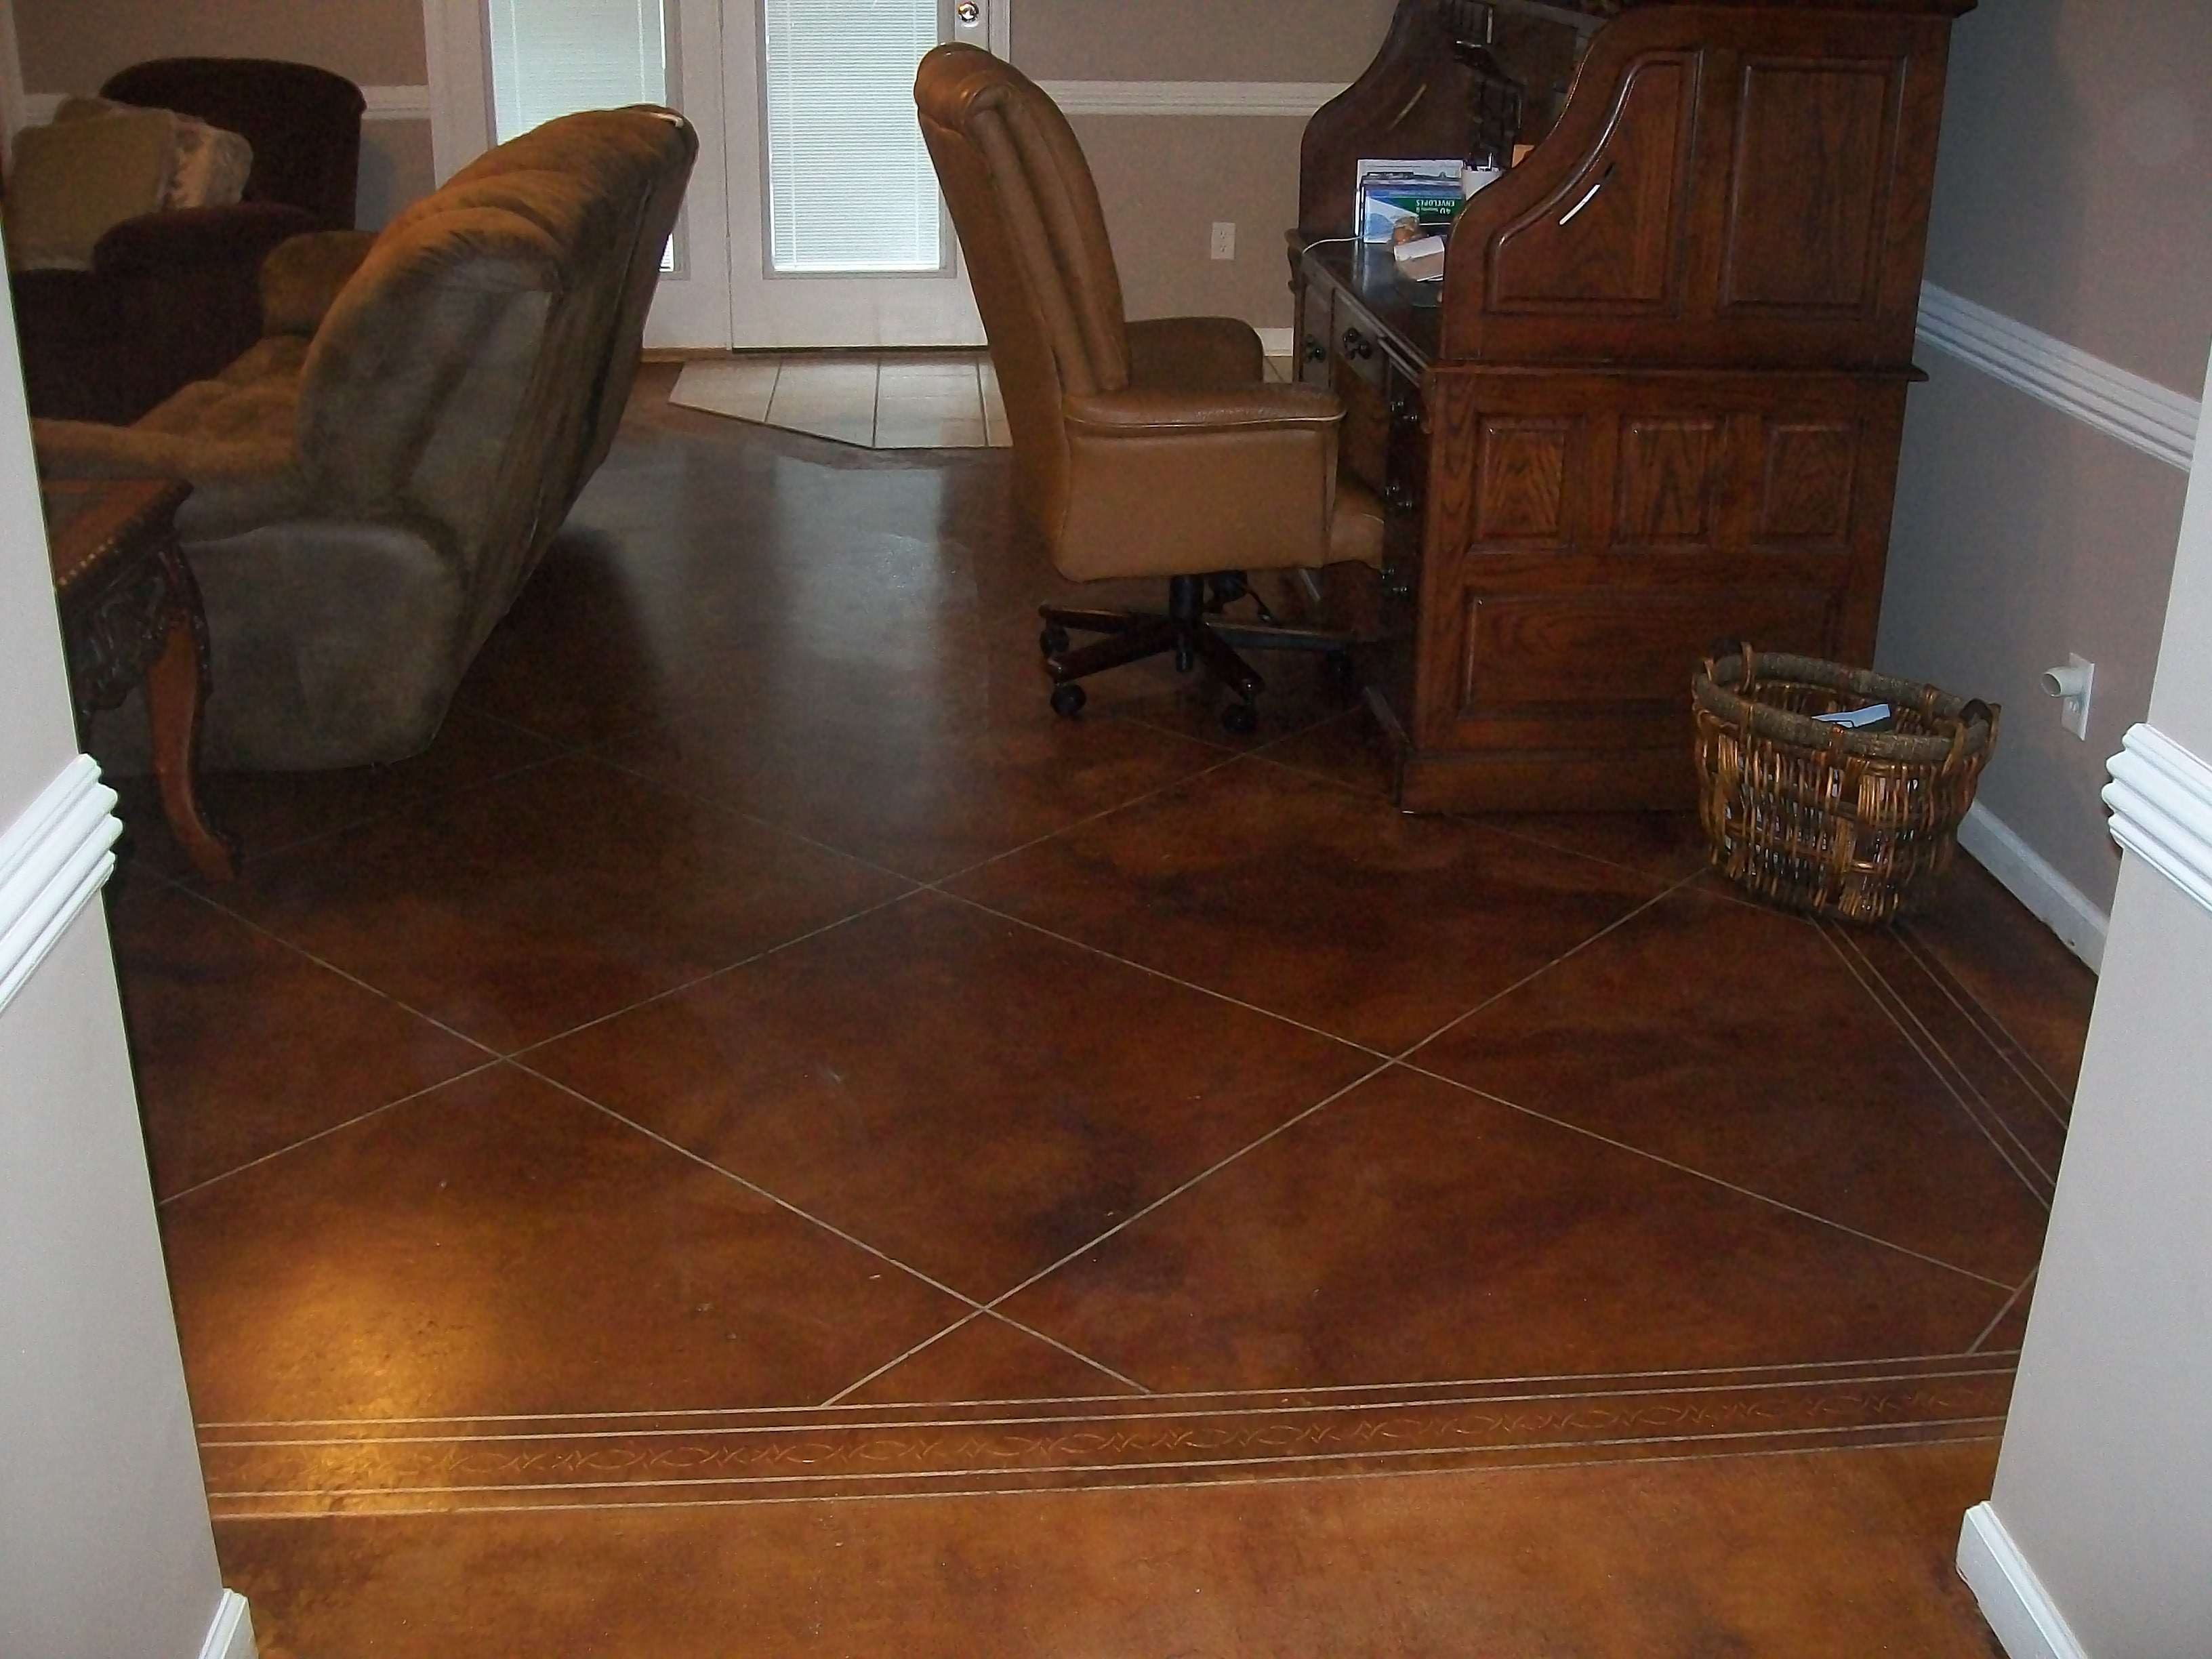
Polished concrete floors are a great way to add style and durability to any home. These floors are easy to maintain and can last for years with minimal upkeep. And, with the right DIY polished concrete floor instructions, you can achieve a beautiful, professional finish in just a few steps.
Creating a polished concrete floor is an easy DIY project that can be completed in as little as one day. Before you start, it’s important to make sure you have all the necessary materials and tools on hand. You’ll need a high-quality concrete floor grinder and polisher, which can be rented from most home improvement stores. Additionally, you’ll need a diamond grinding wheel, polishing pads, concrete sealer and sealant remover.
Step 1: Preparing the Floor
The first step in creating your polished concrete floor is to prepare the surface for grinding. Start by removing any existing sealant or paint from the concrete using a chemical stripper. Once the surface is clean and dry, use a concrete grinder or sander to level out any uneven areas. This will ensure that your finished product will have an even finish.
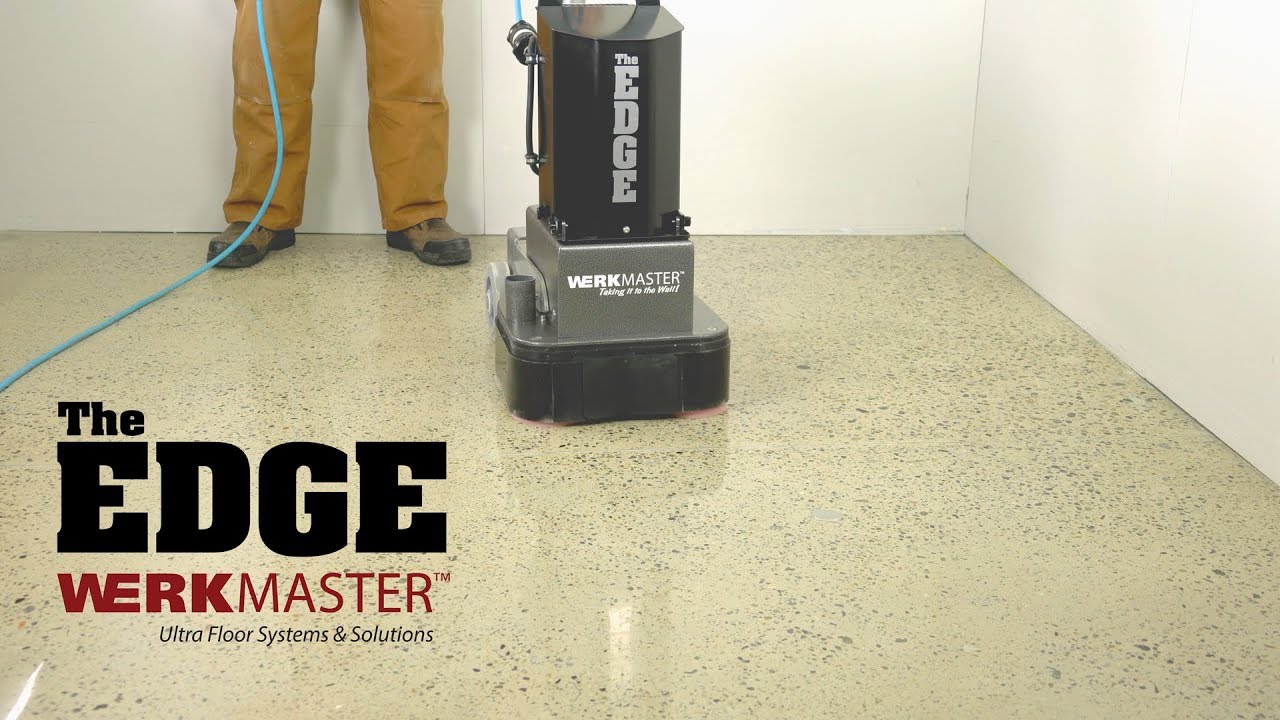
Step 2: Grinding
Once the surface is prepped and ready to go, it’s time to begin grinding. Start by attaching the appropriate diamond grinding wheel to your grinder or sander. Be sure to wear safety glasses and other protective gear when grinding concrete. Then, slowly move the grinder over the surface of the concrete in small circles. The goal here is to remove any imperfections while also smoothing out the surface of the concrete.
Step 3: Polishing
When you’re finished grinding, you can begin polishing the floor with your polisher and pads. Start by attaching a pad designed specifically for polishing concrete floors to your polisher. Then, move the polisher over the floor in slow, overlapping circles until you’ve achieved the desired shine. Once you’re happy with the results, it’s time for sealing.
Step 4: Sealing
Sealing your polished concrete floor is an important step in protecting it from water and stains. Start by applying a sealant designed specifically for concrete floors. Work from one corner of the room to another, making sure to cover every inch of the surface. Once it’s completely dry, apply a second coat of sealant for added protection.
With these four easy steps, you can give your home beautiful and durable polished concrete floors that will last for years to come. Just remember to use caution when grinding and polishing concrete and always wear protective gear while doing so. With a little bit of patience and effort, you can create stunning polished concrete floors in no time!