Do It Yourself Tile Floor Bathroom

How To Tile A Bathroom? – The Housing Forum
Do It Yourself Tile Floor Bathroom – Flooring Ideas
Do It Yourself Tile Flooring / This Bathroom Floor Tile Idea Is So Easy You Can Do It Yourself

Simply DIY 2: Bathroom Floor – Part 3: Done

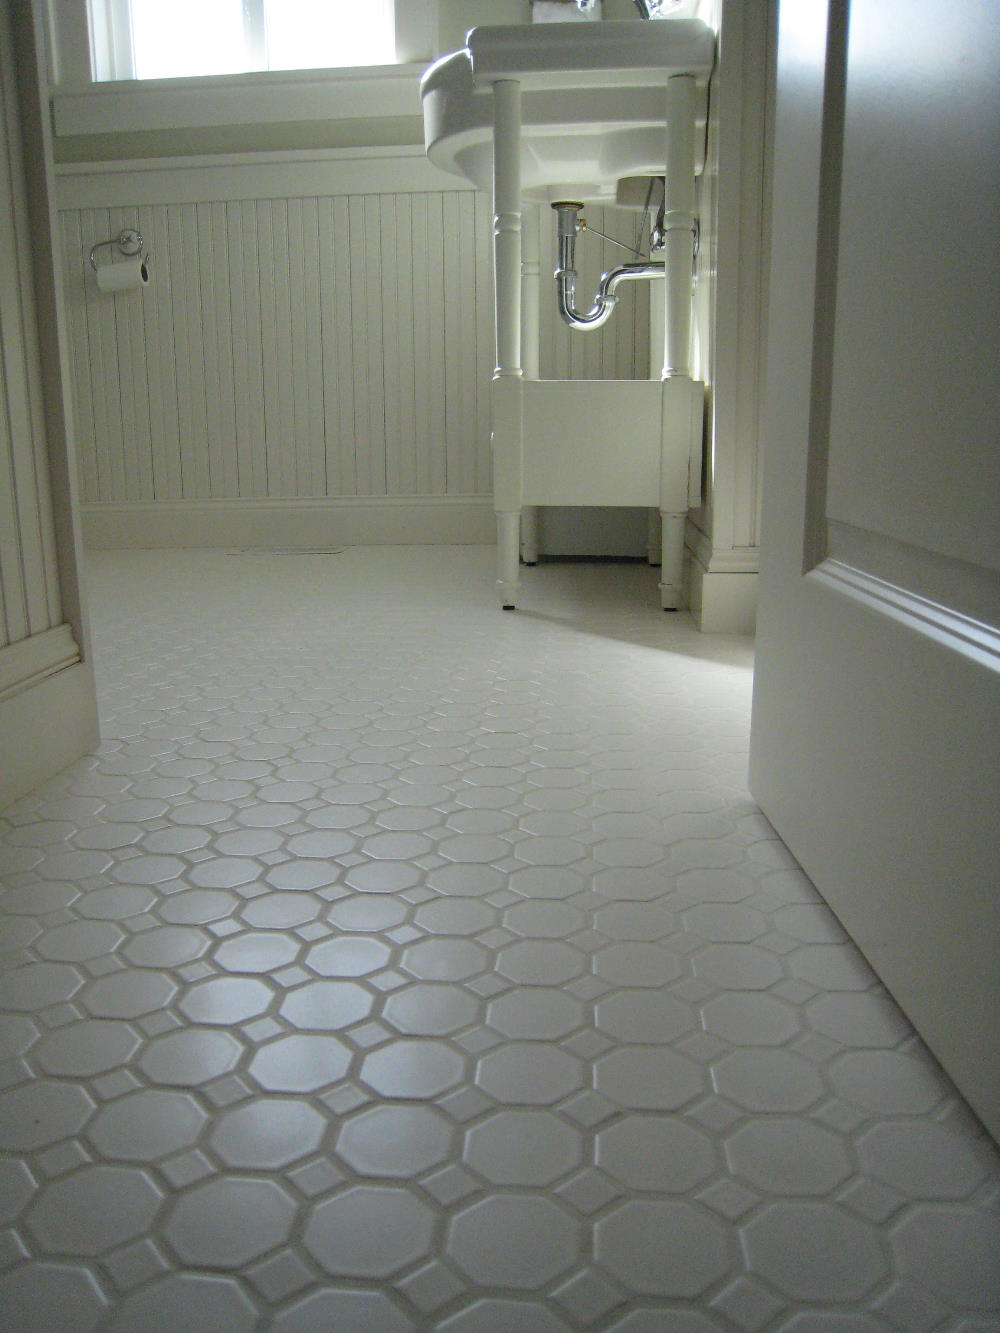
30 cool pictures and ideas honeycomb bathroom floor tiles 2022
Do It Yourself Tile Flooring / This Bathroom Floor Tile Idea Is So Easy You Can Do It Yourself

This Bathroom Floor Tile Idea Is So Easy You Can Do It Yourself Bathroom floor tiles, Bathroom

Do It Yourself Bathroom Floor Vinyl – how to remove old vinyl floor glue
Everything About Fabulous Bathroom Remodel Ideas Do It Yourself #bathroomideasonabudget #

Do It Yourself Tile Floor Bathroom – Flooring Ideas

Related Posts:
- Cuban Tile Floors
- Easy Way To Grout Tile Floor
- Types Of Marble Tile Flooring
- Slate Tile Floor
- Classic Bathroom Tile Floors
- Tile Floor Color Ideas
- Wet Mops For Tile Floors
- Staining Saltillo Tile Floors
- Terrazzo Tile Floor Outdoor
- Tile Flooring For Screened Porch
SEO Title: How to Install a Do-It-Yourself Tile Floor in Your Bathroom
Installing a tile floor in your bathroom can be a great do-it-yourself (DIY) project. With the right tools and supplies, some careful planning, and plenty of patience, you can create a beautiful, durable tile floor that will last for years. Here’s how to get started.
Gather Your Tools and Supplies
Before you begin your DIY tile floor installation, make sure you have all the tools and supplies you’ll need. You’ll need a level, measuring tape, tile spacers, tile cutter, grout float, grout sealer, trowel, adhesive mortar, notched trowel, sponge, and grout. Additionally, make sure you have enough tile to complete the project.
Plan the Layout of Your Tile Floor
The layout of your tile floor is important for creating a professional look. Start by measuring the dimensions of the room and plotting out the dimensions on graph paper. Be sure to leave enough room for cut tiles around the edges of the walls. Then decide where you want to install the center of the design. From there, you can draw a grid pattern that is centered around the focal point. This will help ensure that your tiles are installed evenly and symmetrically.
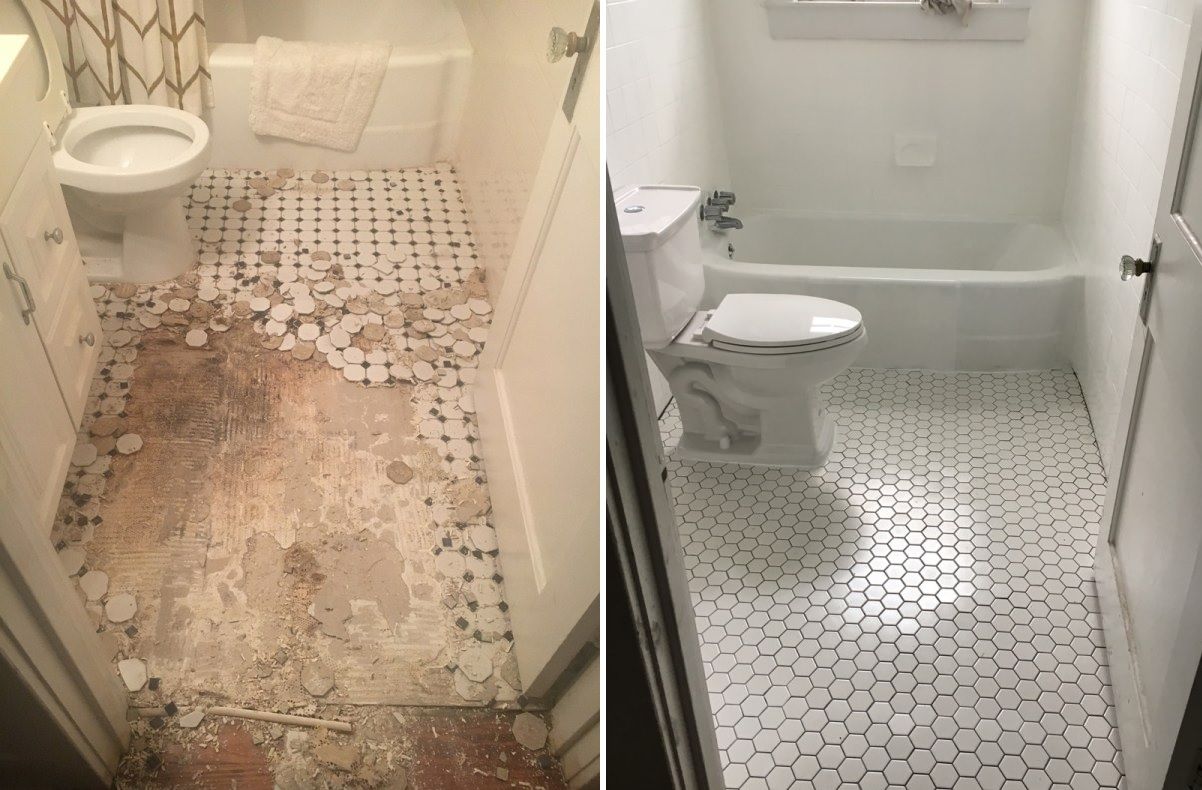
Prepare the Subfloor
Once you’ve planned out your tile floor layout on paper, it’s time to start prepping the subfloor. Start by sweeping and mopping the area to remove any dirt or debris that may interfere with adhesion of the tiles. Then check for any uneven areas in the subfloor by using a level. If there are any dips or bumps in the surface, use a self-leveling compound to even them out before you begin laying down your tiles.
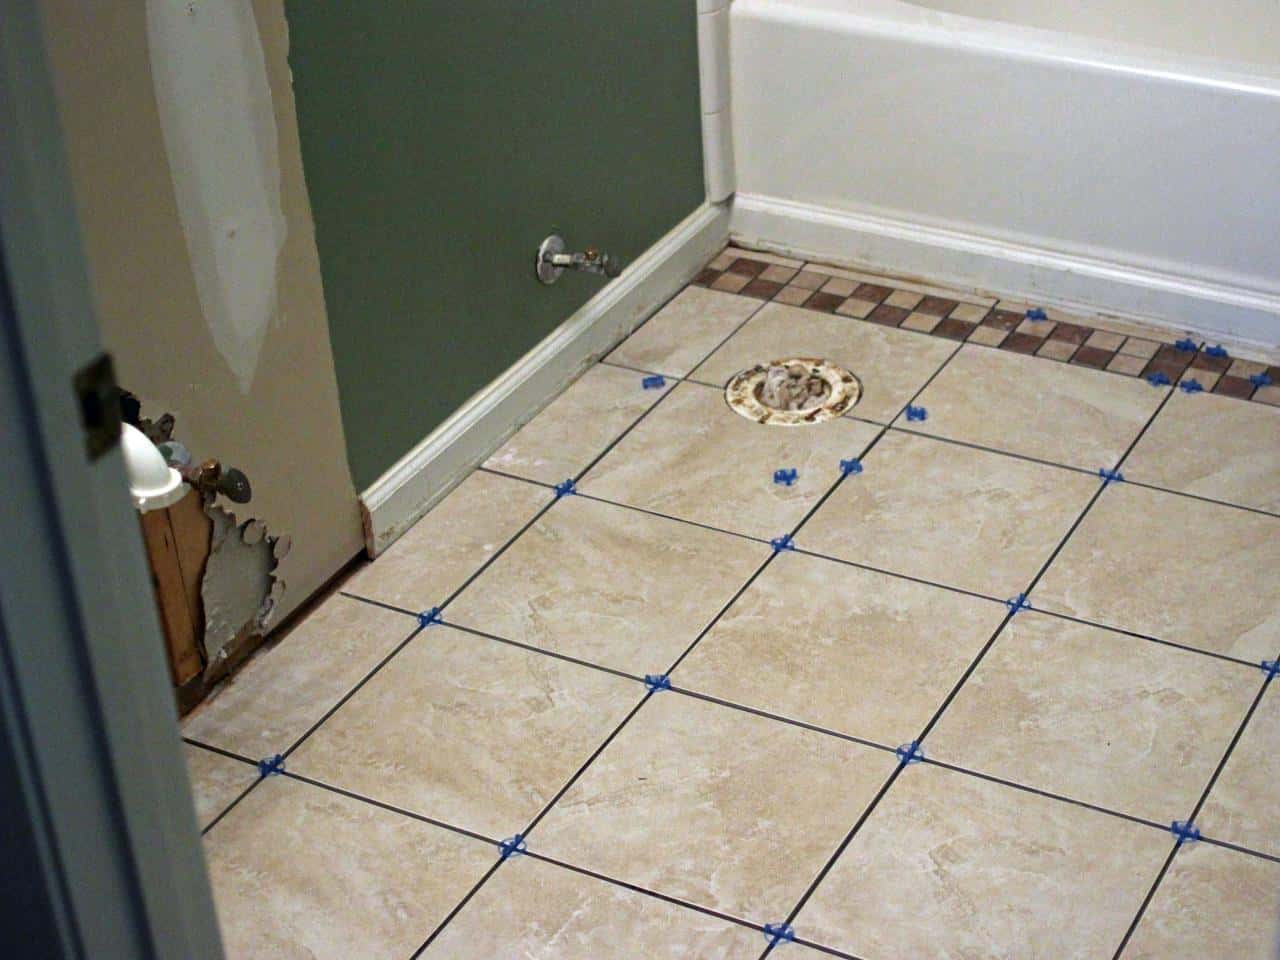
Install Tiles
Once your subfloor is ready, it’s time to start laying down your tiles. Begin at one corner of the room and work your way out from there. Place spacers between each tile as you go so that there is an even gap throughout when you grout later on. Use a wet saw or tile cutter for any tricky cuts you may need to make around edges or corners where full tiles won’t fit.
Grout Tiles
Once all your tiles have been laid down, it’s time to grout them into place. Start by mixing up some grout according to package instructions and spread it over the floor with a grout float in an even layer. Make sure to press it into all the crevices between each tile so that all gaps are filled. Then allow it to sit for 10-15 minutes before wiping off excess with a damp sponge. Allow it to dry overnight before applying grout sealer according to manufacturer instructions.
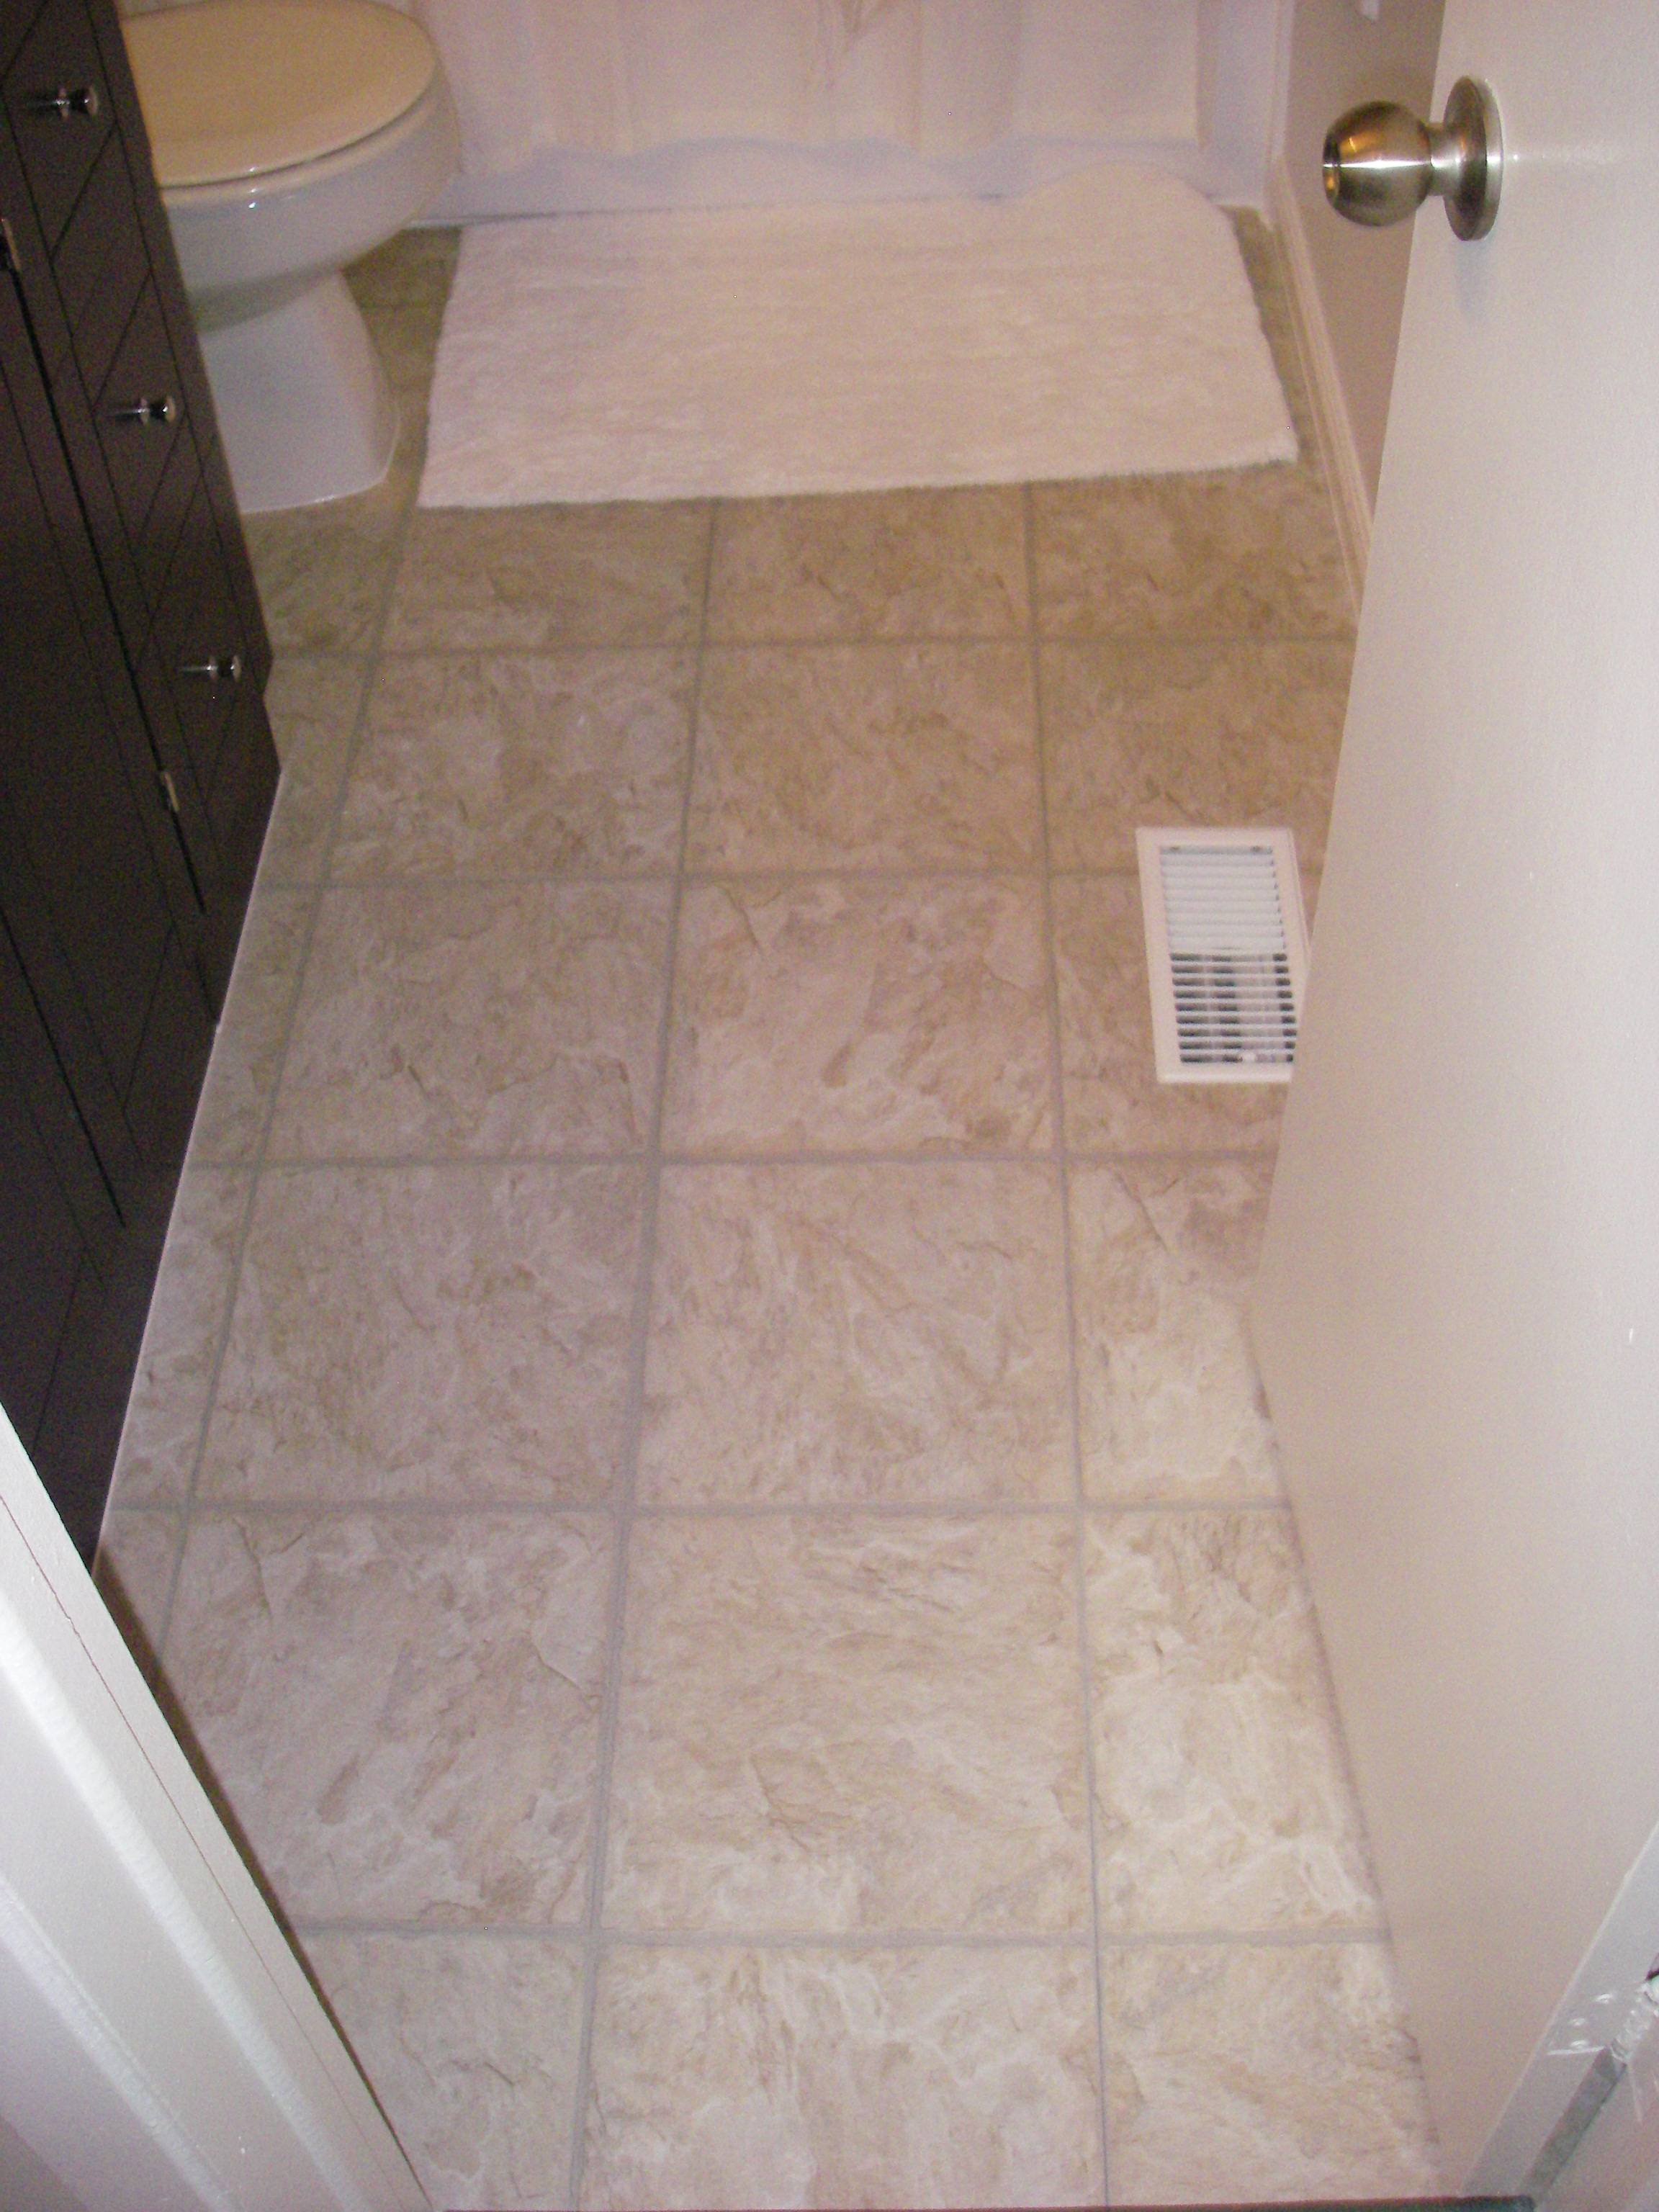
Enjoy Your New Tile Floor
Once all of your hard work is done and your new tile floor is dry, your bathroom remodeling project is complete! Enjoy your beautiful new tiled floor and all of its many benefits—from its durability and easy maintenance to its timeless style and charm!