Hardwood Floor Installation Tools

Engineered Wood Flooring Installation Tools – wood flooring design
55 Types of Tools (Hand, Power, Gardening and More) – Home Stratosphere

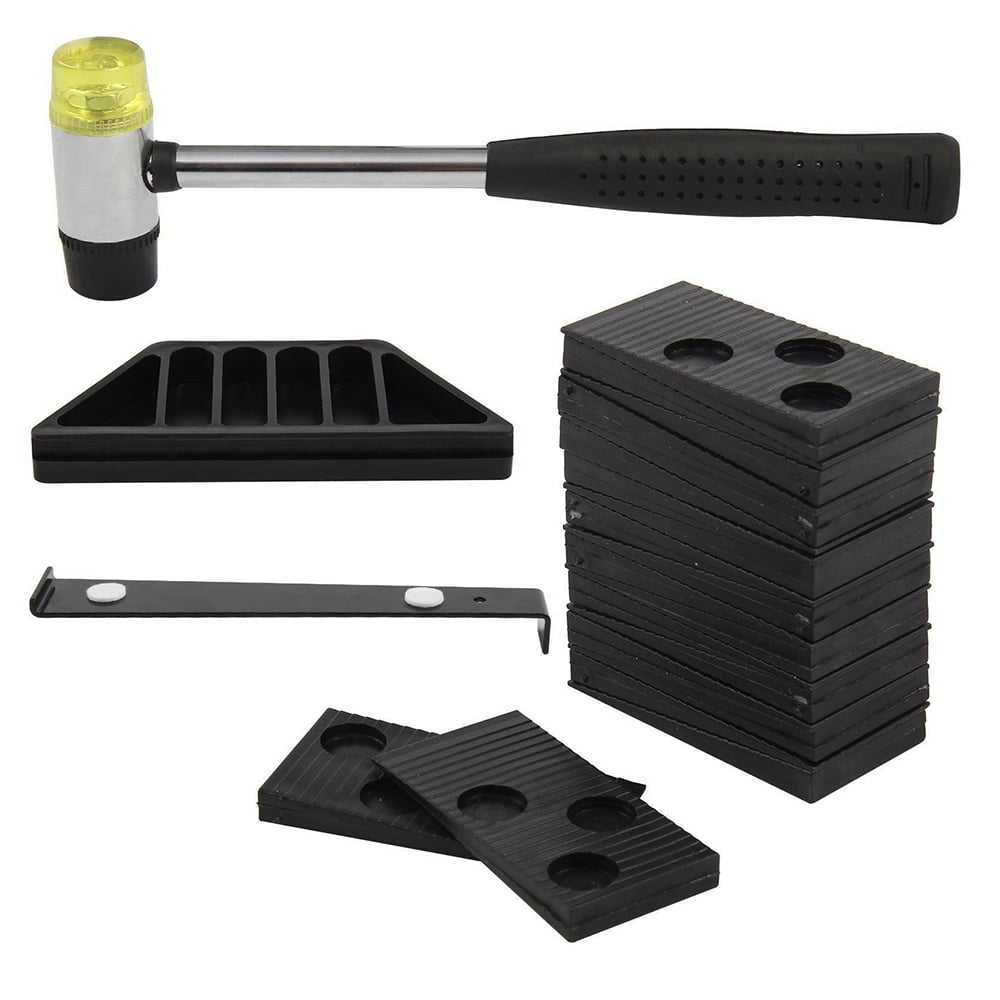
Wood Laminate Tool Floor Wood Floor Fitting Installation Kit With 20 Spacer Walmart Canada
DCT Hardwood Plank Jack – Vinyl Flooring Tools Installation Wood Floor Jack – Walmart.com
Wood Laminate Tool Floor Wooden Floor Fitting Installation Kit + 20 Spacer Kit eBay
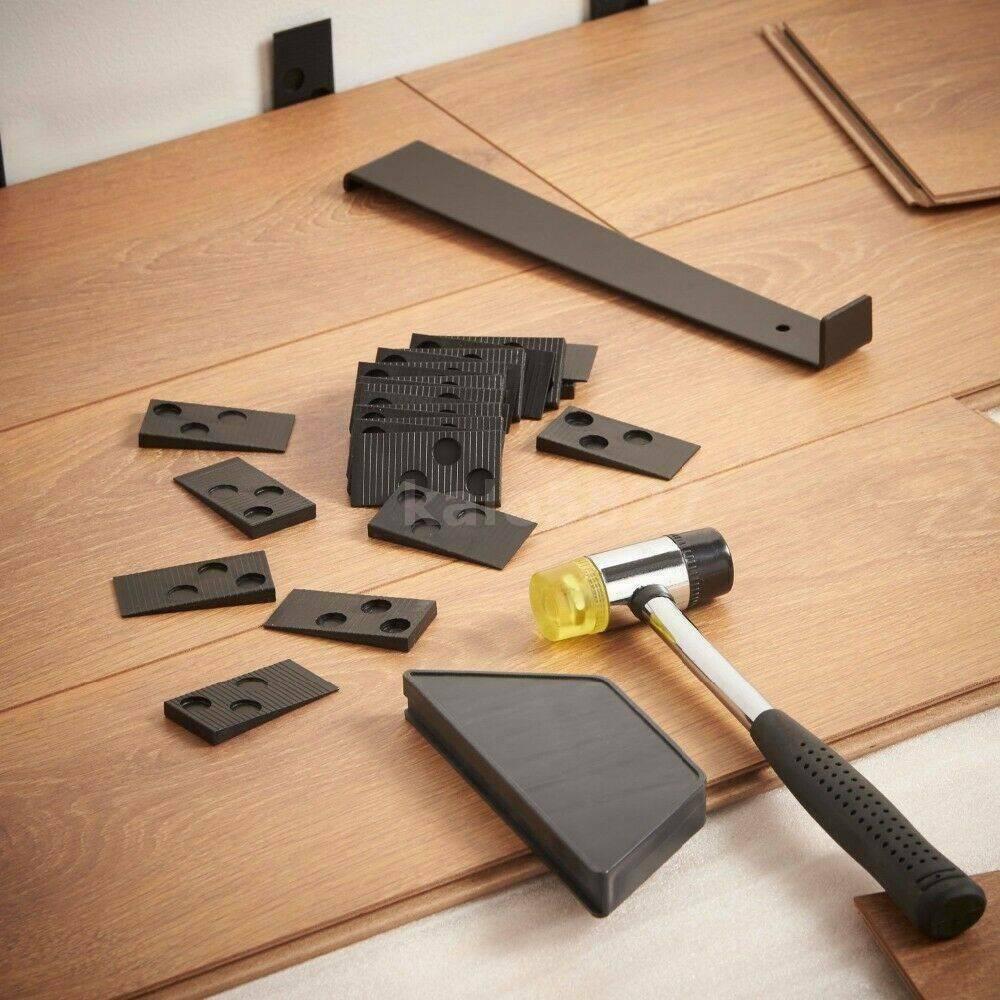
Wood Flooring Laminate Installation Floor Fitting Kit Set Tool DIY Easy Fit New

Hardwood Flooring Nails Size / Powernail Model 200 Flooring Nailer with White 3mi Mallet
Pergo Laminate Flooring Installation Tools – Vinyl Plank Vs Laminate Flooring A Complete Guide
20 Awesome Hardwood Flooring Installation Tools Floor installation, Hardwood floors, Diy wood

Installation Tools & Accessories – Roberts Consolidated
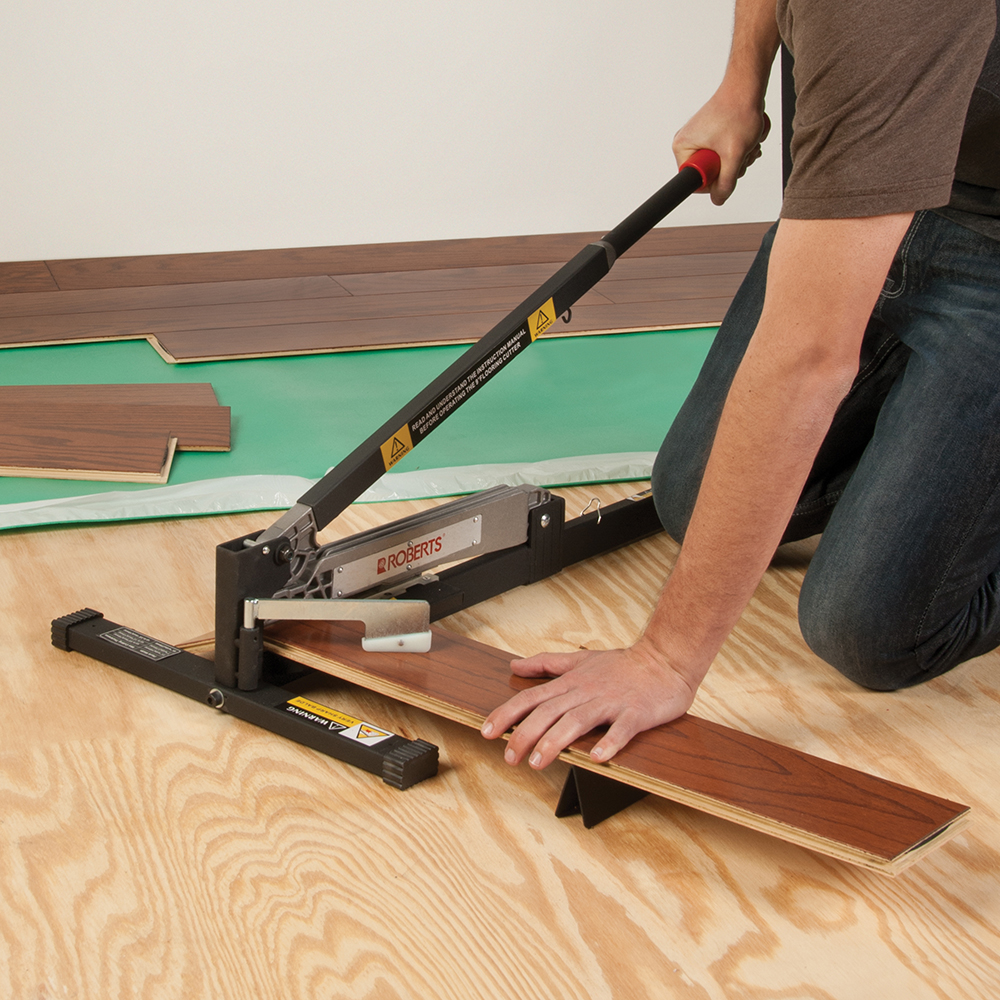
How to Cut Laminate Flooring & the Tools to Use – Sharpen Up

Related Posts:
- Hardwood Floor Cleaning Tips
- Hardwood Floor Decorating Ideas
- Hardwood Floor In A Kitchen
- Engineered Hardwood Flooring
- Rustic Oak Hardwood Flooring
- Parquet Hardwood Flooring
- Hardwood Floor Duster
- Homemade Hardwood Flooring
- Hardwood Floor Stain Colors
- Hardwood Floor Repair DIY
Installing a hardwood floor in your home can be a daunting task. Even if you are handy with tools, the process of measuring, cutting, and installing your new floor can be time-consuming and require special tools. To help you make your flooring project a success, this article will provide an overview of the essential hardwood floor installation tools needed to get the job done right.
## Measuring Tools
Before any hardwood floor installation can begin, you will need to measure the area accurately. To do this, you will need a tape measure, a chalk line, and a carpenter’s square. The tape measure will be used for measuring the length and width of the space. The chalk line will help mark out the boundaries of the room while the carpenter’s square will ensure that all cuts are made at right angles.
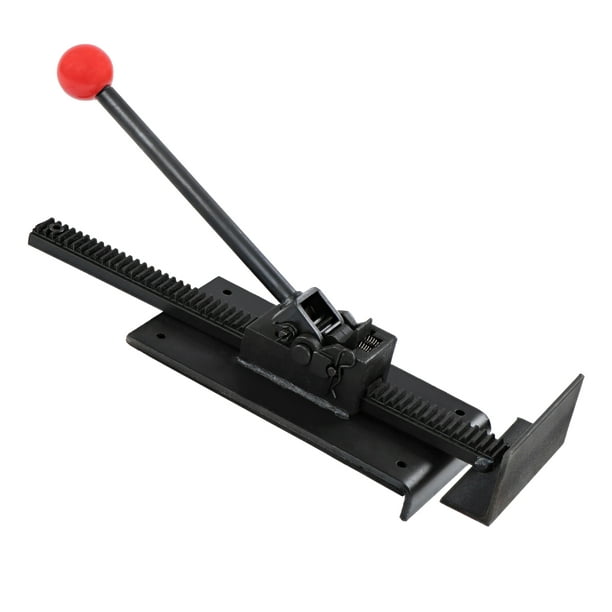
## Cutting Tools
Once you have measured the space accurately, it’s time to start cutting the planks for your floor. For this, you will need a miter saw to make straight cuts and a jigsaw for curved cuts. You should also have a circular saw in your arsenal as it is great for making long cuts quickly and accurately. It is important to use a good quality saw blade when cutting hardwood planks as this will ensure that your cuts are clean and precise.
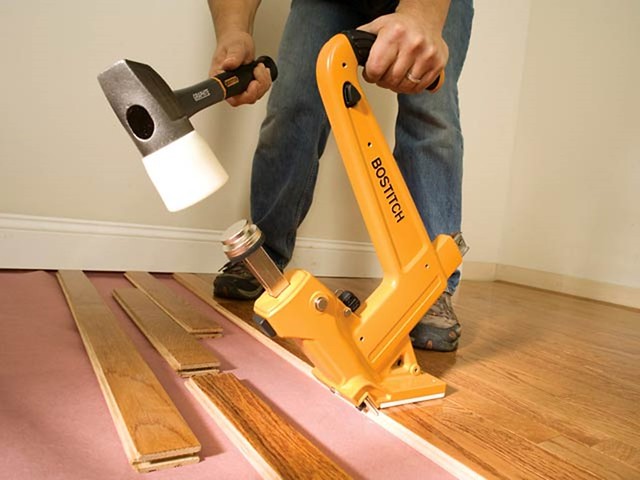
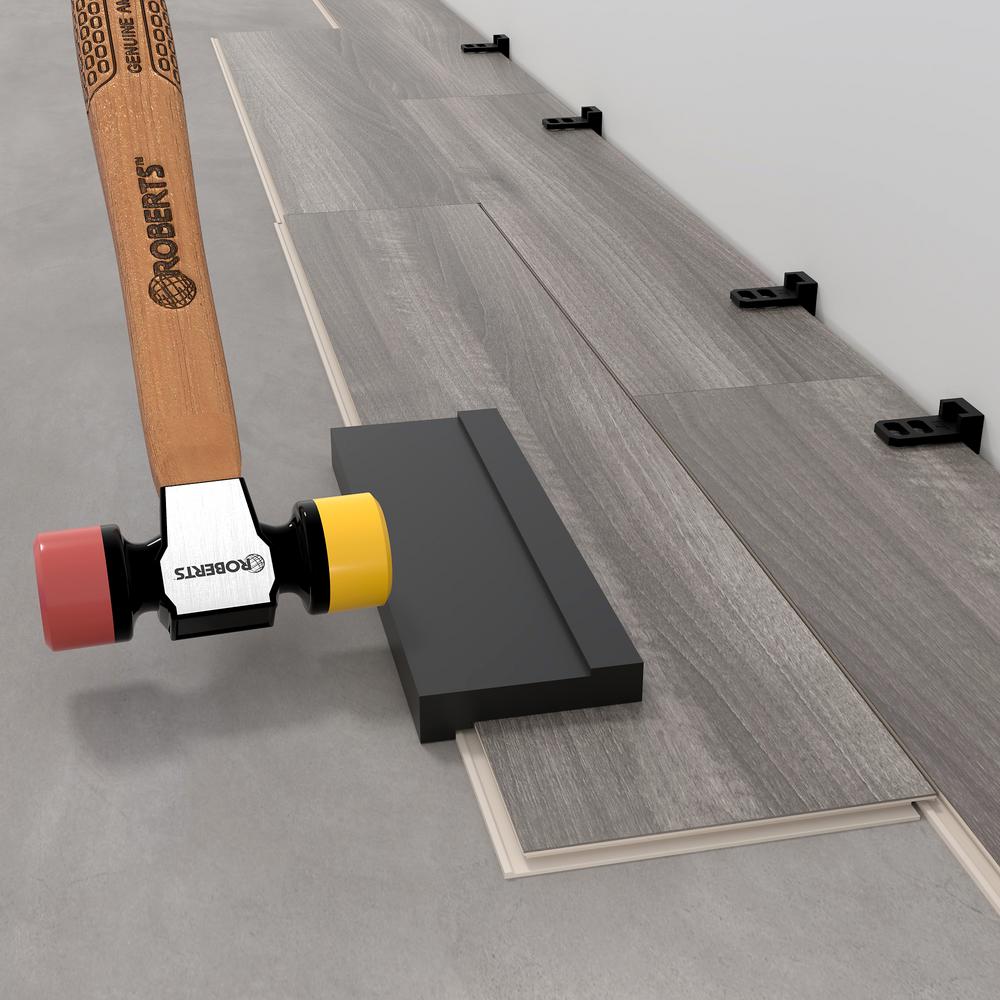
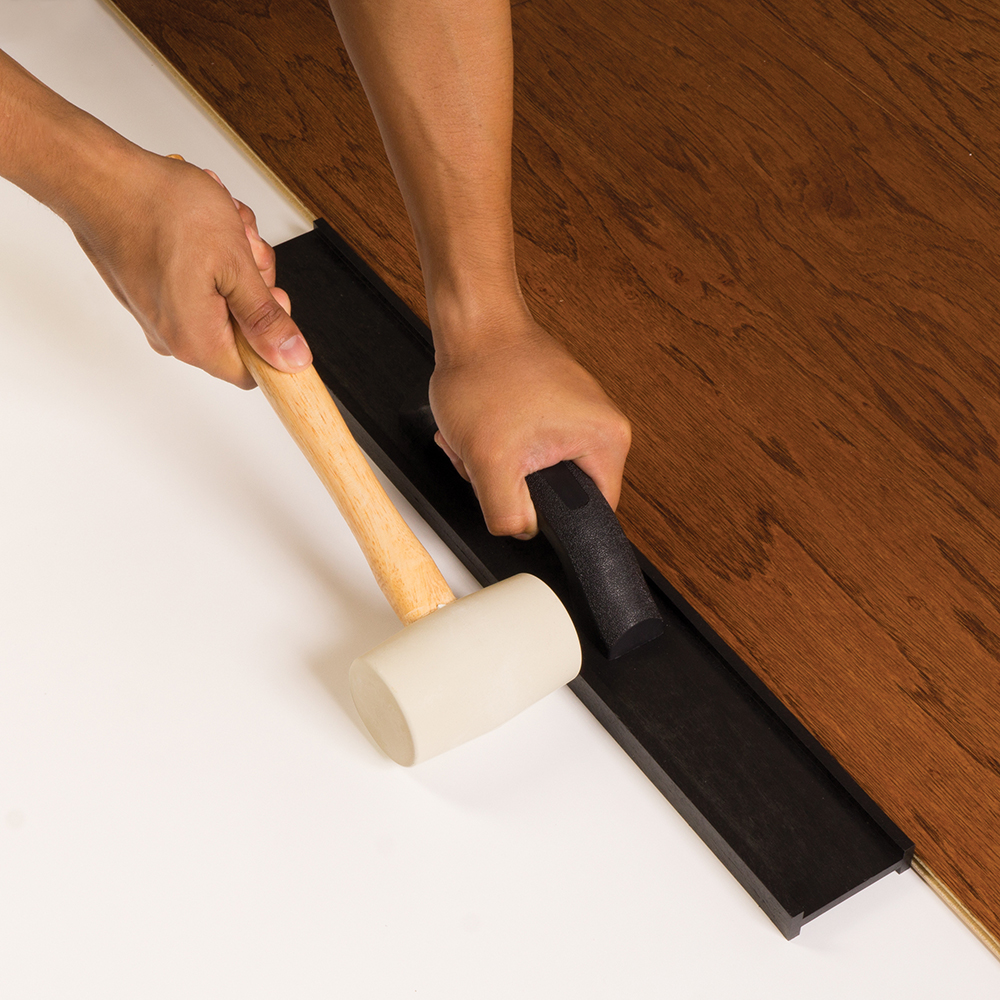
## Installation Tools
The next step in your hardwood floor installation project is installing the planks on the subfloor. For this task, you will need a pneumatic nailer or stapler as well as an air compressor to power it. This tool is invaluable for quickly and securely fastening planks to your subfloor. You should also have a rubber mallet on hand for tapping planks into place and making sure they are firmly attached to each other.
## Finishing Tools
Once your flooring is installed, it’s time to give it a professional finish. To do this, you will need to sand the surface smooth and then apply a protective finish such as polyurethane or wax. For sanding, you should invest in an electric sander that has variable speed control so you can adjust it according to the type of wood you are working with. It is also important to use the right sandpaper grits for each stage of sanding (coarse for rough sanding and fine for smoothing). For applying the protective finish, you should use either a paint roller or paint brush depending on the type of finish you are using.
Installing a hardwood floor can be a challenging task but having the right tools on hand makes it much easier and less stressful. By taking some time to research and invest in quality tools for measuring, cutting, installing, and finishing your flooring project, you can ensure that your hardwood floor looks beautiful and lasts for many years to come.