How to Install Cork Floor Tiles

How to Install Natural Cork Flooring how-tos DIY
Cork Flooring Over Concrete Slab – Flooring Guide by Cinvex
How to Install Cork Flooring – (Tips and Guidelines For Your DIY Project)

Cork Flooring Installation Floor installation, Cork flooring, Tile installation

Cork Flooring How To Install – Flooring Site

Natural Cork Flooring DIY
How to Lay a Cork Floor Kitchen tiles design, Cork flooring, Easy kitchen upgrade

How To Install Cork Floor Tiles Cork flooring, Tile floor, Basement flooring options

How to Install Natural Cork Flooring how-tos DIY

Cork Flooring How To Install – Flooring Site
How To Install A Floating Cork Floor Young House Love Cork flooring, Flooring, Young house love

Related Posts:
- Glue Down Cork Flooring
- Cork Flooring for Exercise Room
- What Are The Benefits Of Cork Flooring
- Cork Flooring in Laundry Room
- Scandia Plank Cork Flooring
- Cork Floors That Look Like Hardwood
- How To Paint Cork Flooring
- Cork Flooring Renovation
- Cork Flooring Interior Design
- Natural Cork Flooring Ideas
# How to Install Cork Floor Tiles
Cork flooring, composed of small granules of cork and wood pulp, is an increasingly popular flooring option due to its durability and sound-absorbing qualities. Cork floor tiles are easy to install and provide an attractive, low-maintenance surface that can last for decades. Here’s a guide on how to install cork floor tiles in your home.
## Preparing the Subfloor
Before installing cork floor tiles, it’s important to prepare the subfloor. Start by cleaning the area with a vacuum and removing any debris or dirt. Then, check the subfloor for any uneven areas or bumps, and use sandpaper to smooth out any irregularities. Once the subfloor is clean and level, apply adhesive or flooring primer to the entire area. Allow the adhesive or primer to dry completely before installing the cork tiles.
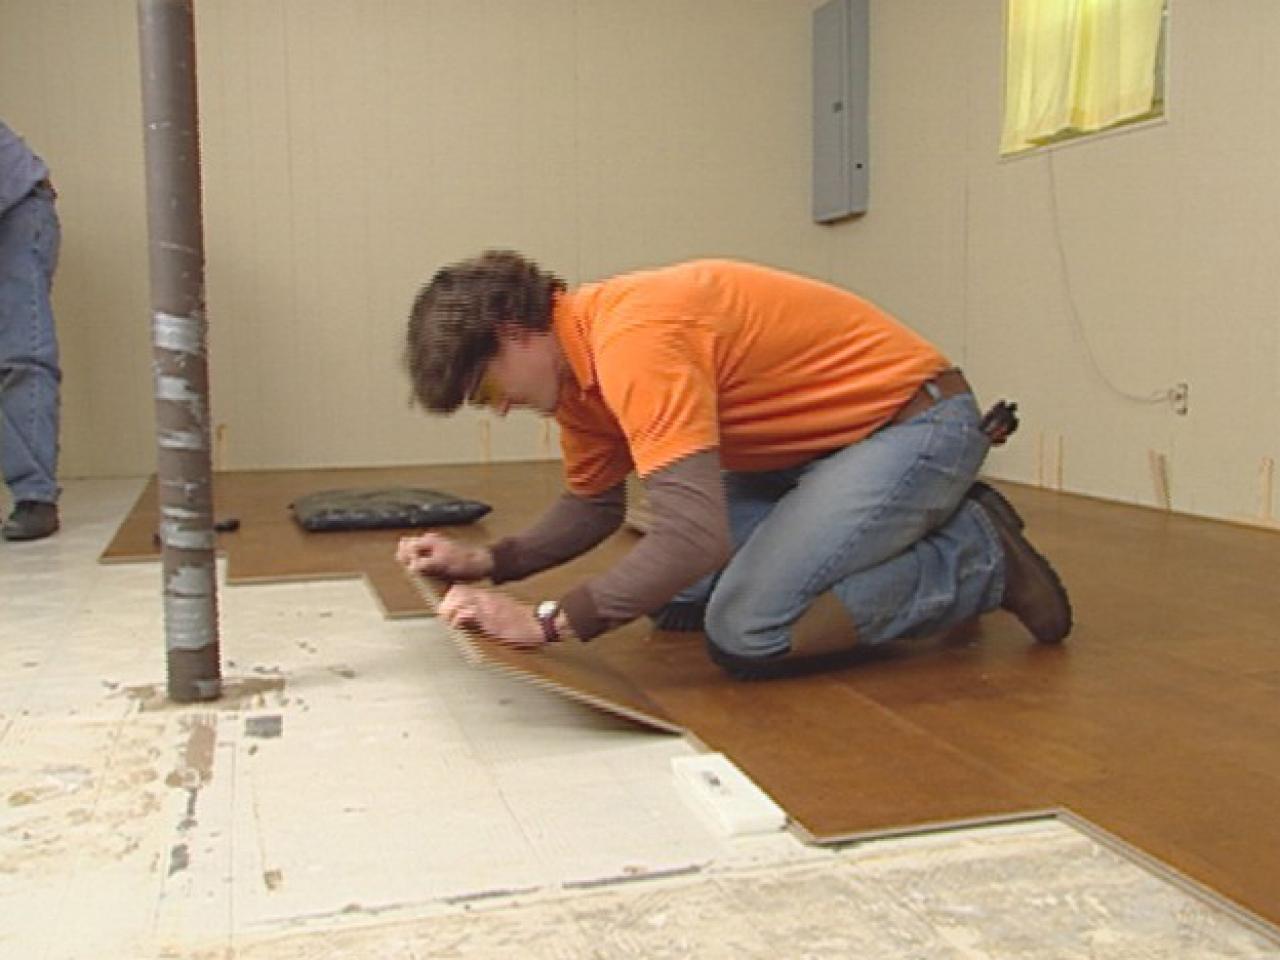
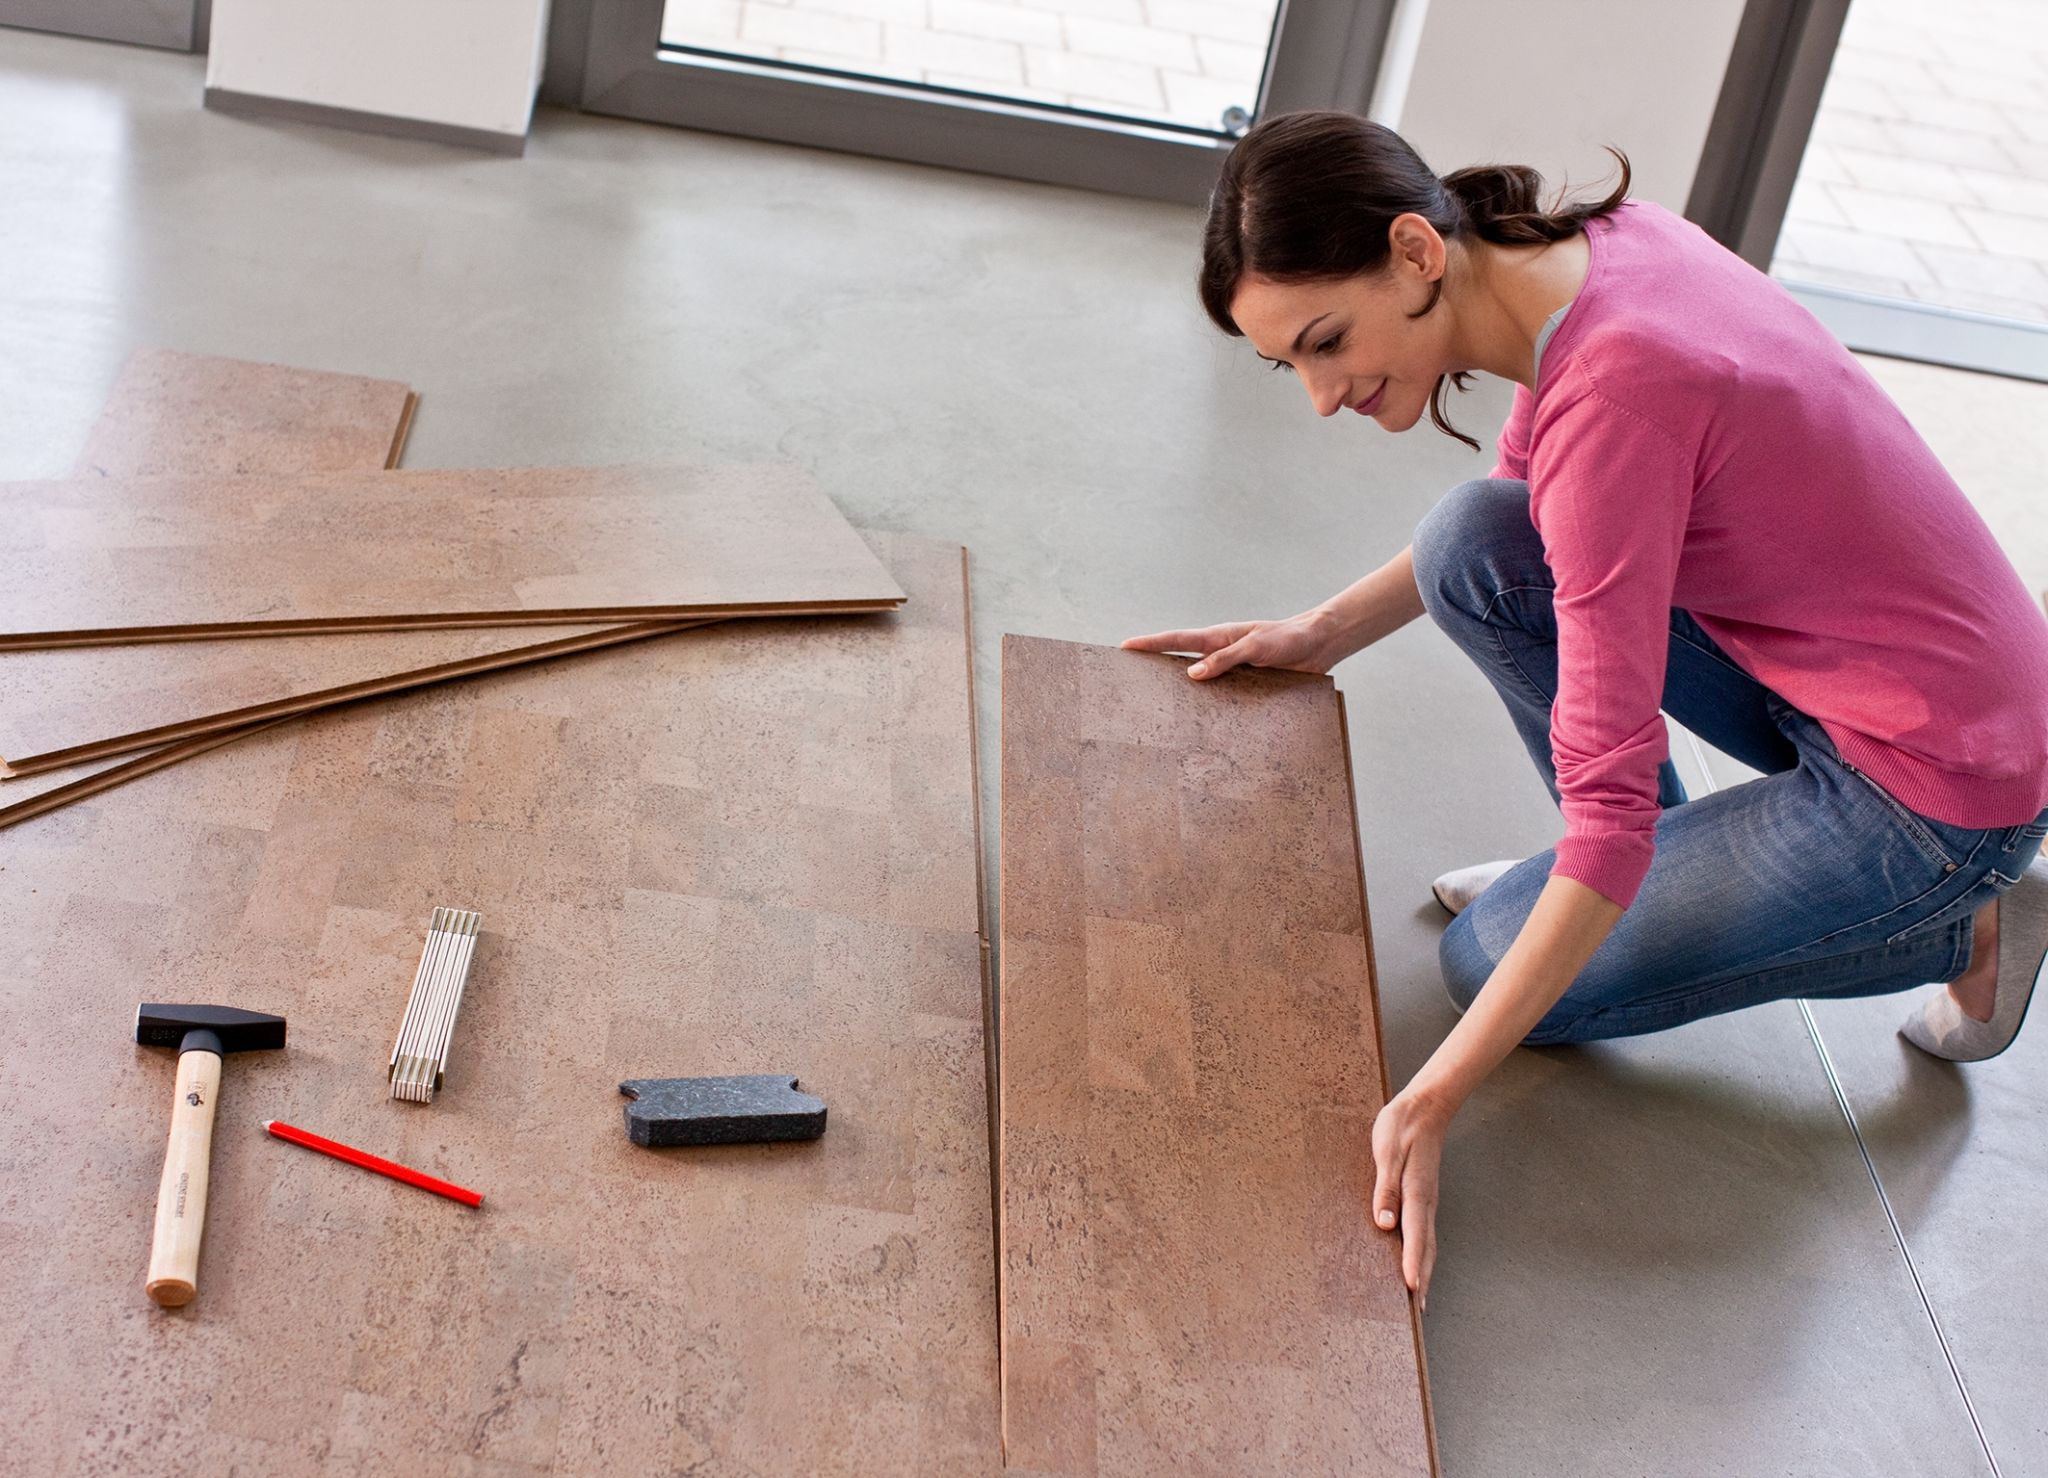
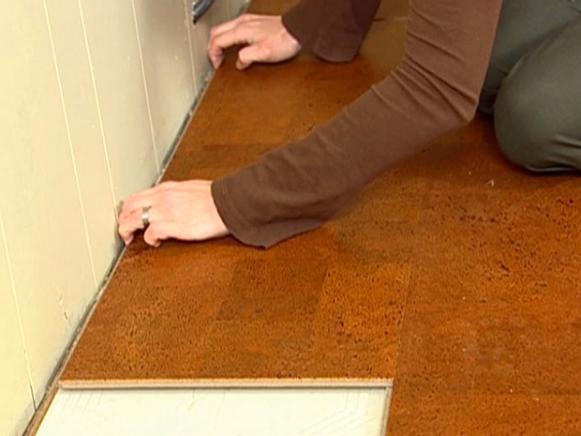
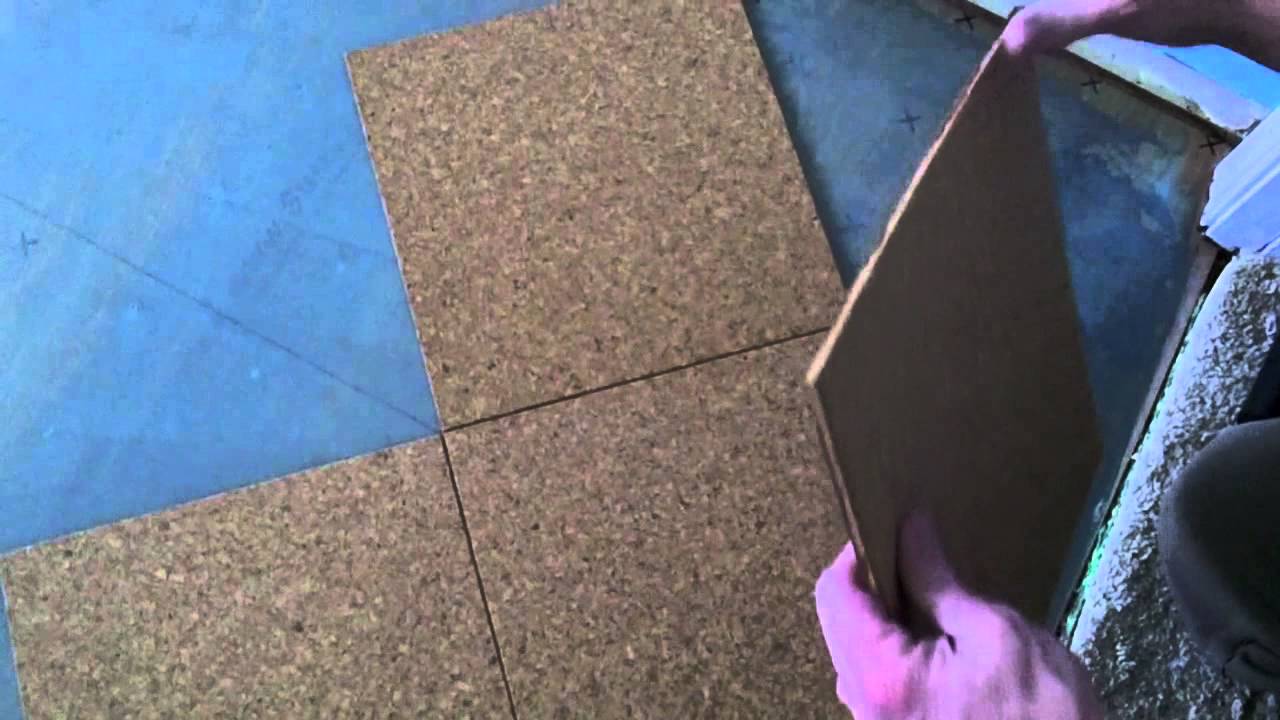
## Laying Cork Tiles
When laying cork tiles, start from one corner of the room and work your way outwards. Begin by laying tile along the longest wall in the room, then use a tape measure and chalk line to ensure that the lines between tiles are straight. When laying each tile, use a rubber mallet to gently tap it into place until it is flush with the other tiles. Once all of the tiles are in place, let them sit for 24 hours before applying grout.
## Applying Grout and Finishing Touches
Once all of the tiles have been laid and allowed to dry for 24 hours, it’s time to apply grout. Start by mixing grout according to package instructions and then spread it over the cork tiles using a trowel. Work in small sections and make sure to remove any excess grout before it dries. After letting the grout dry overnight, buff away any excess grout with a damp cloth. Finally, apply sealant or wax to protect your new cork flooring from staining or damage.
Installing cork floor tiles is a simple DIY project that can be completed in just a few days. With proper preparation and care, these attractive and durable flooring options can last for years to come.
Q: What type of adhesive should I use to install cork floor tiles?
A: The best type of adhesive for installing cork floor tiles is a contact adhesive designed specifically for cork. Contact adhesives are generally easier to apply and provide a more even bond than other types of adhesives. Make sure to read the manufacturer’s instructions to make sure the adhesive is suitable for your particular floor tiles.
Q: How do I install cork floor tiles?
A: Cork floor tiles can be installed over existing flooring, such as concrete, vinyl, or wood. Before installing the cork tiles, make sure that the existing floor is clean and dry. Then, you will need to install a cork underlayment on top of the existing floor. This will help to absorb sound and provide cushioning. Once the underlayment is in place, you can begin to lay out your cork tile design by starting with a full tile in each corner. Then, you can use a chalk line to ensure that your cork tiles are evenly spaced. Once the tiles are lined up, you can use a rubber mallet and tapping block to secure them in place. Finally, use a matching grout to fill in any gaps between the tiles.