How to Install Cork Flooring in Kitchen

Silver Birch – 1/4″ (6mm) – Cork Glue Down Tile (GSB6) – iCork Floor
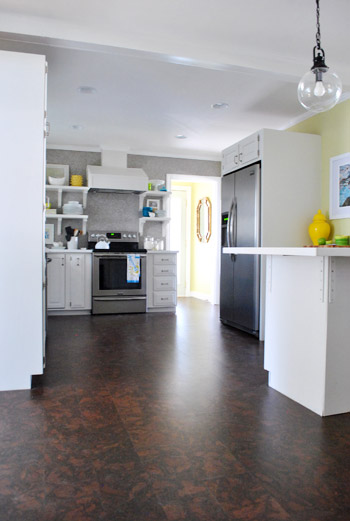
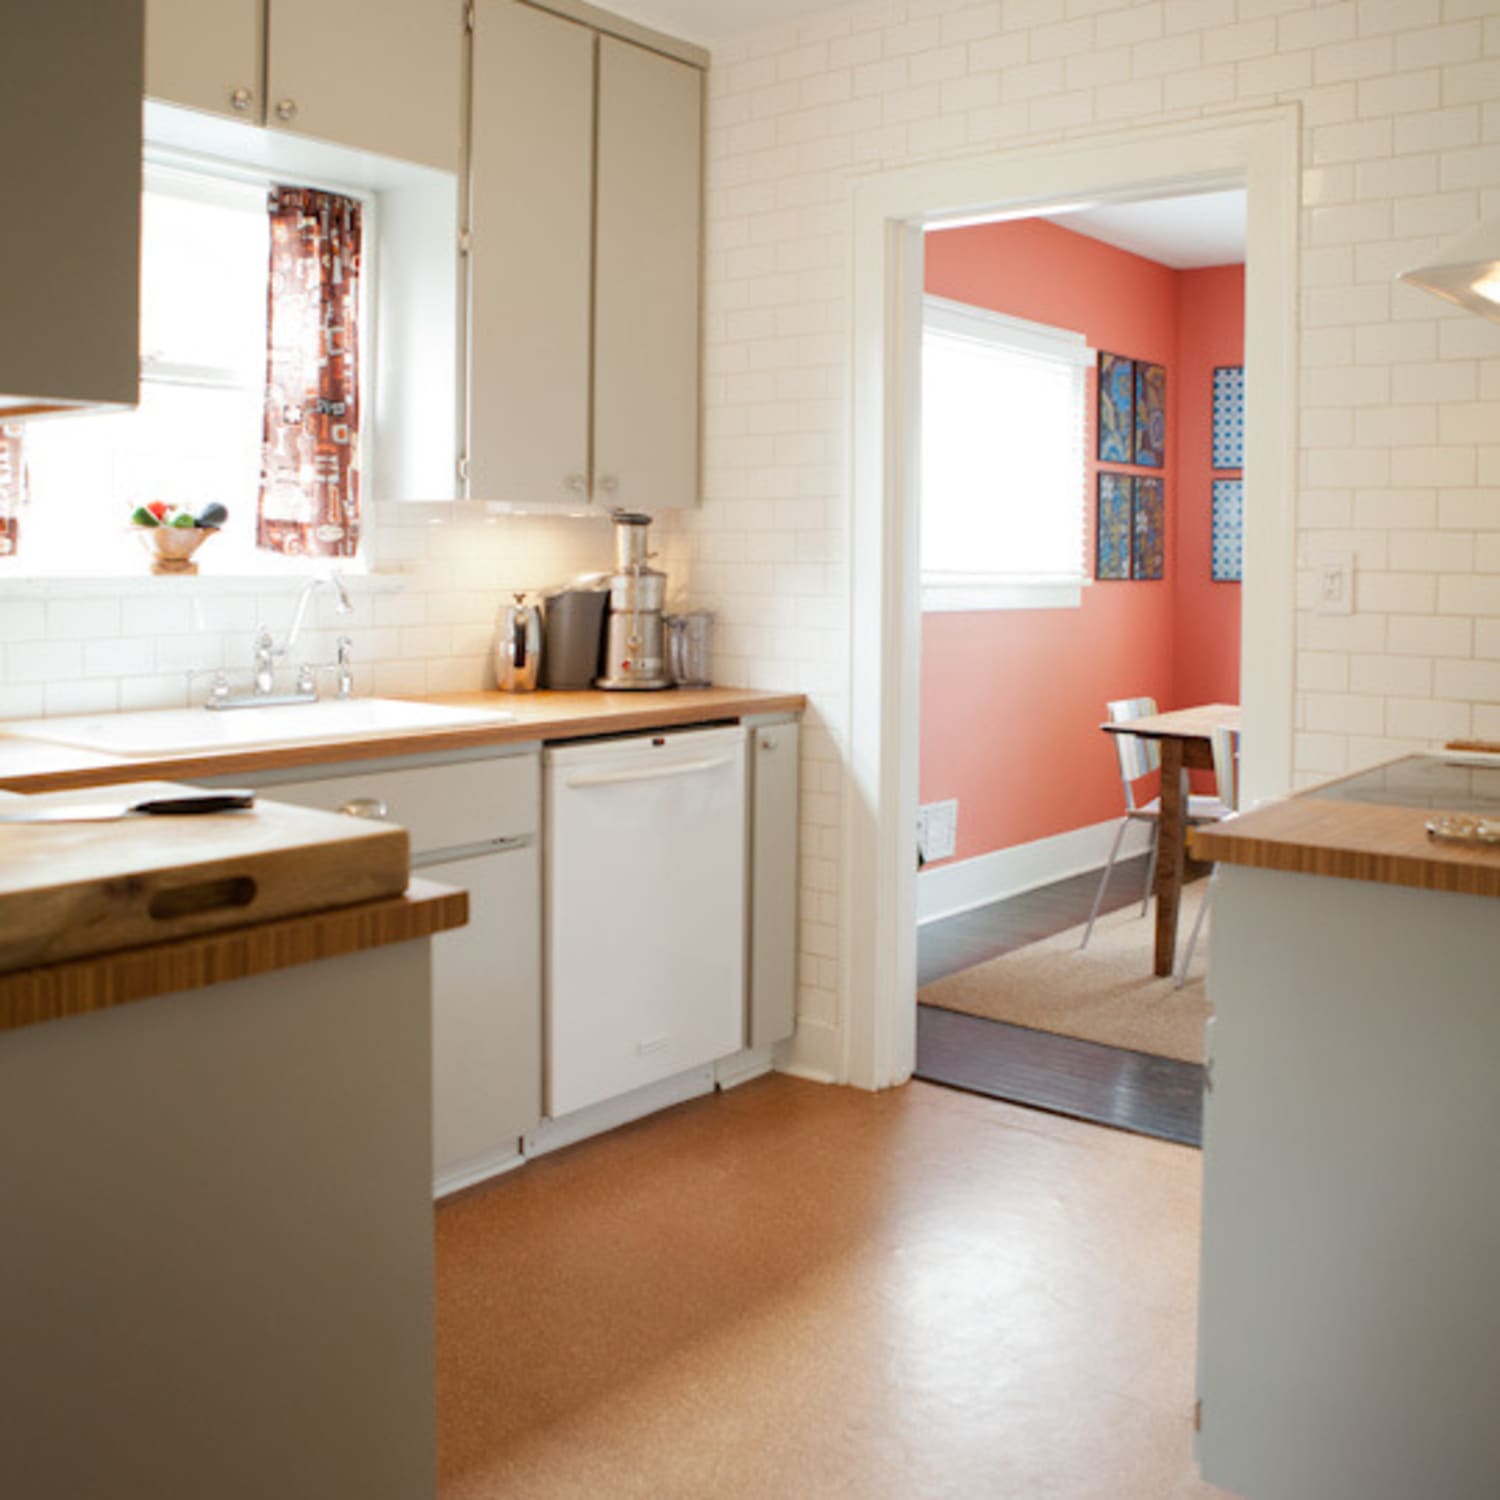
Completing Our Kitchenu0027s Cork Floor Installation Young House Love
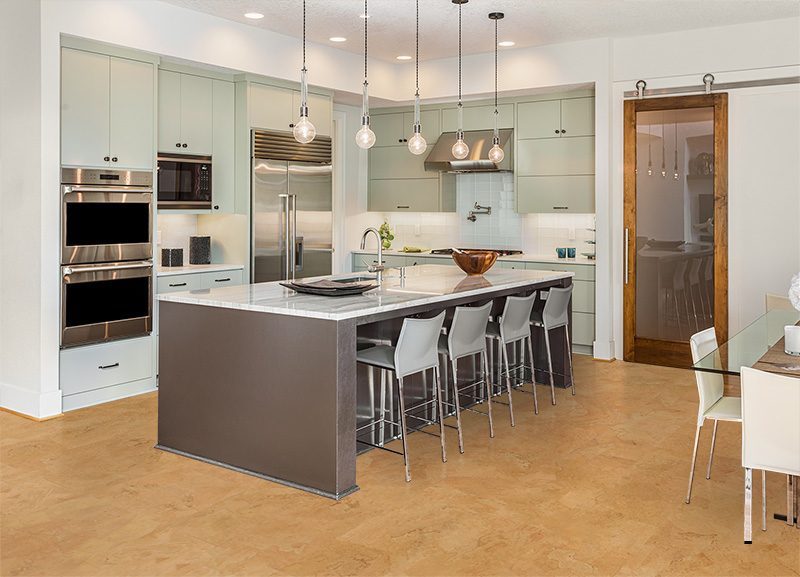
Cork Kitchen Flooring -Choosing the right floor for your kitchen

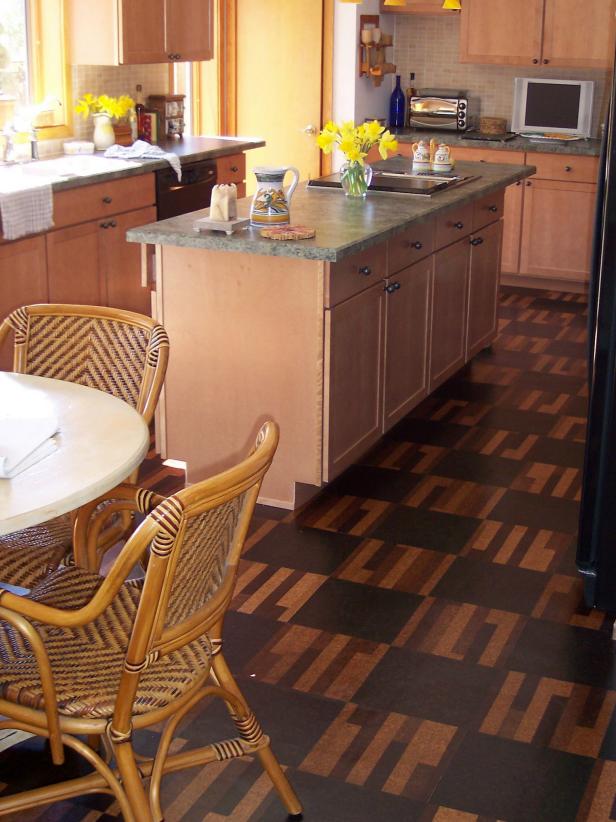
Using Cork Floor Tiles in Your Kitchen
:max_bytes(150000):strip_icc()/cork-flooring-in-unfurnished-new-home-647206431-57e7c0c95f9b586c3504ca07.jpg)
Cork Flooring for Your Kitchen HGTV
How to Install a Cork Floor – This Old House
/cdn.vox-cdn.com/uploads/chorus_asset/file/22873091/H1006HANDBOOK01.jpg)
Logan – 1/4″ (6mm) – Cork Glue Down Tile (GLo6) – iCork Floor
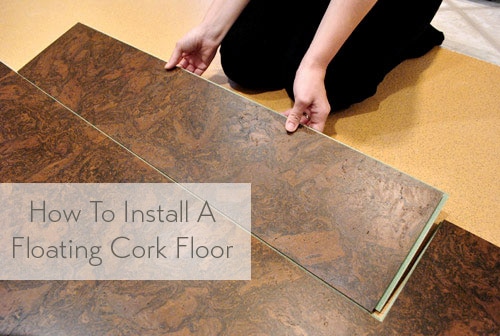
How To Install A Floating Cork Floor Young House Love
How to Care for Cork Flooring

All About: Cork Flooring Kitchn
Related Posts:
- Glue Down Cork Flooring
- Cork Flooring for Exercise Room
- What Are The Benefits Of Cork Flooring
- Cork Flooring in Laundry Room
- Scandia Plank Cork Flooring
- Cork Floors That Look Like Hardwood
- How To Paint Cork Flooring
- Cork Flooring Renovation
- Cork Flooring Interior Design
- Natural Cork Flooring Ideas
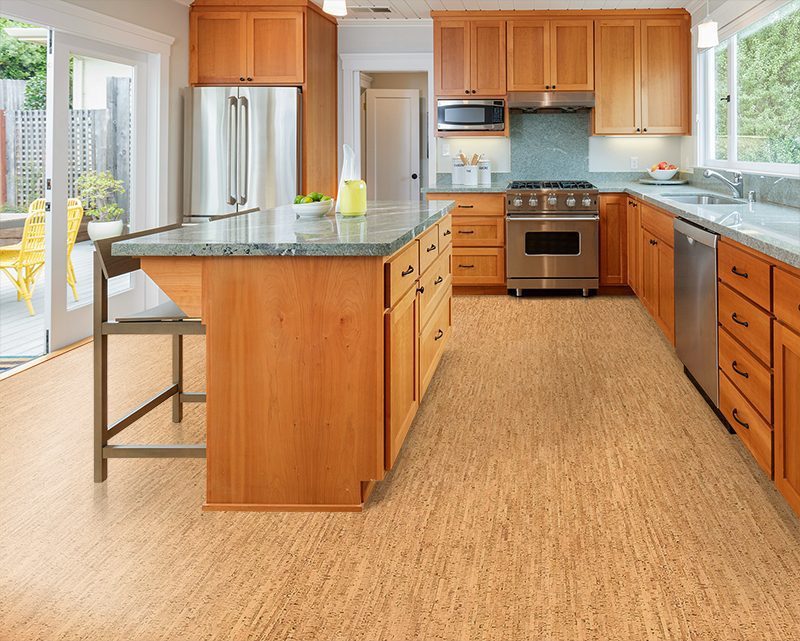
Cork flooring is a great way to add beauty and style to your kitchen. It’s durable, easy to clean, and provides a unique look that stands out from traditional hardwood floors. Plus, it’s much softer than hardwood, making it an ideal choice for busy kitchens. If you’re looking to give your kitchen a fresh new look, cork flooring is the perfect solution.
In this guide, we’ll cover the basics of installing cork flooring in your kitchen, including what materials you’ll need, how to prepare the area, and the steps for installation. With the right preparation and installation techniques, you’ll have a beautiful, long-lasting cork flooring in no time.
## Materials Needed for Installing Cork Flooring in Your Kitchen
Before you begin installing your cork flooring, make sure you have all the necessary materials on hand. You’ll need:
* Cork tiles
* Underlayment
* Tape measure
* Chalk line
* Utility knife
* Level
* Adhesive
* Notched trowel
* Wood putty
* Hammer
## Preparing the Area for Installation
Once you’ve gathered all the materials you’ll need for installation, it’s time to get started. The first step is to prepare the area where you’ll be installing the cork flooring. Start by removing any existing flooring and then cleaning the subfloor thoroughly. This will ensure that your new cork tiles will have a flat, level surface on which to adhere. Once the area is clean and dry, use a tape measure and chalk line to mark a straight line across the space. This will help ensure that your cork tiles are laid out properly.
## Installing Cork Flooring in Your Kitchen
Now that everything is ready to go, it’s time to start installing your cork flooring. Begin by laying down your underlayment on top of the subfloor, making sure that it covers the entire area where you’ll be installing the tiles. Use a level to ensure that the underlayment is even across the surface before continuing. Next, spread adhesive onto the underlayment using a notched trowel and then lay down your first row of cork tiles along one of the chalk lines. Use a level to make sure each tile is even before continuing with the next row of tiles. Continue laying down tiles until you reach the end of your space, being sure to leave a small gap between each tile for expansion purposes. Once all the tiles are laid out, use a hammer and wood putty to fill in any gaps or cracks between them. Finally, let the adhesive dry overnight before walking on your new cork flooring.
Installing cork flooring in your kitchen can be done with minimal effort and cost. With just a few supplies and some know-how, you can easily give your kitchen an updated look with beautiful cork flooring. Be sure to take your time during installation and double check each step as you go to ensure that your new cork tiles will last for years to come.