How to Install Glue down Cork Flooring
How to install Wicanders glue down cork flooring – YouTube
Cork Floor Install – How to install a cork glue down floor. – YouTube
Glue Down Cork Plank Flooring – Flooring Ideas
Cork Glue Down Floors — Jelinek Cork Group®
How to Install Natural Cork Flooring how-tos DIY
How to Install Cork Flooring – (Tips and Guidelines For Your DIY Project)

Wood Flooring Installation Costs – Wood and Beyond Blog

How to Install Cork Flooring how-tos DIY
Cork Tiles Forna Glue Down – Cancork
Cork Glue Down Floors — Jelinek Cork Group®

Cork glue down tiles. Where does it lead to? Cork flooring, Flooring, Tiles

Related Posts:
- Glue Down Cork Flooring
- Cork Flooring for Exercise Room
- What Are The Benefits Of Cork Flooring
- Cork Flooring in Laundry Room
- Scandia Plank Cork Flooring
- Cork Floors That Look Like Hardwood
- How To Paint Cork Flooring
- Cork Flooring Renovation
- Cork Flooring Interior Design
- Natural Cork Flooring Ideas
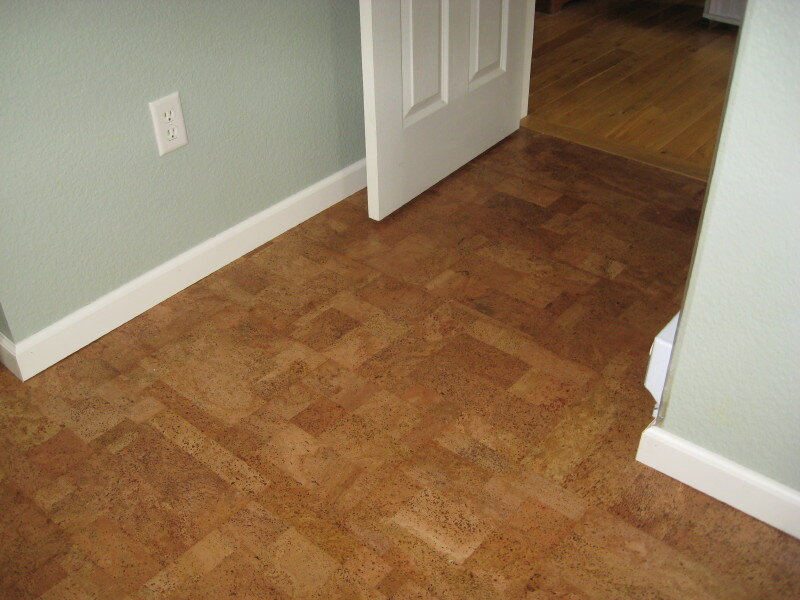
Cork flooring is a popular choice for many homeowners, offering both comfort and elegance. Cork is a natural material that is incredibly durable and water-resistant, making it an ideal choice for those looking for a flooring material that will last. It also provides a softer feel underfoot than traditional hardwood or laminate floors, giving it a cozy and inviting atmosphere. Glue down cork flooring is one of the most popular methods for installation, as it is relatively easy for even the novice do-it-yourselfer.
### Preparing to Install Glue Down Cork Flooring
Before installing glue down cork flooring, there are a few steps that must be taken to ensure a successful installation. The first step is to make sure that the subfloor is level and free of any debris or imperfections. It is also important to acclimate the cork planks by leaving them in the room in which they will be installed for at least 48 hours. This allows the planks to adjust to their new environment and helps prevent any future issues with shrinkage or expansion.
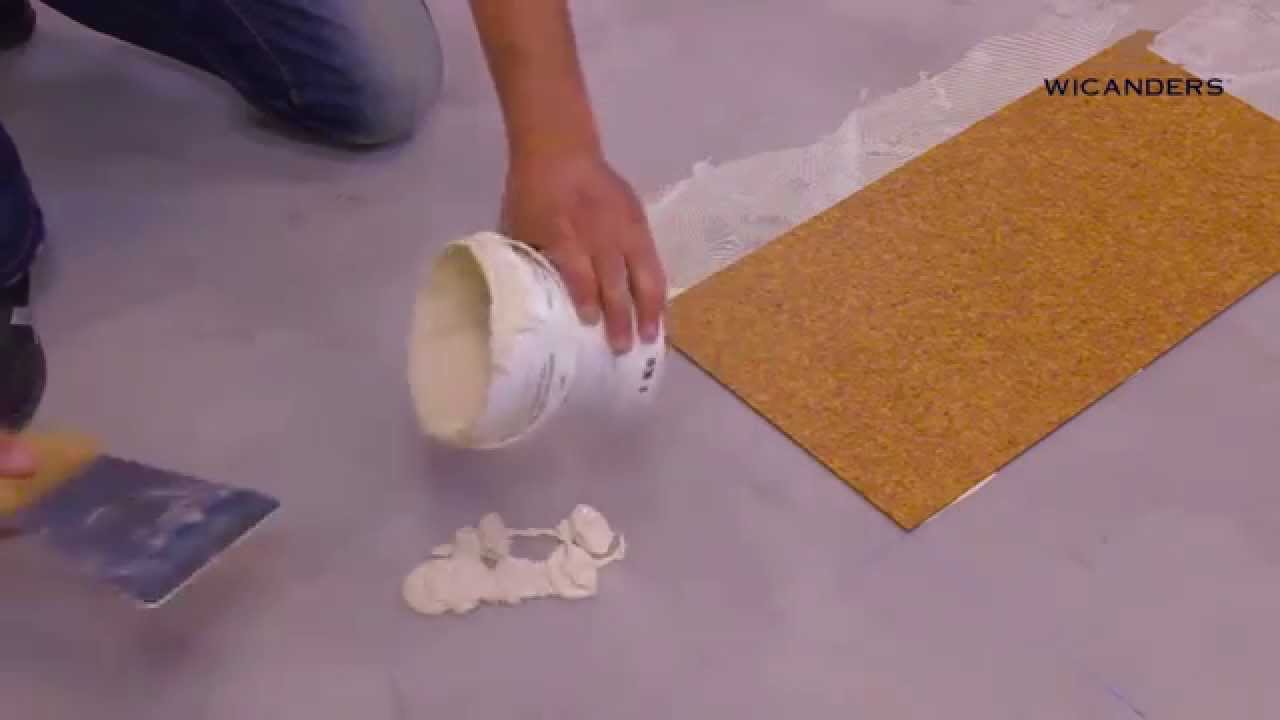
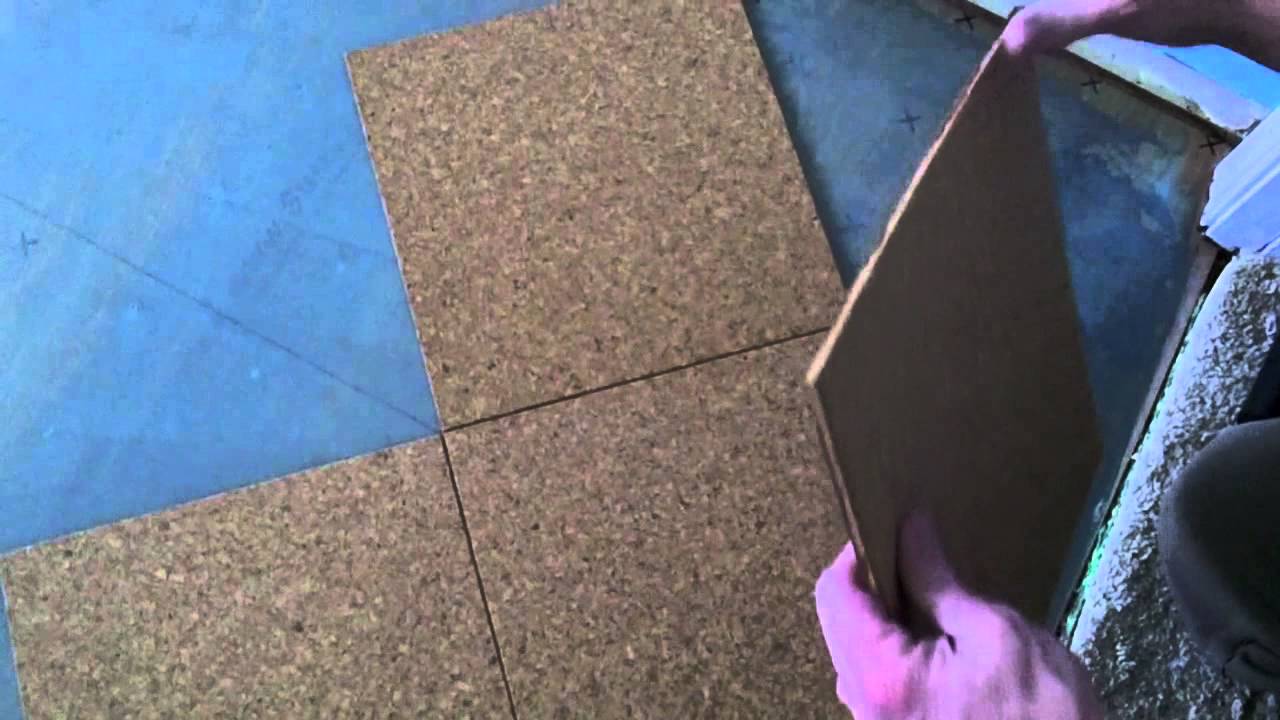
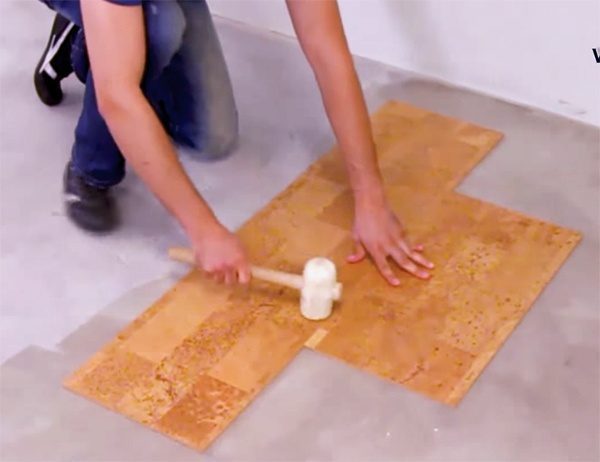
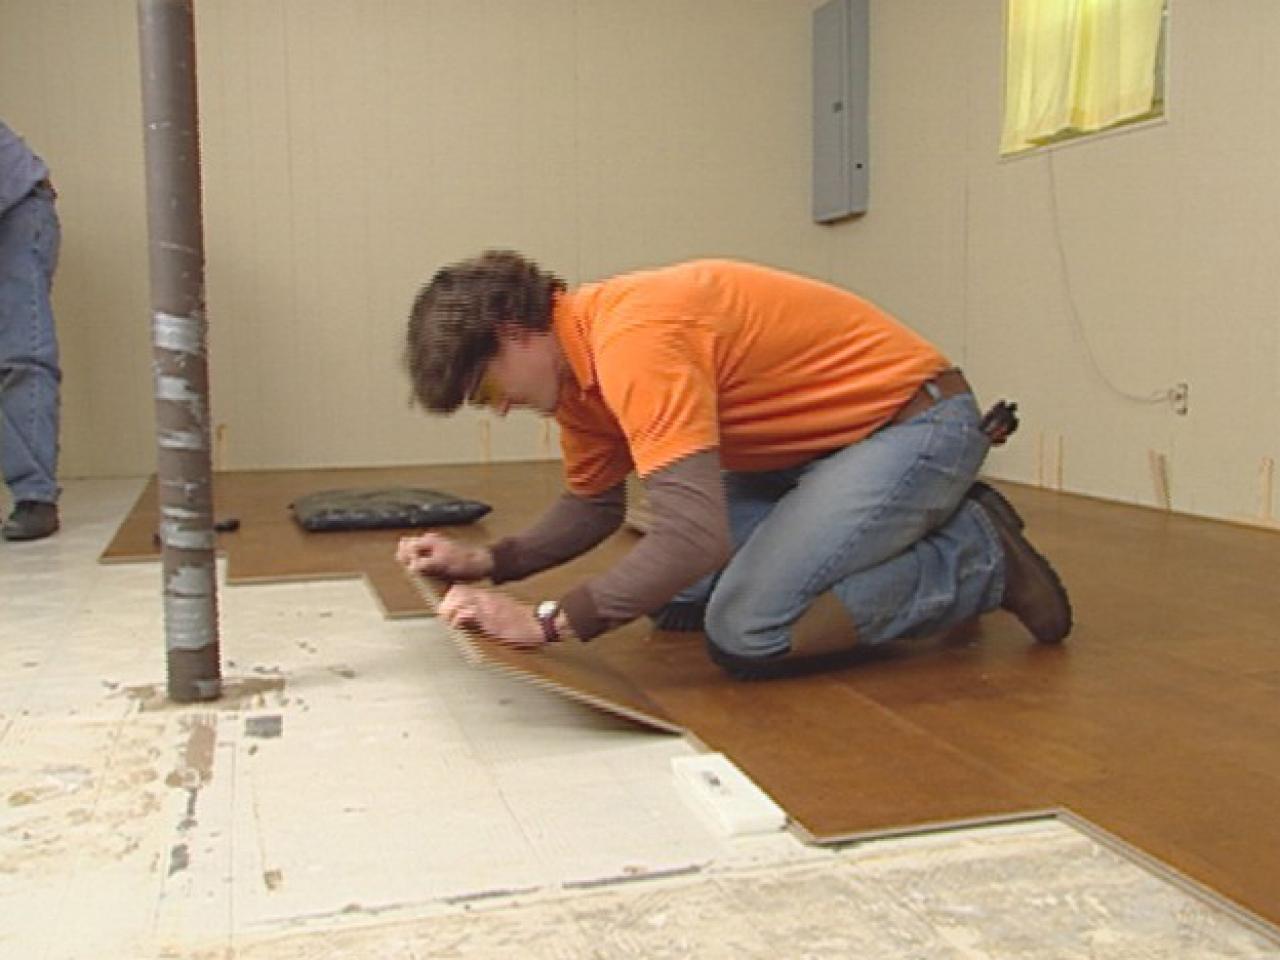
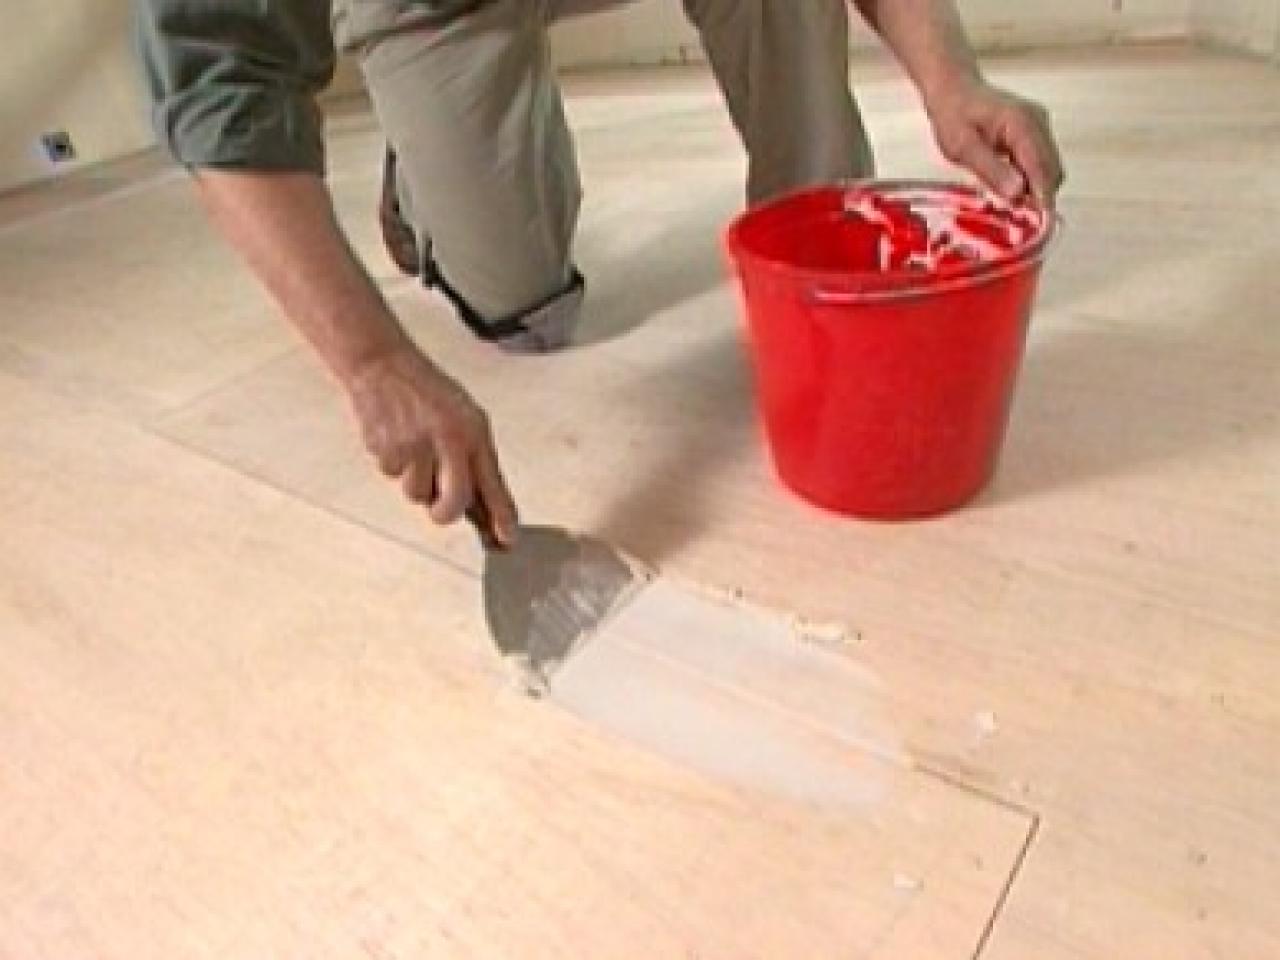
### Applying Adhesive and Placing Cork Floor Tiles
Once the subfloor has been prepared and the cork planks have been acclimated, it’s time to begin applying adhesive and laying the tiles. A good quality adhesive should be applied to the subfloor in sections no larger than 4′ x 4′, using a notched trowel. Once the adhesive has been applied, it should be left to dry for at least 10 minutes before placing the tiles. Once the adhesive has dried, the cork tiles can be placed onto the subfloor with a slight twisting motion. This helps ensure that each tile is properly secured to the adhesive. The tiles should be placed snugly next to each other; any gaps between tiles should be filled with cork filler strips or caulk.
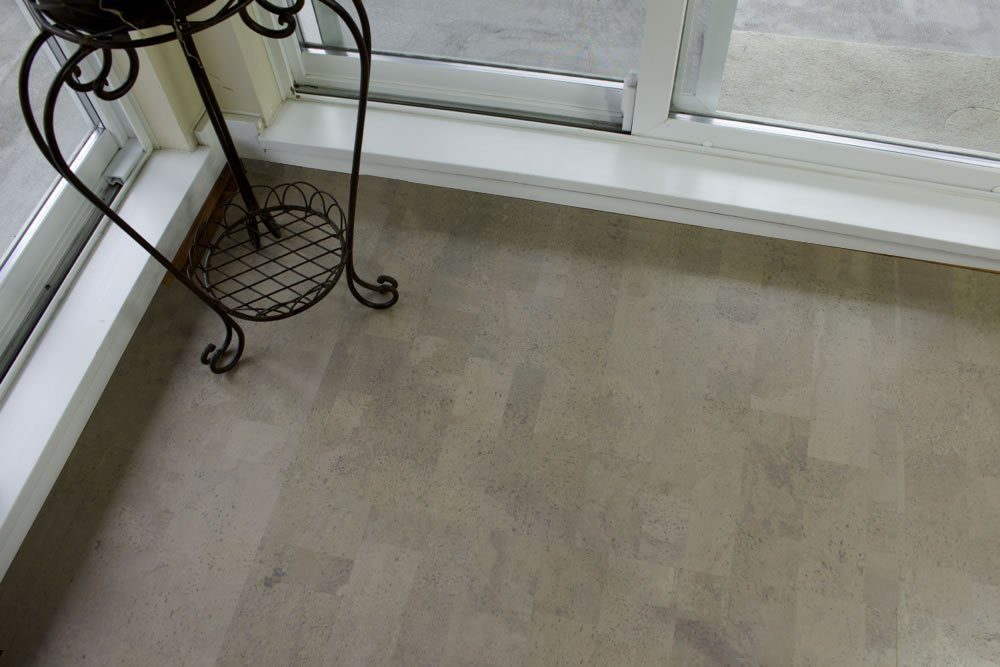
### Finishing Touches
Once all of the tiles are in place, it’s time to add some finishing touches. A cork sealant should be applied to all of the seams and edges of each tile, ensuring that no moisture can seep into the seams. The sealant should also be applied over any filled gaps between tiles as well as any exposed edges of the subfloor. Finally, all seams should be recessed with a router or other suitable tool, creating an even surface across the entire floor.
Installing glue down cork flooring can be a relatively simple task, even for those with minimal DIY experience. With proper preparation and a few finishing touches, you can have a beautiful cork floor in no time!