How To Install Vinyl Tile Flooring Around Toilet

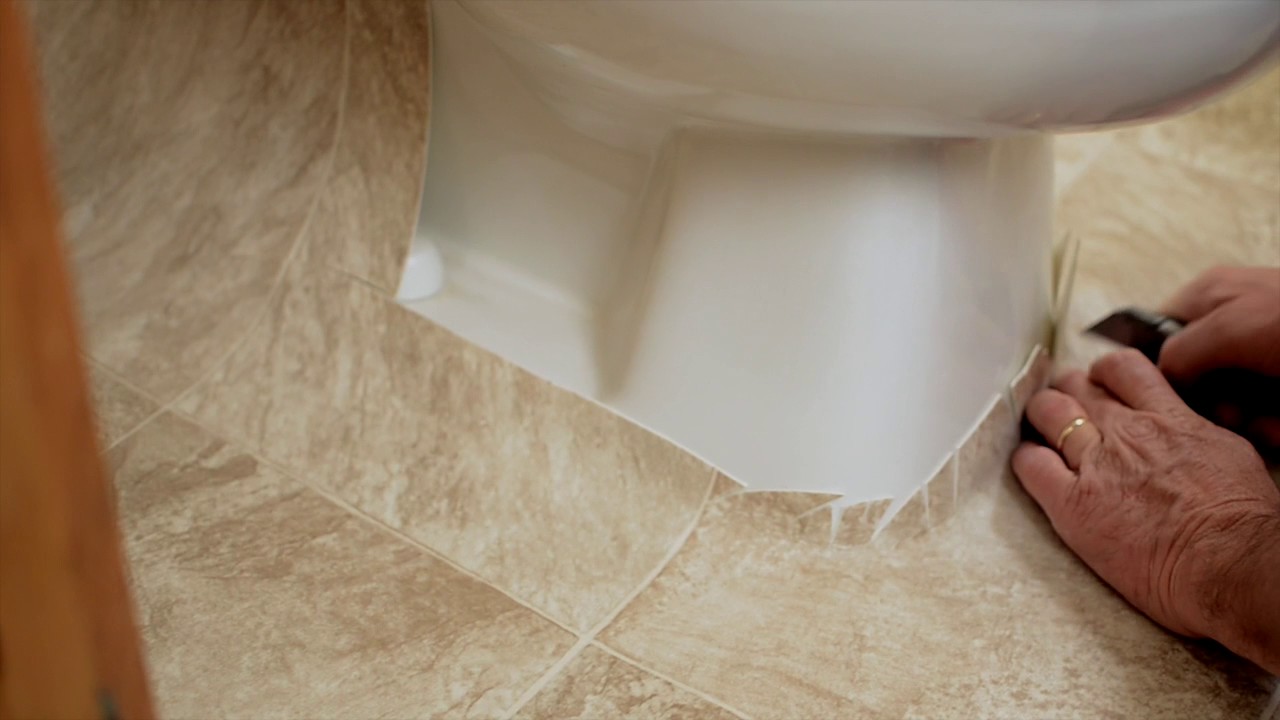
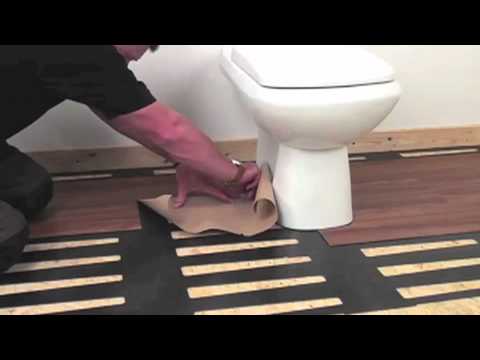
Can You Install Vinyl Plank Flooring Under A Toilet – Tutorial Pics
How To Tile A Bathroom Floor Around A Toilet Eqazadiv Home Design

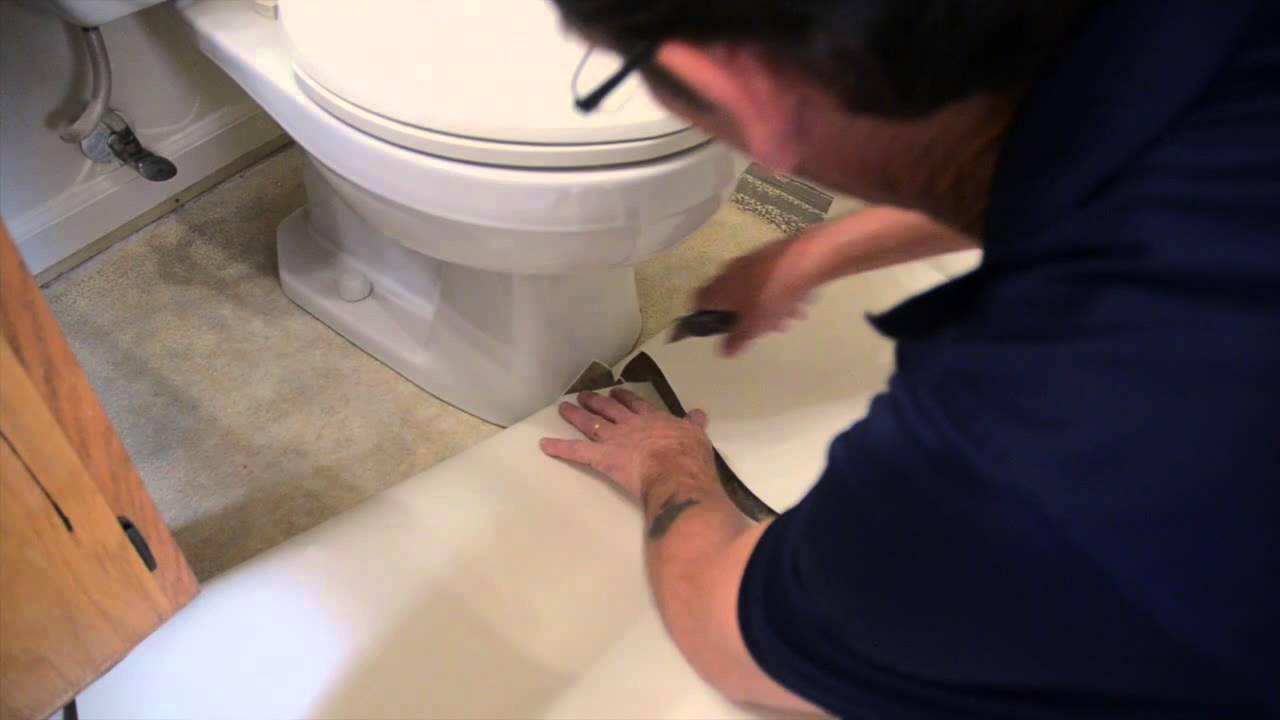
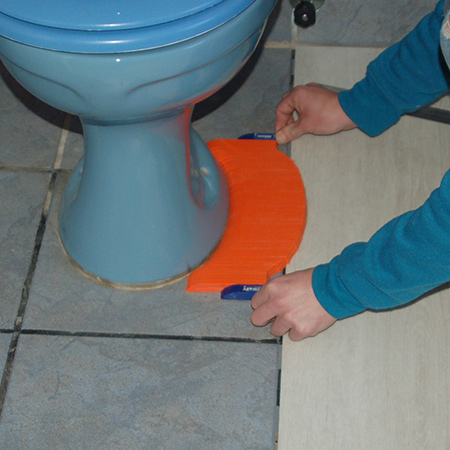
How To Install Vinyl Flooring Around A Toilet – Flooring Ideas
Installing Vinyl Plank Flooring Around Toilet – The Floors

How To Install Vinyl Flooring Around A Toilet – Flooring Ideas

Can You Install Vinyl Plank Flooring Under A Toilet – Tutorial Pics
How Do You Install Vinyl Plank Flooring Around A Toilet Viewfloor.co
How To Install Vinyl Flooring Around A Toilet – Flooring Ideas
Installing Vinyl Plank Flooring Around Toilet – The Floors

HOME DZINE Bathrooms Cover up ugly tiles with Belgotex LVT flooring
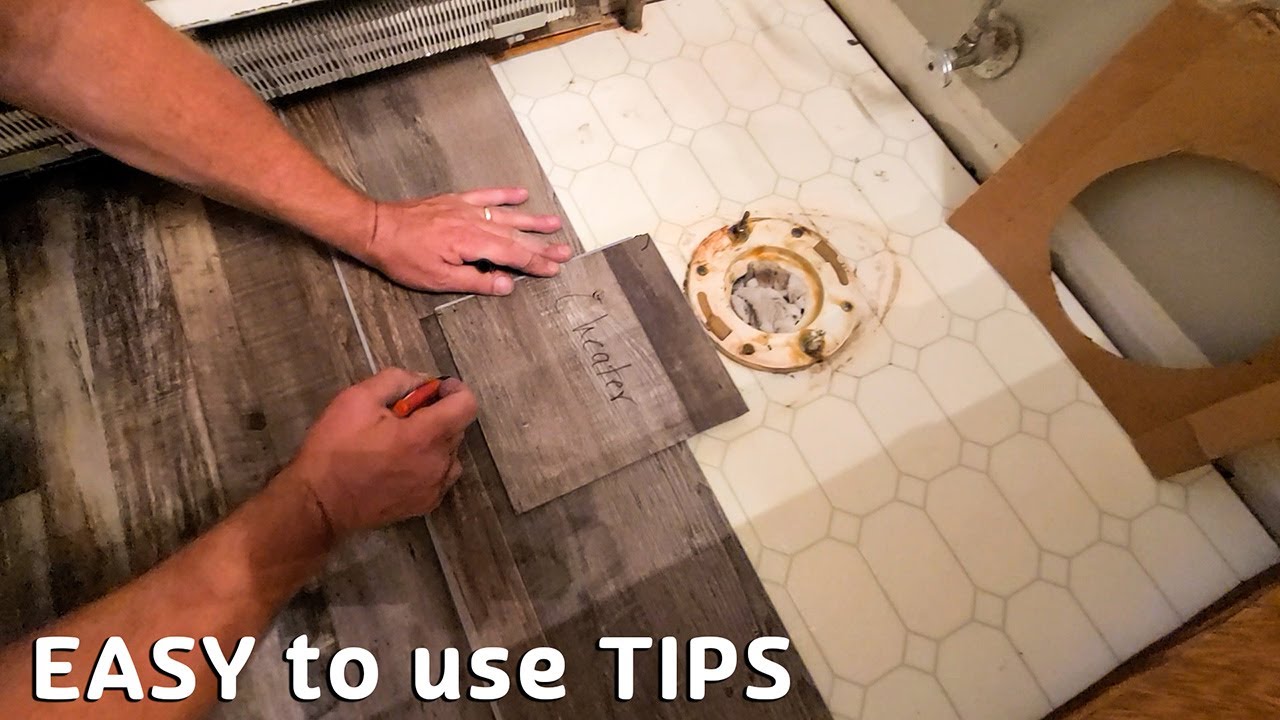
How To Cut Vinyl Plank Flooring Around Toilet Floor Roma

Related Posts:
- Cuban Tile Floors
- Easy Way To Grout Tile Floor
- Types Of Marble Tile Flooring
- Slate Tile Floor
- Classic Bathroom Tile Floors
- Tile Floor Color Ideas
- Wet Mops For Tile Floors
- Staining Saltillo Tile Floors
- Terrazzo Tile Floor Outdoor
- Tile Flooring For Screened Porch
Installing vinyl tile flooring around a toilet can be a tricky business, but it doesn’t have to be. With the right tools and materials, you can easily install vinyl tile around your toilet and make sure that it looks great and lasts for years to come. Here’s a step-by-step guide on how to install vinyl tile flooring around a toilet.
## What You’ll Need
Before you get started, you’ll need to make sure that you have all the necessary materials and tools needed for the job. You’ll need:
* Vinyl tiles
* Grout
* Seam sealer
* Notched trowel
* Utility knife
* Level
* Masking tape
* Sponge
* Putty knife
* Painter’s tape
* Chalk line
* Vacuum cleaner
* Bucket
* Rags
* Safety glasses
* Gloves
## Preparing the Toilet Area
Before you start laying down the vinyl tiles, you’ll need to make sure that the area around your toilet is properly prepared. Start by removing any old tiles or other material that may be in the area. Once that’s done, use a putty knife to scrape away any dirt or debris that may be stuck on the surface. This will help create a smooth surface for your new tiles.
Now, use a vacuum cleaner to make sure that there is no dust or debris left behind. Next, use masking tape to create an outline of your work area. This will help ensure that you don’t accidentally tile outside of this area. Finally, use a level and chalk line to draw a straight line in the middle of your work area, as this will help provide an even base for your tiles.
## Laying Down the Vinyl Tiles
Now it’s time to start laying down the vinyl tiles. If you’re using self-adhesive tiles, make sure to peel off the backing paper before placing them down in your desired pattern. If you’re using non-adhesive tiles, spread some adhesive on the back of each one before putting it into place.
Once all of your tiles are securely in place, use a notched trowel to spread some grout over them. This will help keep them firmly in place and make sure that they create a solid base for your flooring. Use a wet sponge to clean up any excess grout and make sure that it is evenly spread between all of your tiles.
## Finishing Up
Once your grout has had enough time to dry (at least 24 hours), you can use painter’s tape to run along all of the edges of your tiles and then spread some seam sealer over them. This will help ensure that no water gets into any of the seams and cause damage to your flooring. Finally, use a putty knife and rag to remove any excess sealer before letting it dry for another 24 hours.
And there you have it – now you know how to install vinyl tile flooring around toilet! With just a few simple steps and the right materials and tools, you can easily create a beautiful and lasting addition to your bathroom flooring.