Installing Linoleum Tile Flooring

How to Install Linoleum Square Tiles : Let’s Talk Flooring – YouTube

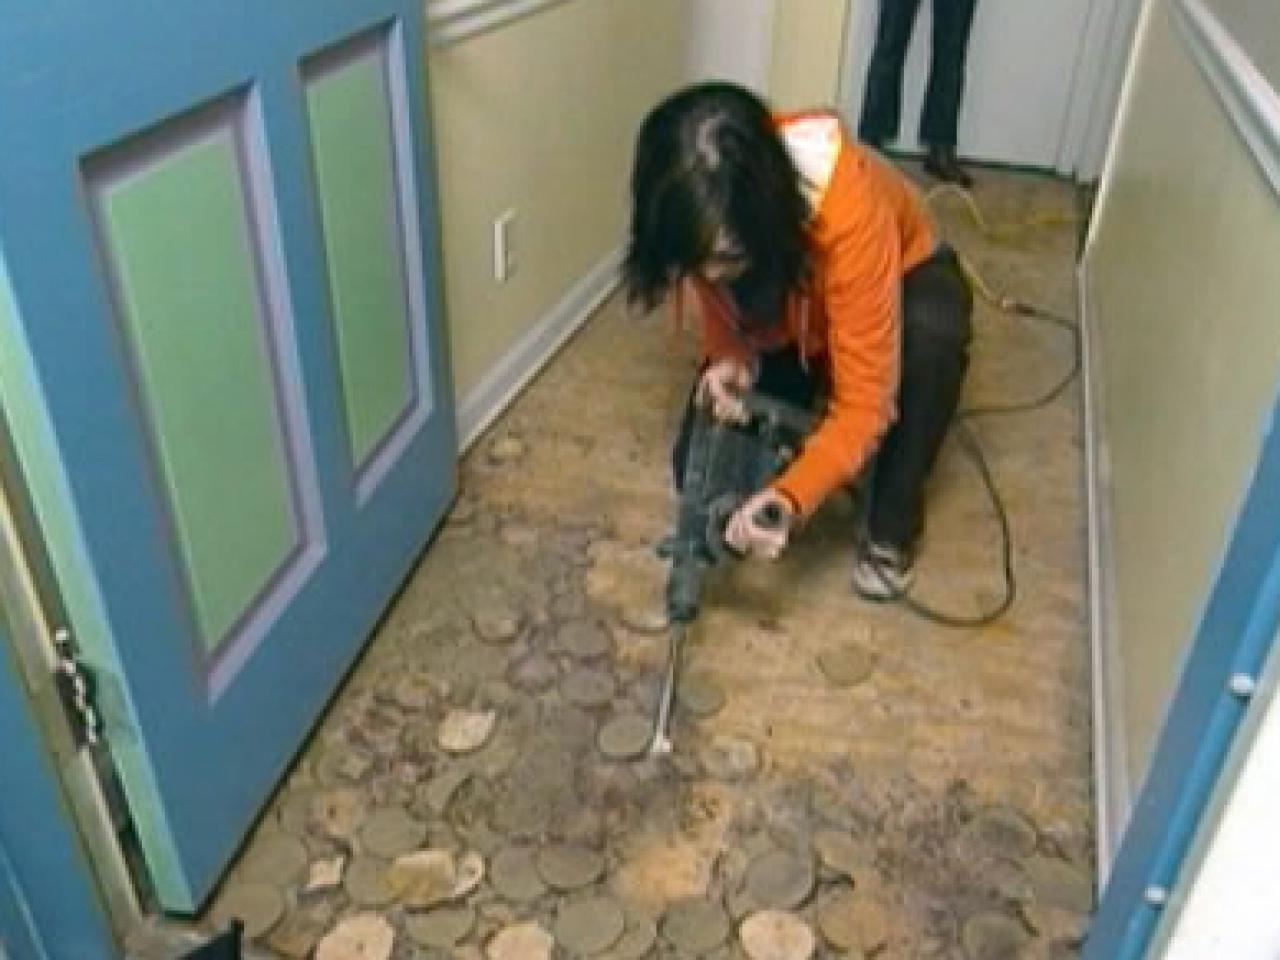
Linoleum: February 2015

How to Install Peel and Stick Vinyl Tile Over Linoleum – Simply2moms

Installing Linoleum Over Wood Floor – The Floors

Cost To Install Linoleum Flooring – Estimates, Prices & Contractors

How To Install Vinyl Plank Flooring Over Linoleum – have vinyl flooring under hardwood

Can You Lay Sheets Of Linoleum Over Vinyl Tile Flooring – can vinyl flooring be painted over

How To Install Vinyl Plank Flooring Over Linoleum – have vinyl flooring under hardwood
How To Install Vinyl Plank Flooring Over Linoleum – have vinyl flooring under hardwood

How To Install Vinyl Tile Flooring On Plywood – install laminate over vinyl flooring

How to Lay a Vinyl Tile Floor – This Old House
/cdn.vox-cdn.com/uploads/chorus_image/image/65891755/howto_vinylfloor_05.0.jpg)
Related Posts:
- Cuban Tile Floors
- Easy Way To Grout Tile Floor
- Types Of Marble Tile Flooring
- Slate Tile Floor
- Classic Bathroom Tile Floors
- Tile Floor Color Ideas
- Wet Mops For Tile Floors
- Staining Saltillo Tile Floors
- Terrazzo Tile Floor Outdoor
- Tile Flooring For Screened Porch
Linoleum tile flooring is a great option for homeowners looking for an affordable and stylish way to give their home a facelift. The resilient material is easy to maintain and comes in a variety of colors and textures, making it an ideal choice for any room in the house. While it may look intimidating, installing linoleum tile flooring is actually quite simple, and can be done with just a few basic tools.
## What You’ll Need to Complete the Job
Before you start installing your linoleum tile flooring, you’ll need to make sure you have the necessary supplies for the job. Here’s a list of what you’ll need:
* Linoleum tiles
* Underlayment
* Tape measure
* Pencil or chalk line
* Grout float
* Sponge
* Utility knife
* Notched trowel
* Utility bucket or mop bucket
* Rubber mallet
* Spacer wedges
* Caulk gun (optional)
## Preparing the Space for Installation
Once you have all of your tools and supplies, the next step is to prepare the space that will be receiving the new linoleum tiles. Start by removing any existing flooring material, such as carpet, vinyl, or wood. If there is adhesive residue left behind, use a scraper to remove it. Once all of the old materials have been removed, clean up any dust or debris that may remain. Then, make sure that the subfloor is level; if it isn’t, use self-leveling compound to correct any uneven areas.
## Installing Underlayment and Tiles
The next step in installing linoleum tile flooring is to install the underlayment. This will provide an extra layer of cushioning and support for your new tiles. Make sure that the underlayment is firmly attached to the subfloor and that there are no gaps or air pockets. Once you’ve got the underlayment installed, it’s time to start laying out your tiles. Measure the room and mark off where each tile will go with a pencil or chalk line. To ensure accuracy, use spacers between each tile to keep them even.
## Applying Adhesive and Grouting
Once you’ve got your tiles laid out, it’s time to apply adhesive and grout them into place. Start by applying adhesive with a notched trowel onto each tile and press into place firmly with a rubber mallet. Once all of the tiles are adhered to the underlayment, mix up some grout and fill in the gaps between each tile with a grout float. Once all of the grout is applied, use a sponge to wipe away any excess grout before it dries. If you plan on using caulk around your tiles, now is the time to do so with a caulk gun.
## Finishing Up
Once all of the adhesive and grout has had time to dry, your linoleum tile flooring installation is complete! To help keep your new floors looking their best, sweep them regularly and mop as needed with a damp mop or sponge mop using warm water and a mild detergent or cleaning solution. For tougher stains, use an all-purpose cleaner specifically formulated for linoleum surfaces.
Installing linoleum tile flooring can be an easy way to upgrade any room in your home without breaking the bank. With just a few simple tools and some patience, you can easily transform your space into something unique and beautiful!