How to Lay Cork Floor Tiles

How to Lay a Cork Floor Kitchen tiles design, Cork flooring, Easy kitchen upgrade

How to Install Cork Flooring – (Tips and Guidelines For Your DIY Project)

How To Lay Cork Flooring – Flooring Blog

How to Install Natural Cork Flooring how-tos DIY
Natural Cork Flooring DIY

How to Lay a Cork Floor Cork flooring, Cork flooring kitchen, Flooring

Cork Flooring How To Install – Flooring Site

Evolution of Cork Flooring: From pushpins to fashion-forward design – Construction Canada
How To Install A Floating Cork Floor Young House Love Cork flooring, Flooring, Floor

How To Install A Floating Cork Floor Young House Love Cork flooring, Flooring, Young house love

Best Underlayment For Cork Flooring – Flooring Ideas
Related Posts:
- Glue Down Cork Flooring
- Cork Flooring for Exercise Room
- What Are The Benefits Of Cork Flooring
- Cork Flooring in Laundry Room
- Scandia Plank Cork Flooring
- Cork Floors That Look Like Hardwood
- How To Paint Cork Flooring
- Cork Flooring Renovation
- Cork Flooring Interior Design
- Natural Cork Flooring Ideas
# How to Lay Cork Floor Tiles
Cork flooring is a popular choice for many people due to its durability and comfort. Cork floor tiles are made from cork, a natural material that is lightweight yet strong. It is an ideal choice for those looking to add a warm, natural look to their home. Laying cork floor tiles can be a relatively simple process, but there are some important tips and tricks to keep in mind.
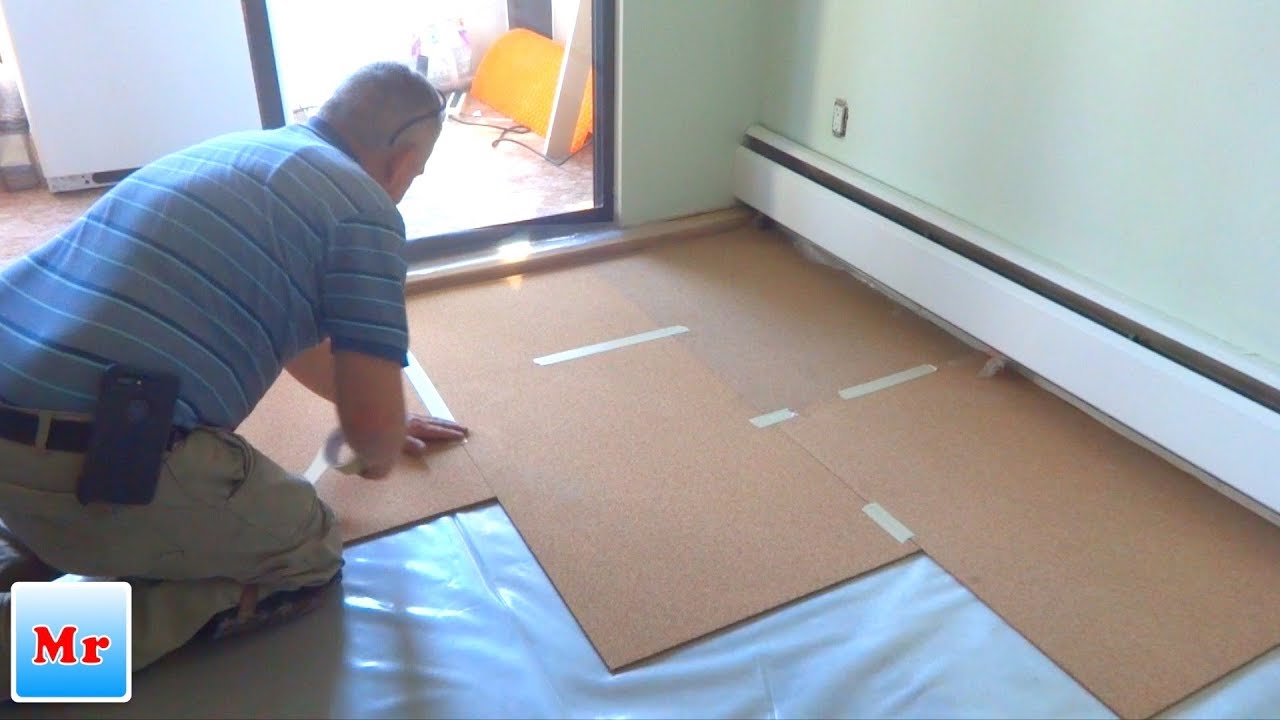
## Preparing the Subfloor
Before you can begin laying cork floor tiles, it is important to make sure the subfloor is level and free from any debris or imperfections. If there are any holes or uneven areas in the subfloor, these should be filled in with a suitable material such as sand or concrete. You will also need to make sure the subfloor is clean and free from dust and dirt before you start laying the tiles.
## Applying Adhesive
Once the subfloor has been prepared, it is time to apply the adhesive. Most cork tiles come with an adhesive backing that should be applied directly to the subfloor before laying the tiles. The adhesive should be allowed to dry for at least 24 hours before proceeding with the next step.
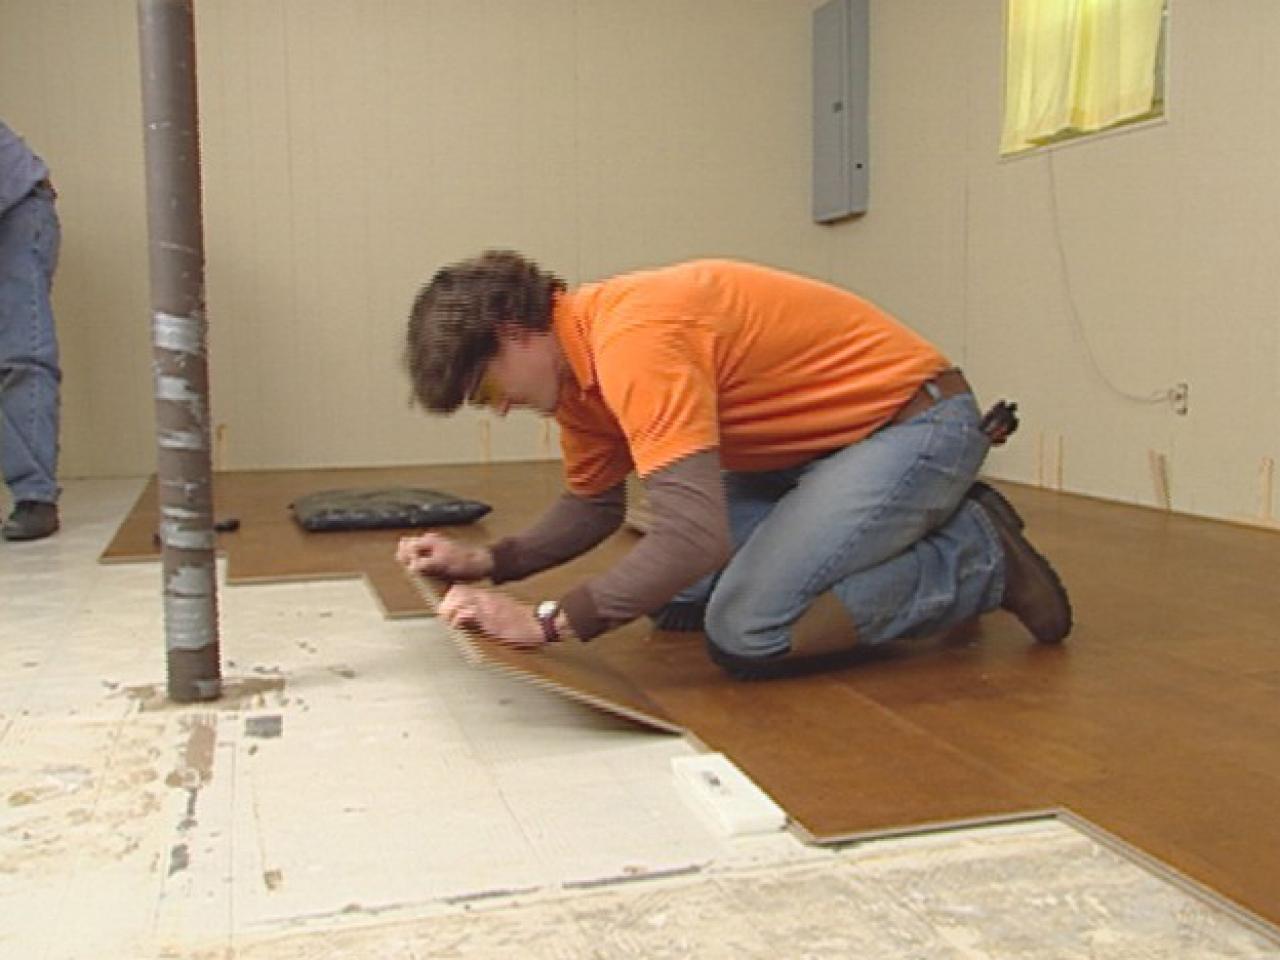
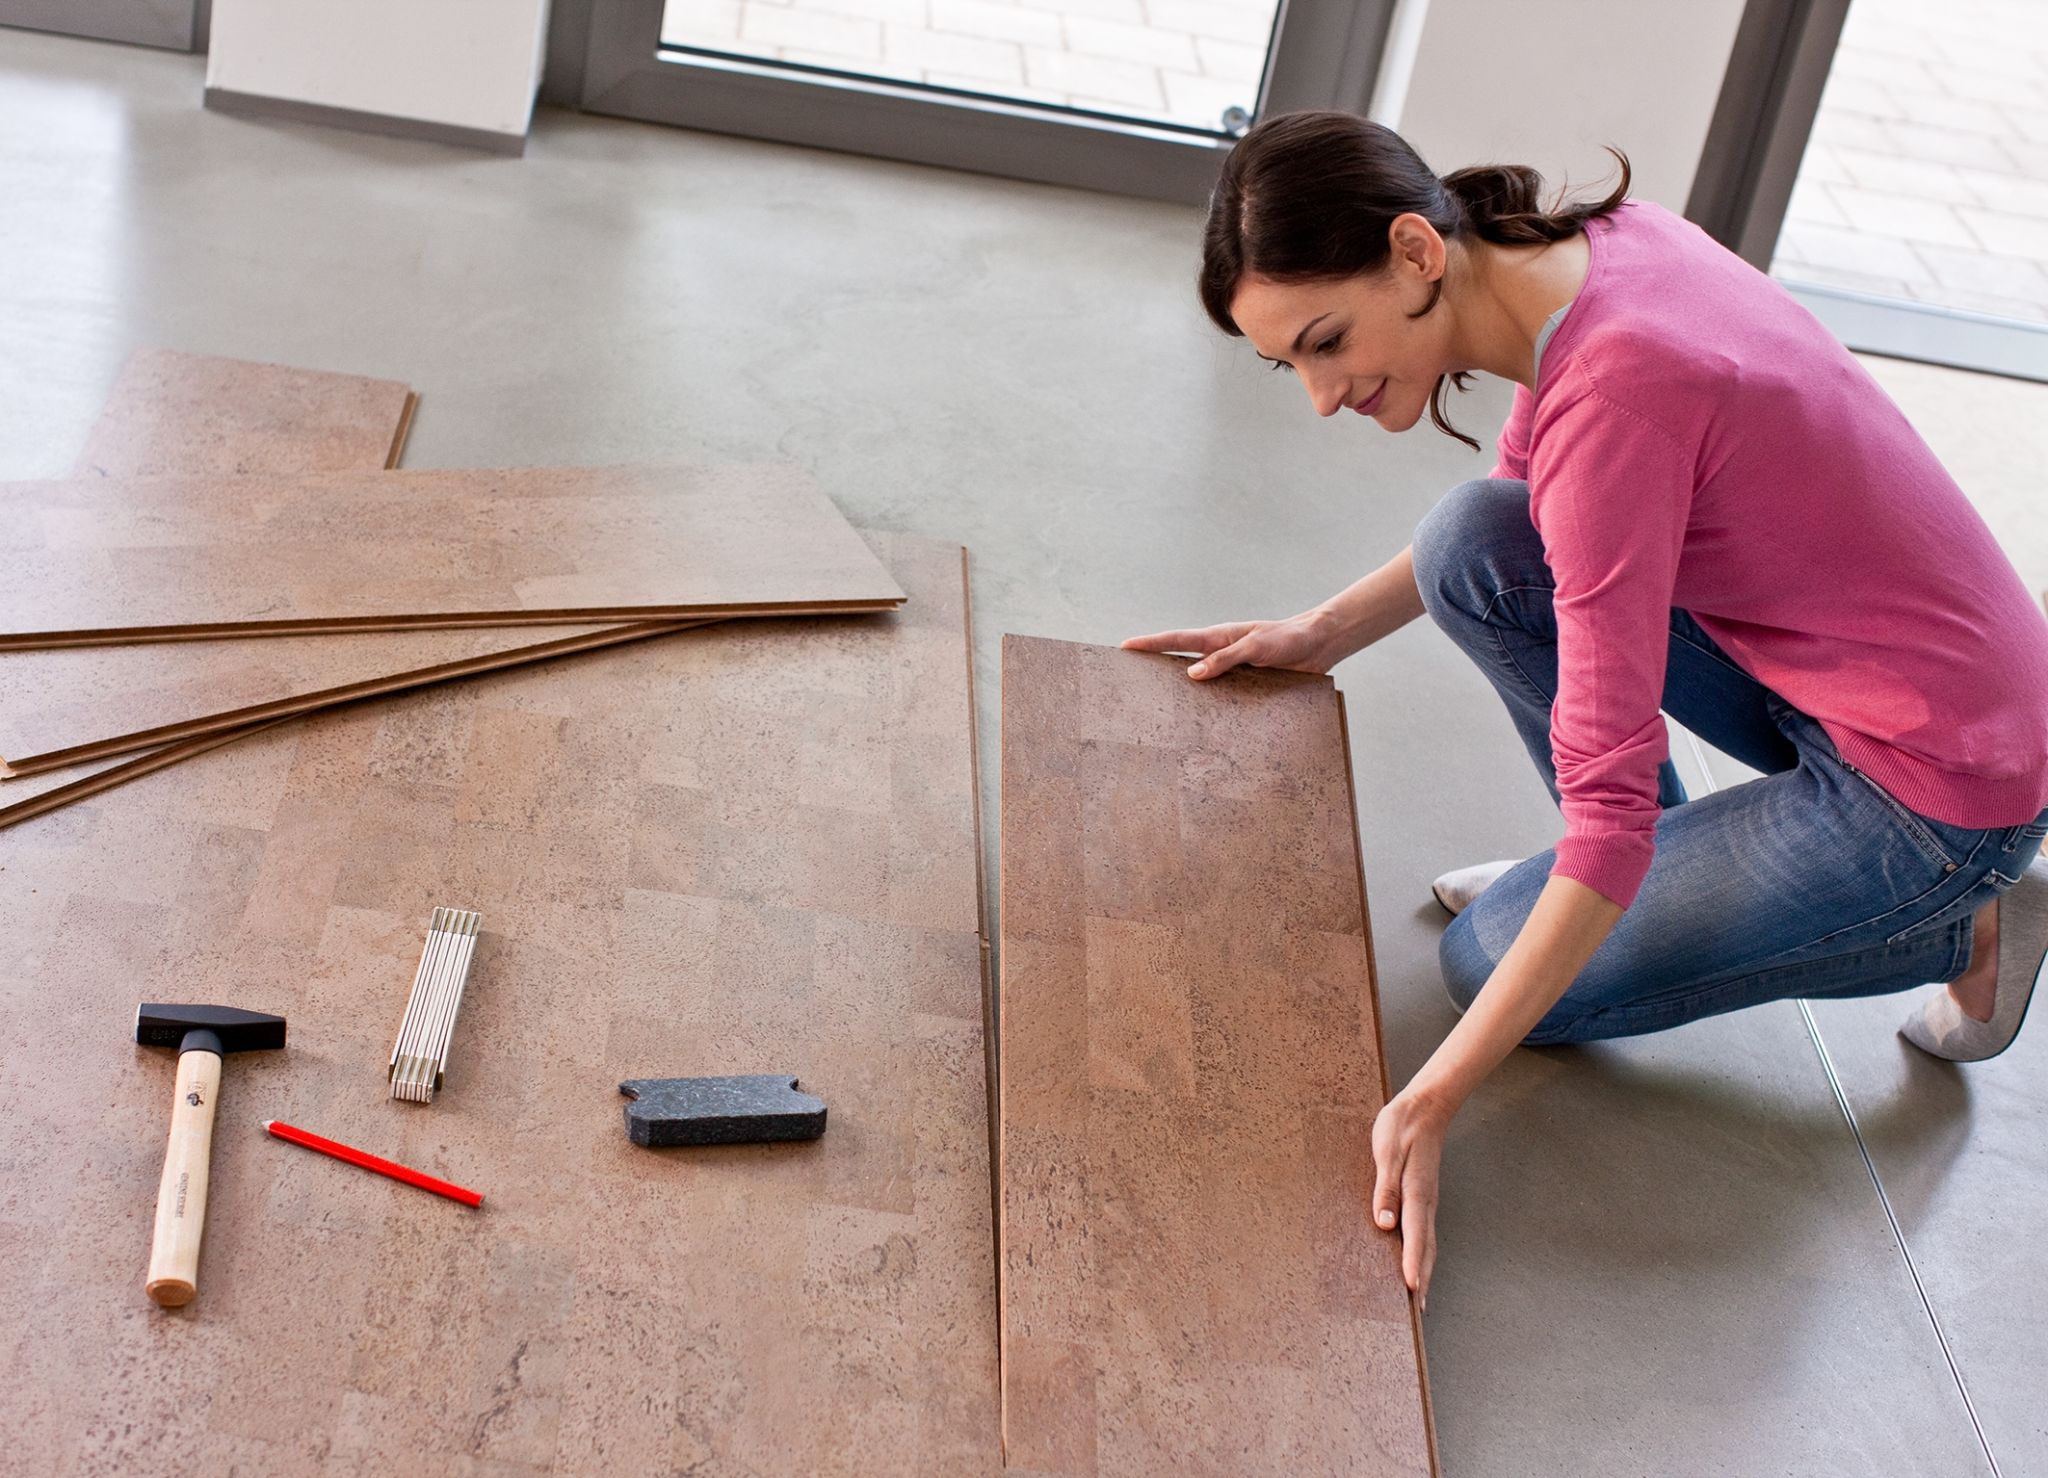
## Laying the Tiles
Once the adhesive has dried, it’s time to begin laying the cork tiles. Start at one corner of the room and work your way outwards, making sure to follow any patterns that may have been laid out in advance. Make sure each tile is firmly pressed into place and that there are no gaps between them. Once all of the tiles have been laid out, you can use a roller or heavy object to ensure they are properly adhered to the subfloor.
## Finishing Touches
Once all of the cork tiles have been laid out, it’s time to add any finishing touches. This may include trim pieces along the edges of the room or grout lines between each tile if desired. Grout lines help to create a more finished look and also prevent dirt and debris from getting into the spaces between each tile.
Laying cork floor tiles is a relatively simple process, but it does require careful preparation and attention to detail. Taking your time and following these steps will ensure that your cork flooring lasts for many years to come.
What type of adhesive should be used to install cork floor tiles?
A high-quality adhesive specifically designed for cork floor tile installation should be used.
What is the best type of adhesive for cork floor tiles?
The best type of adhesive for cork floor tiles is a solvent-free, water-based, contact adhesive. This type of adhesive will allow for a strong bond between the cork tile and the substrate while still allowing for some flexibility. Additionally, it is low-odor and will not cause any damage to the cork tiles or the surface upon which it is applied.