How To Lay Marble Floor Tile
How to Install Marble Tile – Tidbits
Installing marble tile Pro Construction Guide

Tips & Articles – Natural Stone Online

How to Install Marble Floor Tiles
:max_bytes(150000):strip_icc()/5-56a2fc793df78cf7727b6a26.jpg)
How to Install Granite or Marble Floor Tiles – Fulei Stone
How to Lay Marble Tiles Diagonally Tile floor, Tile floor diy, Flooring

12"x24" (30×60) marble tile installation using Perfect Level Master Tile installation, Marble

How to install marble tiles – YouTube
How to Install a Marble Tile Backsplash Marble tile backsplash, Marble tile, Marble tile

Tips and Troubleshooting When Tiling a House Yourself Tile floor, Ceramic floor tiles, Marble

Пин на доске In the lavatory

Related Posts:
- Marble Floor Polishing
- Italian Marble Flooring Designs
- Clean Marble Floor Tiles
- DIY Marble Floor Polish
- Beige Marble Floor Tiles
- Red Marble Floor Tile
- Sealing Honed Marble Floors
- Marble Floor Maintenance
- Marble Floor In Bedroom
- Modern Marble Floor Pattern Design
Marble floor tiles are a classic choice for any home. Their classic elegance and timeless beauty make them a popular option for creating a luxurious and sophisticated look in any room. However, laying marble floor tile is no small task; it requires precision and skillful execution. This guide will walk you through the step-by-step process of laying marble floor tile so you can attain the perfect finished look in your home.
## Preparing the Subfloor
Before you can lay your marble tiles, you need to prepare the subfloor. Begin by inspecting the subfloor for any signs of damage or irregularities. If you find any problems, repair them before proceeding. Once that is done, vacuum the subfloor to ensure it is free of dust and debris. Next, apply a layer of primer to the subfloor to ensure that the tiles adhere properly. Finally, if necessary, install a moisture barrier to protect the tiles from moisture damage.
## Planning Your Layout
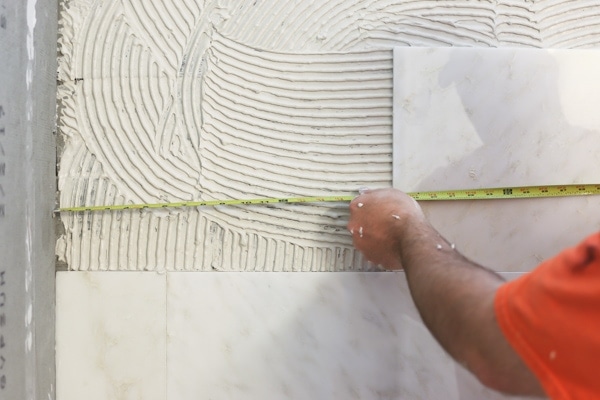
Once your subfloor is ready, you can begin planning your tile layout. Start by measuring out the area where you intend to lay the tiles and mark out the center of the space with a pencil or chalk line. This will give you an idea of how many tiles you’ll need and help you visualize what your finished product will look like. When laying out your tile pattern, be sure to leave enough room for grout lines around each tile; this will help support them and create a professional looking finish.
## Spreading Adhesive and Setting Tiles
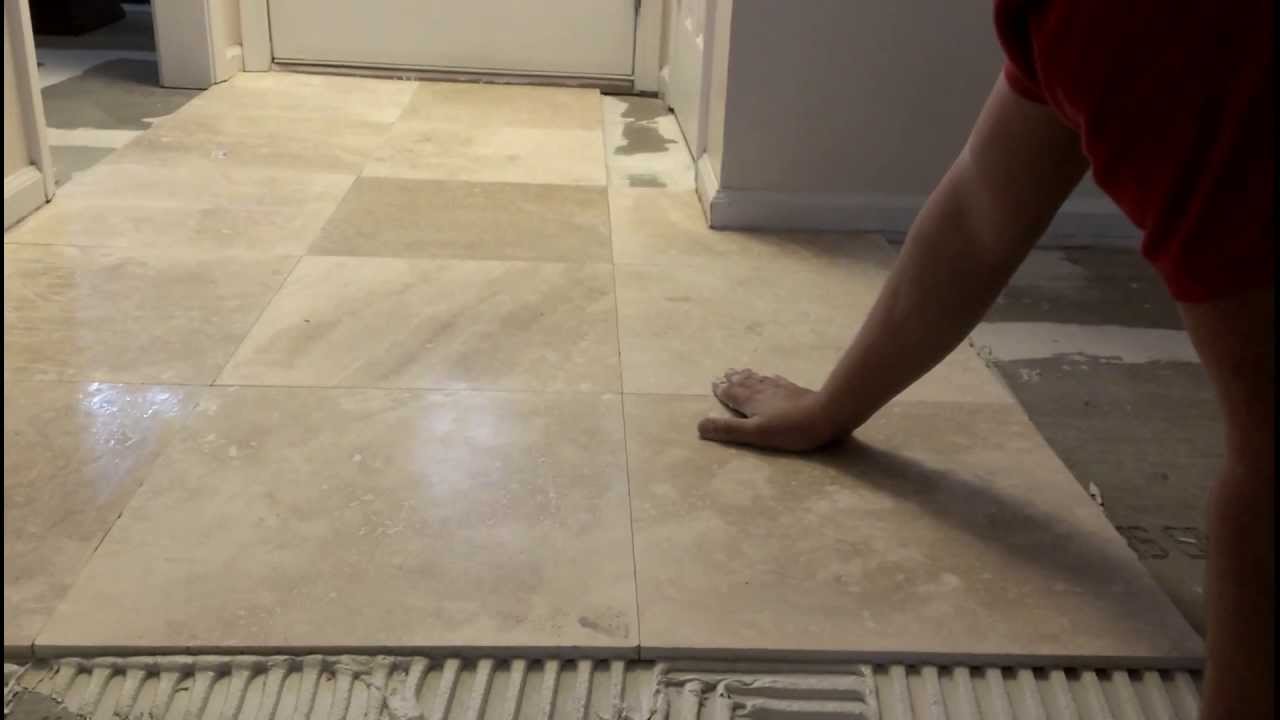
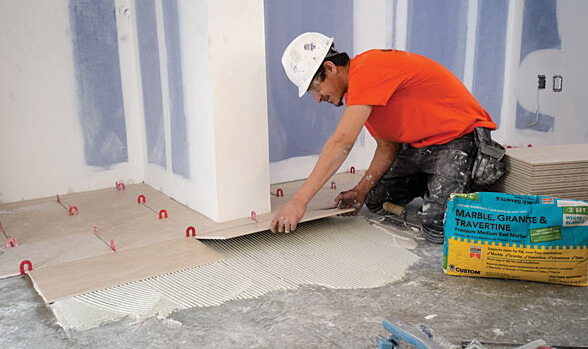
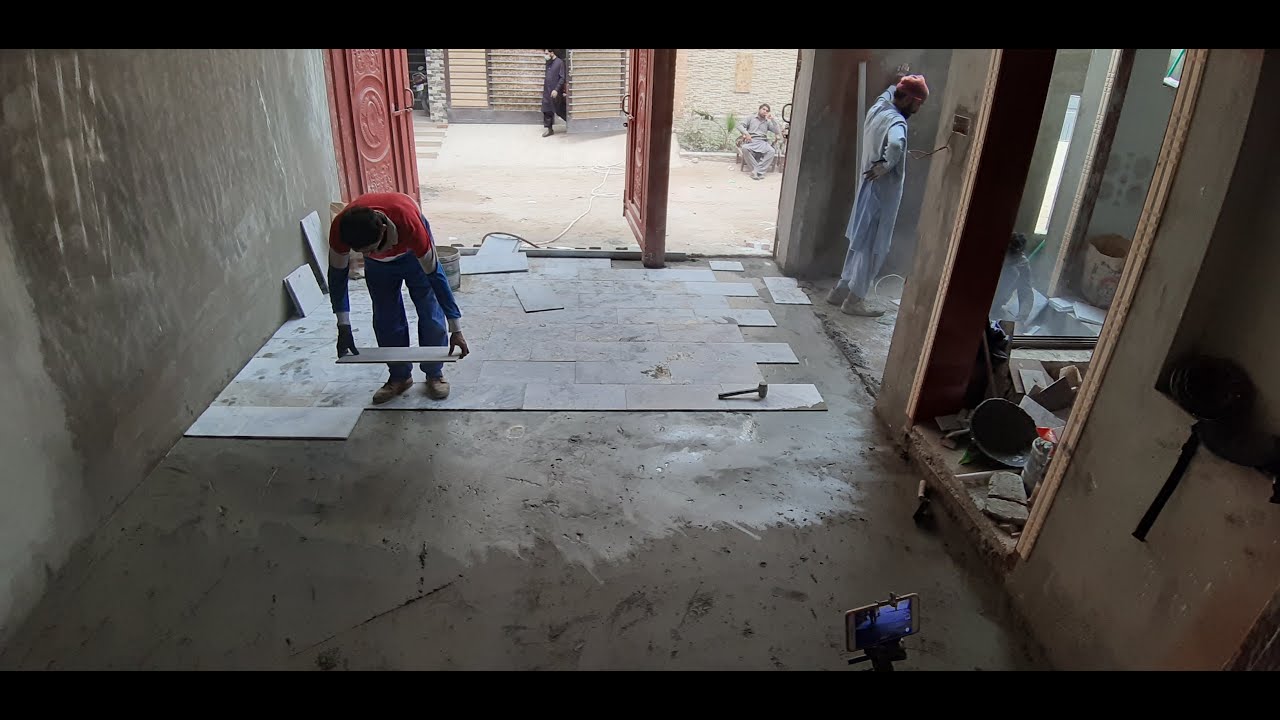
Once your tile layout is planned out, you’re ready to start laying your tiles. Begin by spreading adhesive onto the subfloor using a notched trowel. Spread it evenly over the surface and then begin setting the marble tiles one by one. Press each tile firmly into place and use spacers between each one to ensure they are spaced evenly apart. Once all of the tiles are in place, allow them to set for at least 24 hours before continuing.
## Sealing Your Tiles
After allowing your tiles to set for 24 hours, it’s time to seal them. Begin by vacuuming away any dust or debris from between the tiles and then apply a sealer using a paintbrush or roller. The sealer will help protect your marble tiles from spills and stains while also helping them maintain their classic elegant appearance for years to come.
## Finishing Touches
Once your marble tiles are sealed, you’re almost finished! All that’s left to do is clean up any excess adhesive or sealer and then grout between each tile using a grout float. Apply grout in small sections at a time and then wipe away any excess with a damp cloth before moving onto the next section. Once all of your grout lines are filled in, you’re ready to enjoy your new luxurious marble flooring!
Laying marble floor tile is no easy task, but with careful preparation and planning you can achieve beautiful results that last for years to come. Follow these steps and you’ll have a luxurious flooring that will add style and sophistication to any room in your home!