How To Remove Vinyl Floor Tile Squares
maxresdefault.jpg

How To Remove Vinyl Floor Tile Squares – Flooring Ideas
How to Remove Vinyl Flooring Removing vinyl flooring, Vinyl flooring, Window cleaning tips

Old Vinyl Tiles Removal from Floor in a Room or Kitchen Stock Photo – Image of house, installing

6 Pics How To Remove Vinyl Flooring Adhesive From Subfloor And Description – Alqu Blog
Removing Linoleum Glue From Concrete Floor – Flooring Ideas
Removing Vinyl Flooring From Wood – Flooring Site
How Do You Remove Vinyl Floor Glue – how to remove old vinyl floor glue
:max_bytes(150000):strip_icc()/RemovingVinylFlooring-5b561e26c9e77c00372a8ae6.JPG)
Installing Your Peel-and-Stick Vinyl Tile Floor – YouTube

How To Remove Old Glue Down Vinyl Flooring With Ease – YouTube
Vinyl Floor Tile Removal – Flooring Site
Related Posts:
- Pine Vinyl Flooring
- Vinyl Floor Laying DIY
- Cortex Vinyl Flooring
- Grey Slate Effect Vinyl Floor Tiles
- Dark Oak Vinyl Flooring
- Limestone Effect Vinyl Flooring
- Vinyl Floor With Border
- Adhesive For Vinyl Flooring To Concrete
- Teak Wood Vinyl Flooring
- Cheap Vinyl Flooring
Removing vinyl floor tile squares can be tricky and time consuming. But it doesn’t have to be! With the right preparation and tools, you can remove those old vinyl tiles quickly and easily. Here’s a step-by-step guide to help you get started.
## Step 1: Preparing the Room for Removal
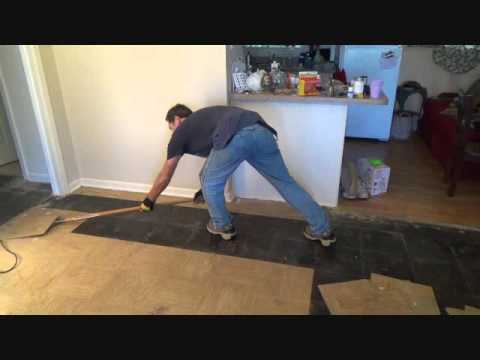
Before you start removing the vinyl floor tile squares, it’s important to prepare the room for the task ahead. Start by removing any furniture from the room as well as any fixtures or appliances that are in the way. You should also cover any items on the floor with a drop cloth or tarp to protect them from damage.
Next, check the condition of your vinyl floor tiles. If they’re cracked, brittle or have loose pieces, they may need to be replaced. It’s also best to test a small area with your removal tool before moving forward with more of the project. Nothing would be worse than starting to remove a large section of tiles only to find out that they aren’t able to be removed without damaging them.
## Step 2: Choosing the Right Tool for the Job
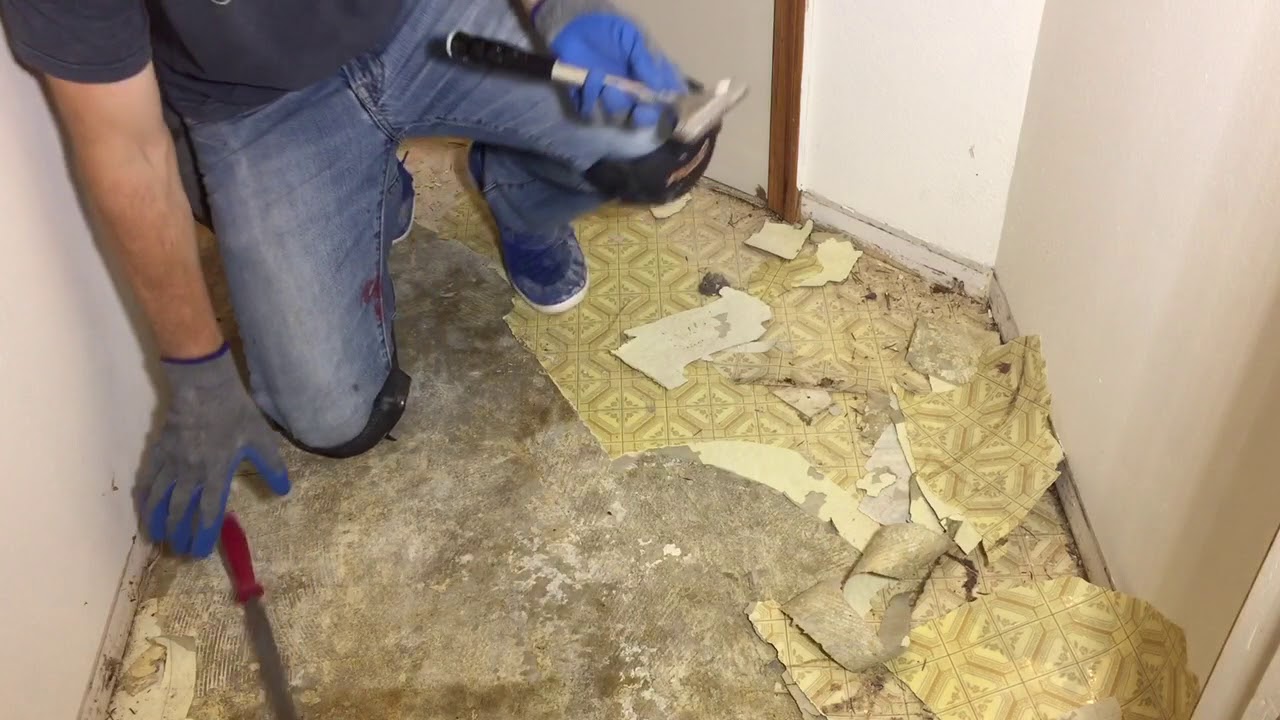
The best way to remove vinyl floor tile squares is with a chisel and a hammer. A standard chisel is designed to cut through tile grout and easily remove tiles without causing damage. You can also use a pry bar if necessary, but it isn’t as effective at removing large sections of tile without breaking them.
Before you start hammering away at your tiles, make sure to wear protective goggles and gloves for safety. It’s also helpful to put down a layer of cardboard or another soft material on top of your tile before you start working so that if any tiles break off, they’ll be easier to collect and clean up afterwards.
## Step 3: Removing Vinyl Floor Tile Squares
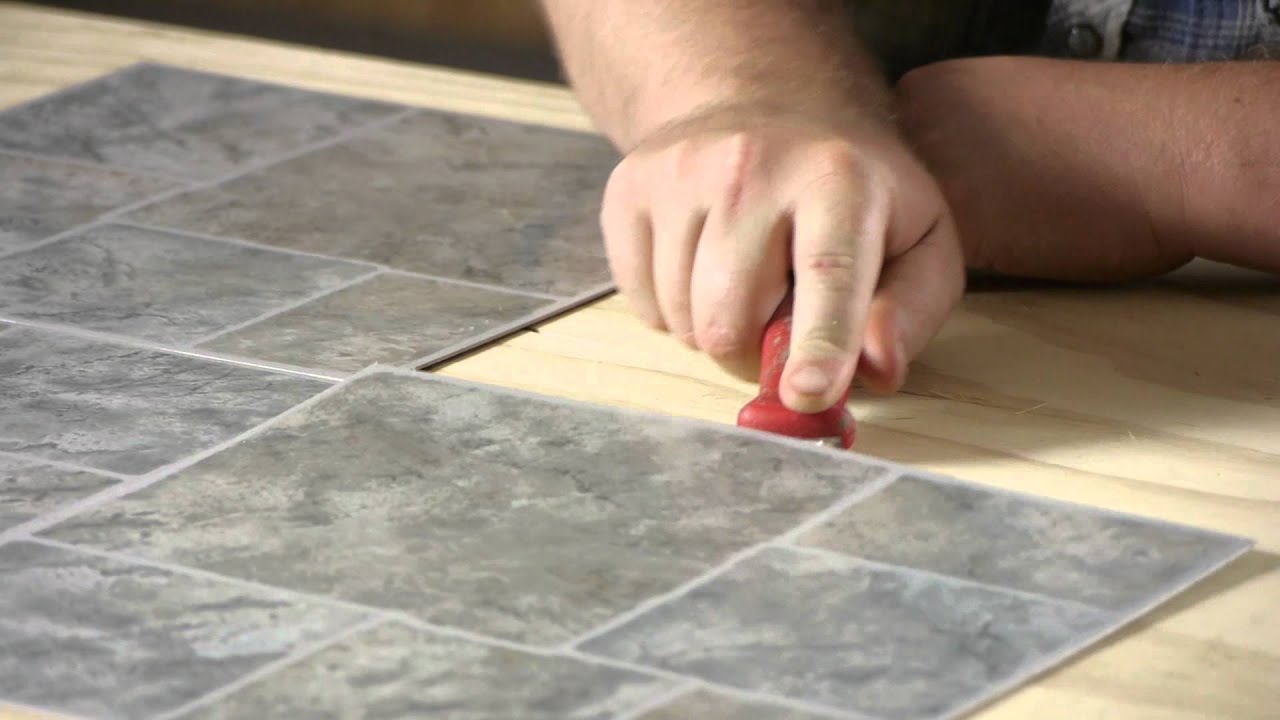
The process of actually removing the vinyl floor tile squares themselves is fairly straightforward. Start by tapping lightly on one corner of the tile with your chisel or pry bar until it starts to loosen from the adhesive underneath. Once one tile has been removed, move on to its neighboring tiles until they too have been loosened from the surface. You may need to use a little more force on some of the thicker tiles but be careful not to hit them too hard or break them into pieces accidentally.
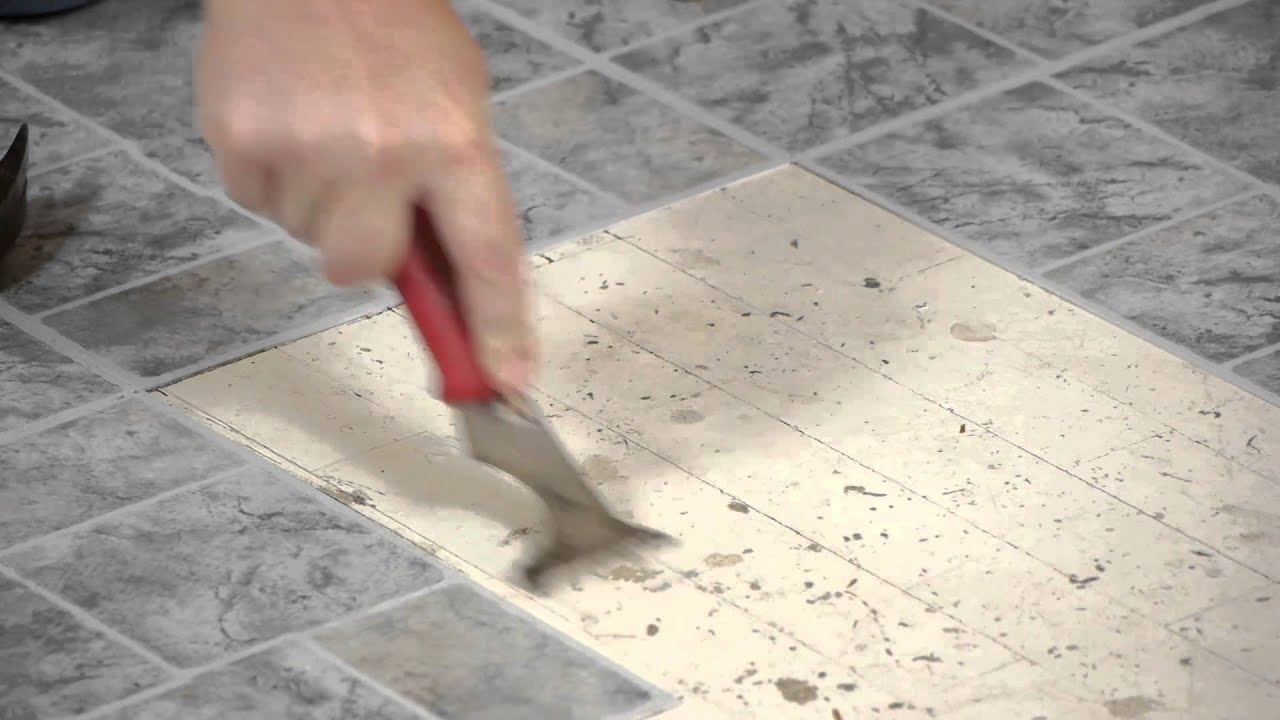
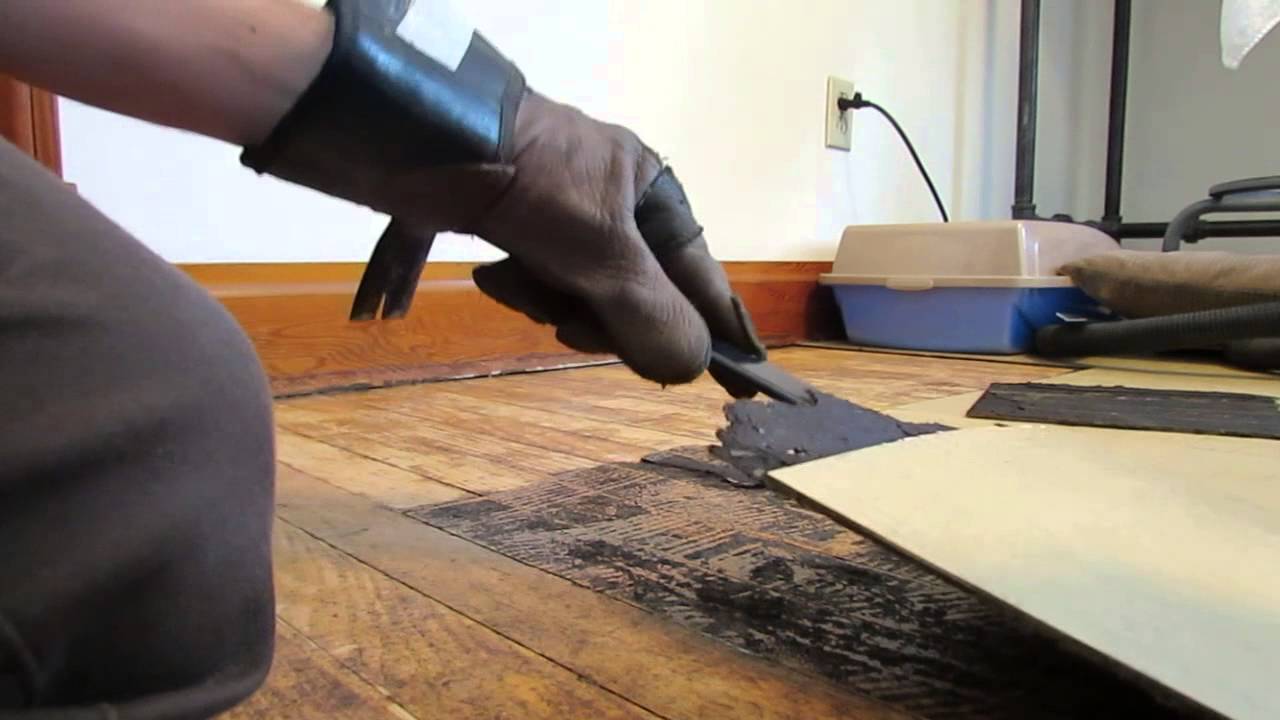
Once all of your vinyl floor tiles have been removed, you’ll need to scrape away any remaining adhesive or grout using a hand scraper or putty knife. Make sure to use caution when doing this so that you don’t scratch or damage your underlying flooring surface.
## Step 4: Clean Up and Disposal
Once all of the old tiles have been removed, it’s time for clean up and disposal! Start by sweeping up all of the debris from your project and clearing out any extra adhesive that might still be present on the surface. Once that’s done, dispose of your old tiles properly according to local guidelines – some states require special disposal methods for hazardous materials like vinyl flooring options so be sure to check before throwing out tiles in your regular garbage can!
## Finishing Up Your Remodel
Congratulations! You’ve just completed one of the most tedious parts of remodeling – removing old vinyl floor tile squares! Now that your old tile is gone, it’s time for you to get creative with what comes next! Whether you decide to put down new tile, hardwood floors, linoleum or carpet, remember that preparation is key when it comes to any remodeling project – so take your time and enjoy your new look when you’re finished!
What tools are needed to remove vinyl floor tile squares?
The tools needed to remove vinyl floor tile squares include a strong putty knife or scraper with a sharp edge, a hammer for popping up the tiles, a chisel to break them into smaller pieces, a vacuum cleaner for sucking up the debris, and safety goggles and gloves for protection.What is the best way to remove vinyl floor tile adhesive?
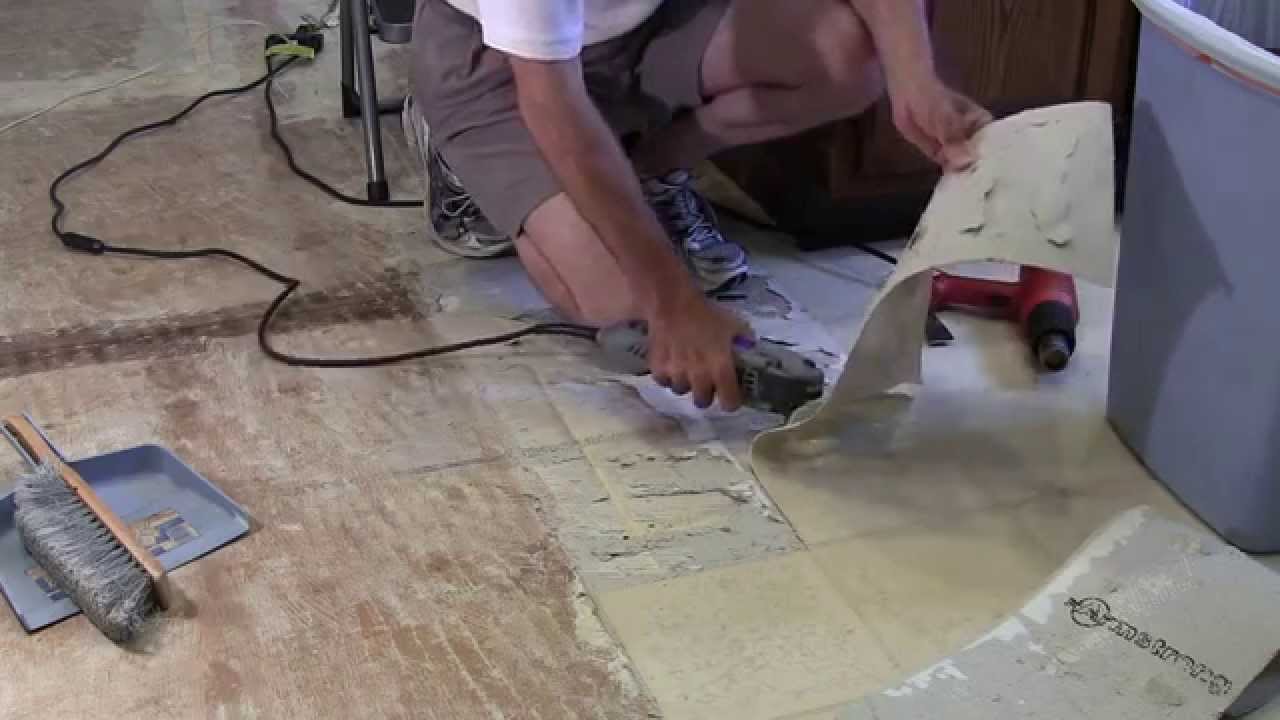
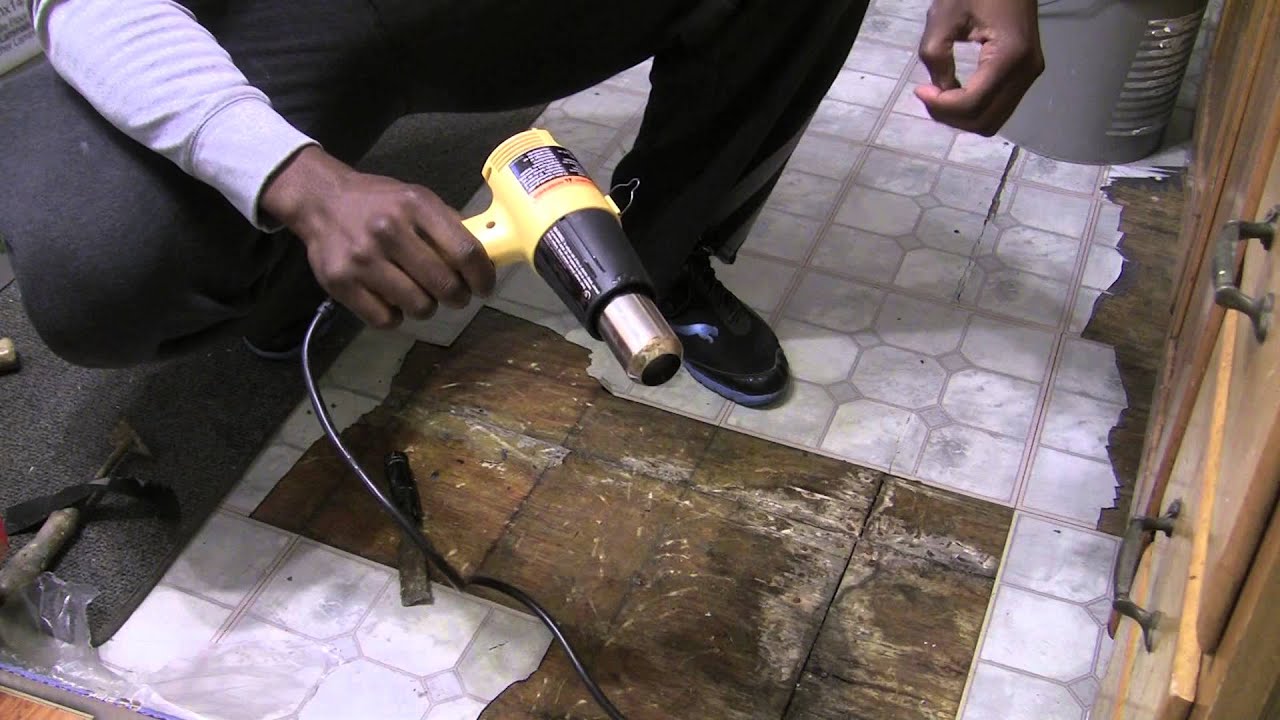
The best way to remove vinyl floor tile adhesive is to use a putty knife to scrape it up. You can also use a chemical adhesive remover available at home improvement stores. If the adhesive has hardened, you can apply heat with a hair dryer or heat gun. Additionally, you can use warm soapy water and a scrub brush to loosen some of the adhesive.What kind of adhesive remover is best for removing vinyl floor tile adhesive?
Latex-based adhesive removers are often the most effective at removing vinyl tile adhesive. They are formulated to soften the adhesive without damaging the underlying surface, allowing for easy removal. Always wear gloves and safety glasses when using any type of adhesive remover.What is the best way to remove vinyl floor tile adhesive?
The best way to remove vinyl floor tile adhesive is with a heavy-duty scraper. Start by heating up the adhesive with a heat gun or blow dryer to soften it, and then use the scraper to carefully remove it from the surface. Be sure to wear protective gloves and eye protection when using this method. Additionally, you may need to use a commercial adhesive remover to further soften and dissolve any remaining residue.What type of adhesive remover is best for removing vinyl floor tile adhesive?
The best type of adhesive remover for removing vinyl floor tile adhesive is a solvent-based adhesive remover. Solvent-based products are designed to dissolve the adhesive quickly and effectively without damaging the underlying surface. Many solvent-based products are available in aerosol cans, making them easy to use.What type of adhesive remover is best for removing adhesives from wood floors?
For removing adhesives from wood floors, a citrus-based adhesive remover is typically the best option. It is non-toxic and biodegradable, so it will not damage the flooring surface or surrounding area. Additionally, it is effective at dissolving and removing most types of adhesives.What are some alternatives to using adhesive remover on wood floors?
1. Heat Gun: Use a heat gun to soften the adhesive and carefully scrape it away.2. Denatured Alcohol: Saturate a cloth with denatured alcohol to soften and remove the adhesive.
3. Vegetable Oil: Soak a cloth in vegetable oil and allow it to sit on the adhesive for a few minutes before wiping it away.
4. Hot Water: Use hot water to soften the adhesive and carefully scrape it away.
5. Putty Knife: Use a putty knife to slowly scrape away excess adhesive.