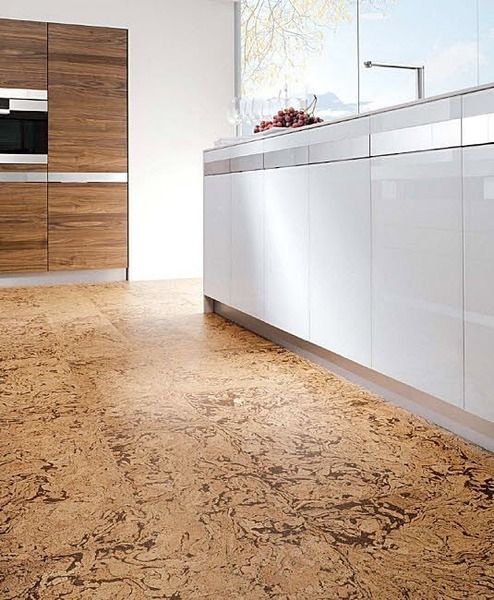
Installing Cork Flooring in Kitchen

Cork Underlayment ~ Why Cork is the Ultimate Flooring Underlayment

Pin by Patricia Uldrich on Kitchen idea Cork flooring, Easy flooring, Flooring

How to Install Cork Flooring how-tos DIY
Installing cork flooring tiles, best waterproof laminate Laminate flooring in kitchen

How to Install Natural Cork Flooring how-tos DIY
Why OSB is a hidden winner for your home homify Cork flooring kitchen, Kitchen flooring

Cork Flooring In A Kitchen – Flooring Guide by Cinvex
Cork Kitchen floor Natural Cork product # 40p3314 Cuero. Installation done by Eric Write at www

Installing Cork Flooring? ThriftyFun

Installing Cork Flooring in Kitchen – Clsa Flooring Guide

Cork Flooring Kitchen renovation, Kitchen, Cork flooring

Related Posts:
- Glue Down Cork Flooring
- Cork Flooring for Exercise Room
- What Are The Benefits Of Cork Flooring
- Cork Flooring in Laundry Room
- Scandia Plank Cork Flooring
- Cork Floors That Look Like Hardwood
- How To Paint Cork Flooring
- Cork Flooring Renovation
- Cork Flooring Interior Design
- Natural Cork Flooring Ideas
# Installing Cork Flooring in the Kitchen: A Step-by-Step Guide
As a homeowner, you want to make sure that the flooring in your kitchen is both stylish and functional. Cork flooring ticks both of these boxes, being both attractive and practical. Cork flooring is easy to install and maintain and provides a warm and comfortable surface on which to stand. In this article, we will show you how to install cork flooring in your kitchen in just a few steps.
## What You’ll Need
Before you start installing, you will need to make sure you have all the materials and tools necessary for the job. Here is a list of things you should have ready to go:
– Subfloor (plywood or OSB).
– Underlayment or moisture barrier.
– Cork tiles or planks.
– Tapping block.
– Chalk line.
– Utility knife.
– Glue, if required for installation.
– Spacer wedges.
– Rubber mallet.
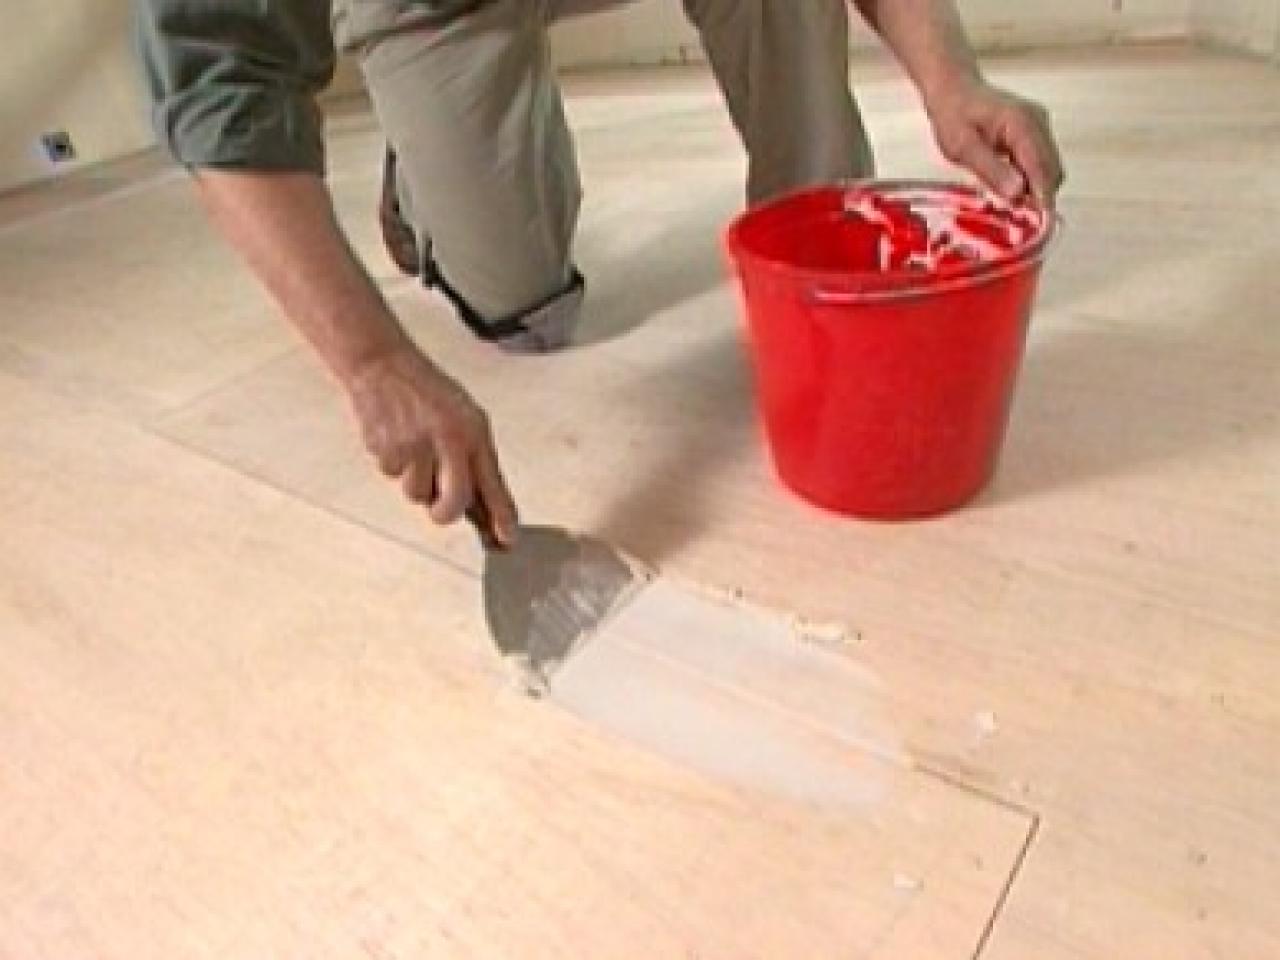
## Preparing the Subfloor
Before you can begin installation, you will need to prepare the subfloor by ensuring it is clean, level and free from any debris that could get in the way of a successful installation. If your subfloor is plywood or OSB, then you should use screws or staples to secure it in position before laying down an underlayment or moisture barrier to protect your cork from any moisture that may be present in the subfloor. Let the underlayment dry overnight before proceeding with installation.
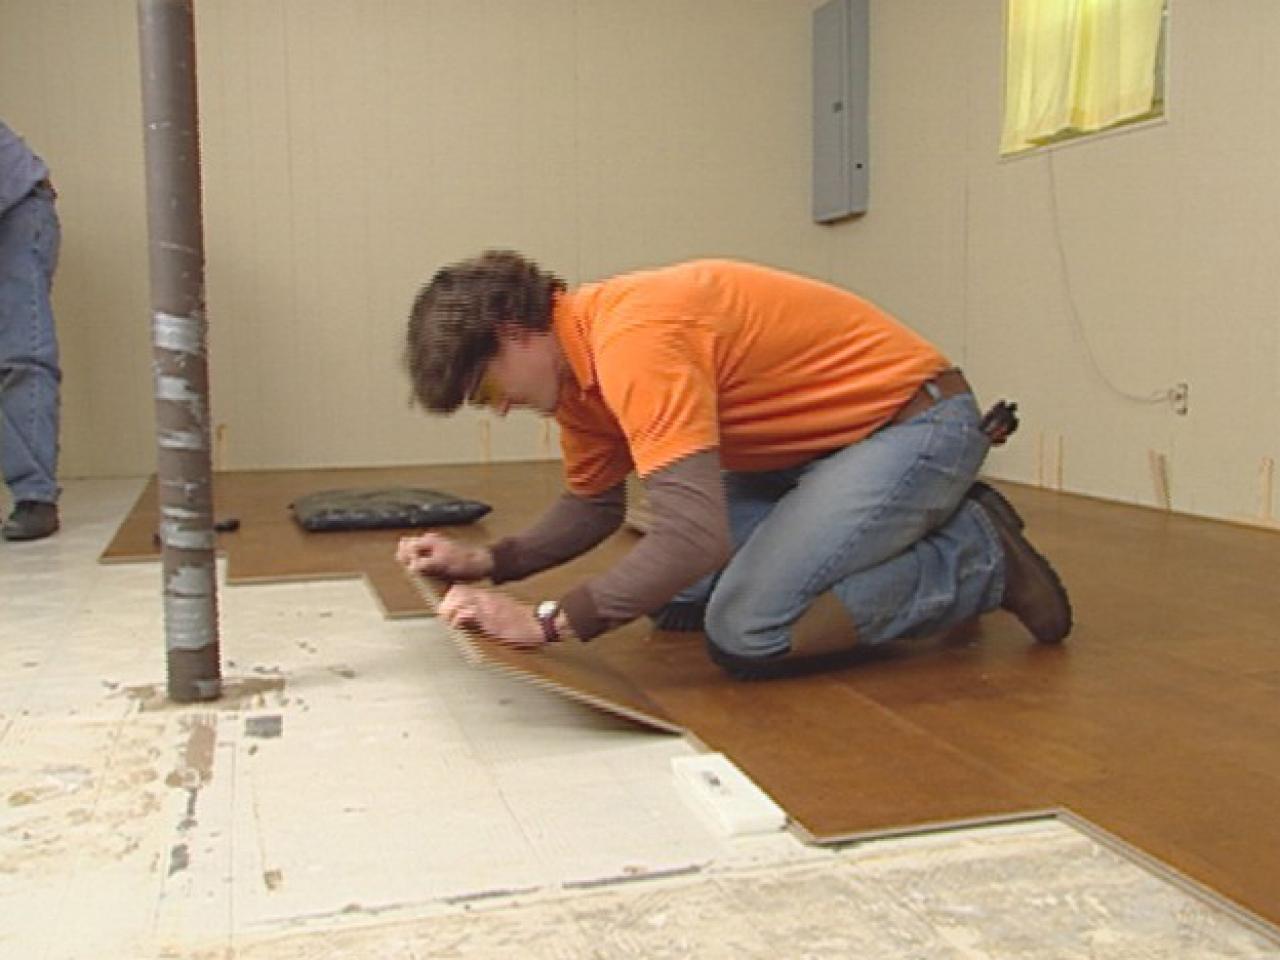
## Laying Out the Flooring
Once your subfloor is dry and ready to go, it’s time to start laying out the cork tiles or planks. Start by measuring the room and using a chalk line to mark out where each tile or plank will go. Use spacers to ensure that the tiles are evenly spaced from one another, and then use a tapping block to help you fit them together properly.
## Securing the Flooring
Once all your tiles and planks are laid out correctly, it’s time to secure them in place. Depending on which type of material you are using, you may need to use glue or screws to keep them in place. If you are using glue, make sure it is evenly spread across the entire surface before placing tiles down on top of it. Once all your tiles have been secured, let them dry overnight before walking on them or adding furniture back into the room.
## Finishing Touches
When your cork flooring has been installed correctly, there are a few simple finishing touches that can help ensure it looks its best for years to come. First, apply a sealant or finish to protect it from scratches and spills and give it an attractive sheen. You can also add trim around the edges of the room to give it a neat and polished look. Finally, make sure that any furniture in the room has felt pads underneath its feet to prevent scratches on your new flooring!
Installing cork flooring in your kitchen can be a great way to add character and comfort without compromising on style. With careful preparation and a few simple steps, you can have beautiful cork flooring in no time at all!