Installing Laminate Flooring Transitions

Advanced Laminate Flooring Advice Flooring, Transition flooring, Installing laminate flooring

Hardwood Floor Transition Between Rooms – movebydesigneastinc
![]()
Transitions flooring install from Luxury Vinyl to Tile Trim or Ramping – YouTube

How to install laminate flooring transition" laminate flooring Trick, Easy Fast Quick – YouTube

Installing Laminate Flooring : Finishing Trim and Choosing Transition Strips
How to install laminate flooring without room transitions – YouTube
How to install laminate flooring without transitions
![]()
Installing laminate flooring transition at sliding glass door Installing laminate flooring

Transition Molding For Floating Floors – Laminate and Floating Floor Problems
![]()
How To Bend Laminate Floor Beading – Laminate Flooring

Installing Floor Transitions – Tile to Laminate Flooring – YouTube

Related Posts:
- Oak Grey Laminate Flooring
- Laminate Flooring Living Room Ideas
- How To Remove Laminate Flooring
- Gray Laminate Flooring Ideas
- How To Remove Laminate Floor Glue
- Laminate Floor Edge Filler
- Farmhouse Laminate Flooring
- Dark Laminate Flooring Ideas
- Laminate Floor Uneven Transition
- Laminate Floor Colors Ideas
Laminate flooring is a popular choice for many homeowners due to its affordability, durability, and wide range of styles. But if you want to get the most out of your laminate flooring, you need to know how to properly install transitions. Transitions are the pieces of trim that go along the edges of a room or hallway and provide a neat and finished look to your floor. In this article, we will discuss the steps involved in installing laminate flooring transitions.
## What You Need for Installing Laminate Flooring Transitions
Before you begin installing your laminate flooring transitions, make sure you have all of the necessary materials and tools. You will need:
* Laminate transition strips
* Hammer
* Nails
* Miter saw
* Tape measure
* Pencil
* Level
* Caulk gun
* Caulk
* Silicone caulk
## Step-by-Step Instructions for Installing Laminate Flooring Transitions
Now that you have all the materials and tools necessary to install your laminate flooring transitions, you can begin. Follow these simple steps:
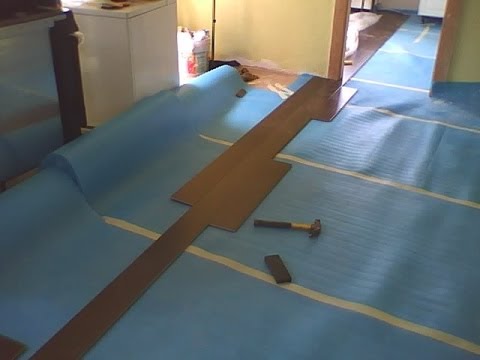
1. Measure the length of the room or hallway where the transition will be installed. This will help you determine how many transition strips you will need.
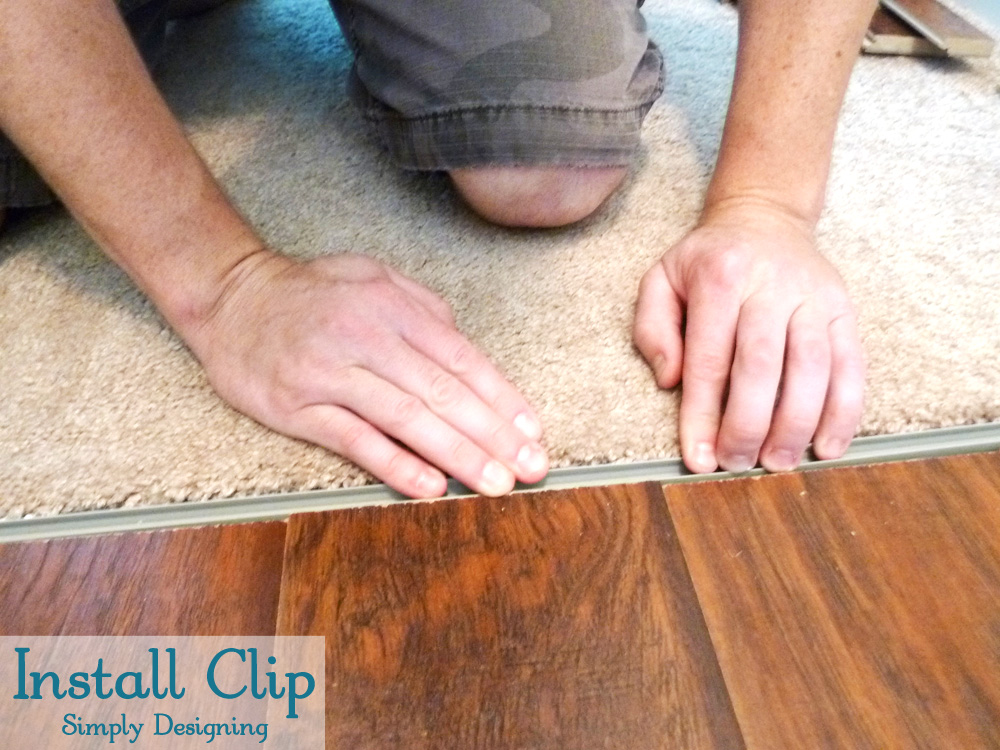
2. Place the transition strip along the edge of the room or hallway where it will be installed. Make sure it’s level and secure it with nails or screws.
3. Trace the outline of the transition strip onto the subfloor with a pencil.
4. Use a miter saw to cut along the lines you traced in step 3.
5. Place the transition strip in the cutout area and secure it with nails or screws.
6. Apply caulk around the edges of the transition strip to seal it in place and prevent any moisture from seeping in underneath.
7. For extra protection against moisture, apply a thin layer of silicone caulk around the edges of the transition strip after it has been secured in place.
8. Allow everything to dry before walking on your newly installed laminate flooring transitions.
## Tips for Installing Laminate Flooring Transitions
There are a few tips that can help make installing laminate flooring transitions easier and smoother:
* Before cutting any pieces of laminate flooring, measure twice to ensure accuracy. This will help prevent any mistakes that could potentially ruin your entire project!
* Make sure you use a level when installing your transition strips to ensure they are even and secure in place.
* If you’re having trouble securing your transition strips in place, use a hammer and nails instead of screws for extra stability.
* When applying caulk, use a caulking gun to ensure an even application and a neat finish.
Installing laminate flooring transitions can be a tricky task but with a little bit of patience and preparation, you can get beautiful results that will last for years to come! With these steps and tips in mind, you’ll be able to install your laminate flooring transitions like a pro!