Installing Marble Floor Tile
Installing Marble Floor Tile – Flooring Guide by Cinvex
How to Install Marble Floor Tiles
:max_bytes(150000):strip_icc()/5-56a2fc793df78cf7727b6a26.jpg)
How to Install Granite or Marble Floor Tiles – Fulei Stone
Installing marble tile Pro Construction Guide

How to install marble tiles – YouTube
How to Install Marble Tile – Tidbits
Master Bathroom Progress Installing Marble Tile and Trim – Tidbits
How to Install Marble Tile – Tidbits
How to Install a Marble Tile Backsplash HGTV
How to Install Marble Tile Floor: A Tumbled Stone Entryway The Family Handyman

How to Install Marble Floor Tiles
/1-56a2fc775f9b58b7d0cffd75.jpg)
Related Posts:
- Marble Floor Polishing
- Italian Marble Flooring Designs
- Clean Marble Floor Tiles
- DIY Marble Floor Polish
- Beige Marble Floor Tiles
- Red Marble Floor Tile
- Sealing Honed Marble Floors
- Marble Floor Maintenance
- Marble Floor In Bedroom
- Modern Marble Floor Pattern Design
Marble floor tiles are a classic and timeless choice for any home. The elegant and polished look of marble adds an air of sophistication to any room, and these tiles are highly durable and easy to maintain. Installing marble floor tiles is quite a challenging task, but with the right knowledge and tips, it can be done with ease.
In this article, we’ll discuss the steps involved in installing marble floor tile and provide helpful tips along the way. Read on to find out more!
## Getting Started: Materials Needed for Installing Marble Floor Tiles
Before you begin installing marble floor tiles, it’s important to make sure you have all the materials you need on hand. This includes:
* Marble floor tile
* Grout
* Tile adhesive
* Notched trowel
* Sponge
* Bucket
* Level
* Chalk line
* Safety glasses and gloves
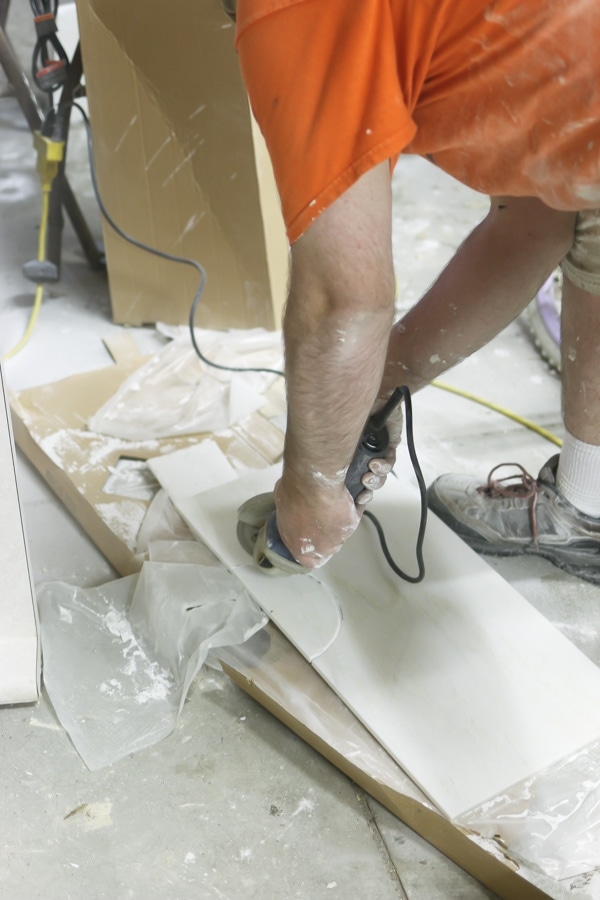
* Tile saw (optional)
## Step 1: Prepare the Subfloor
The first step in installing marble floor tiles is to prepare the subfloor. It is important to make sure that the subfloor is level and clean before laying out any tiles. Use a level to check for areas that may require additional patching or leveling. If necessary, use a combination of patching compound, self-leveling concrete, or other leveling products to even out the surface of the subfloor. Once the subfloor is level, give it a good sweeping and vacuuming to remove any dirt or debris.
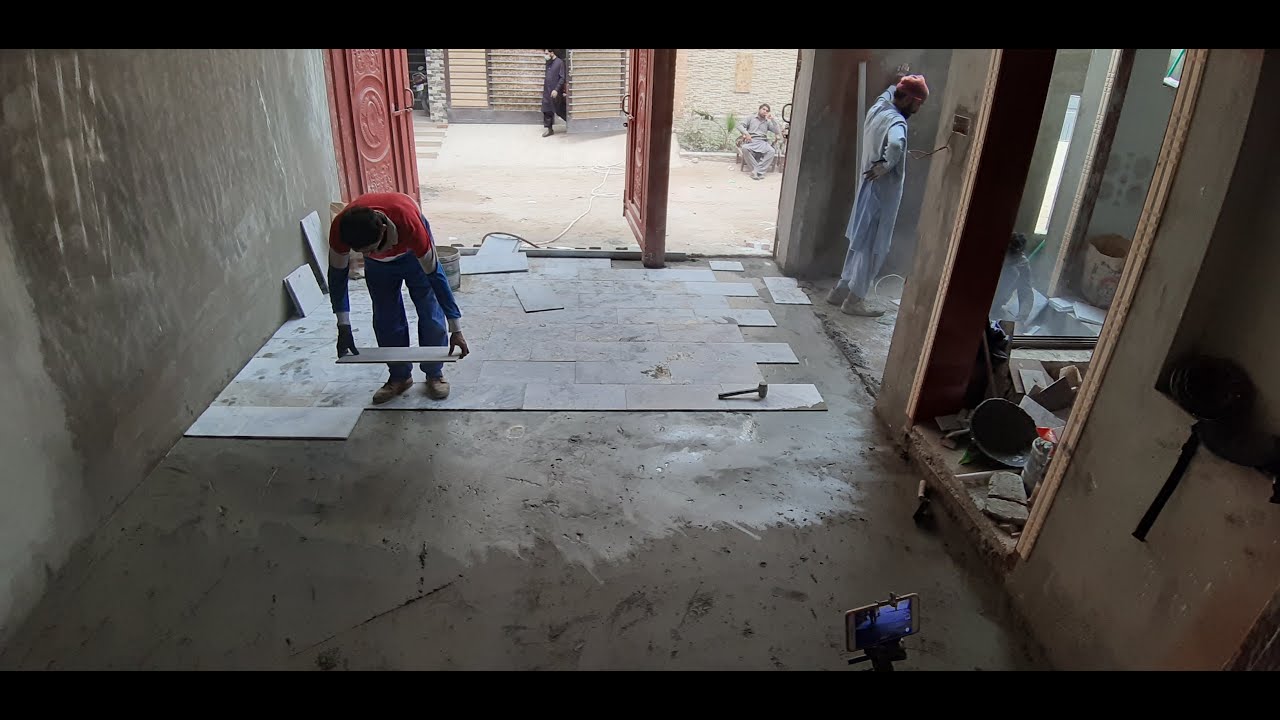
## Step 2: Layout Your Tiles
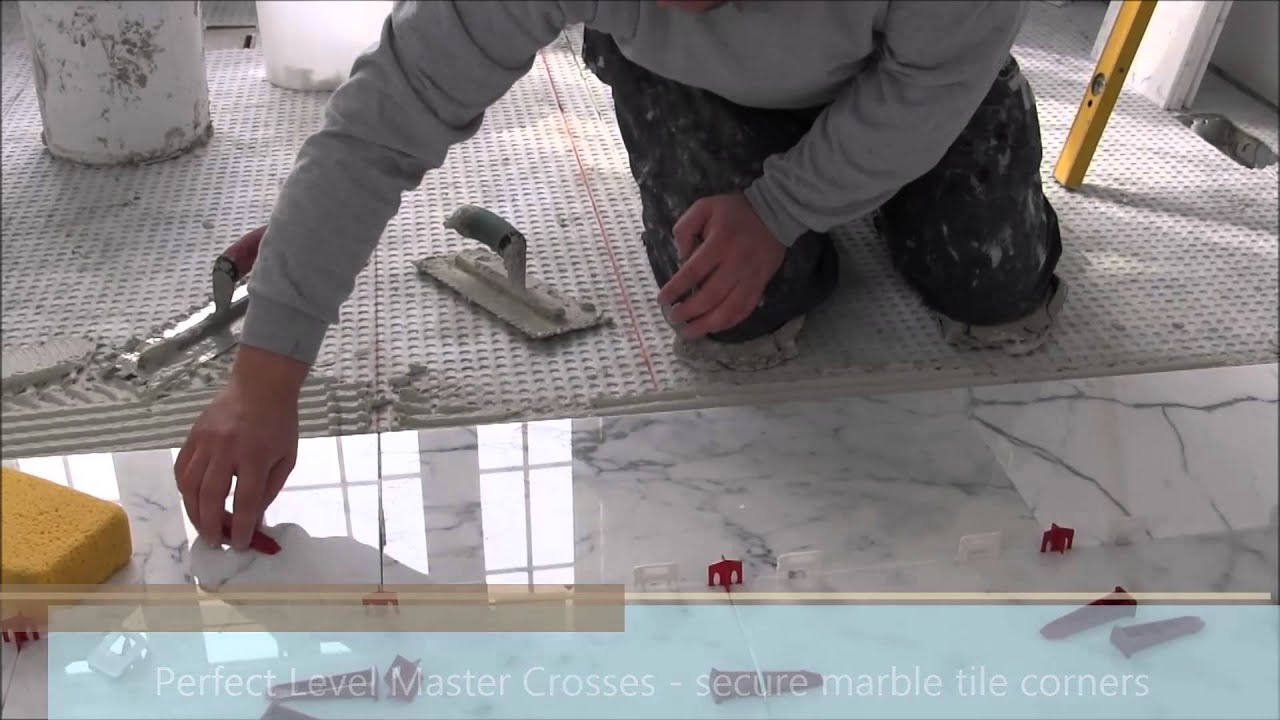
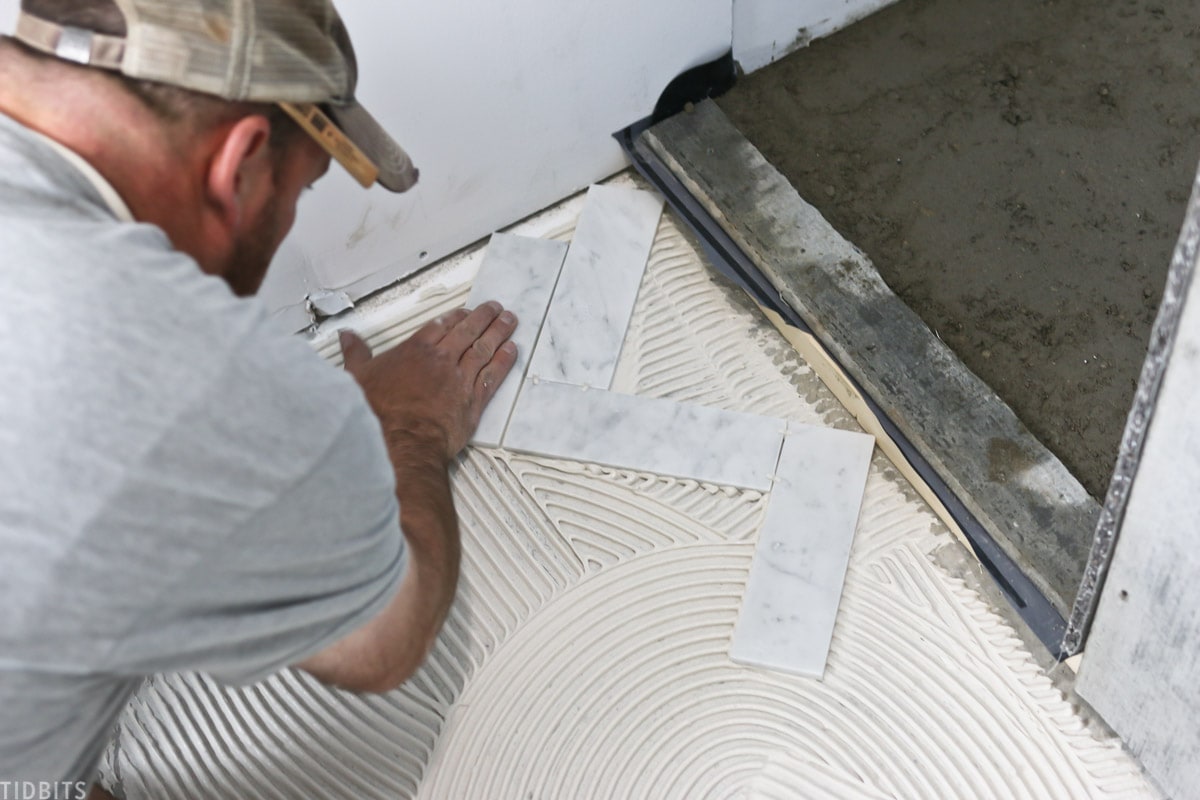
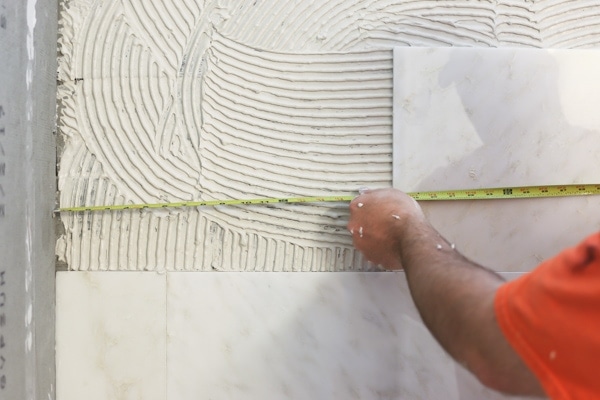
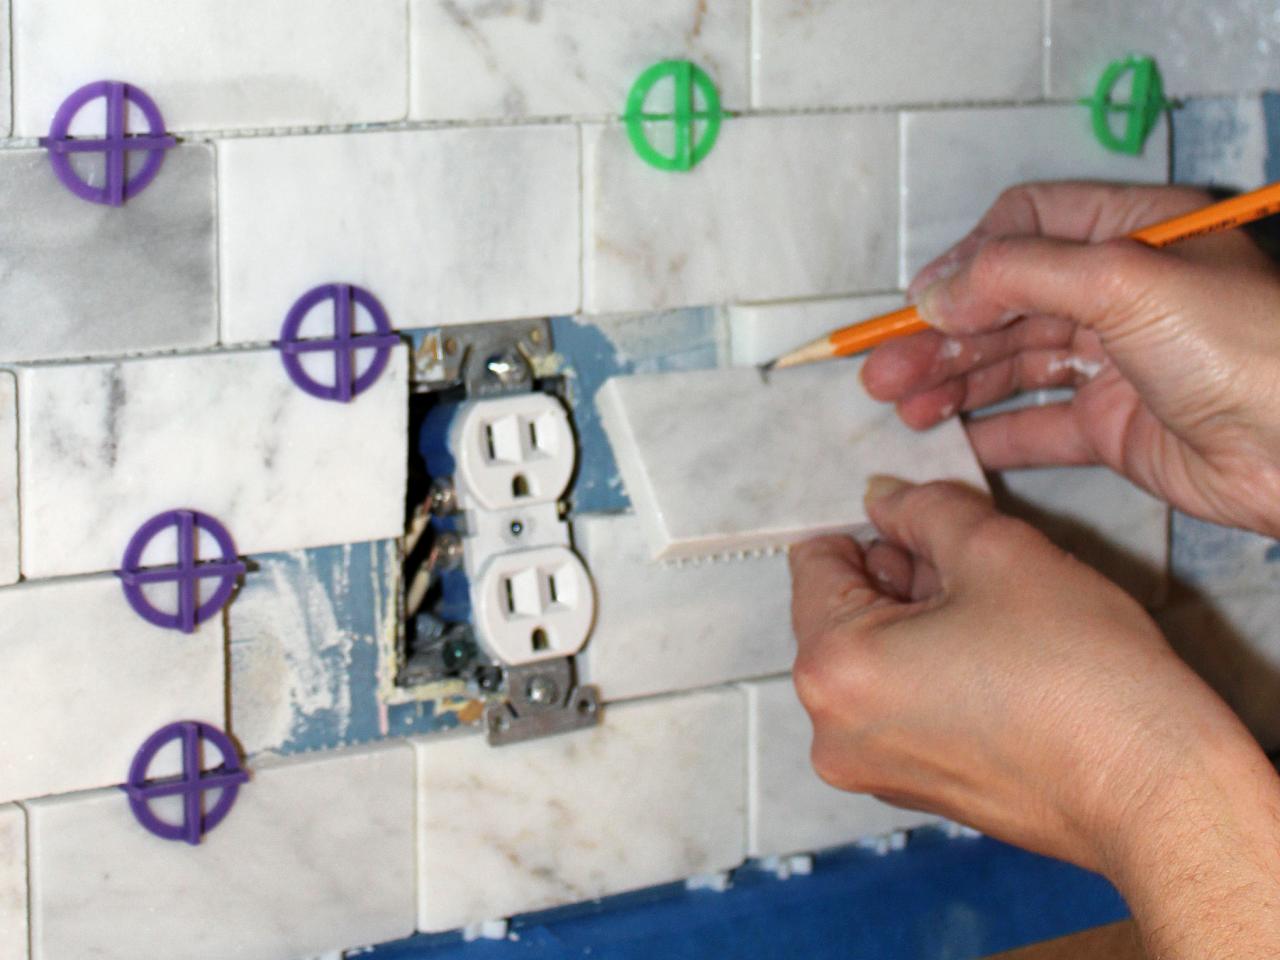
Once the subfloor is prepared, it’s time to layout your tiles. Start by measuring the room and marking off an area on the subfloor that corresponds with your measurements. Use a chalk line to draw a straight line to serve as a guide for laying your tiles. Next, begin laying out your tiles one at a time in a dry run before applying any adhesive. This will help ensure that you have enough material and that they fit properly in the space. Be sure to leave 1/8 inch between each tile for grout lines.
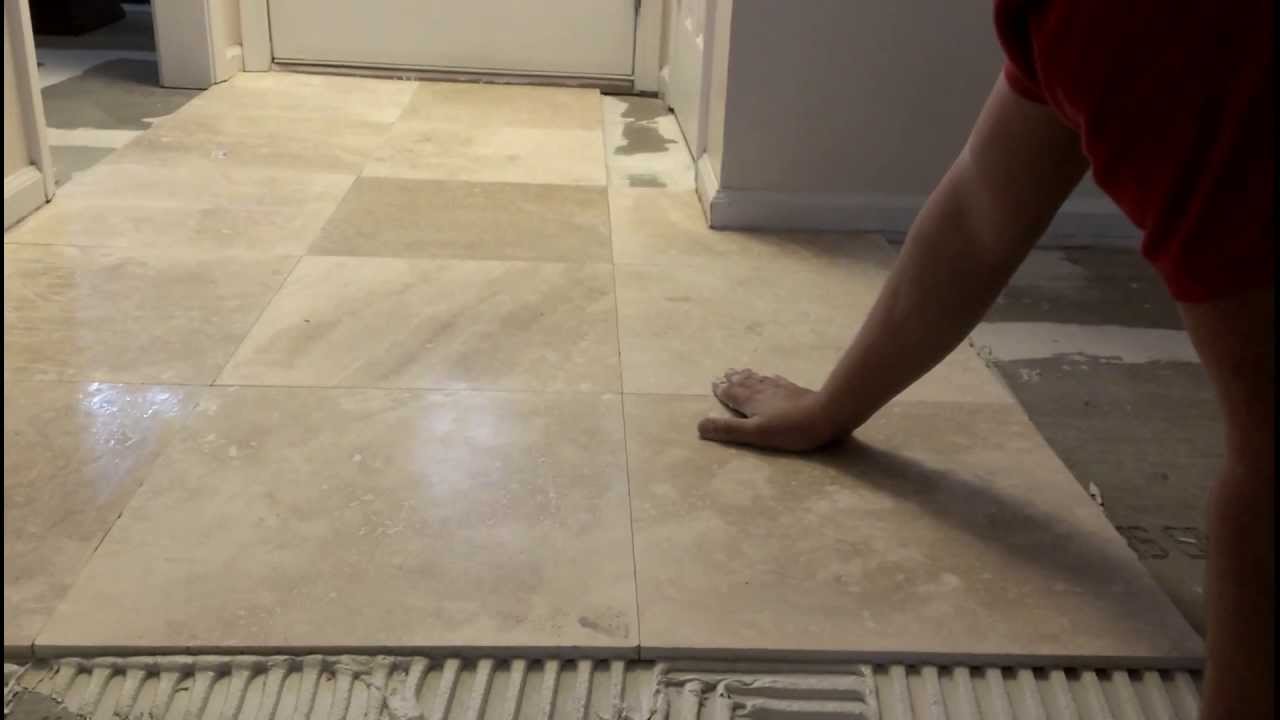
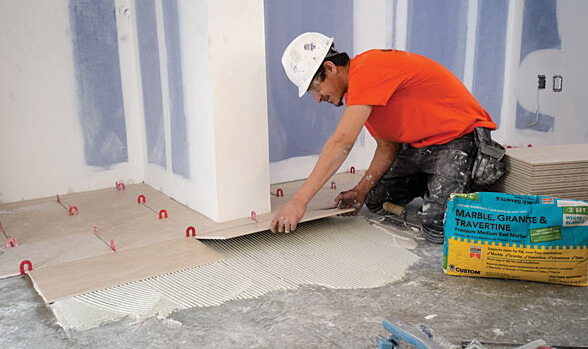
## Step 3: Apply Adhesive
Now that your tiles are laid out in place, it’s time to apply adhesive. Begin by mixing your tile adhesive according to the manufacturer’s instructions and using a notched trowel to spread a thin layer of adhesive over an area slightly larger than one tile. Place each tile into place carefully and press down firmly so that it sticks securely to the subfloor. Continue this process until all tiles are installed. Allow the adhesive to set for 24 hours before continuing with grouting.
## Step 4: Grout the Tiles
Once your adhesive has had sufficient time to set, it’s time to grout your tiles. Start by mixing your grout according to the manufacturer’s instructions and applying it with a rubber trowel over all of the joints between the tiles. Make sure that there are no gaps between the grout lines and that all lines are even and consistent in width. Once finished, use a damp sponge to wipe away any excess grout from the face of the tiles. Allow the grout to cure for 24 hours before applying sealant or polishing compound if desired.
## Conclusion
Installing marble floor tile can be quite a challenging task, but with careful preparation and attention to detail, you can achieve beautiful results that will last for years to come! Follow these steps carefully and you’ll be sure to have stunning marble floors in no time!