Laying Cork Flooring Tiles

Master Class For Laying Cork Flooring Installation Of A Cork Floor By A Floating Method
How to Lay a Cork Floor Cork flooring, Cork flooring kitchen, Flooring

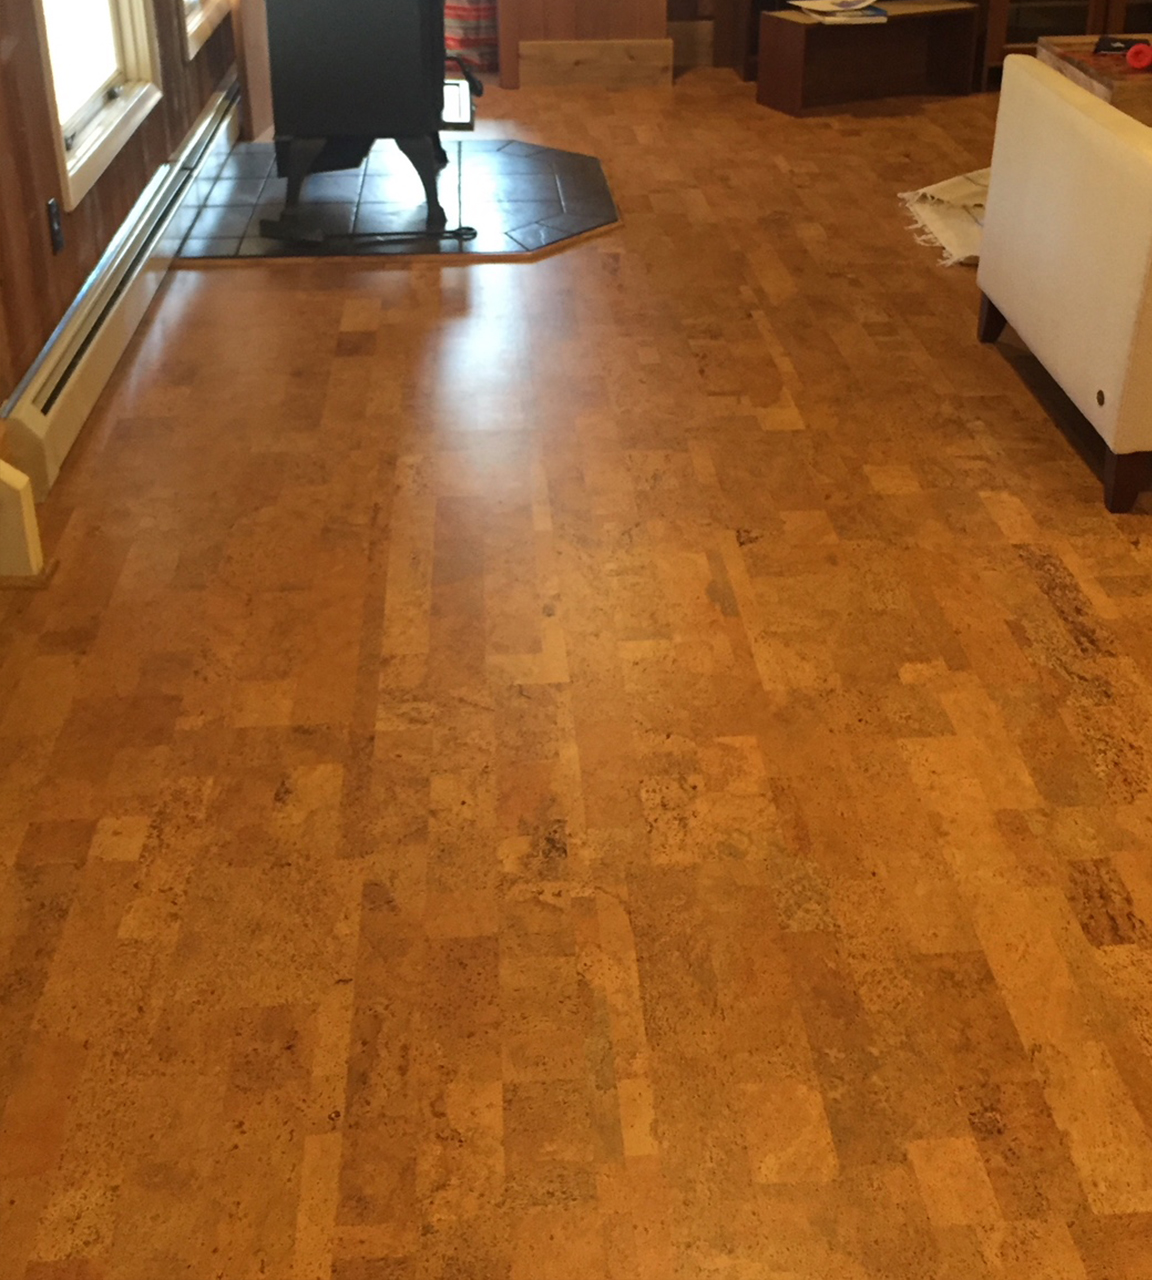
Using Cork Floor Tiles in Your Kitchen
:max_bytes(150000):strip_icc()/assorted-cork-tiles-elevated-view-200544917-001-5849d2215f9b58a8cdcf1344.jpg)
How to Lay a Cork Floor Kitchen tiles design, Cork flooring, Easy kitchen upgrade

30 cool pictures of cork bathroom floor tiles ideas
How To Install A Floating Cork Floor Young House Love Cork flooring, Flooring, Young house love

Can Cork Flooring Be Installed over Concrete – Flooring Tips
Where To Install Cork Flooring – Flooring Guide by Cinvex

How to Install Cork Flooring how-tos DIY
How to Care for Cork Flooring – Flooring Tips
Can You Install Cork Flooring Over Tile Viewfloor.co
Related Posts:
- Glue Down Cork Flooring
- Cork Flooring for Exercise Room
- What Are The Benefits Of Cork Flooring
- Cork Flooring in Laundry Room
- Scandia Plank Cork Flooring
- Cork Floors That Look Like Hardwood
- How To Paint Cork Flooring
- Cork Flooring Renovation
- Cork Flooring Interior Design
- Natural Cork Flooring Ideas
Cork flooring is a popular choice for homeowners looking for an eco-friendly and stylish flooring option. Natural cork is renewable, durable, and comfortable underfoot, as well as being easy to install if you have the right tools and materials. Installing cork flooring tiles can be a great do-it-yourself project that will add value to your home and improve its aesthetic appeal.
## What You Will Need for the Installation
Before you begin laying cork flooring tiles, it’s important to make sure you have all of the necessary tools and materials. Here’s a basic list of what you’ll need:
– Cork flooring tiles
– A rubber mallet
– Tape measure
– Utility knife
– Pencil or marker
– Chalk line
– Level
– Spacers
– Adhesive or nails
## Preparing the Subfloor
The subfloor should be clean, dry, and level before you begin laying the cork tile. If you need to repair it or even it out, use a self-leveling compound to do so before proceeding. Make sure that the subfloor is free of dust, dirt, oil, or other debris as well.
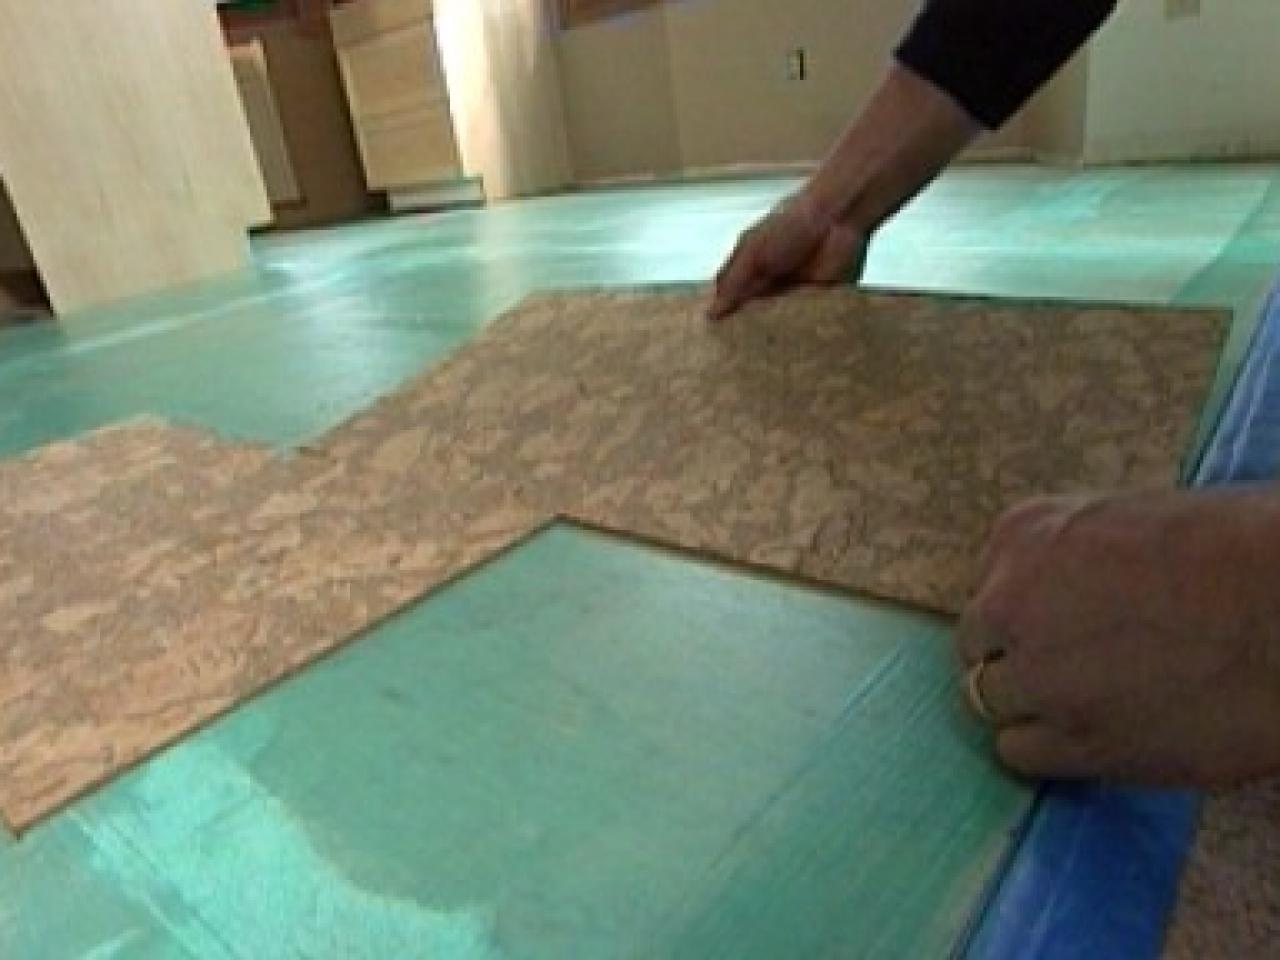
## Laying Out and Marking the Tiles
Once the subfloor is ready, you can begin laying out the cork tiles. Start in one corner of the room and use a tape measure to mark out the width of each row. Use a pencil or marker to draw lines along the marks on the floor. These lines will act as guides when you lay out your tiles. Use spacers between each tile to maintain uniformity throughout your layout. Mark each tile so that you know how they should be placed in relation to each other.
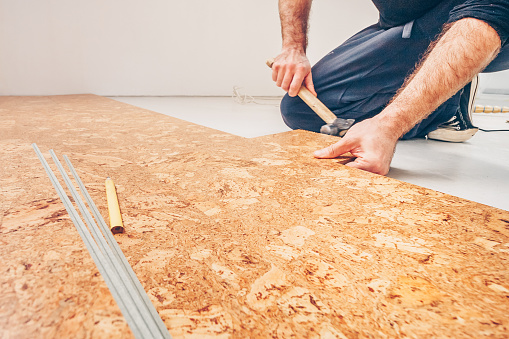
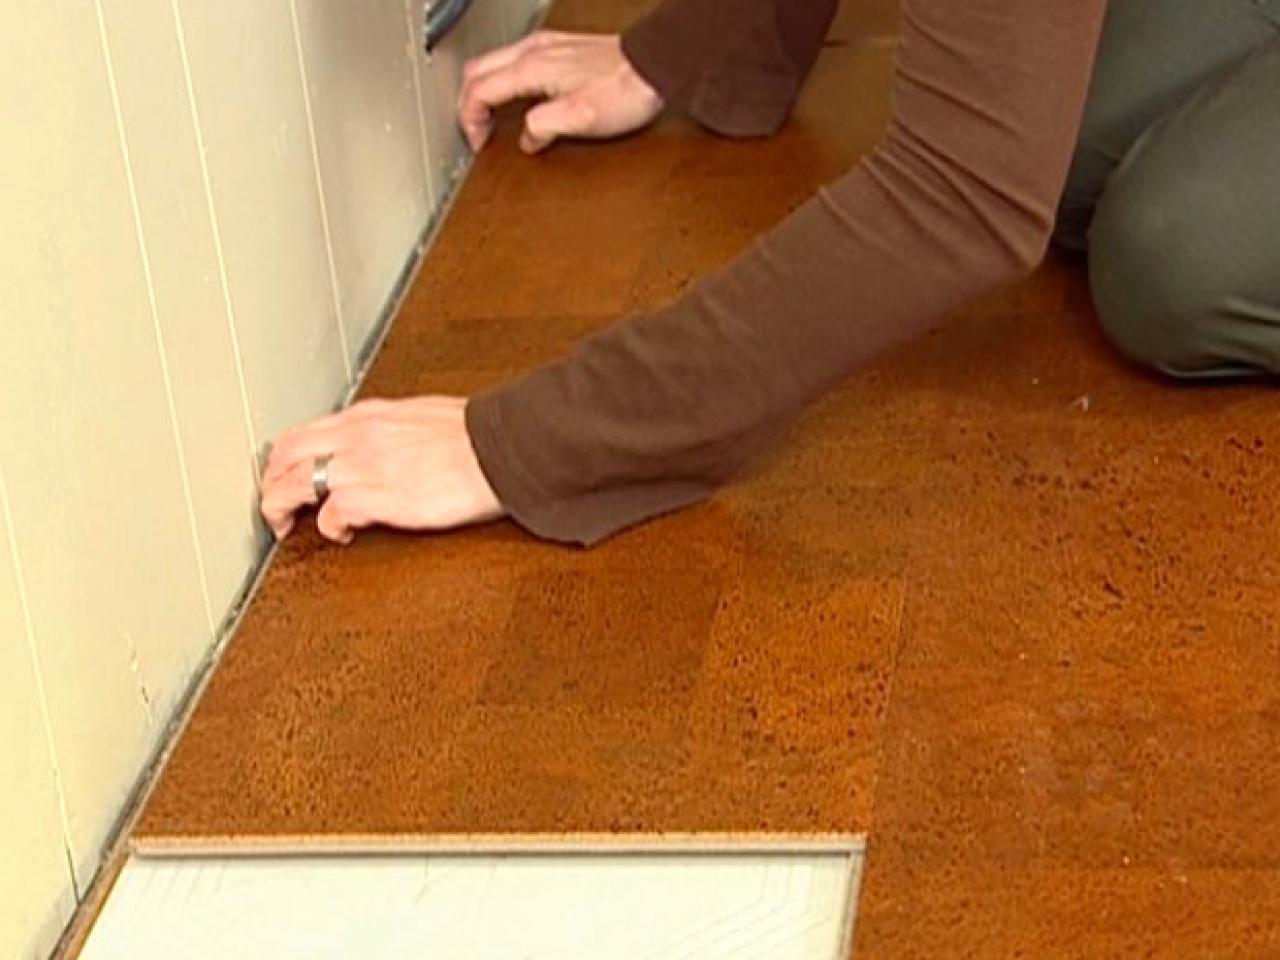
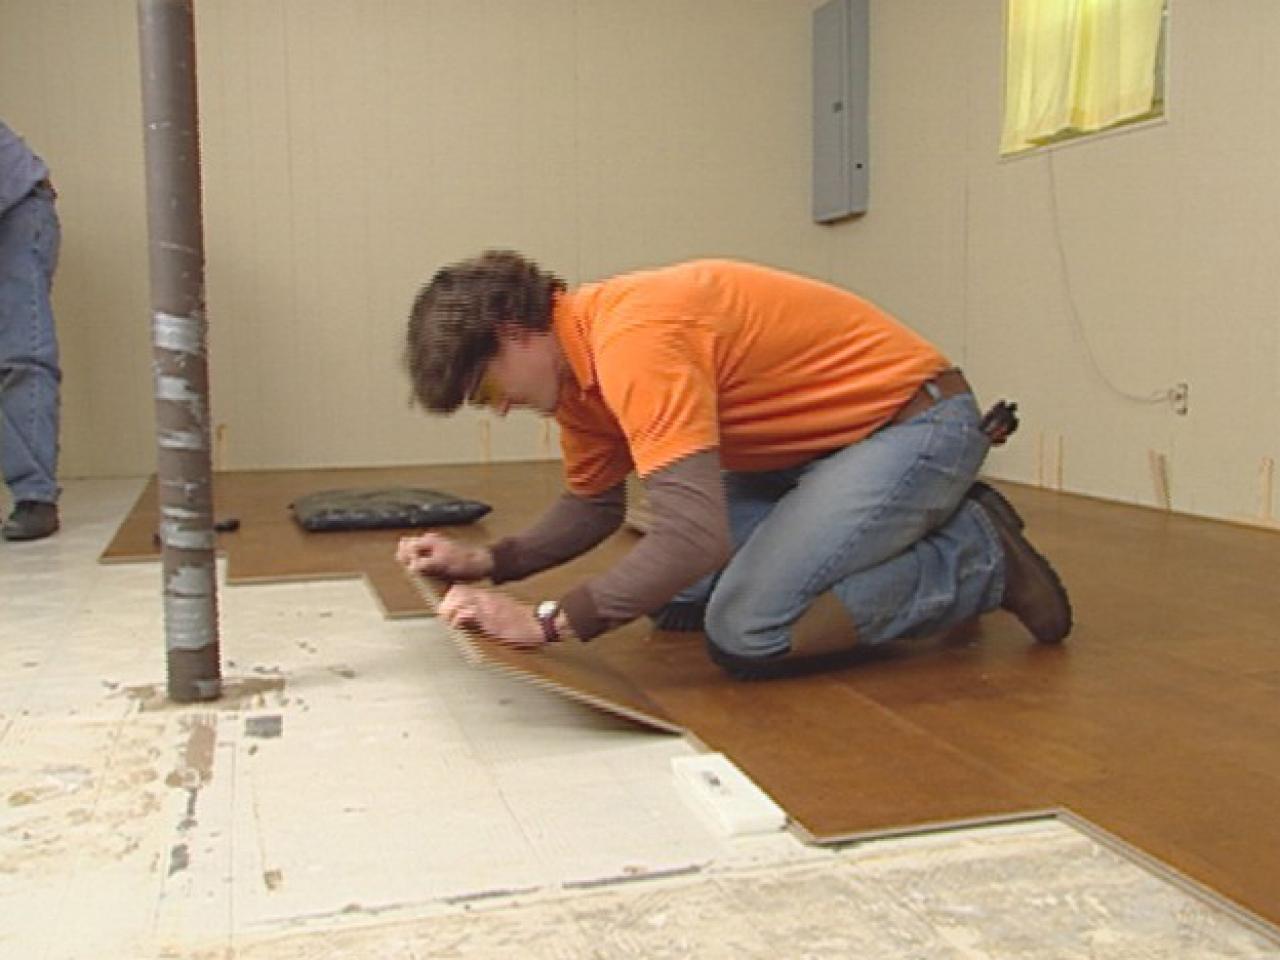
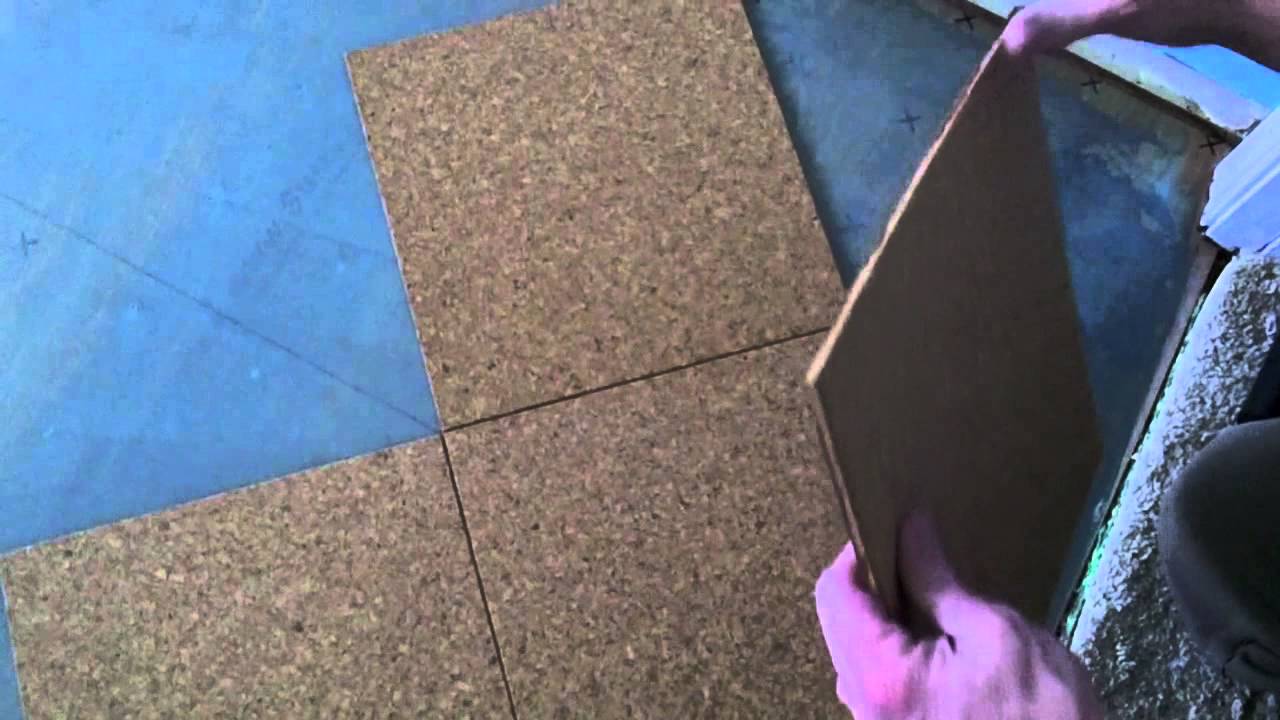
## Installing the Tiles
When you’re ready to start installing your tiles, begin in one corner of the room and work your way across until you have completed one row. Carefully place each tile on the subfloor using your markings as a guide. Once they are in place, use a rubber mallet to gently tap them down into position. Then move on to the next row and repeat until all of your tiles are installed.
## Cutting the Tiles
You may need to cut some of your cork tiles if you’re installing them around obstacles or in corners. To do this, use a utility knife and a straight edge to score along the lines indicating where you want to make your cut. Then use a straight edge and chisel to break away pieces along those lines until you have created the shape that you need for your tile.
## Finishing Touches
Once all of your tiles are installed, use adhesive or nails to secure them in place if necessary. Then take a few steps back and admire your handiwork! Cork flooring tiles are a great way to add style and comfort to any room in your home while also being environmentally friendly. With a little patience and elbow grease, you can have beautiful cork flooring installed in no time at all.