Laying Of Marble Flooring (1-19)
How to install marble floor: the detailed instructions (20-35)
LAYING MARBLE FLOOR IN BATHROOM Curio Design Studio (36-55)
Marble Flooring Without Grout Lines Jackd Rpaskal (56-80)
Installing marble tile Pro Construction Guide (81-100)

Tips & Articles – Natural Stone Online (101-120)

Make your marble floor even more stunning by laying it in a timeless herringbone design! Besides (121-140)

marble flooring laying services at Rs 120/square feet Guntur ID: 20619681030 (141-160)

Are You Looking For Tiles And Marble Laying Service? – Properties – Nigeria (161-180)
Intellectual suggested bathroom remodeling Limited Edition Marble tile floor, Flooring, Tile floor (181-200)

12 (201-220)"x24 (221-240)" (30×60) marble tile installation using Perfect Level Master™ T-Lock™ – YouTube (241-260)
WHY DRY LAY MARBLE TILES? – Ivyspace.co.uk (261-280)
Related Posts: (281-300)
- Marble Floor Polishing
- Italian Marble Flooring Designs
- Clean Marble Floor Tiles
- DIY Marble Floor Polish
- Beige Marble Floor Tiles
- Red Marble Floor Tile
- Sealing Honed Marble Floors
- Marble Floor Maintenance
- Marble Floor In Bedroom
- Modern Marble Floor Pattern Design
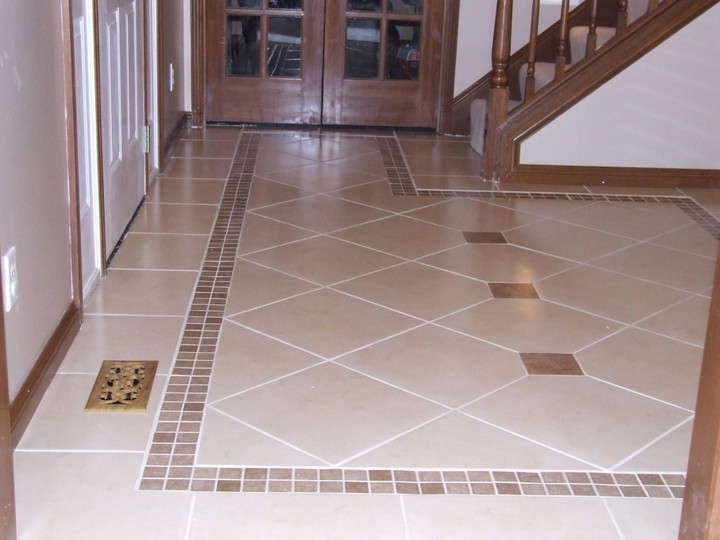
Adding marble flooring to your home is a great way to make it look and feel luxurious. Marble flooring is timeless and elegant, making it a popular choice for homeowners who want to create a beautiful atmosphere in their home. But before you start laying marble flooring, it’s important to understand the basics of how to properly lay marble flooring so that it looks perfect and lasts for years.
### Preparing Your Subfloor
Before you begin laying marble flooring, it’s important to make sure that your subfloor is prepared properly. Begin by cleaning the surface of the subfloor with a vacuum cleaner or broom. Then check to make sure that there are no cracks, holes, or other damage that needs to be repaired before you lay the marble flooring. If there are any repairs that need to be made, fill them in with a concrete filler before continuing.
### Installing Underlayment
Once your subfloor is prepared and ready for installation, you can install the underlayment of your marble flooring. Underlayment is an important part of any flooring installation, as it provides an additional layer of protection between your subfloor and your marble tiles. Choose an underlayment that is designed specifically for marble tile installations, such as a foam or rubber material. Measure each section of underlayment and cut it to size before laying it on the ground. Once all of your underlayment is laid down, use a roller or heavy object to press down on the material and make sure that it is securely fastened to the subfloor.
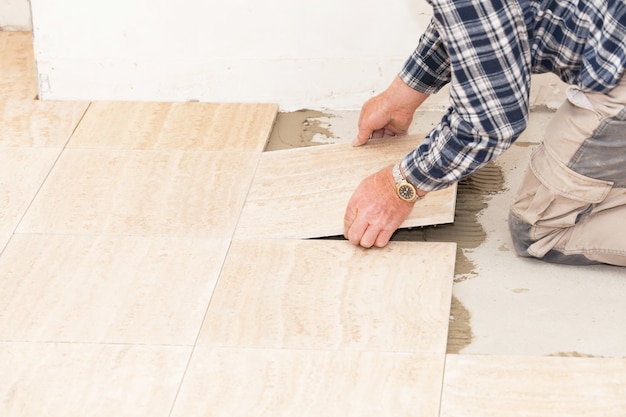
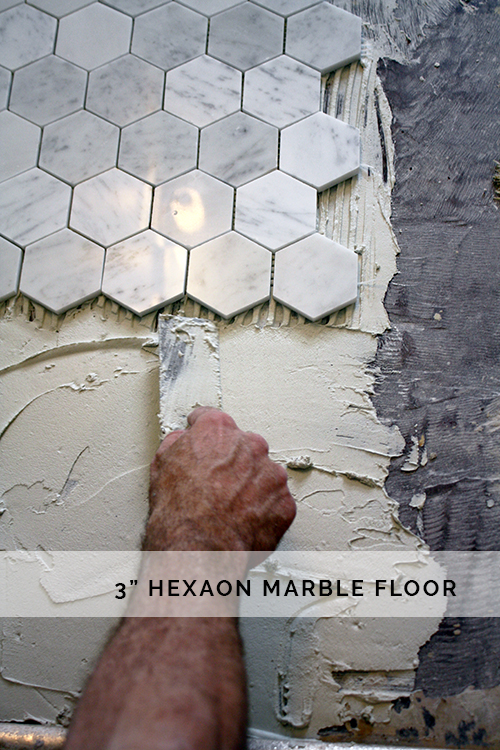
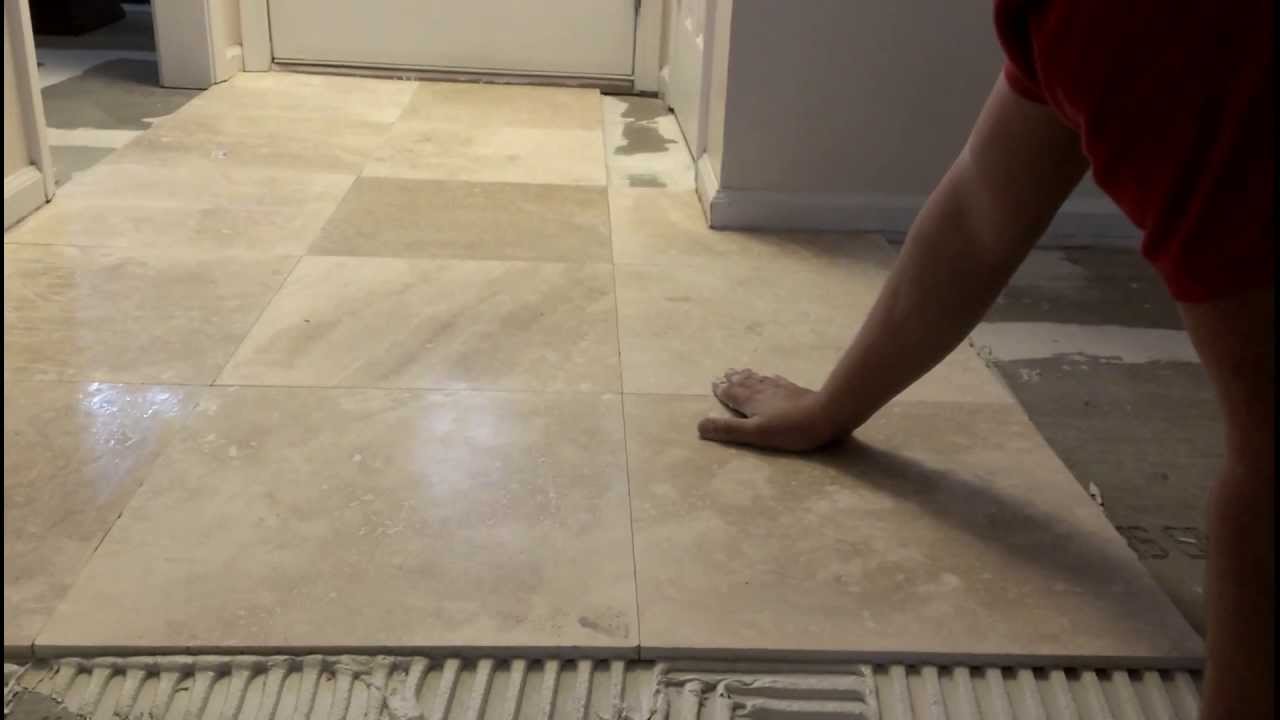
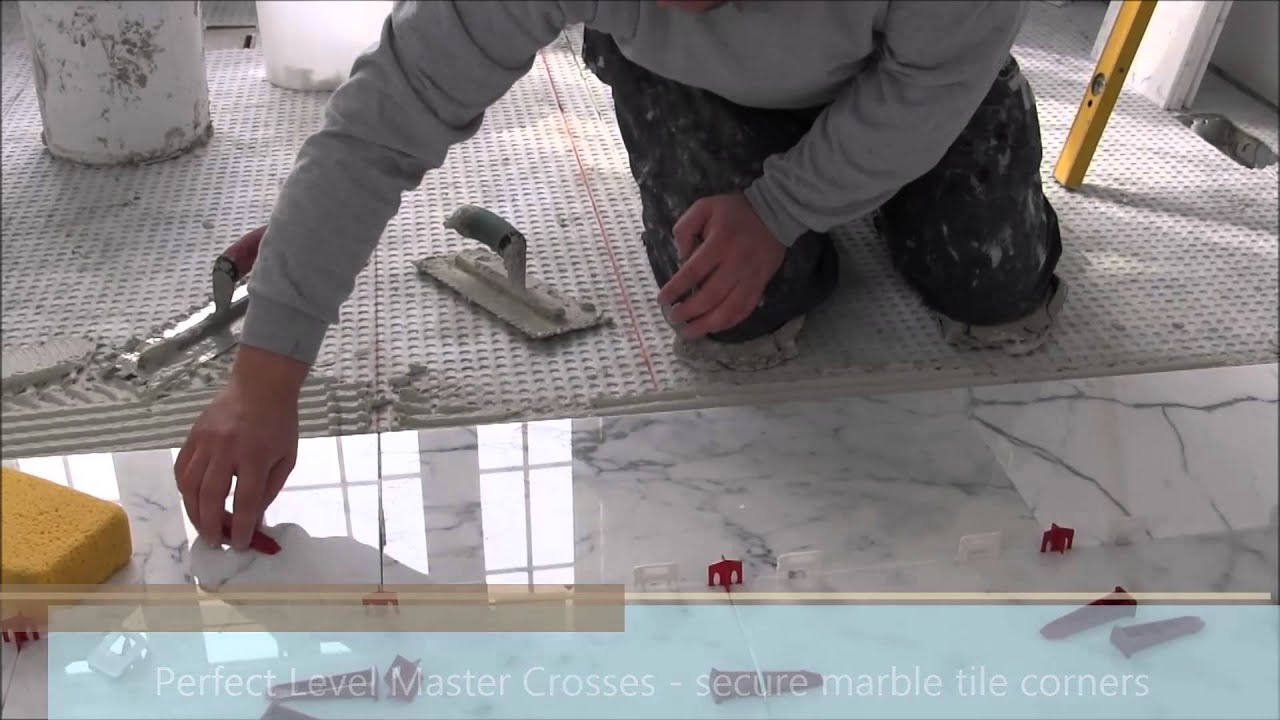
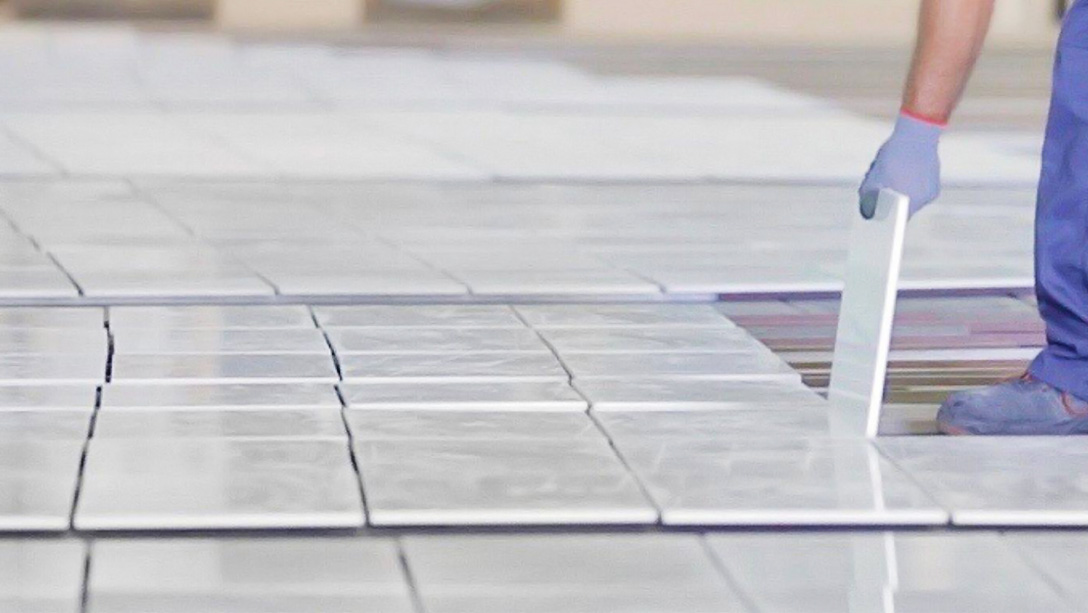
### Laying the Marble Floor Tiles
Now you can begin laying your marble floor tiles. Start by laying the first row of tiles along one wall and then working your way out from there. When laying each tile, apply a thin layer of adhesive on the back of each tile and press it firmly into place. As you work your way through each row of tiles, make sure that you leave about 1/8-inch grout lines between them for proper spacing. If you need to cut any tiles to fit them into place, use a wet saw for the cleanest results.
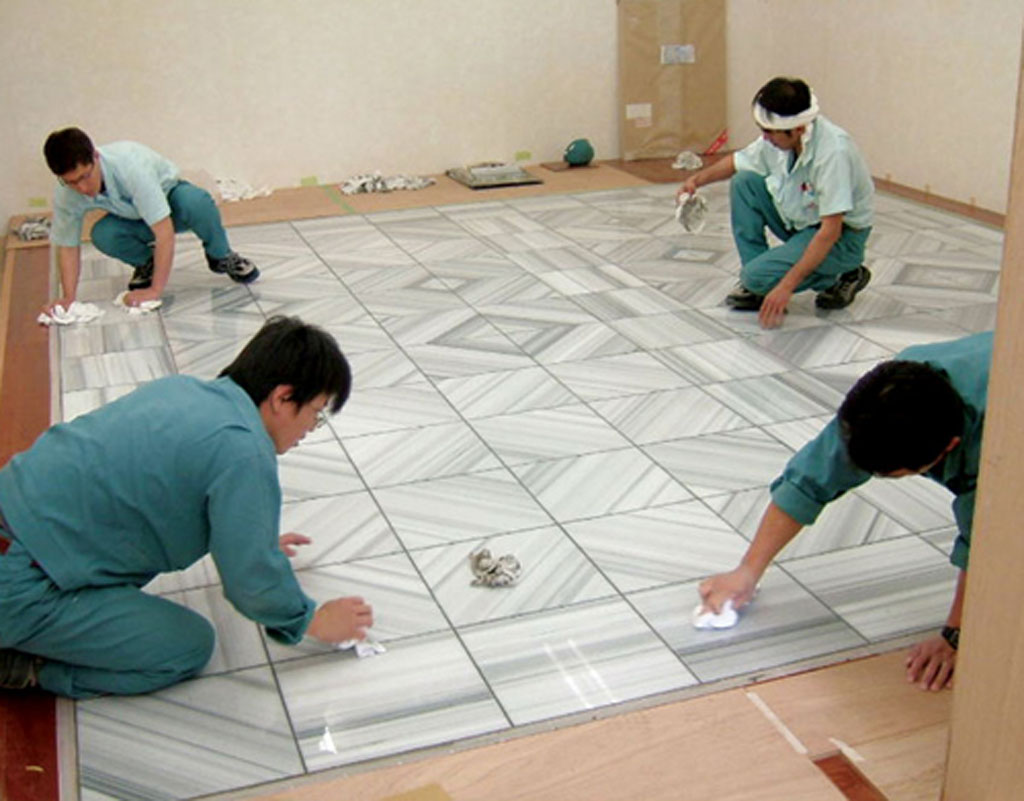
### Setting Grout Lines
Once all of your tiles are in place, it’s time to set the grout lines. Begin by mixing together a batch of grout according to package instructions and then spread it over all of the grout lines between your tiles with a rubber float. After you have finished applying the grout, use a damp sponge to wipe off any excess grout from the surface of your tiles. Allow the grout to dry completely before continuing with the installation process.
### Sealing Your Marble Flooring
The final step in laying marble flooring is sealing it with a sealant. This will help protect your marble tiles from staining and wear and tear over time. Choose a sealant specifically designed for marble tile installations and apply it according to package instructions. Make sure that you cover all areas of your marble floor with an even coat of sealant before allowing it to dry completely.
Laying marble flooring in your home can be an intimidating process at first glance, but with these simple steps you can ensure that your finished product looks perfect and lasts for years to come! Follow these steps when installing your new marble flooring and get ready for beautiful and timeless results!