Marble Floor Installation Guide
Marble Floor Aegean Stone Limited
Marble Floor Polishing Contractors Arlington Heights IL

The Benefits of Marble Flooring Restoration

How to Install Granite or Marble Floor Tiles – Fulei Stone
Marble Flooring Installation How To Install Marble Floor Checklist of Marble Flooring – YouTube

How to install marble floor: the detailed instructions
How to install marble floor: the detailed instructions
Floor Installation Photos: Marble Floor Installed in Buckingham, PA

The Case for Marble Flooring elevation decoration countertop landscaping monument Bhandari
Make your marble floor marvelous with 4 simple cleaning tips Ideas by Mr Right

Marble Installation Doral Marble Installation, Floor Tiles and Porcelain Floors Installation
Related Posts:
- Marble Floor Polishing
- Italian Marble Flooring Designs
- Clean Marble Floor Tiles
- DIY Marble Floor Polish
- Beige Marble Floor Tiles
- Red Marble Floor Tile
- Sealing Honed Marble Floors
- Marble Floor Maintenance
- Marble Floor In Bedroom
- Modern Marble Floor Pattern Design
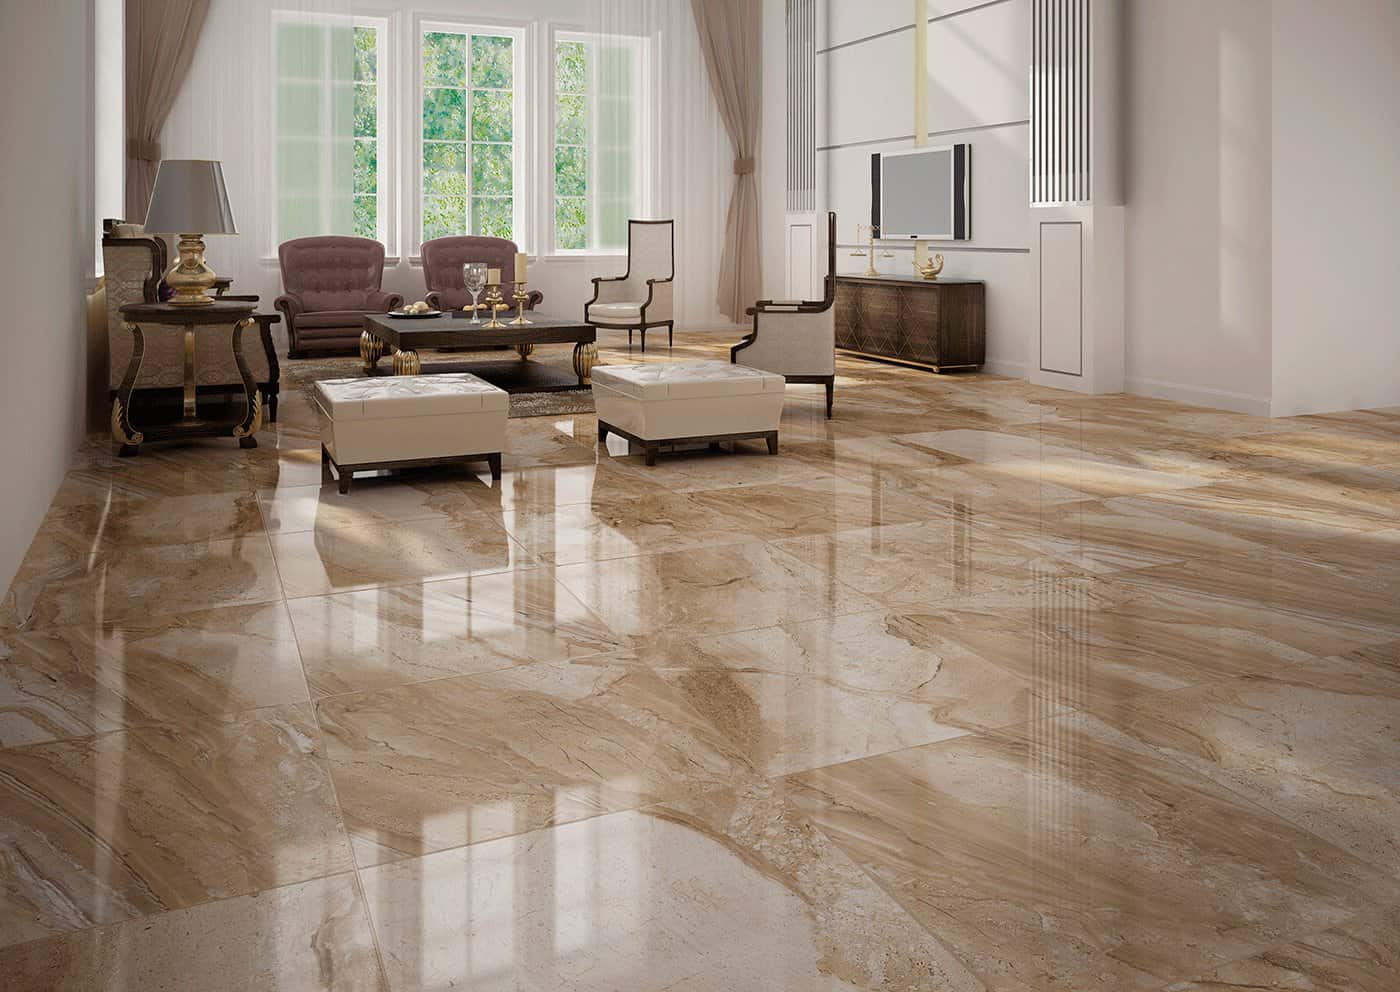
When planning to install a new floor in your home, the cost and longevity of the material should be at the top of your considerations. Marble flooring is a timeless and beautiful option that is highly respected for its luxurious aesthetic, durability, and ability to last for decades with proper maintenance. To help you get started on your marble floor installation project, here is a comprehensive guide that will walk you through all the steps.
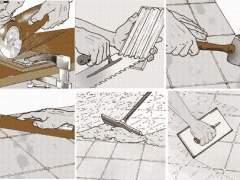
Understanding the Preparation Necessary
Before beginning any installation job, preparation is key. Installing marble flooring requires some advance planning and certain steps must be taken in order to ensure that the end result is as beautiful and durable as possible. The first step is making sure that you have the appropriate supplies on hand. You’ll need a sheet of plywood or underlayment to put down as your sub-floor to provide additional stability and protection. You’ll also need a saw, pliers or an electric saw to cut the tiles, spacers for even grouting, adhesive for securing tiles, and sealer for protecting the marble floor’s surface.
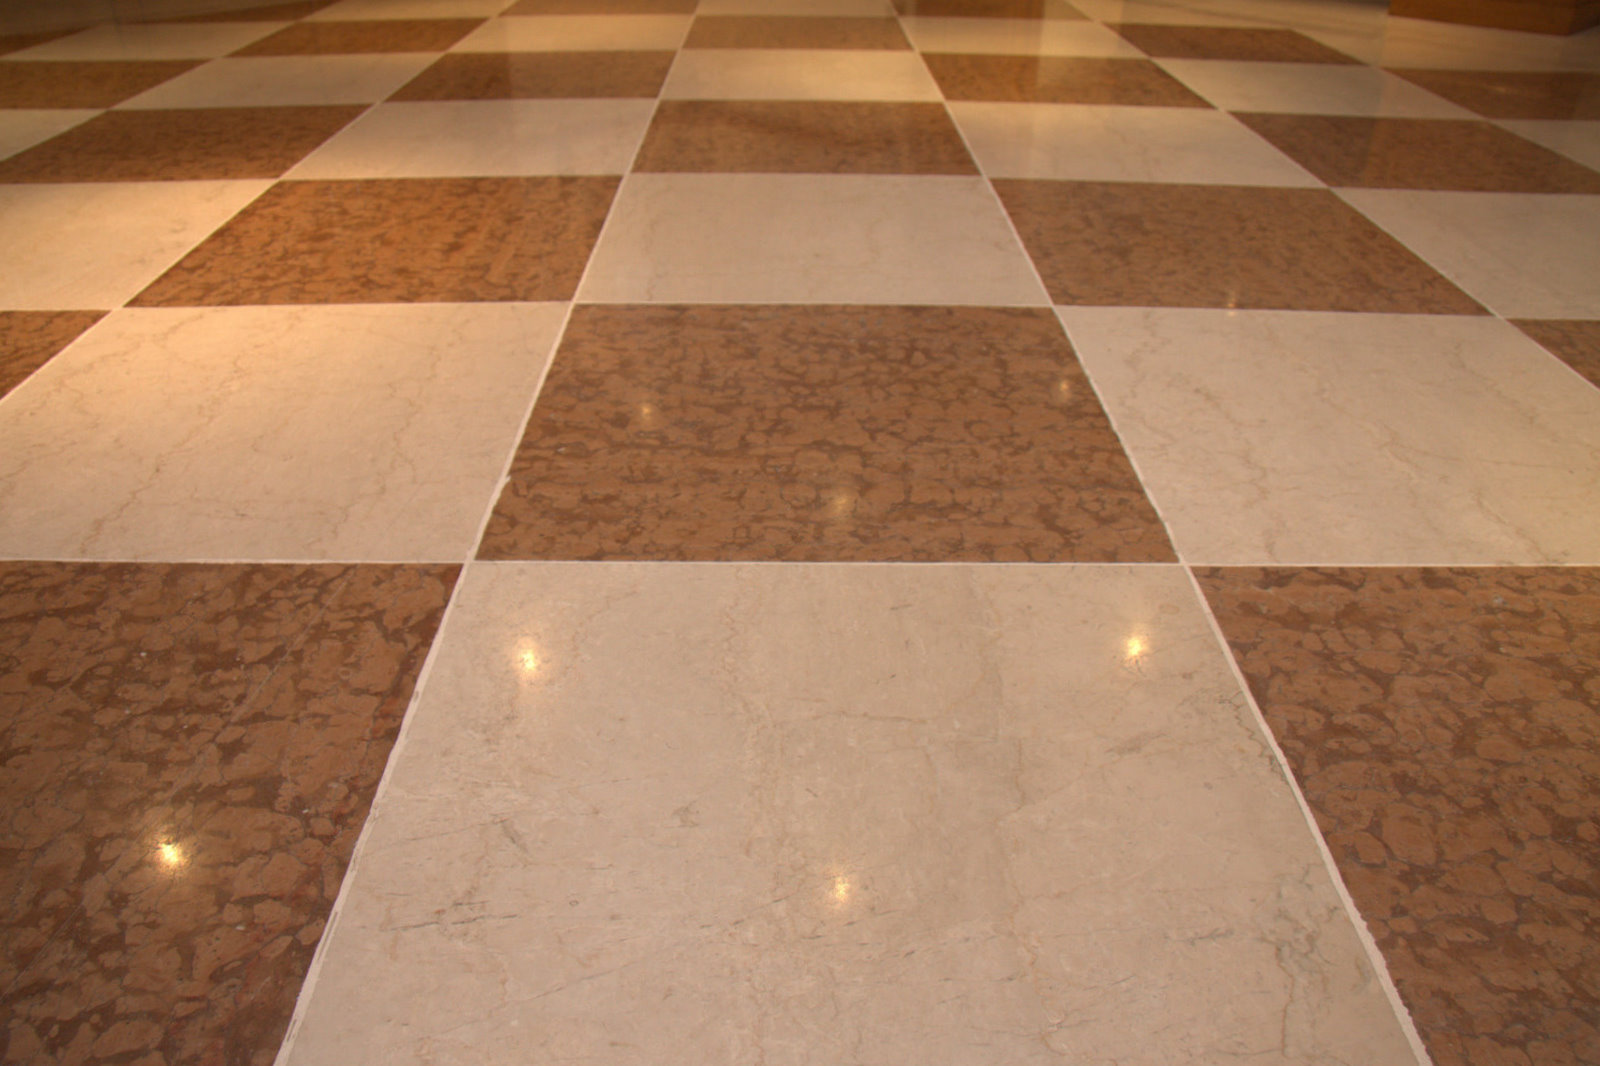
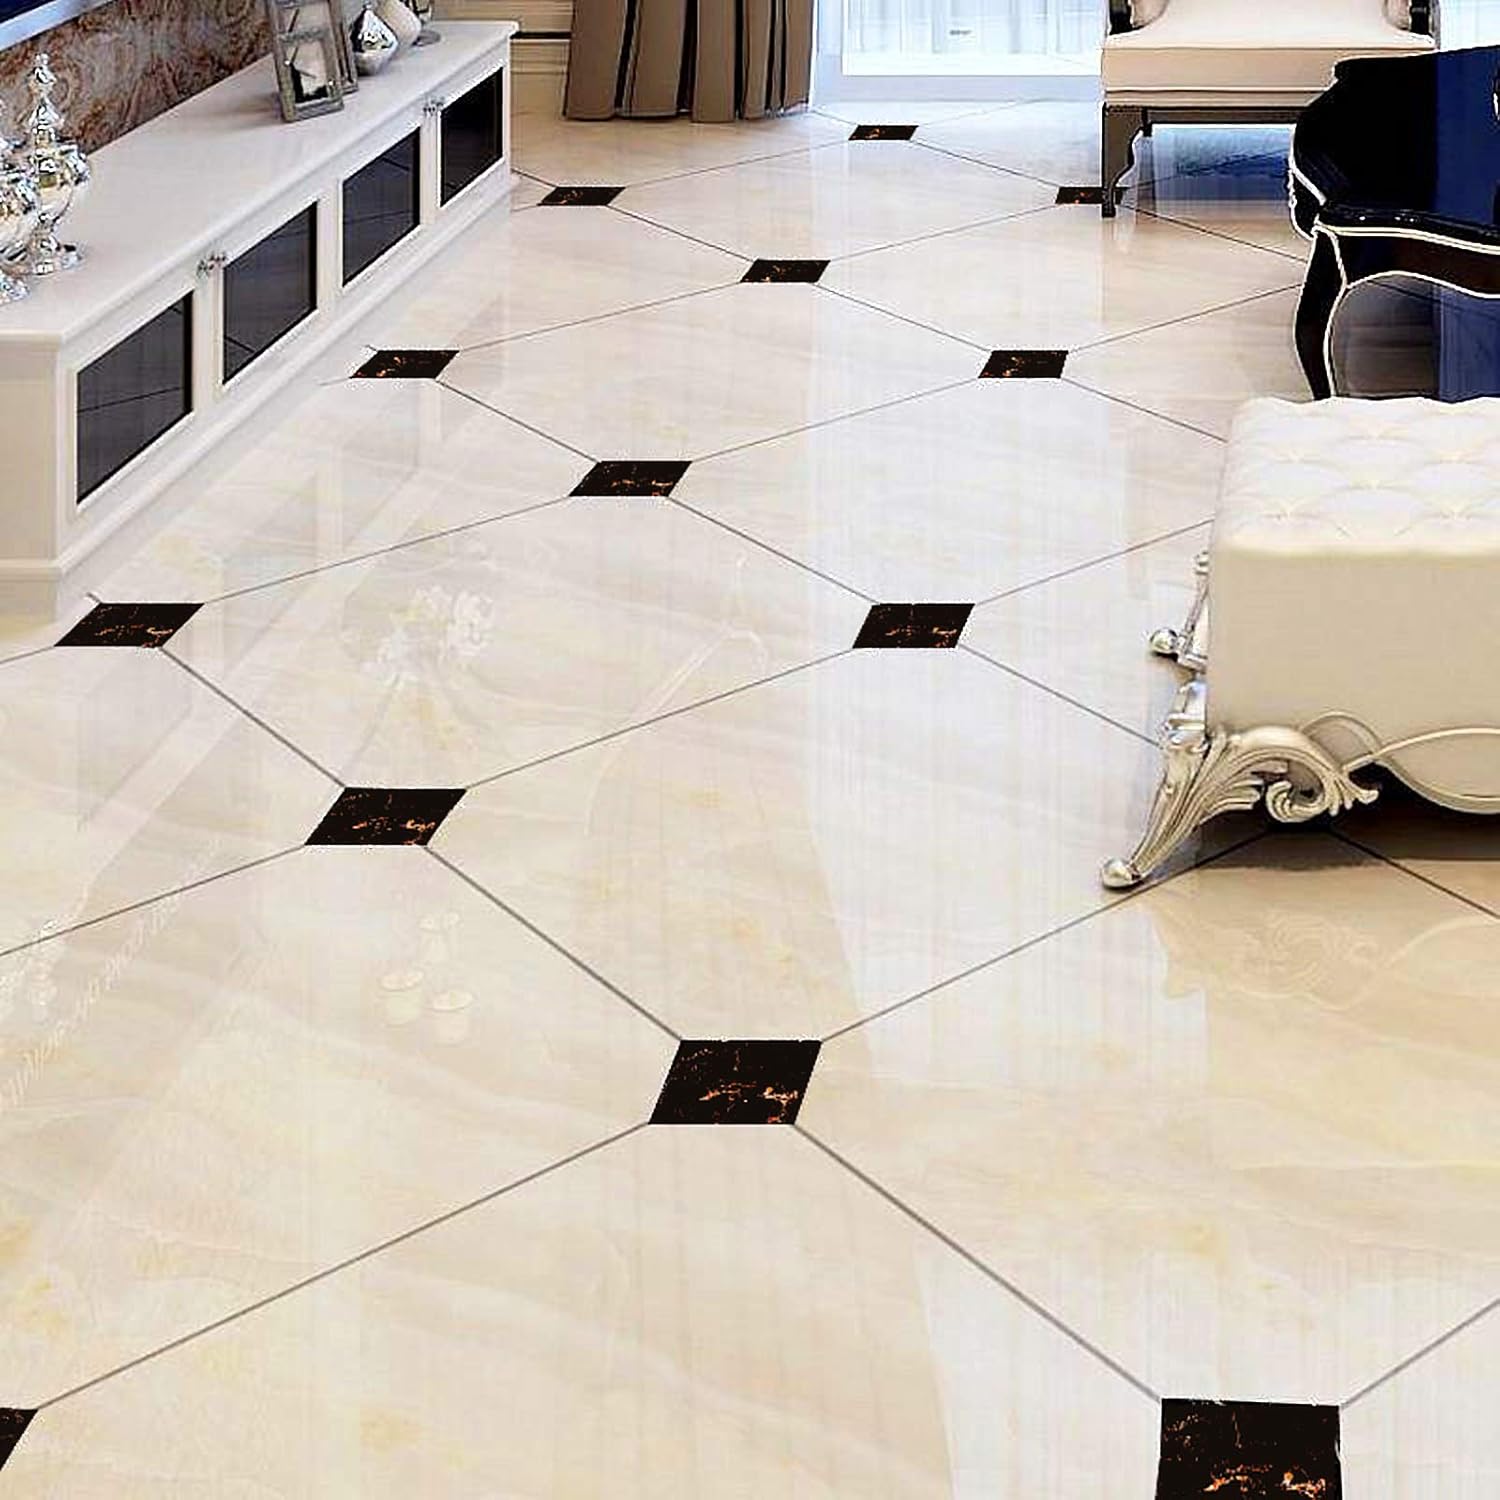
Choosing Your Pattern
When installing marble flooring, there are various patterns to choose from to achieve different looks. The most popular is a classic checkerboard pattern, however you can also create an interlocking diamond-shaped pattern or simply layer them in a single line across each room. Before starting the installation process, it’s important that you lay out all of your tiles first and practice the pattern that you want to create so that everything lines up properly when it’s time to start placing them on the floor.
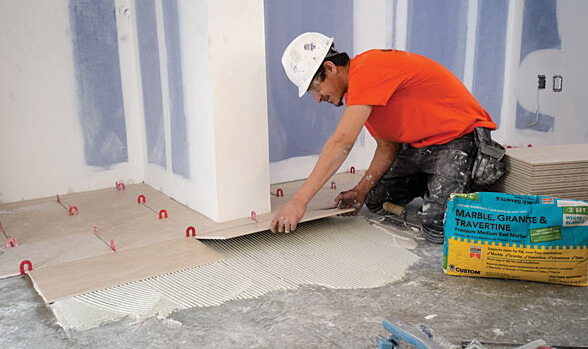
Laying Out The Tiles
Once you’re ready to begin laying out your tiles, it’s important to know which direction you’ll be working in throughout each room. Start by spreading adhesive onto a small section of the sub-floor and then use spacers between each tile before pressing them into place. This will ensure even grout lines throughout your entire project. Continue working in small sections until all of your tiles have been placed and then let them set overnight before grouting.
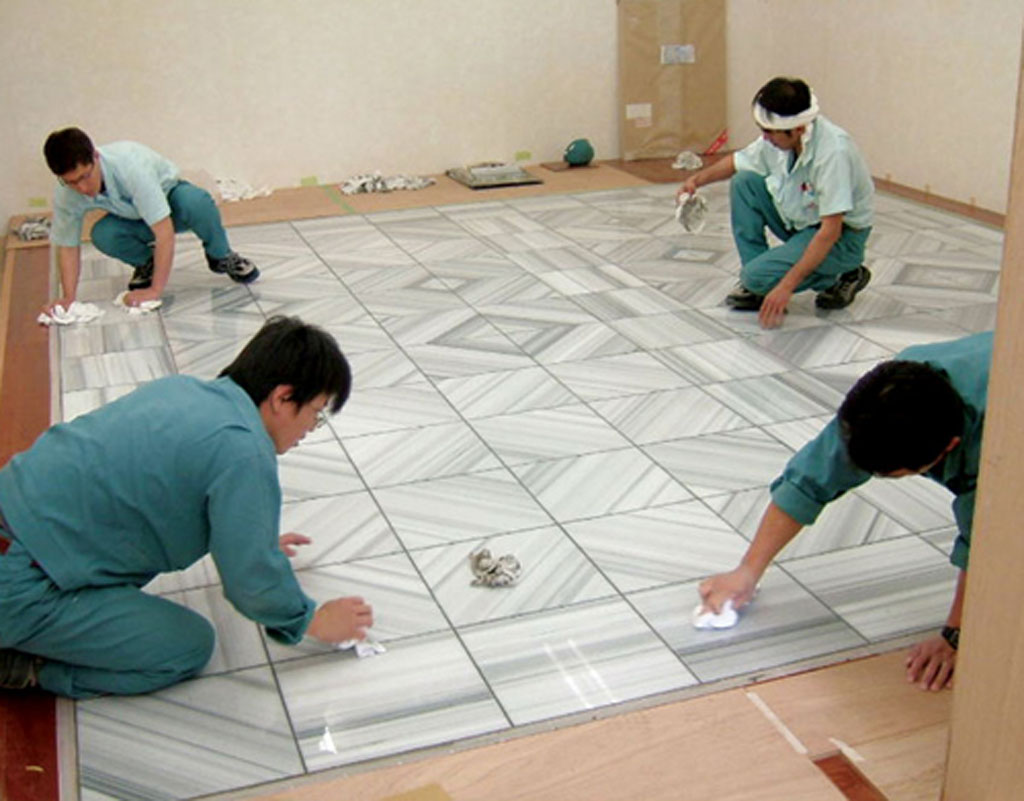
Grouting The Tiles
Once all of your tiles are in place, it’s time to grout them together for a smoother finish. Start by mixing your grout as per manufacturer instructions and then use a rubber float to spread it over all of the tile seams. Make sure that you wipe away excess grout with a damp sponge as you work in order to prevent it from drying on the tiles. Once all of the grout has been applied, let it sit for about 30 minutes before wiping away any remaining residue with a damp cloth or sponges.
Sealing The Tiles
For lasting beauty and protection against staining, it’s important to seal your marble floor once all of the prep work is done. There are various sealers available on the market that can help protect against moisture and dirt buildup while ensuring that your marble floor looks great for many years to come. Most sealers are easy to apply using a clean mop or brush, however be sure to read manufacturer instructions for best results.
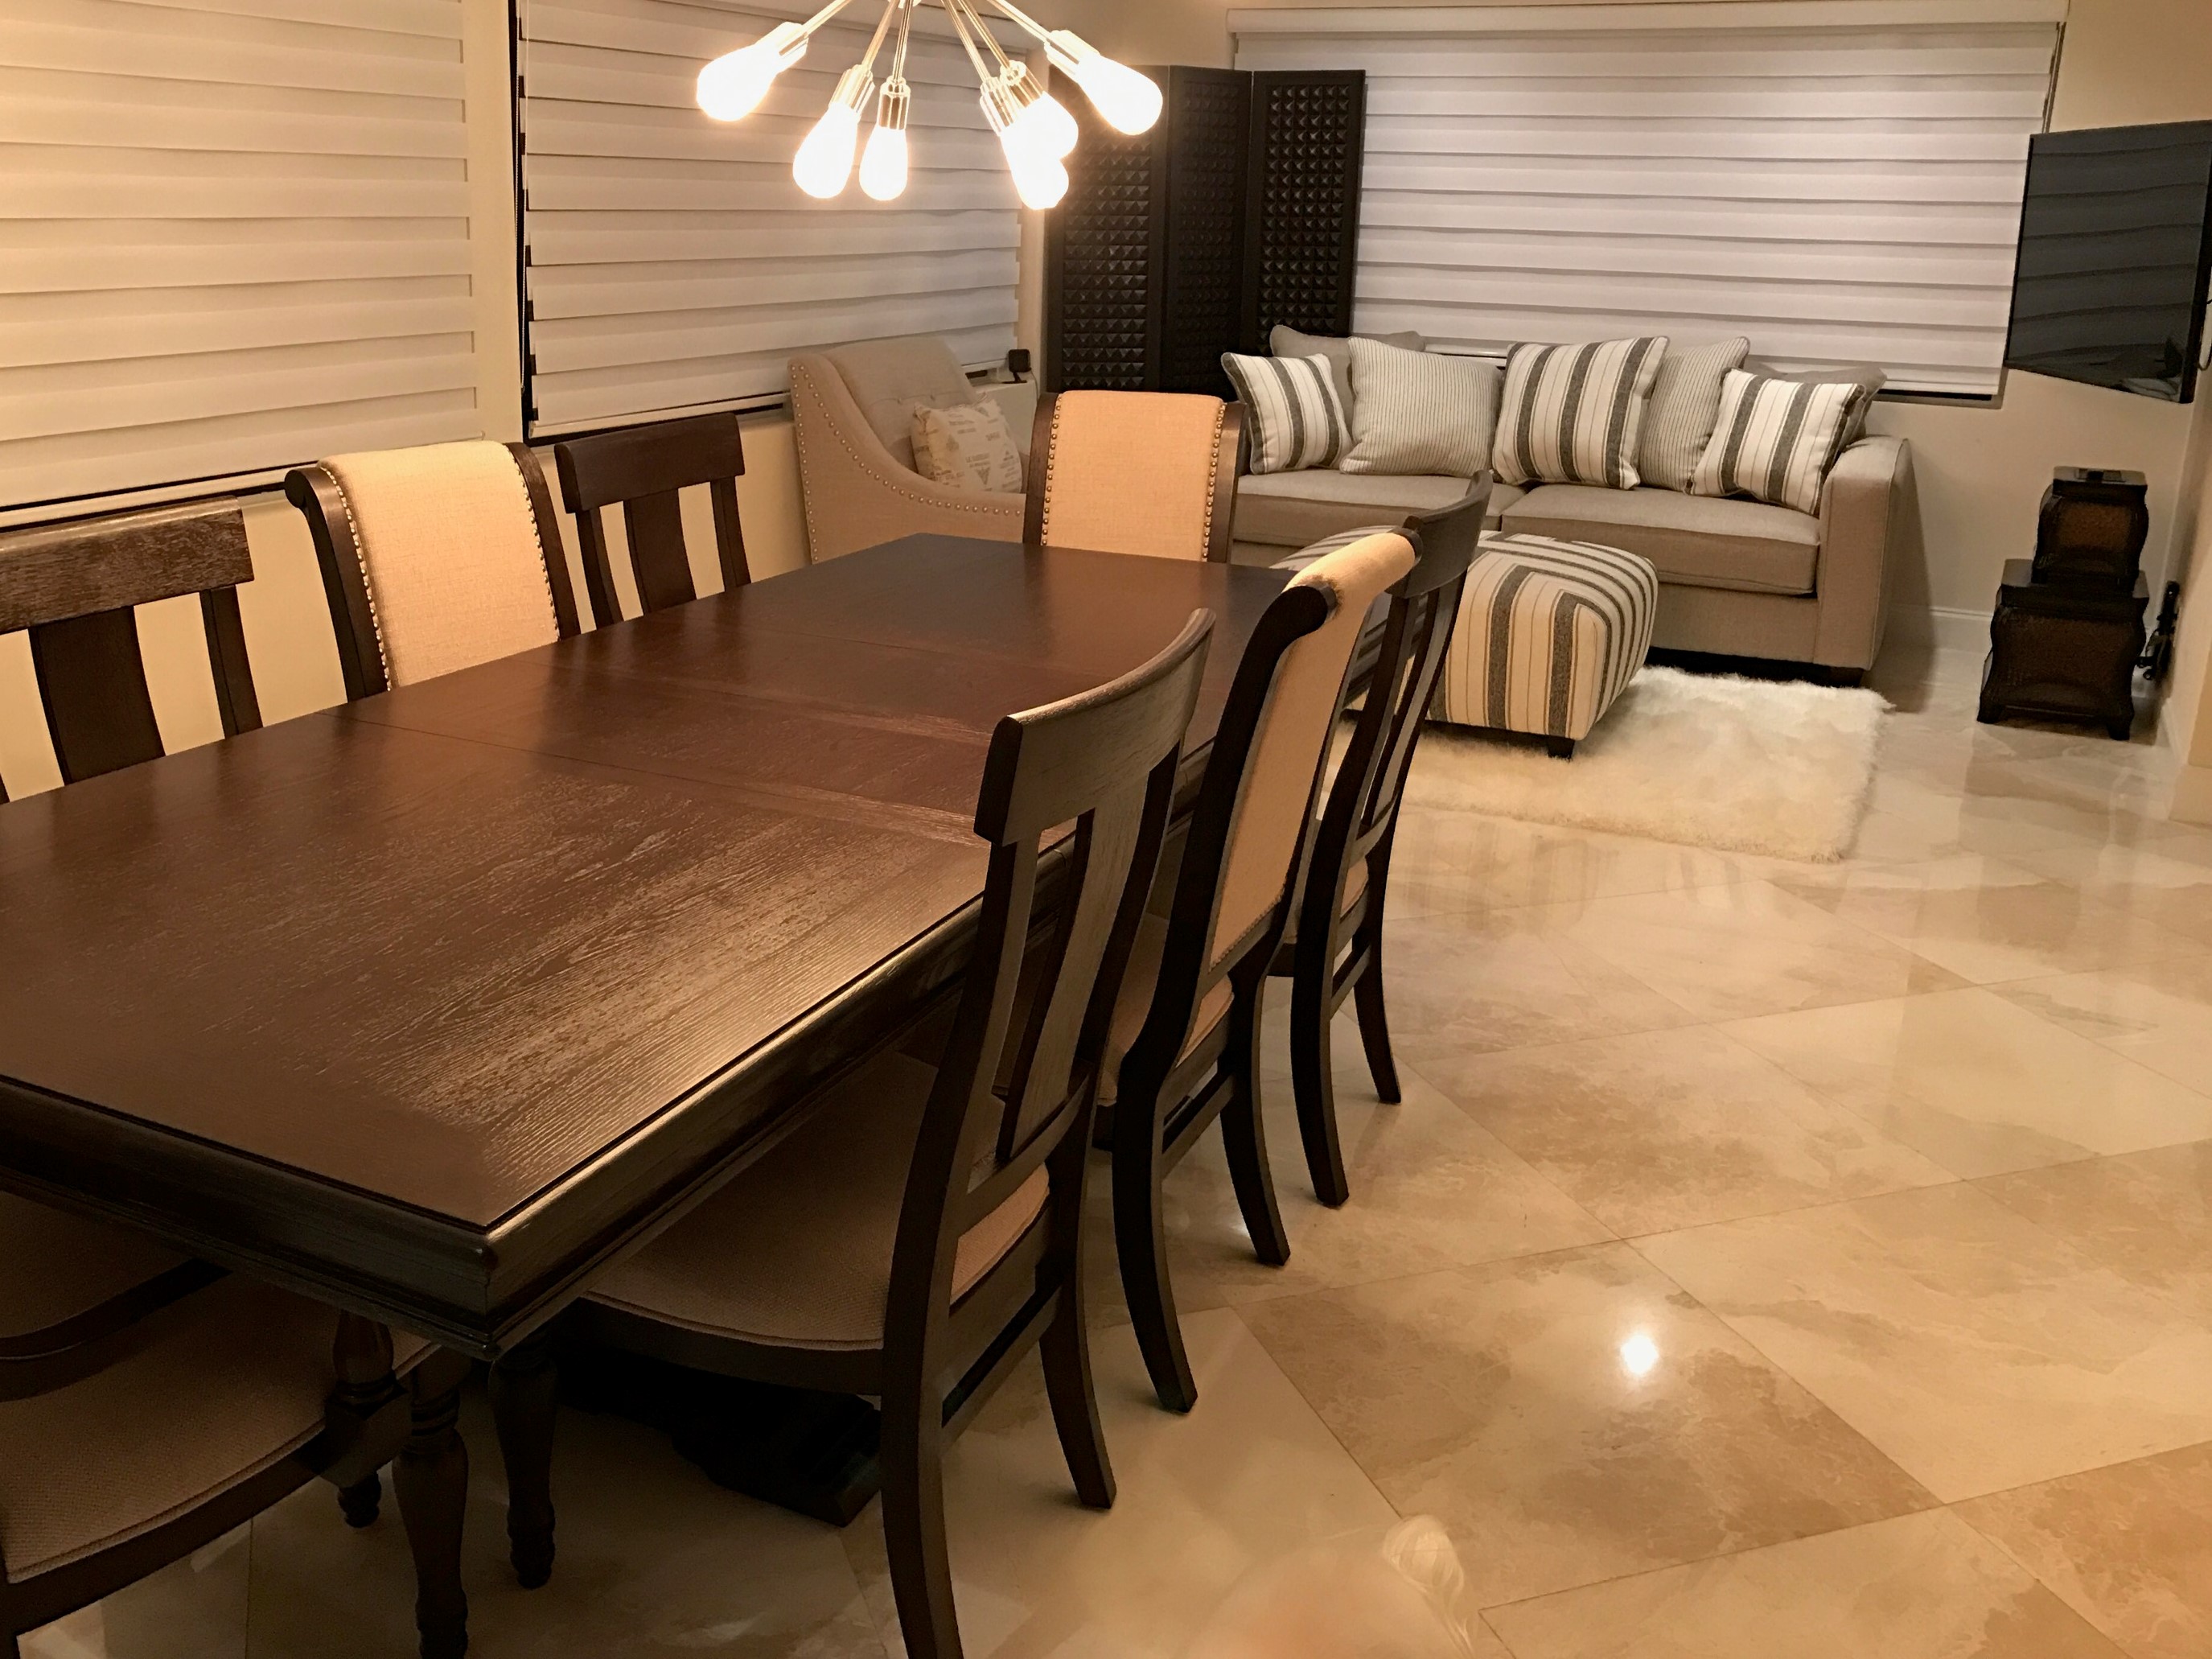
Enjoying Your New Floor
Once all of the steps of installing your marble floor have been completed successfully, it’s time to enjoy your new floor! Be sure to take care in cleaning and maintaining your marble regularly in order to keep it looking beautiful for years to come. Proper cleaning tools are available on the market specifically designed for marble floors, however gentle soap and water can also work wonders on many different types of materials when used properly.
With proper planning and installation techniques, installing marble flooring can turn any interior space into something truly timeless and luxurious. Follow these steps carefully and you’ll be able to enjoy your beautiful new floor in no time!
What tools do I need for installing a marble floor?
1. Marble Tiles2. Mortar
3. Grout
4. Notched Trowel
5. Grout Float
6. Wet Tile Saw or Manual Tile Cutter
7. Level
8. Rubber Mallet
9. Sponge
10. Clean Rags
11. Sealer
12. Spacers
13. Caulk (optional)