Replacing Cracked Grout Tile Floor
How to Fix Cracked Grout – At Charlotte’s House
How to Fix Cracked Grout – At Charlotte’s House

How to Repair Cracked Tile Grout: An Easy Guide The Lived-In Look

How to Repair Cracked Tile Grout: An Easy Guide~ The Lived-In Look

How To Fix Grout In Bathroom Floor – Bathroom Poster

Cool How To Repair Grout In Shower Floor Tiles Ideas – Rawax

Repair Cracked Grout – YouTube Grout repair, Tile grout, Repair

How to Repair Cracked Tile Grout: An Easy Guide The Lived-In Look

Cracking grout in your bathroom? NC Home Remodeling Raleigh Bathroom Kitchen Renovation
How to Repair Cracked and Worn Grout (Shower) – YouTube

Tile & Grout Repair & Regrouting Contour Cleaning

Related Posts:
- Cuban Tile Floors
- Easy Way To Grout Tile Floor
- Types Of Marble Tile Flooring
- Slate Tile Floor
- Classic Bathroom Tile Floors
- Tile Floor Color Ideas
- Wet Mops For Tile Floors
- Staining Saltillo Tile Floors
- Terrazzo Tile Floor Outdoor
- Tile Flooring For Screened Porch
Tile floors are an attractive and durable flooring choice that can be found in many homes. Although tile is generally a low-maintenance surface, the grout between tiles can easily become stained or cracked over time, leading to an unsightly appearance. Fortunately, replacing the grout is a relatively easy process that most homeowners can do with relative ease.
What You Will Need to Replace Cracked Grout
Before beginning the process of replacing cracked grout you will need to gather the necessary tools and supplies. These include:
-Grout Removal Tool
-Fresh Grout
-Grout Float
-Sponge
-Bucket
-Mild Detergent
-Protective Gloves
-Safety Goggles
-Vacuum Cleaner
-Dust Mask
Removing the Old Grout
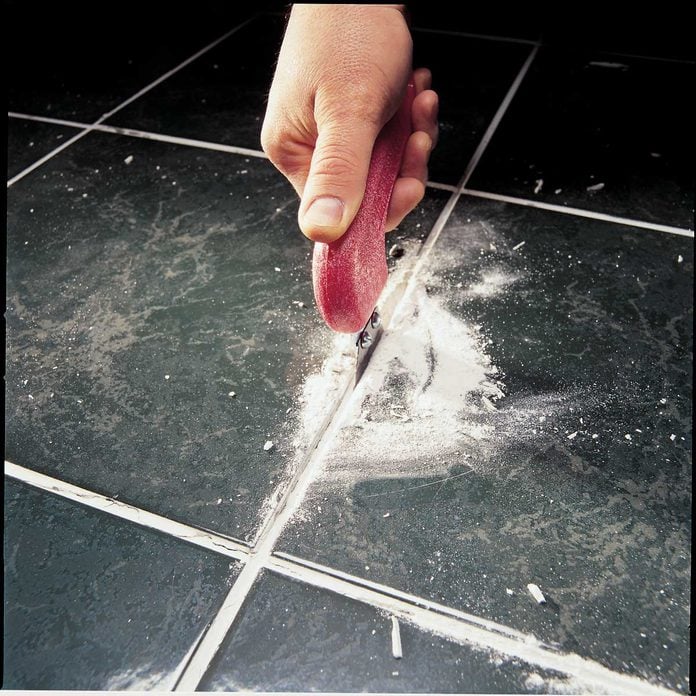
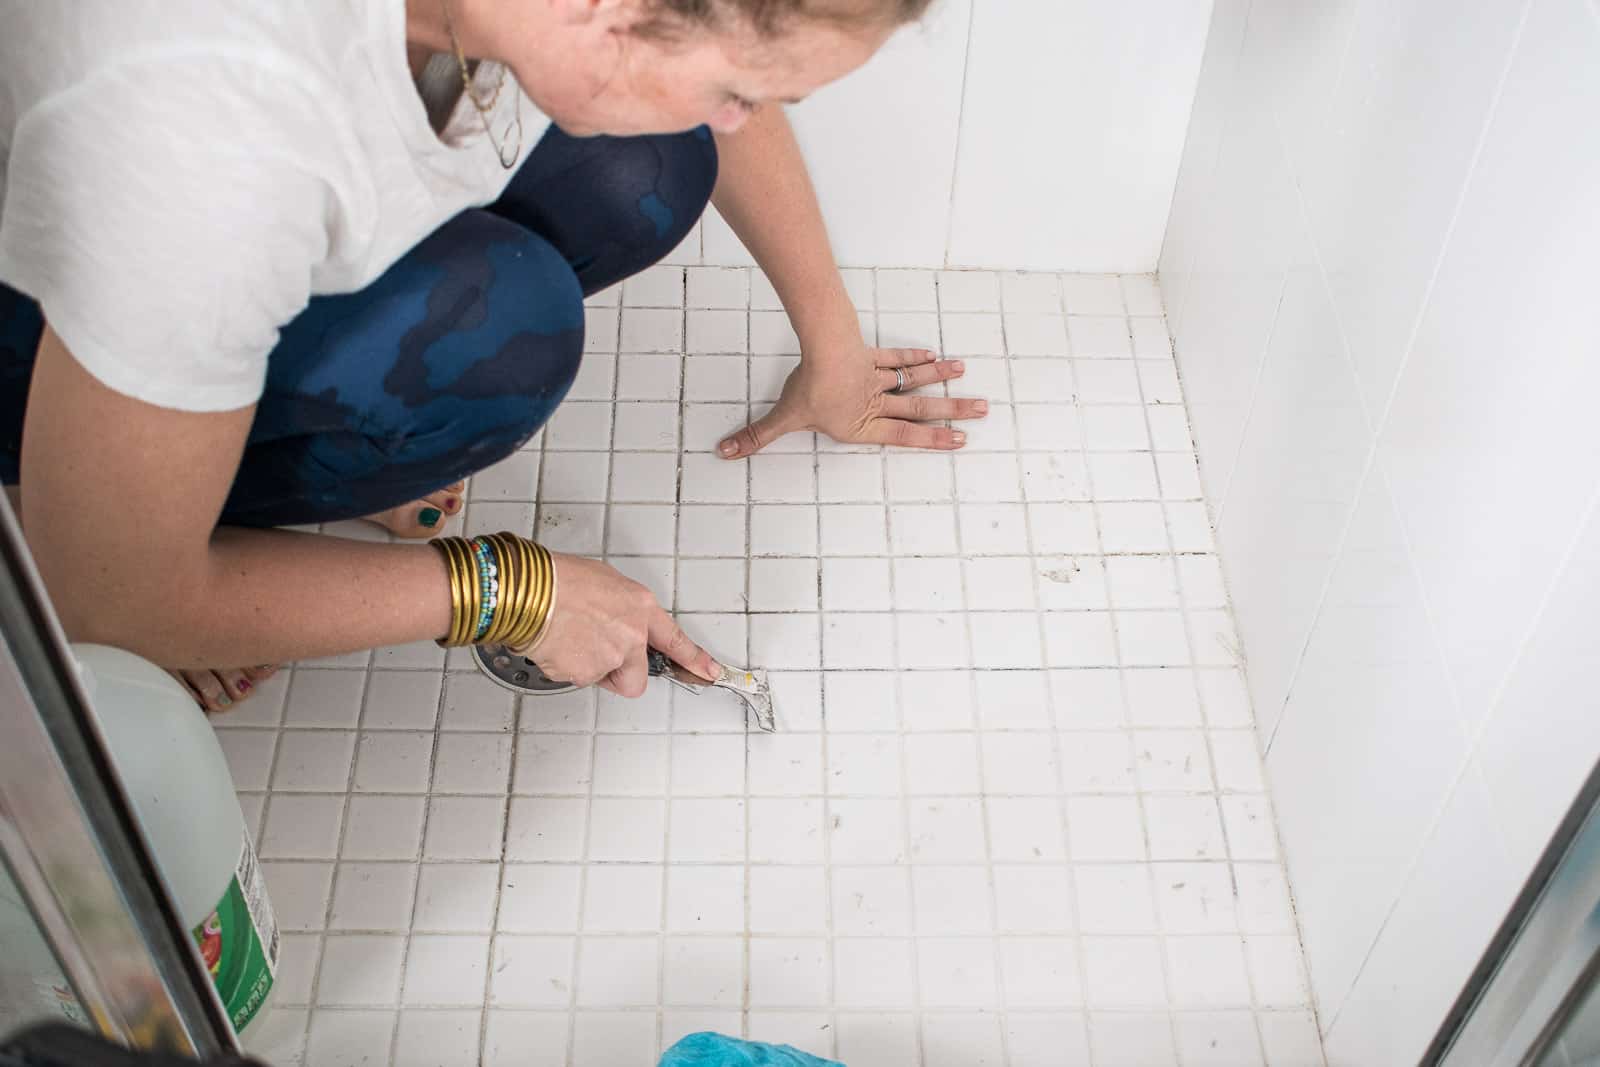
The first step in replacing cracked grout is to remove the old grout from between the tiles. This can be done by using a grout removal tool such as a small chisel or rotary tool. When using a chisel, make sure to hold it at an angle so that it does not chip or damage the tiles. To reduce the amount of dust created during the process, it is recommended to use a vacuum cleaner with a hose attachment to vacuum up the old grout as it is being removed. It may also be useful to wear a dust mask when removing old grout. Once all the old grout has been removed, wipe down the tiles with a damp sponge to remove any remaining dust or debris.
Adding New Grout
Once the old grout has been removed, it is time to add new grout between the tiles. Begin by mixing a batch of fresh grout according to the manufacturer’s instructions. Make sure to wear protective gloves when handling wet grout as it may irritate your skin. When the grout is mixed, use a grout float to apply it between the tiles. Make sure to press firmly and evenly so that there are no air bubbles or gaps in the grout line. Once all of the tiles have been filled with fresh grout, allow it to set for about ten minutes before wiping off any excess with a damp sponge. Allow the new grout to dry overnight before walking on it or exposing it to water.
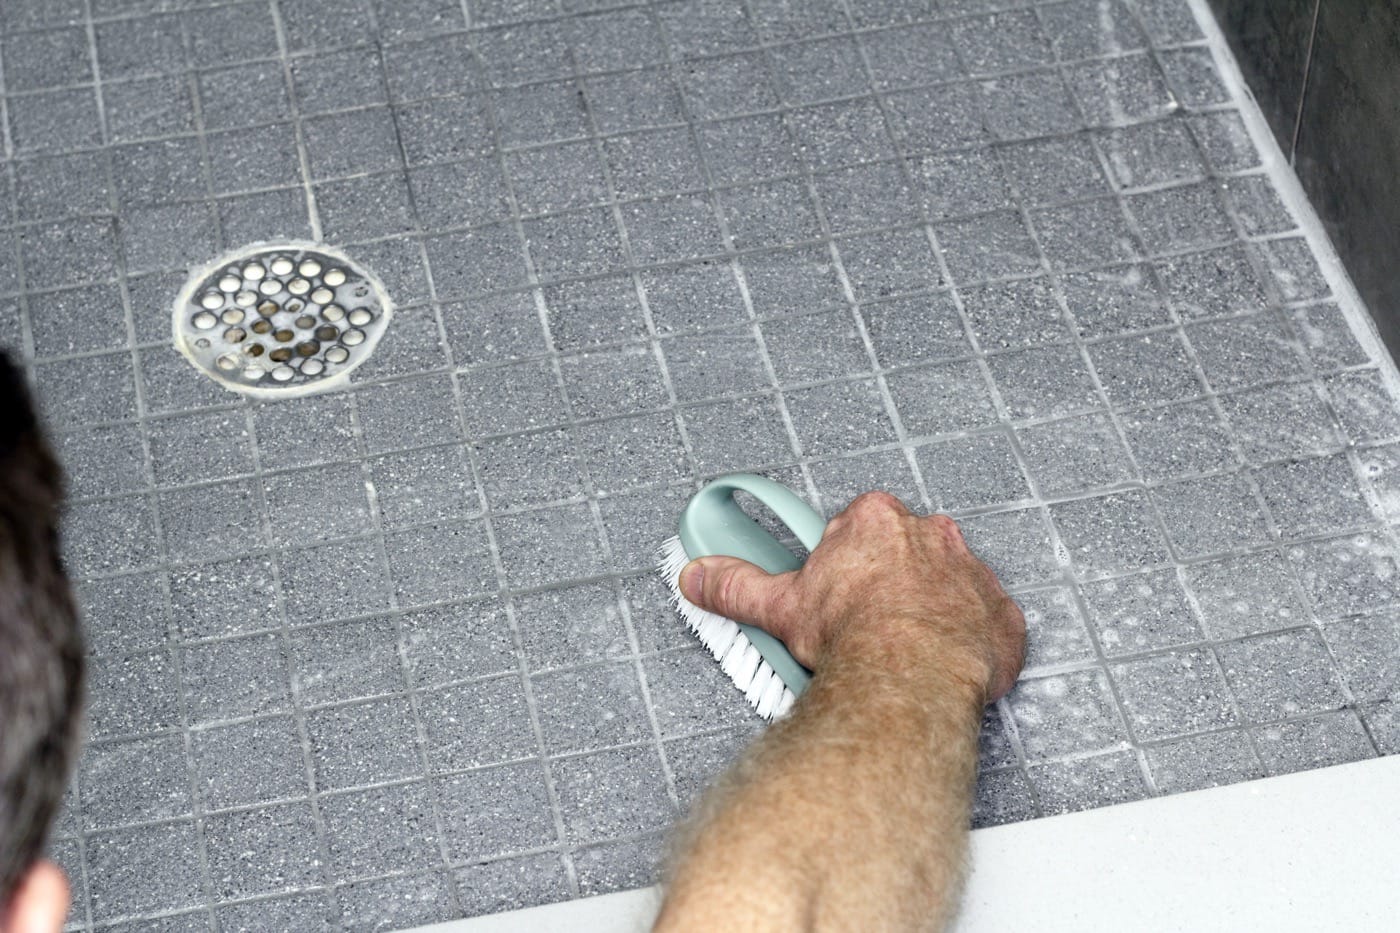
Cleaning and Sealing Grout
Once all of the new grout has been applied and dried, you should clean and seal the grout lines with a mild detergent and sealant. This will help protect the new grout from staining and cracking in the future. To clean and seal your new grout lines, simply mix a mild detergent with warm water in a bucket and use a sponge to scrub down each tile individually. Rinse off with clean water and then allow to dry overnight before applying a sealant. This will help protect your newly replaced grout from staining and cracking in the future.
With just a few simple steps, you can easily replace cracked grout on your tile floors and restore them back to looking like new again! The process may take some time but is relatively easy for most homeowners. All you need is some patience and a few supplies and you should have no trouble replacing cracked grout on your tile floors quickly and easily.