Repouring Basement Floor (1)
How Much Does Lowering a Basement Floor Cost in 2022? (2) Checkatrade
Repouring Basement Floor (3) – Flooring Site
Repouring Basement Floor (4) – Flooring Site
Basement Floor Removal (5) – Part 2 Two Flat: Remade

Repouring Basement Floor (6) – Flooring Site
Pouring Concrete Basement Floor (7) – Flooring Tips
W4UOA: Pouring the basement floor (8)
The Bennett House: Pouring the basement floor (9)

Pouring Basement Floor (10) Basement flooring, Basement flooring waterproof, Basement insulation

Basement Floor Removal (11) – Part 2 Two Flat: Remade

Concrete Pouring for the Basement of a Building- Concrete Slab Stock Photo (12) – Image of cement
Related Posts:
- Basement Flooring Ideas
- Basement Floor Heaving Repair
- Basement Flooring Options DIY
- Fixing Basement Floor
- Repainting Basement Floor
- Walkout Basement Flooring
- Brick Basement Flooring
- Budget Basement Flooring
- Waterproofing Your Basement Floor
- Laminate Basement Flooring
When it comes to basement renovations, one of the most important steps is re-pouring the floor. This is a process that involves removing the old floor, preparing the surface for the new floor, and then pouring concrete into the space. It’s an involved process that requires skill and patience, but can be done with a few simple steps. With this guide, you’ll learn how to re-pour your basement floor in just six easy steps.
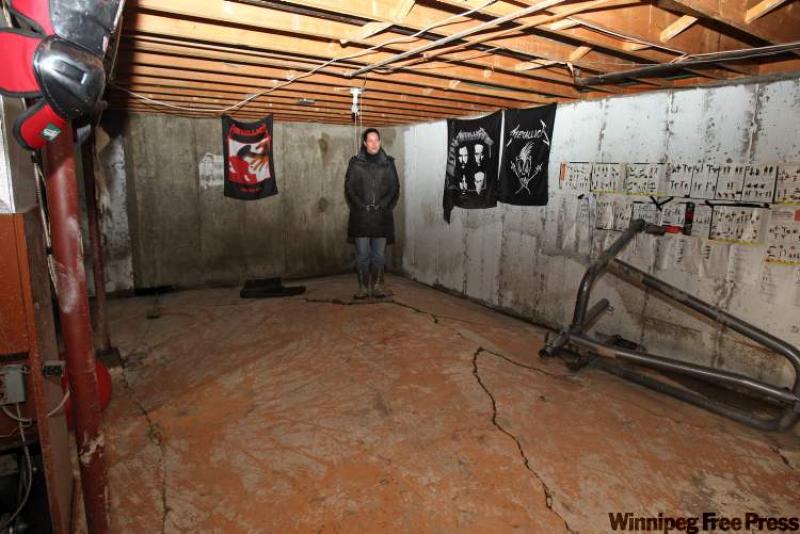
Step 1: Remove Old Flooring
The first step when re-pouring a basement floor is to remove all of the old flooring. This includes carpets, tiles, or any other materials that are covering the existing floor. You’ll need to use a crowbar and hammer to loosen and remove any nails that are holding the material down. Once everything has been removed, you’ll need to clean the surface thoroughly with a broom and vacuum.
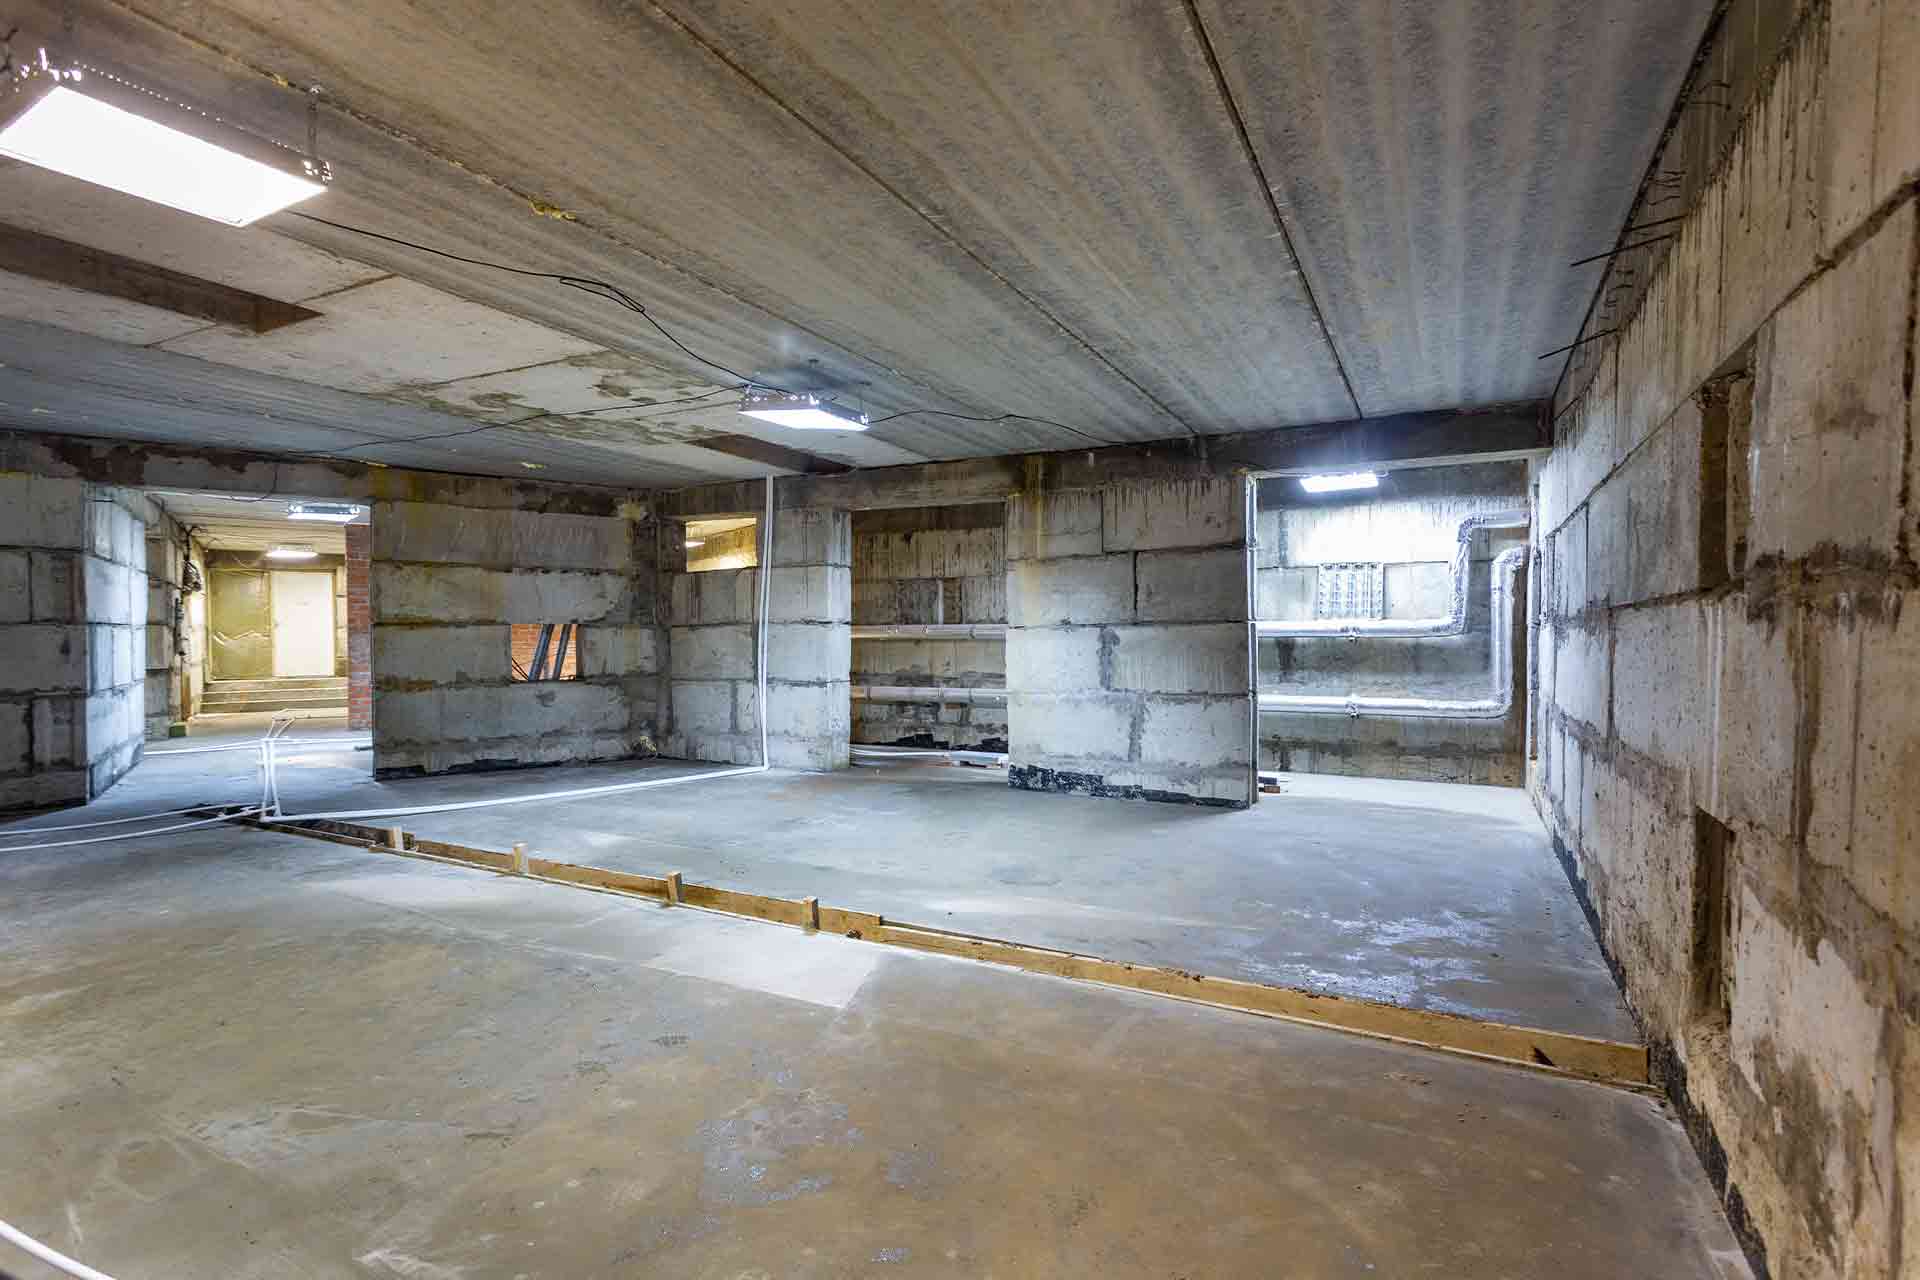
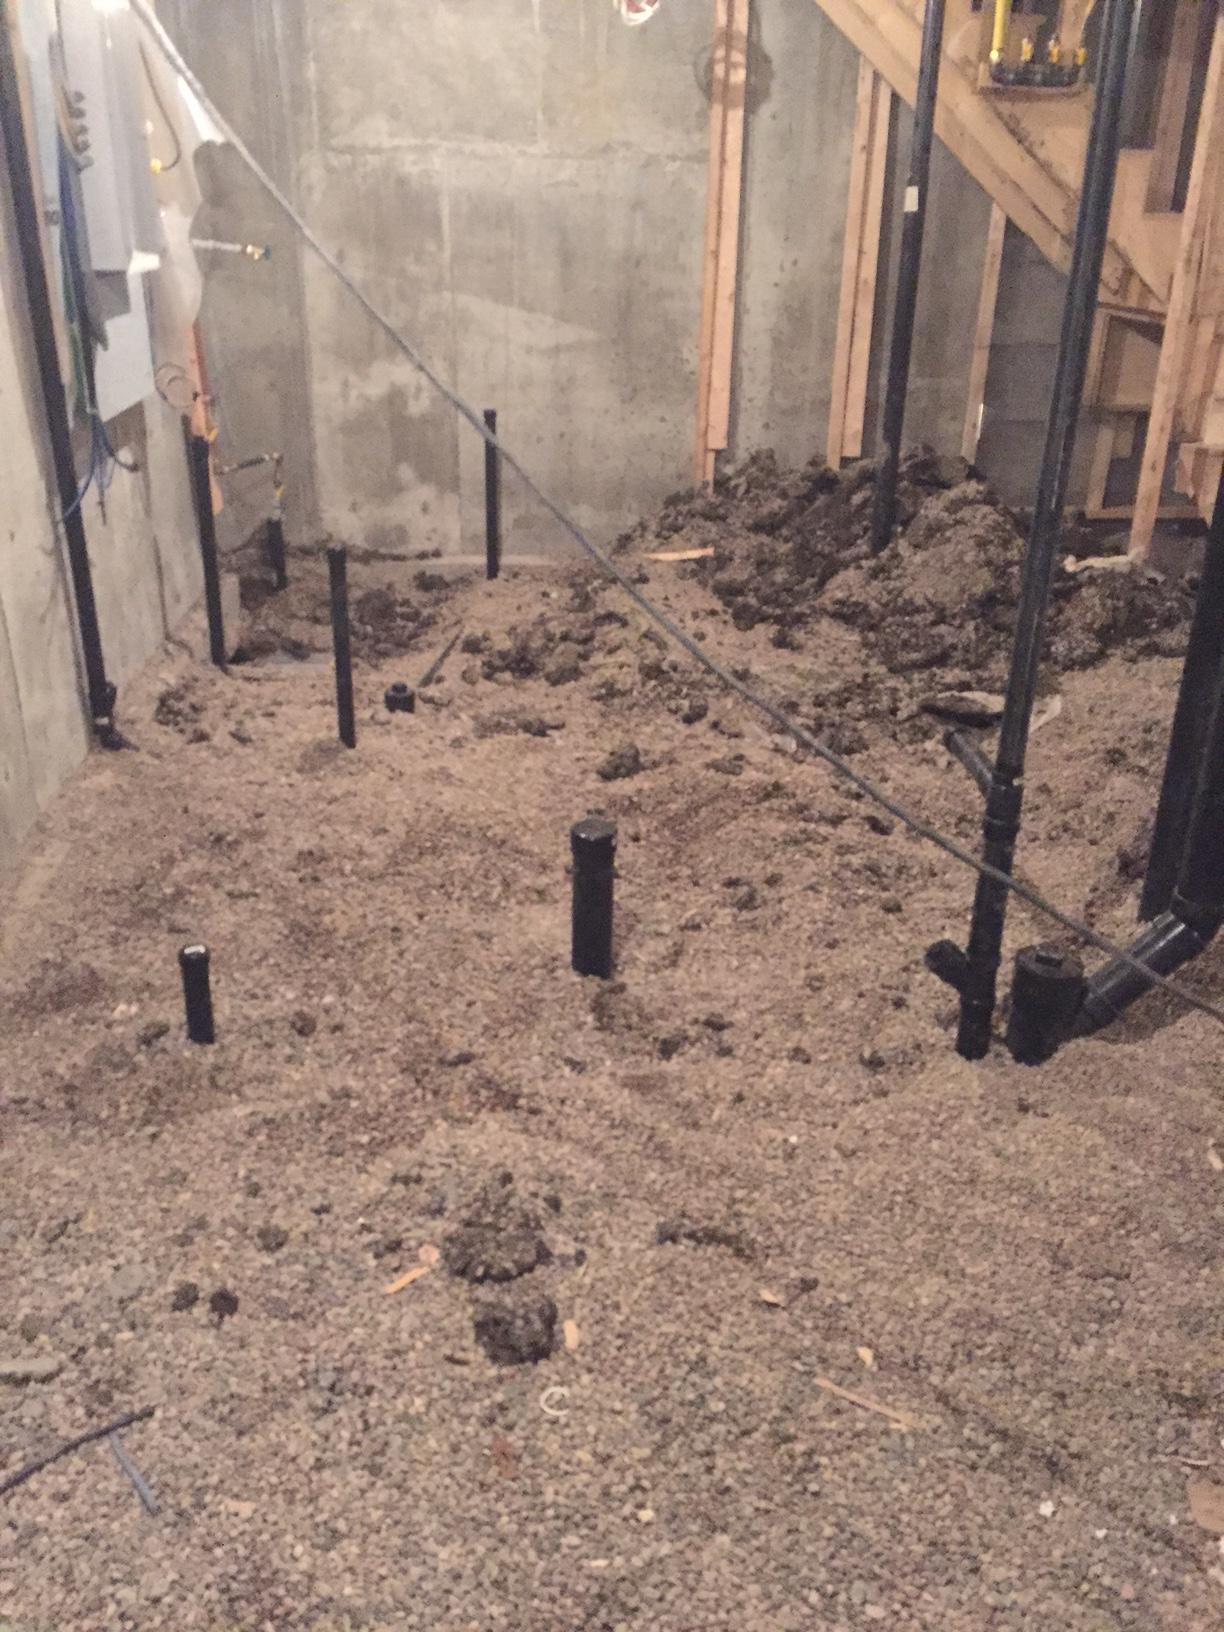
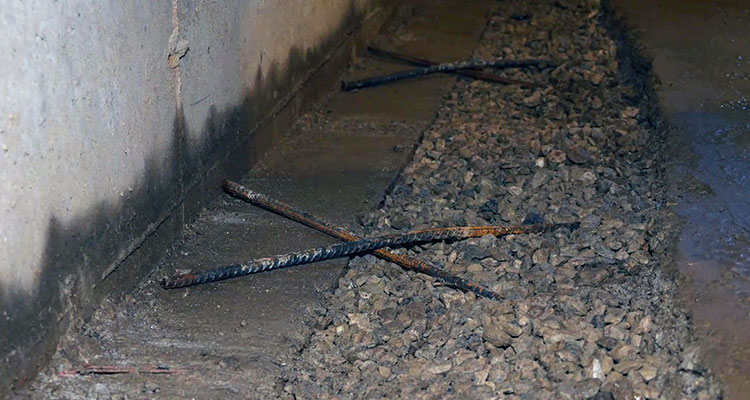
Step 2: Prepare Subfloor
Once you have removed all of the old flooring, you’ll need to prepare the subfloor for the new concrete. This involves inspecting for any cracks or sinkholes and filling them in with hydraulic cement. You should also check for any areas that have been damaged by water damage or rotting wood. If there are any issues, these need to be addressed before continuing with the project.
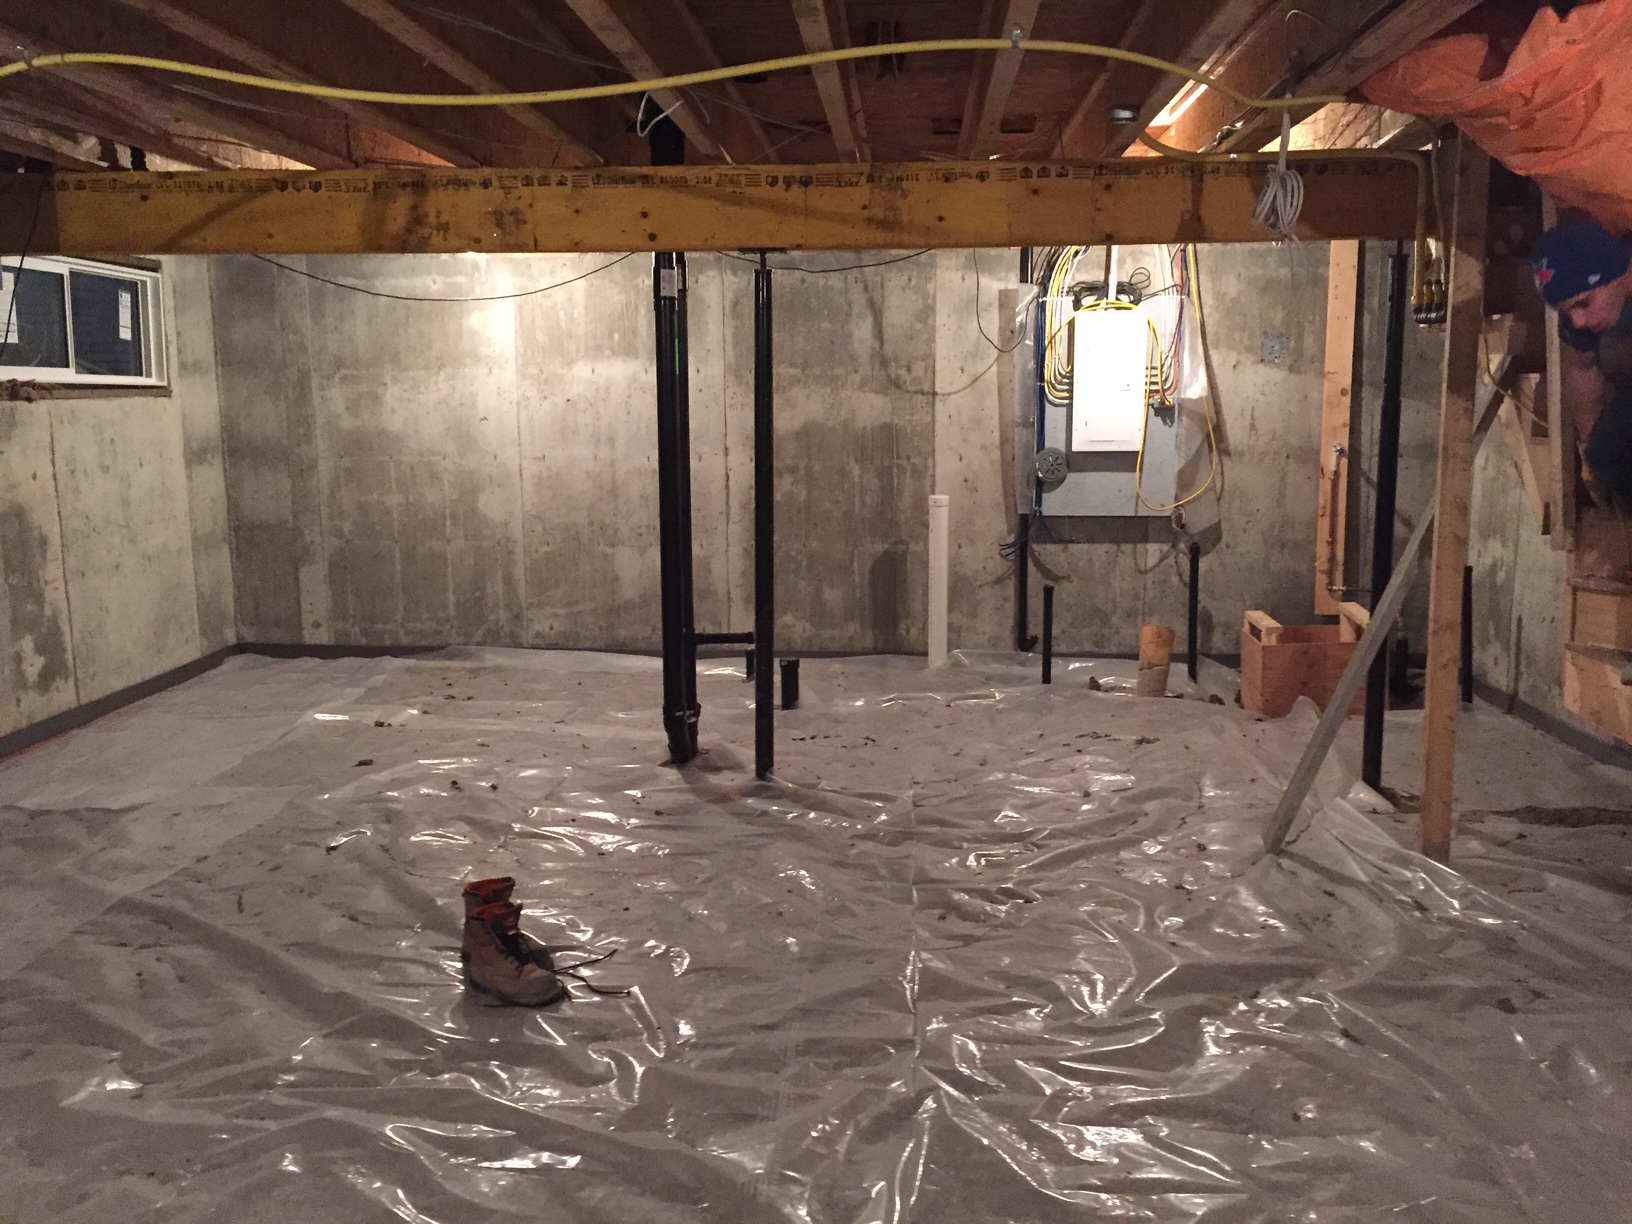
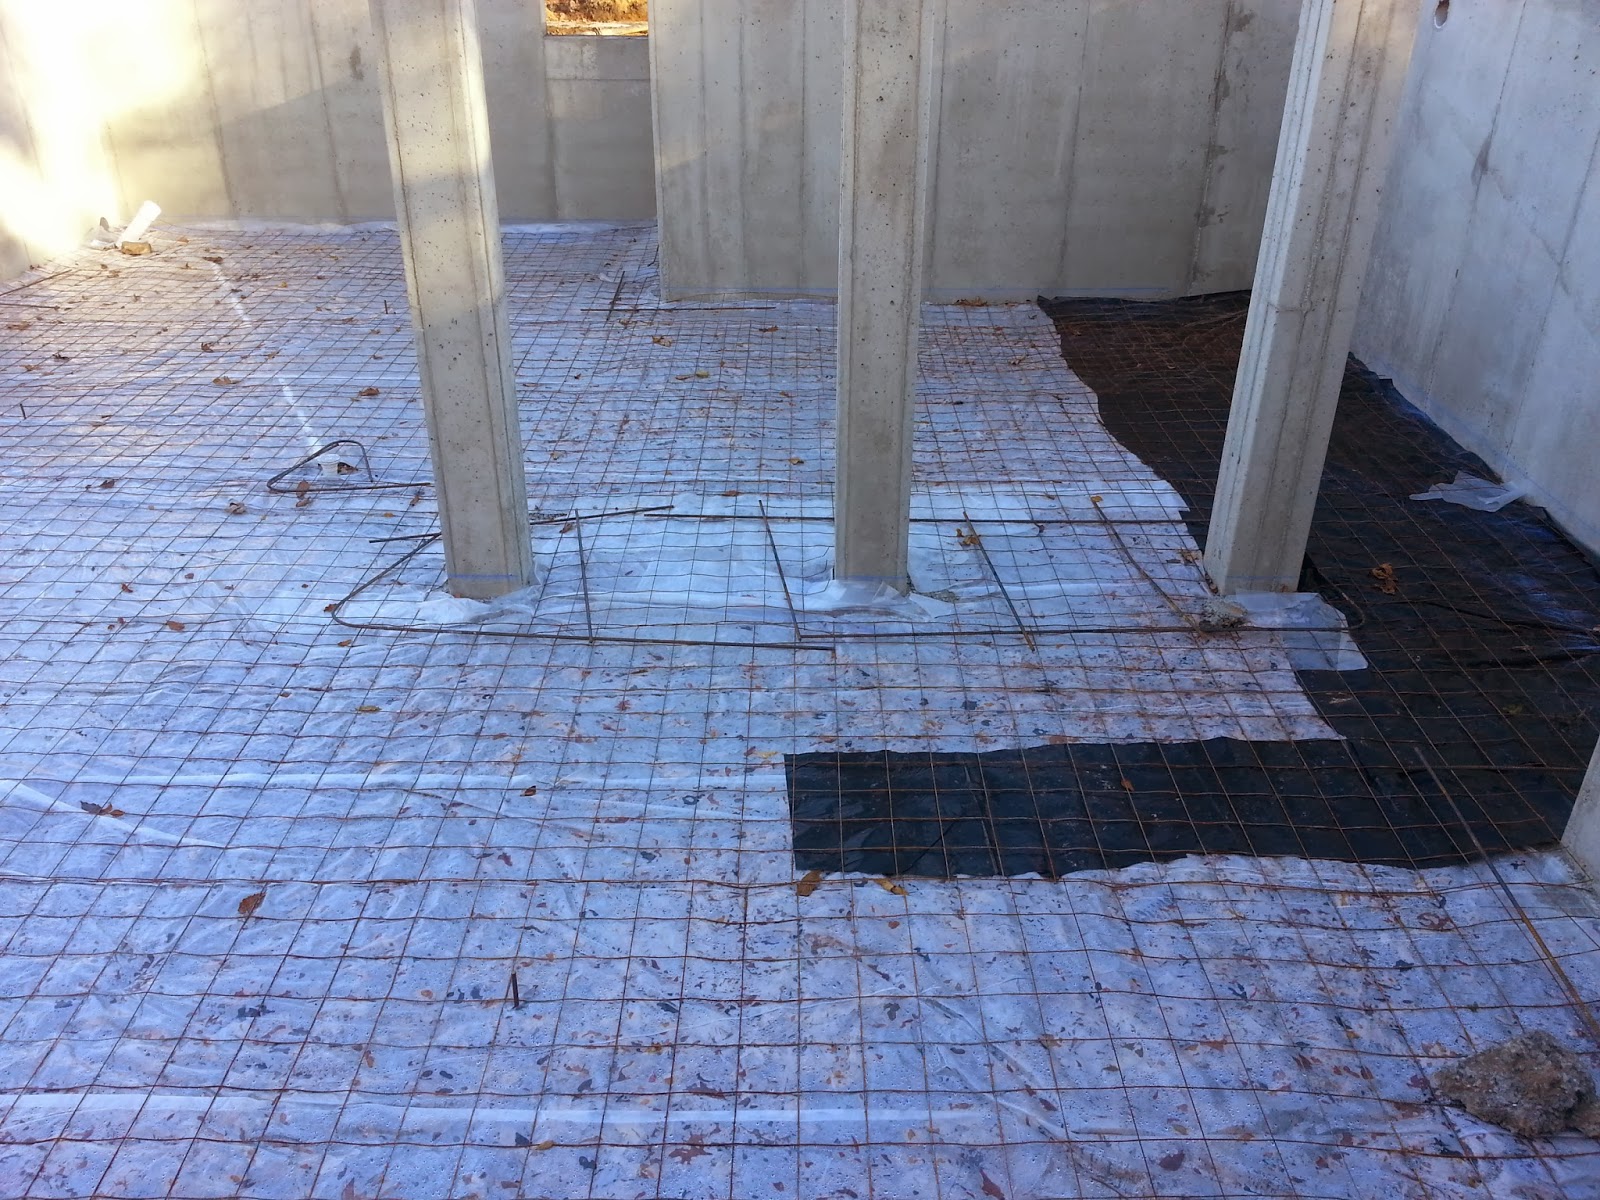
Step 3: Install Vapor Barrier
Before pouring new concrete, you’ll need to install a vapor barrier over the subfloor. This will help protect against moisture buildup and prevent mold and mildew growth. The barrier should be at least 6 mil thick and should be secured with tape or staples along all of the perimeter edges.
Step 4: Prepare Concrete Mix
Once you have prepped the subfloor and installed the vapor barrier, it’s time to mix up your concrete. Make sure you follow the manufacturer’s instructions carefully as concrete can be tricky to work with. You’ll need to mix enough concrete to fill in all of the areas that will be covered by your new flooring.
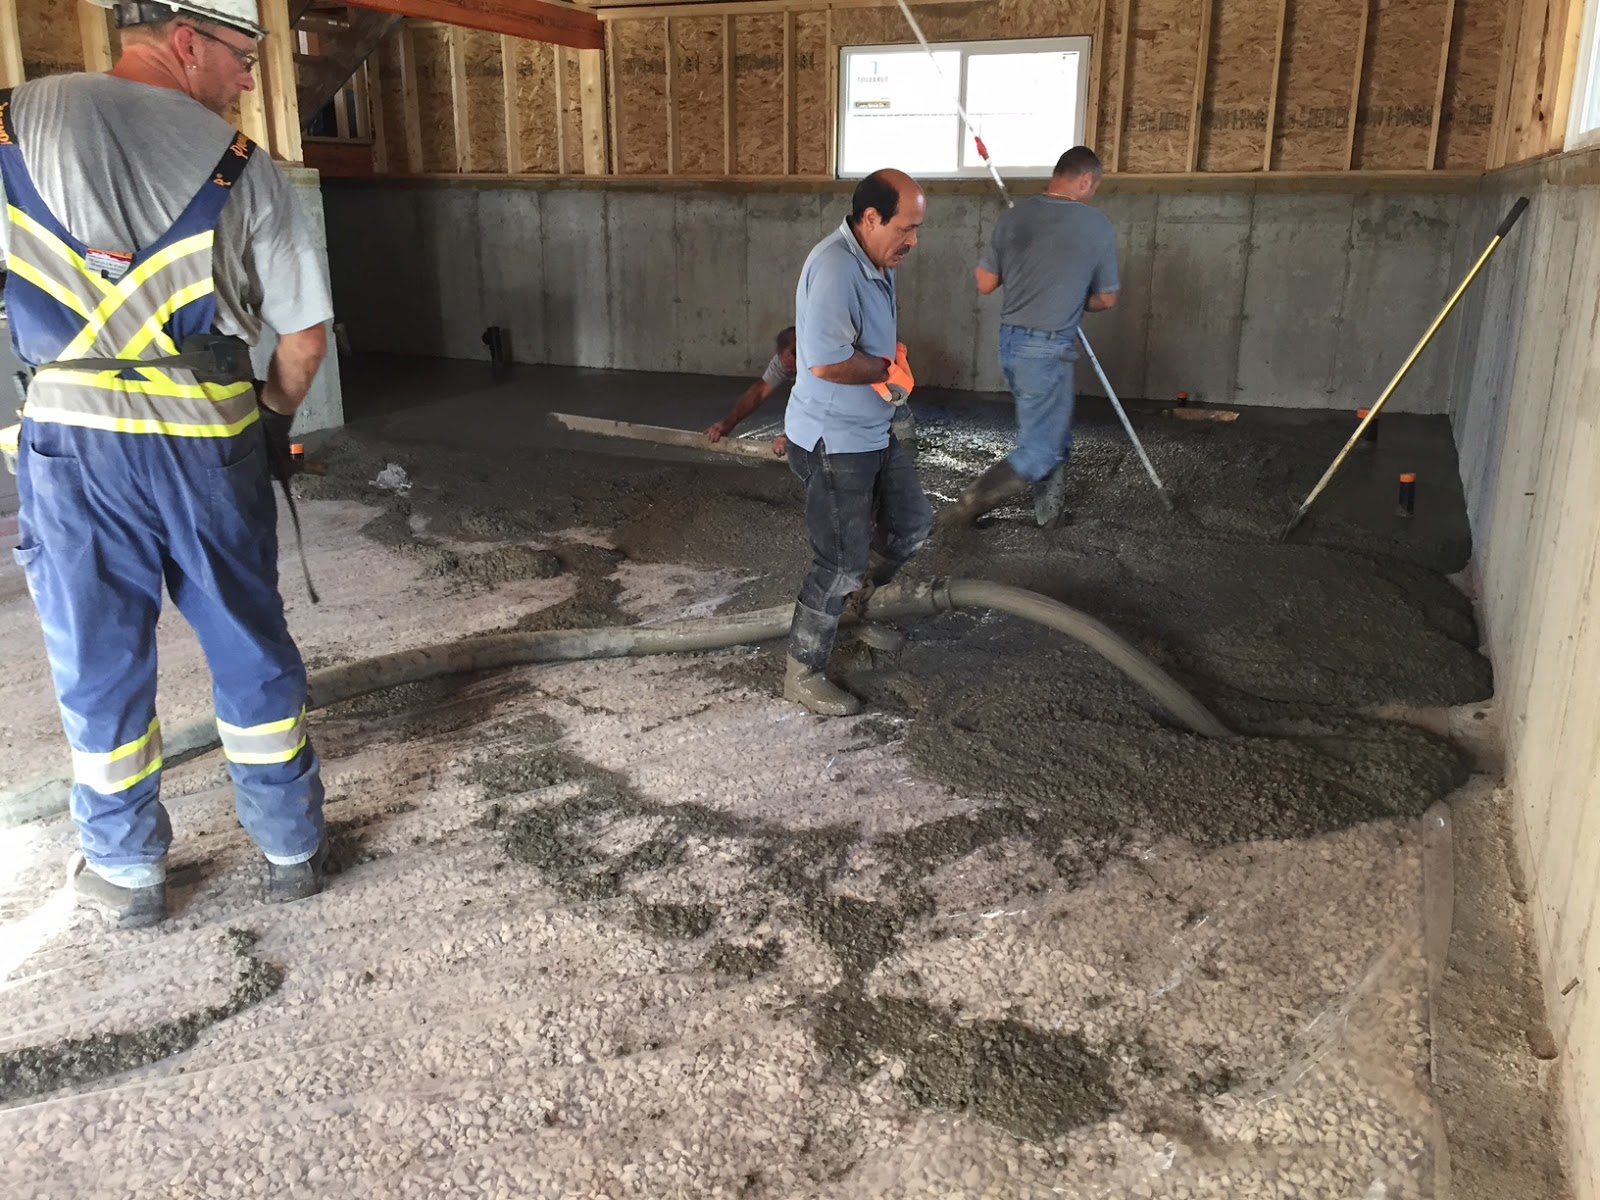
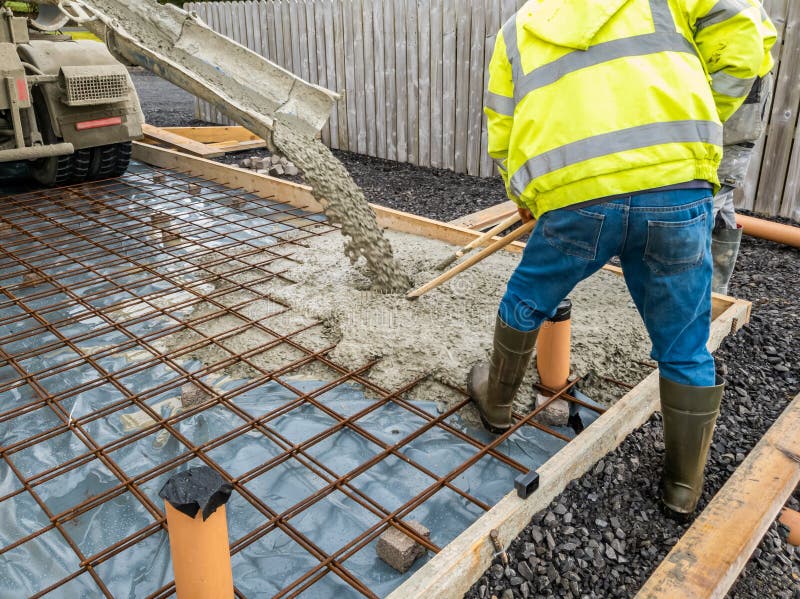
Step 5: Pour Concrete
Start at one corner of your basement and slowly pour the concrete across the entire area in a uniform manner. This will help ensure that it sets evenly across all areas of your basement floor. As you pour it, make sure that you use a trowel or float to smooth out any bumps or dips as they appear.
Step 6: Cure Concrete
After you’ve finished pouring all of the concrete, it’s important to let it cure properly before walking on it or installing any other materials. This process typically takes seven days but may take longer depending on weather conditions and temperature levels inside your home. Once it has cured completely, you can move onto installing your new flooring materials.
Re-pouring a basement floor is not an easy task but following these six steps can make it much simpler and more efficient. By properly preparing your subfloor, mixing up the concrete properly, and allowing it to cure before moving onto other steps, you can ensure that your new floor will last for years to come.