Skim Coat Over Vinyl Floor

Installation of a Mannington sheet vinyl floor over old vinyl using an embossing skim coat to

skim coat concrete – Google Search Skim coat, Concrete, Coat

Skim Coat Concrete Floors Minneapolis – St. Paul, MN Concrete Overlay St. Croix Concrete

Floor by BMJ Design. Skim coat on old slab after carpet and sheet vinyl removed. Scored and

Skim coat floor: part 4 of 4 – YouTube
Skim Coating Floor Preparation — D&S Flooring
How to Pour a Concrete Skim Coat Overlay – YouTube Tile floor diy, Skim coat, Concrete floors

Skim coat floor: part 3 of 4 – YouTube
Pin on Floors

Skim Coating Floor Preparation — D&S Flooring

Skim Coat Over Concrete Floor – Flooring : Home Design Ideas #8zDva1Vonq99306

Related Posts:
- Pine Vinyl Flooring
- Vinyl Floor Laying DIY
- Cortex Vinyl Flooring
- Grey Slate Effect Vinyl Floor Tiles
- Dark Oak Vinyl Flooring
- Limestone Effect Vinyl Flooring
- Vinyl Floor With Border
- Adhesive For Vinyl Flooring To Concrete
- Teak Wood Vinyl Flooring
- Cheap Vinyl Flooring
# Skim Coating Vinyl Floors: A Comprehensive Guide
If you’re looking to give your old vinyl floor a new life, then skim coating is the way to go. Skim coating is a great way to bring new life to tired, old flooring and make it look like new again. With a few simple steps, you’ll quickly have a beautiful, smooth surface that will last for years. In this article, we’ll provide a comprehensive guide on how to skim coat over vinyl floors.
## What is Skim Coating?
Skim coating is a process of applying thin layers of drywall compound over an existing surface in order to level and smooth out the surface. This process is often used in home remodeling projects to cover up imperfections on walls and ceilings, but it can also be used for refinishing floors.
Skim coating vinyl floors is a great way to give them a fresh start without having to replace them altogether. With some patience and the right materials, you can have a beautiful, smooth floor that will last for years.
## What You Need to Skim Coat Vinyl Floors
Before you start skim coating, you’ll need to make sure you have the right materials and tools. Here’s a list of what you’ll need:
– Drywall compound
– Joint compound
– Putty knife
– Sandpaper
– Roller or brush
– Vacuum cleaner
– Paint or sealer
– Drop cloth or plastic sheeting
## Prepping Your Floor for Skim Coating
Before you start skim coating your floor, it’s important that you prep the surface properly. Start by sweeping the floor to remove dirt and debris, then use a vacuum cleaner to get all of the dust particles off the floor. If there are any cracks or damages on the floor, use a putty knife and joint compound to fill them in. Once everything is cleaned and filled in, it’s time to start the actual skim coating process.
## How to Skim Coat Vinyl Floors
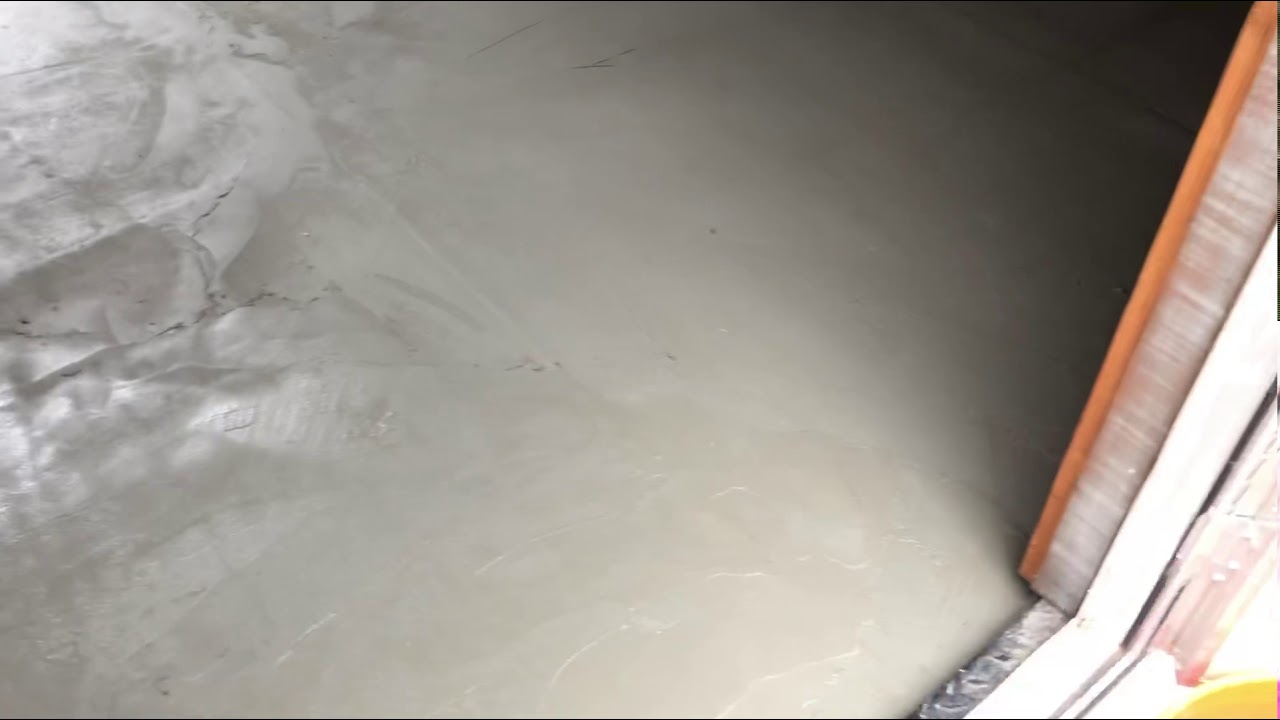
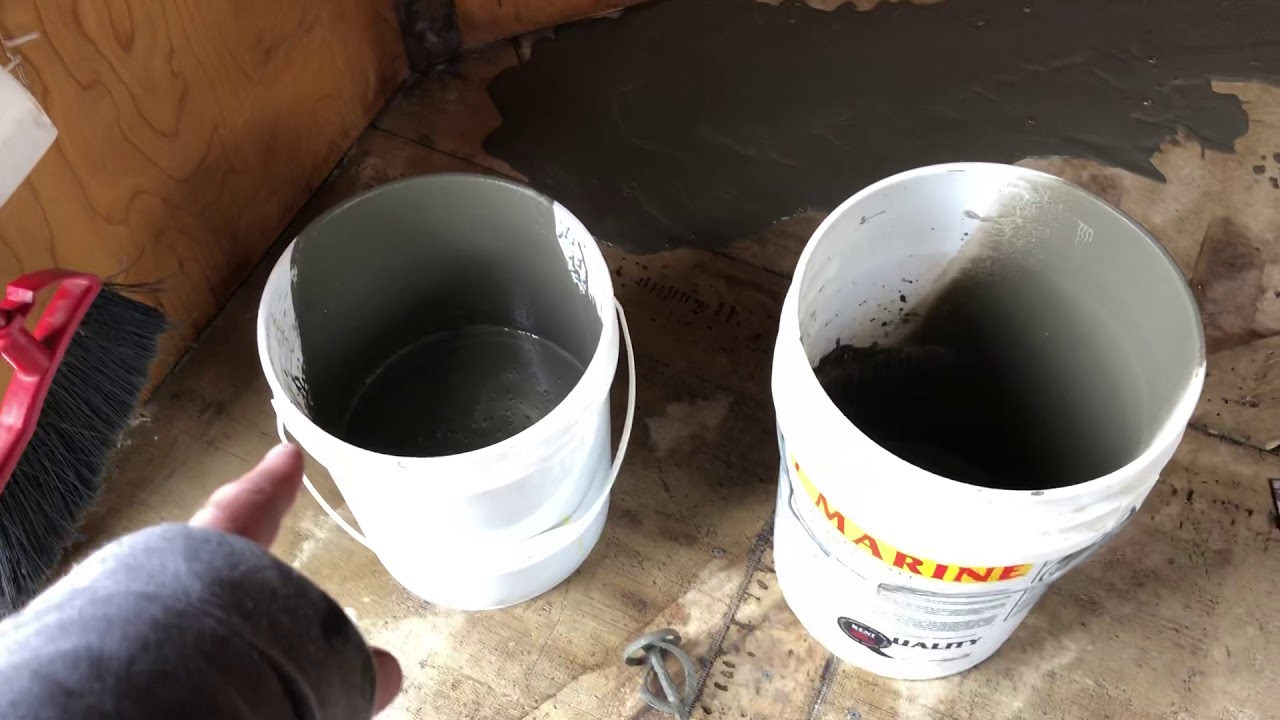
Now that your floor is prepped, you can start skim coating it. The first step is to mix your drywall compound with water until it has a pancake-batter consistency. Then spread it out over the entire area with either a roller or brush. Make sure that you spread it evenly so that it covers every part of your floor without any gaps or lumps.
Once you’ve applied the compound, let it dry completely before sanding it down with sandpaper. You’ll want to make sure that all of the excess material is removed and that there are no ridges or bumps left on the floor. After sanding, use a vacuum cleaner to pick up the dust particles before applying another layer of compound if needed.
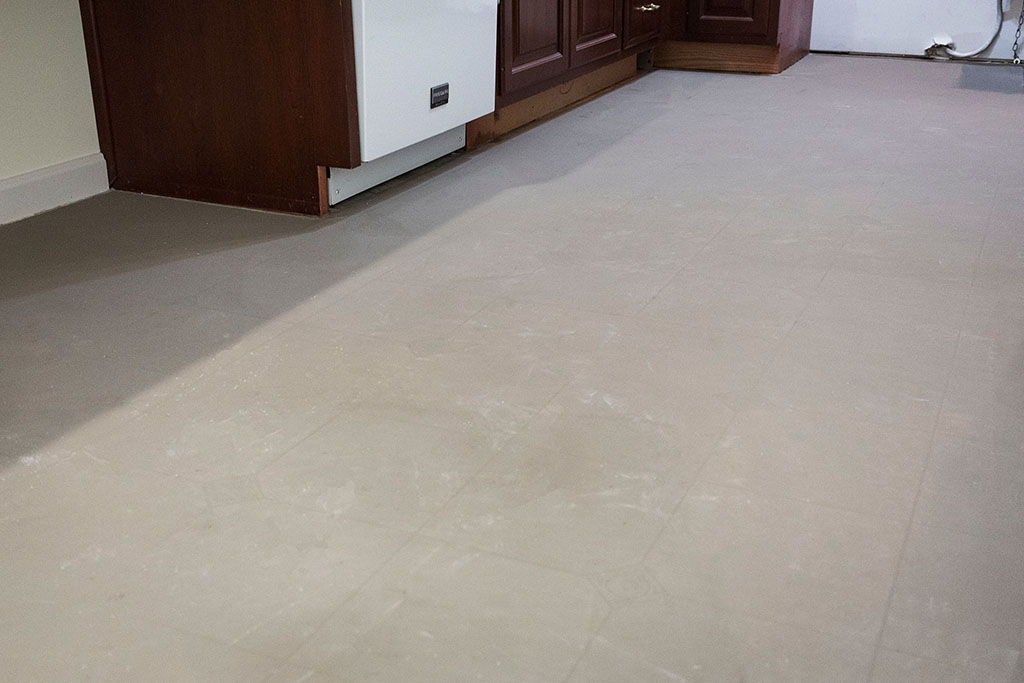
If your floor is still rough after two coats of compound, then repeat the same process until it’s as smooth as you want it to be. Once you’re happy with how your floor looks, apply either paint or sealer for extra protection and shine.
## Finishing Up
After finishing up your skim coating project, make sure that you clean up any remaining materials and dispose of them properly. With proper care and maintenance, your newly skim coated vinyl floors will look beautiful for years!