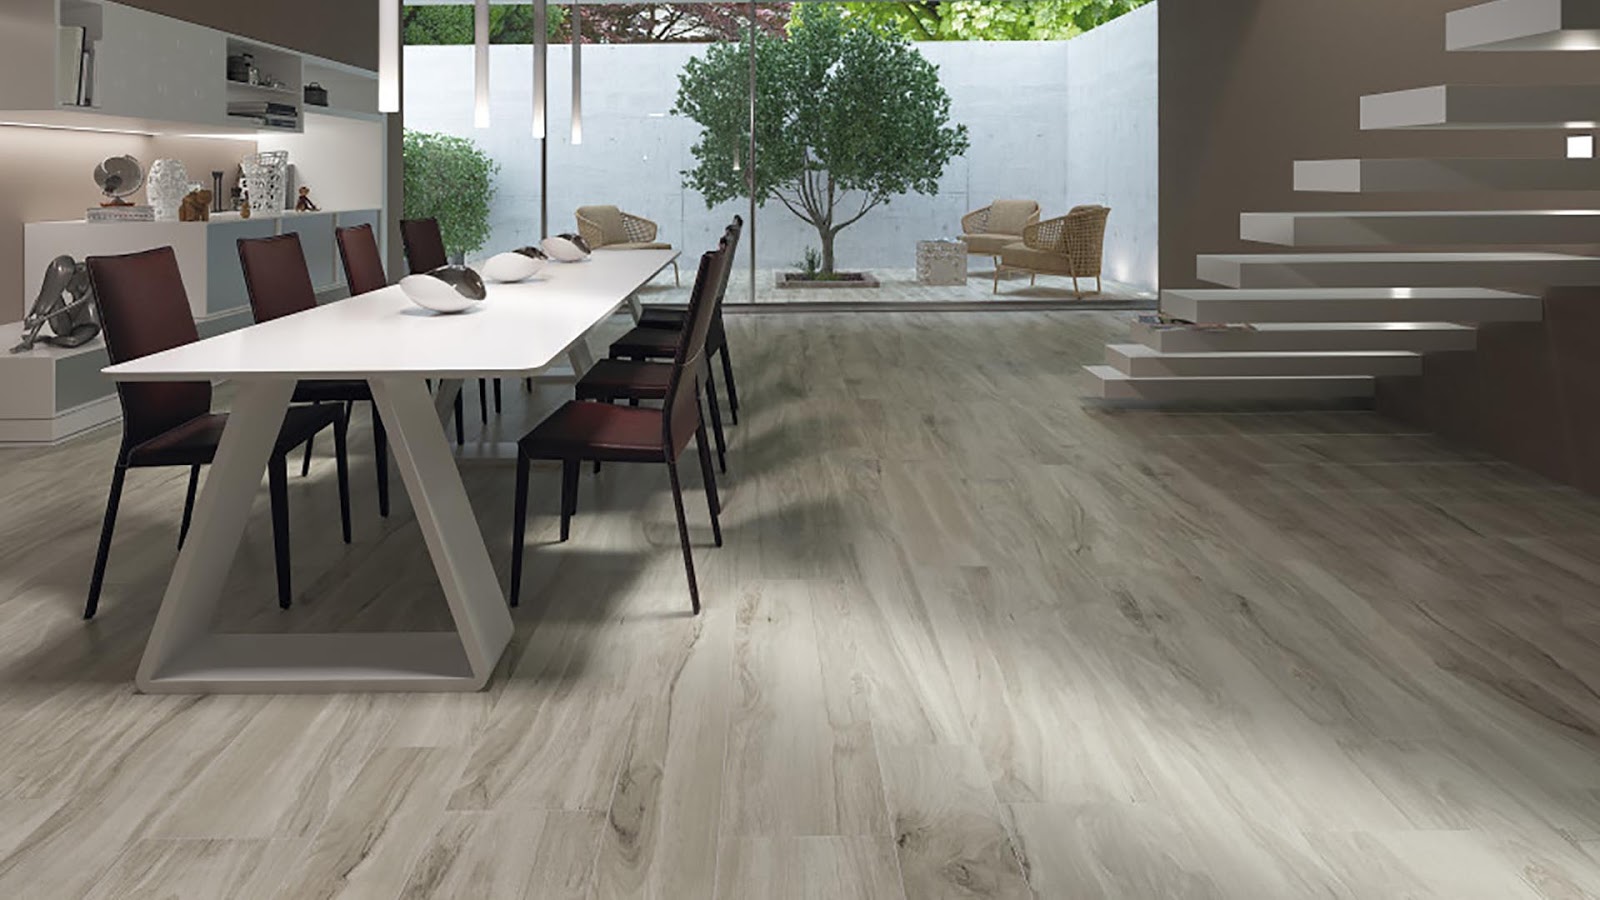
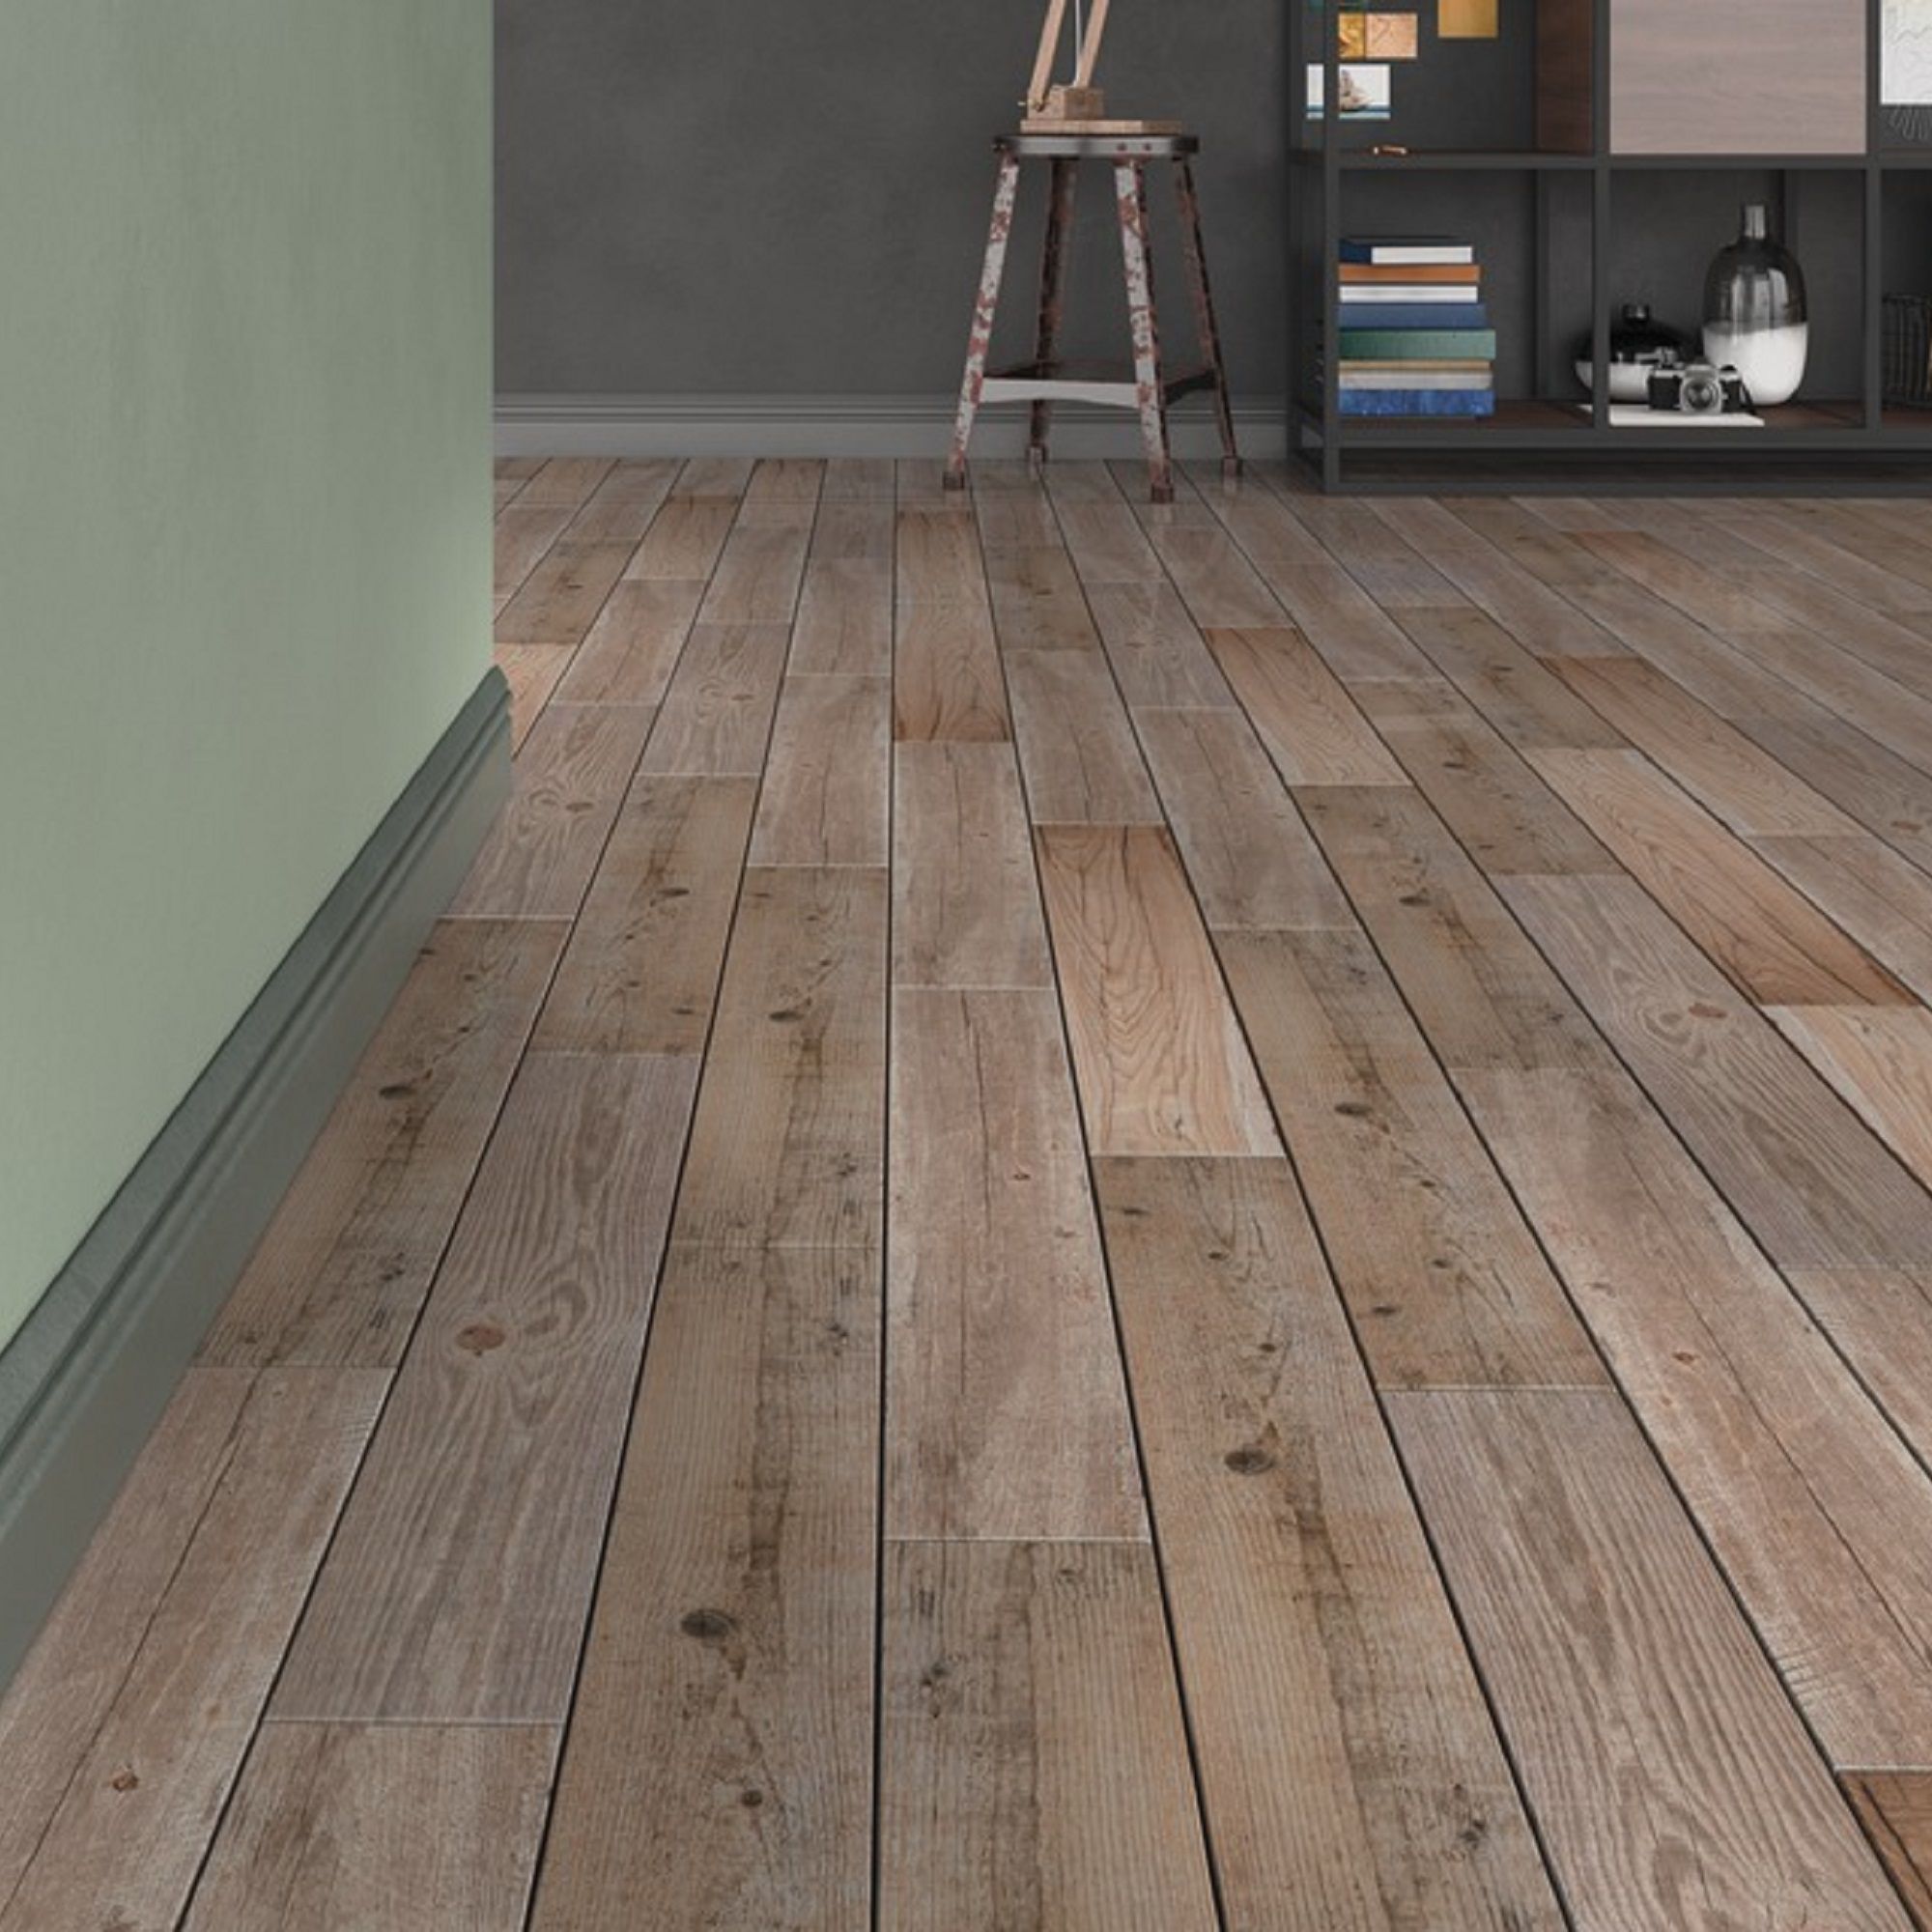
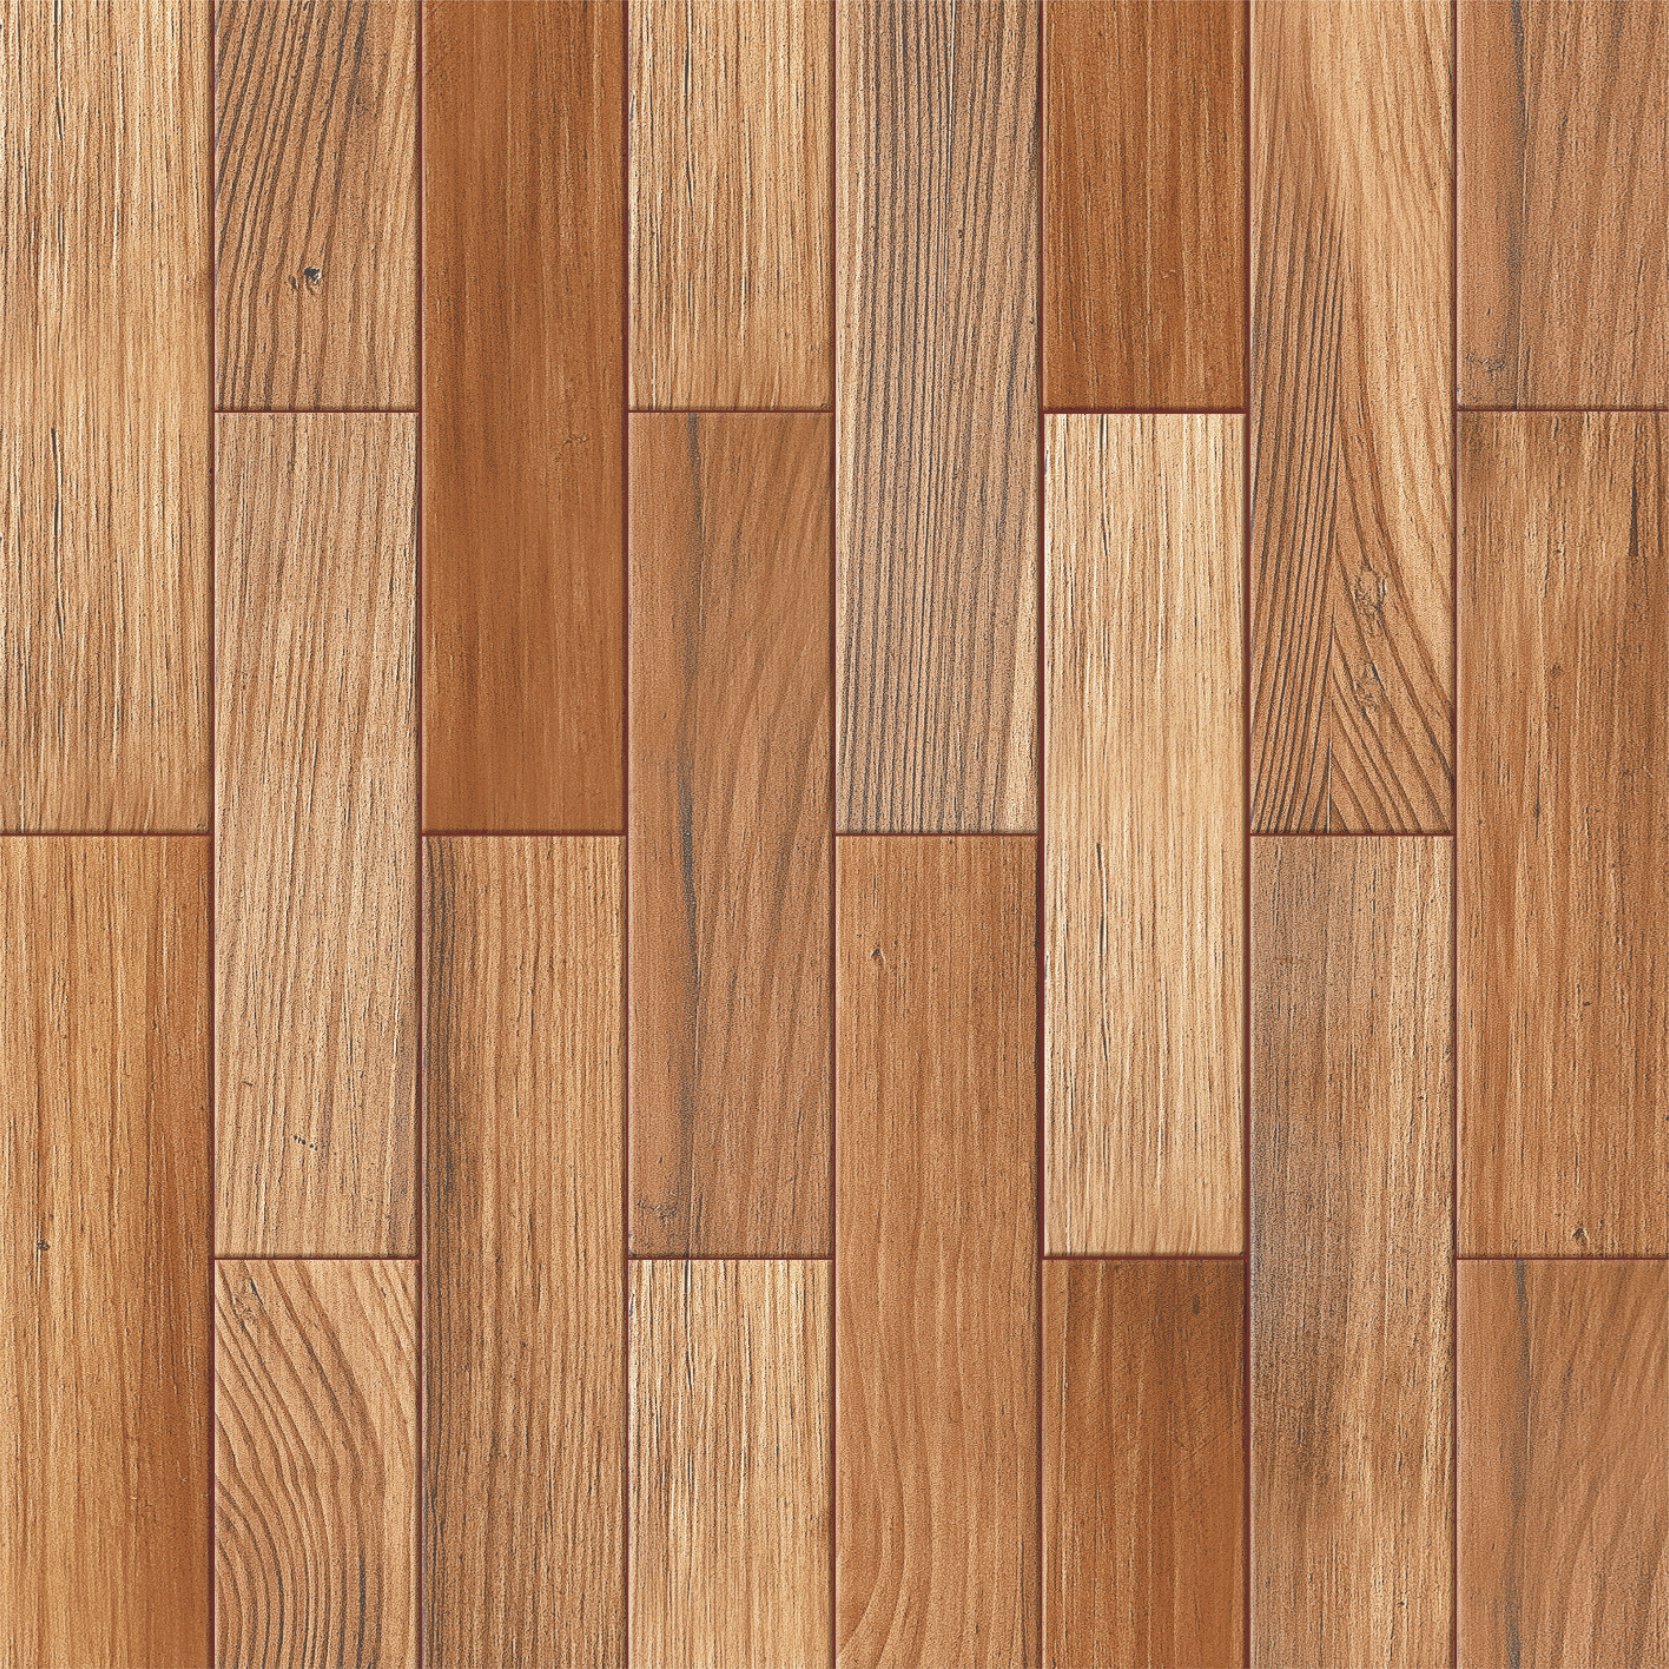
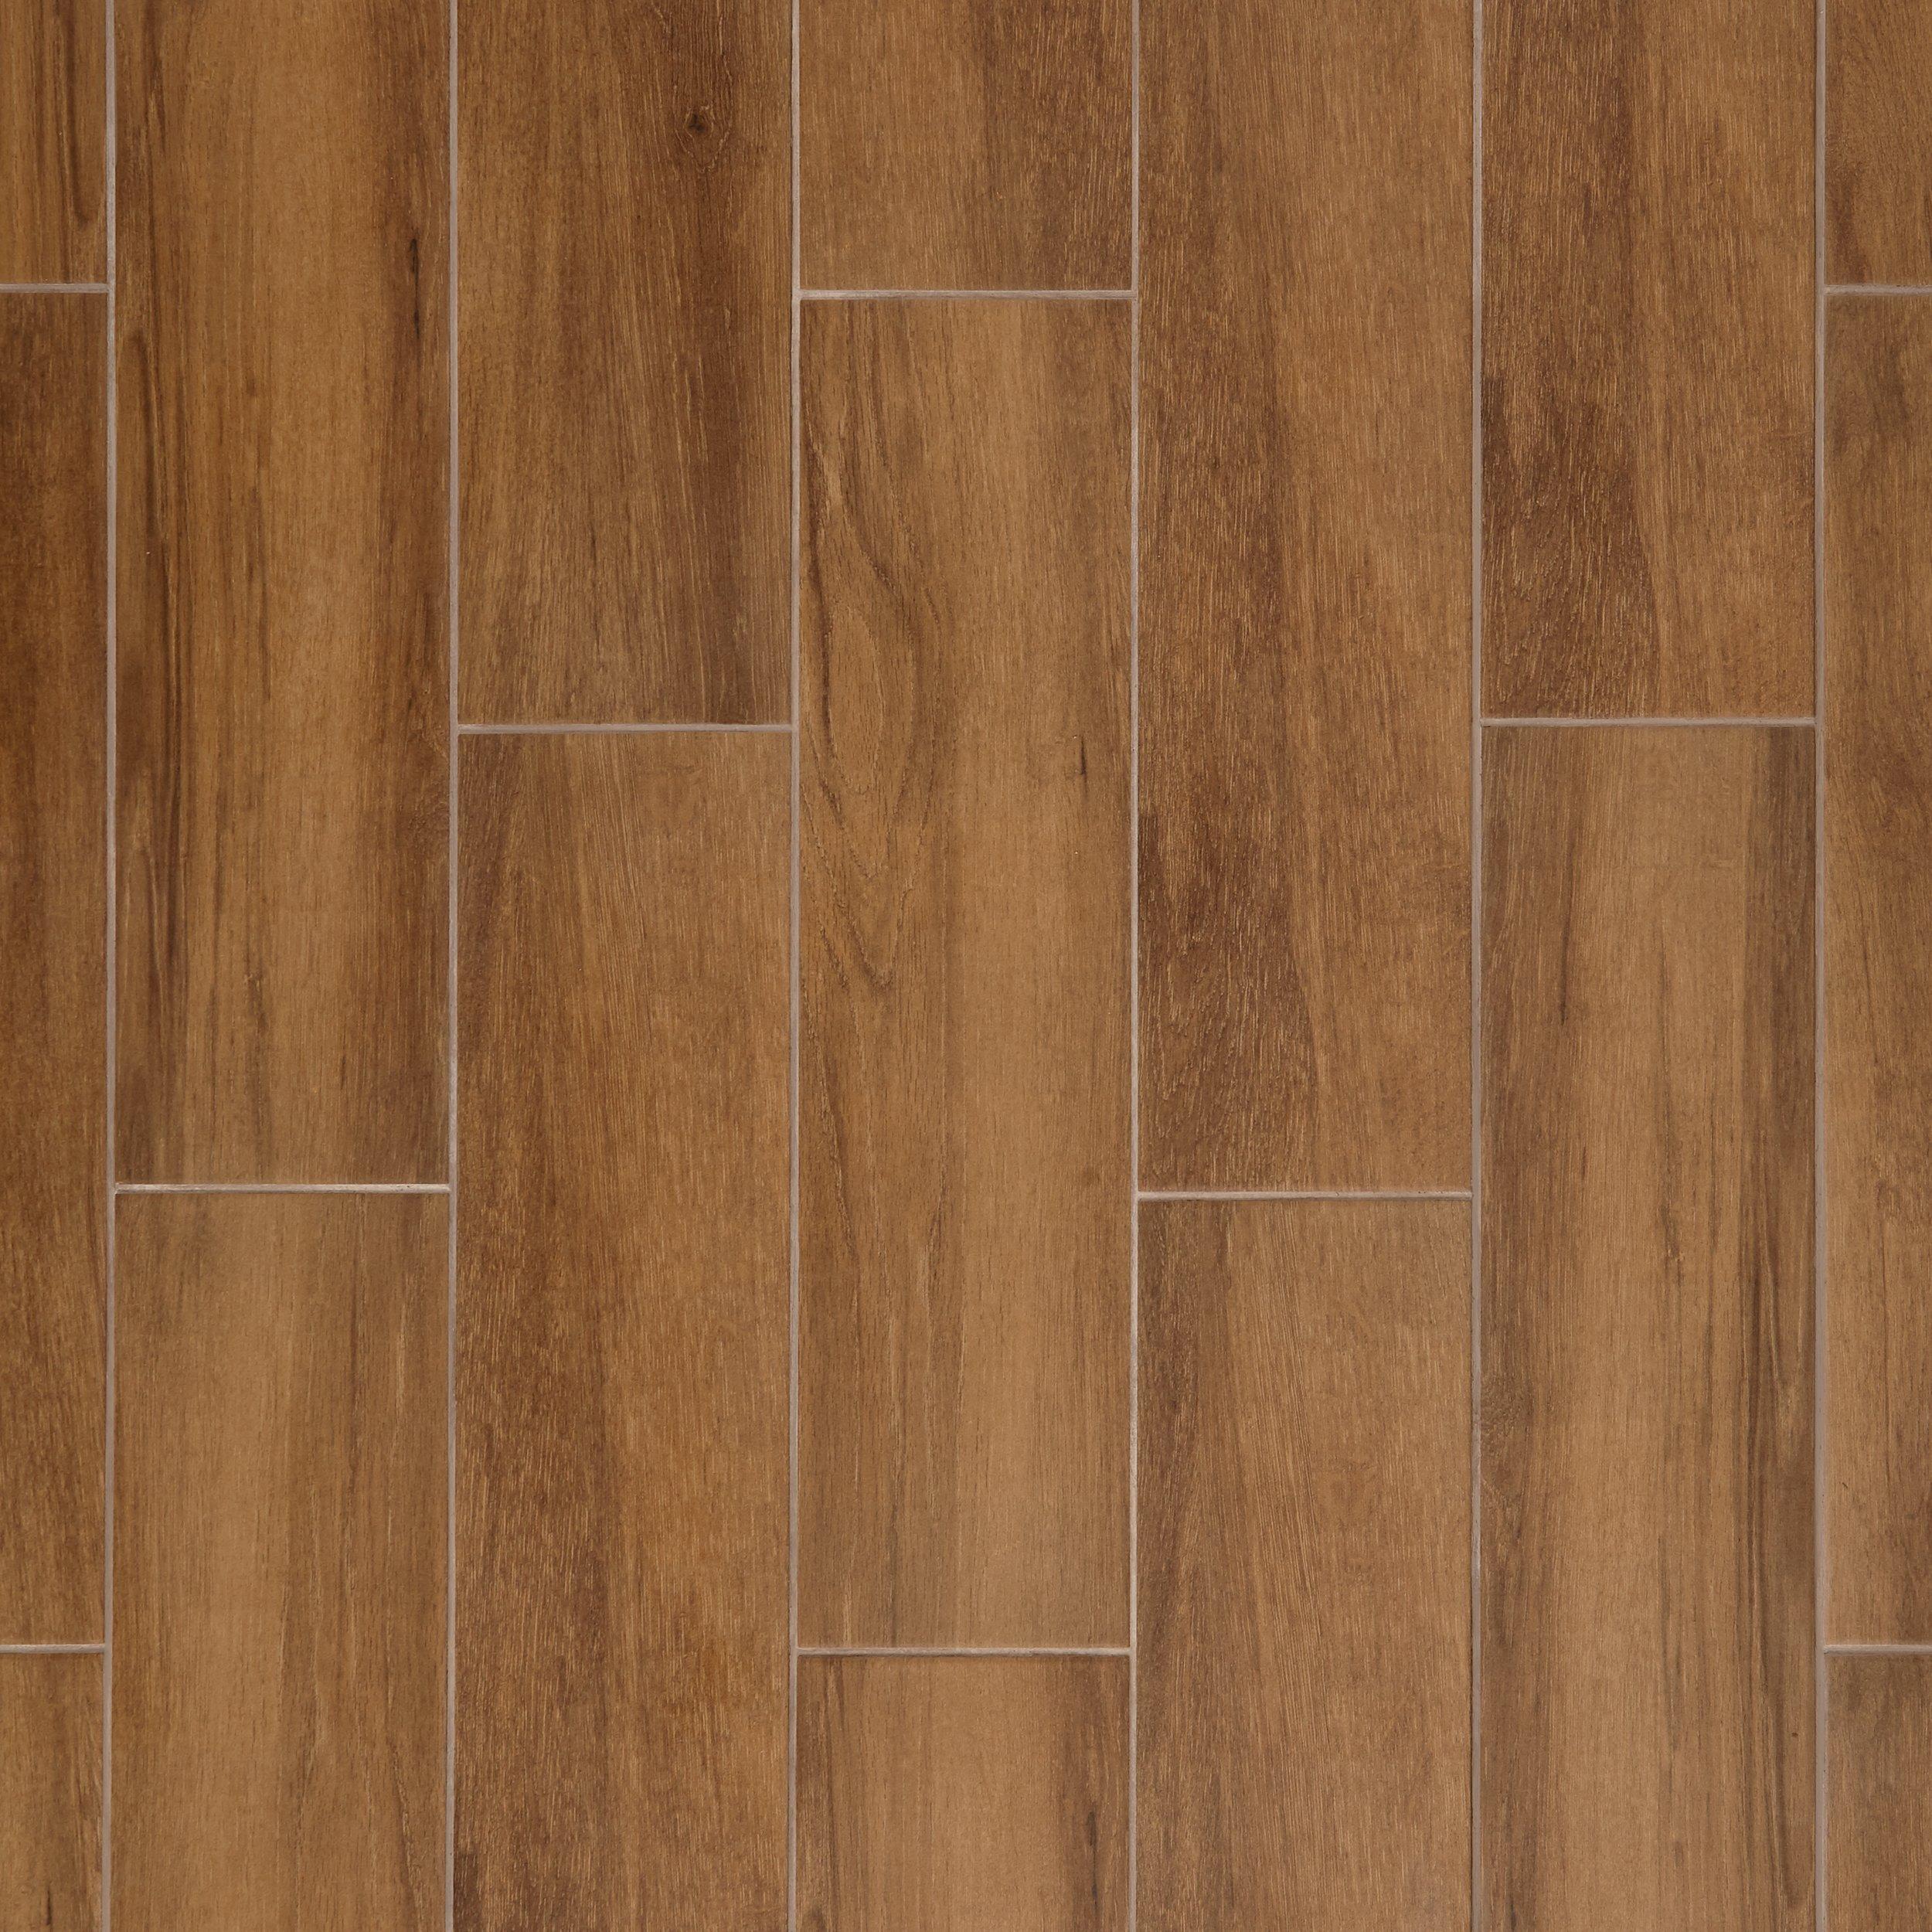
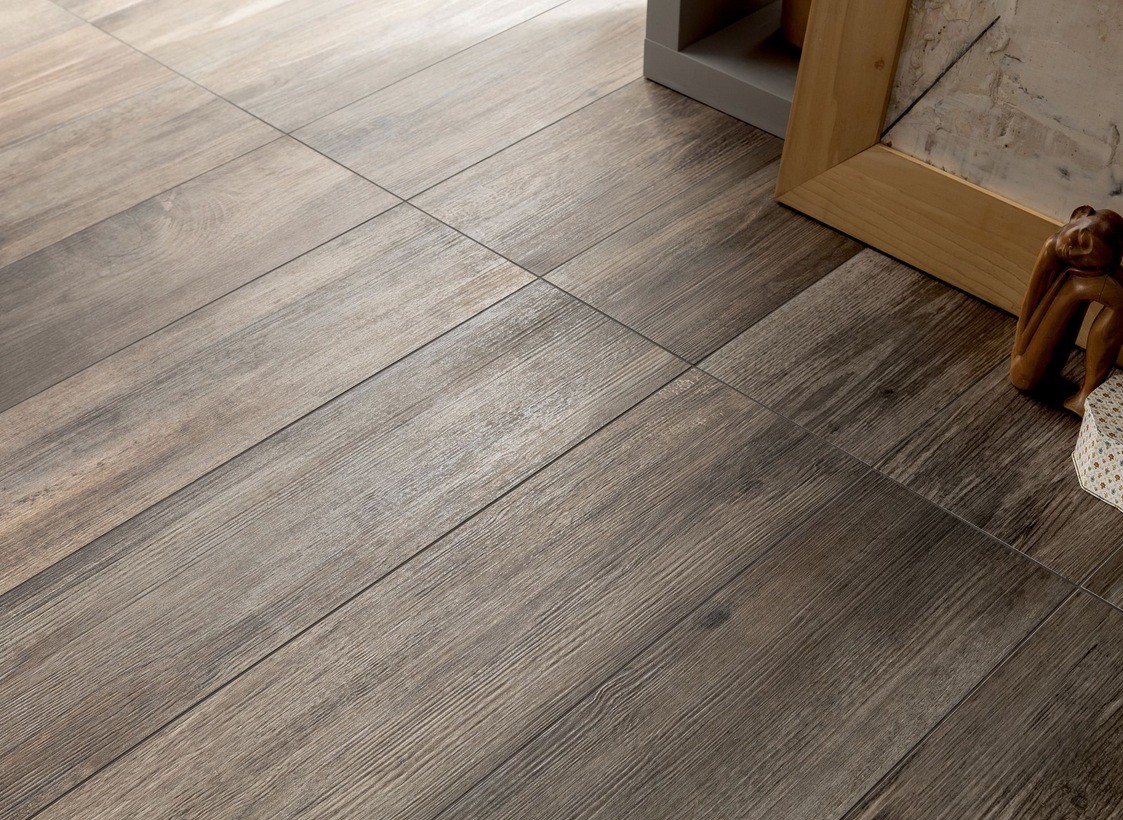
Wood Finish Tile Flooring

Wood finish floor tiles of Fincibec Group Floor & Wall Tiles Design Ideas
Vintage oak Natural Matt Wood effect Porcelain Floor tile, Pack of 7, (L)900mm (W)150mm
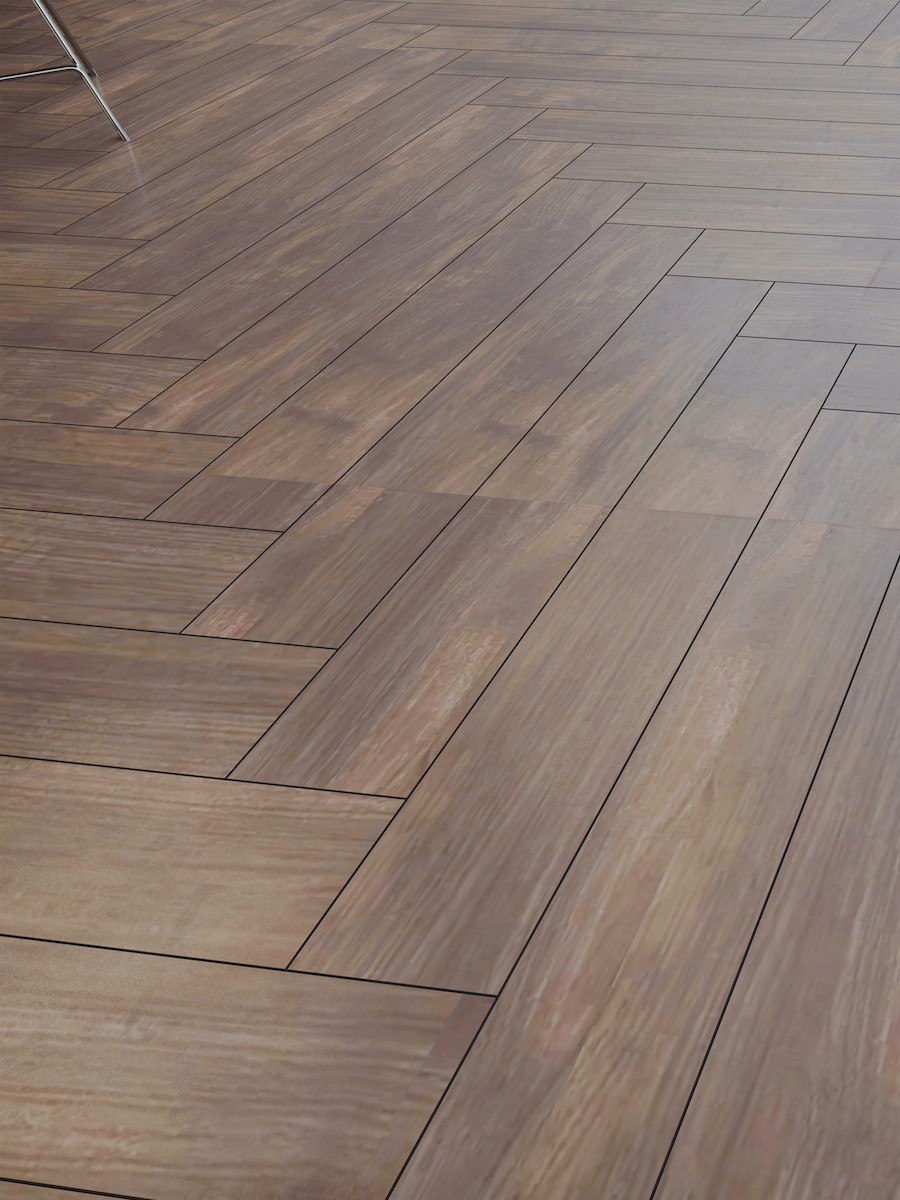
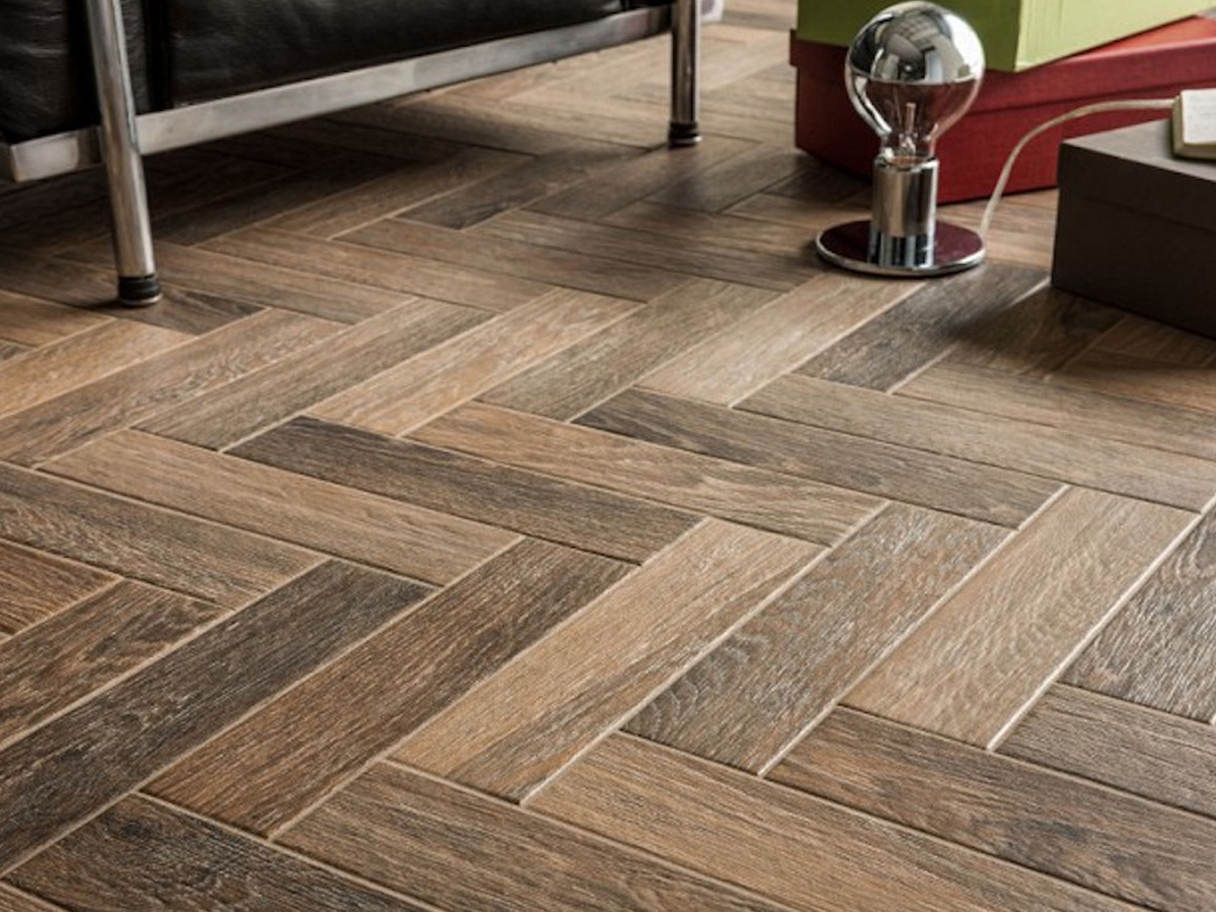
Herringbone Wood Effect Floor Tile Walnut herringbone flooring
Porcelain Tile With Different Types of Finishes Can Be An Option In Kitchens and Bathrooms. See
600MMX600MM Wood FLOOR TILES 4509 Фарфоровые плитки, напольные плитки, настенная плитка
Tabula Cappuccino Wood Plank Porcelain Tile Porcelain Tile Floor & Decor Wood look tile

Wood Grain Tile Flooring that Transforms Your House – The Construction Academy

Carson Grey Tile Floor And Decor / Wood Look Tile Floor & Decor
Porcelain Wood Effect Floor Tiles 15 × 90 Cm Flawless Finished Edge

Wood Look Tiles
Matt Finished Porcelain Wood Effect Floor Tiles High Gloss Waterproof

Related Posts:
- Cuban Tile Floors
- Easy Way To Grout Tile Floor
- Types Of Marble Tile Flooring
- Slate Tile Floor
- Classic Bathroom Tile Floors
- Tile Floor Color Ideas
- Wet Mops For Tile Floors
- Staining Saltillo Tile Floors
- Terrazzo Tile Floor Outdoor
- Tile Flooring For Screened Porch
When it comes to flooring, hardwood is a classic, timeless option that adds beauty and value to any home. But if you’re looking for a flooring option that offers the same look and feel of wood while being more durable and long-lasting, then wood finish tile flooring is the answer. This type of flooring features ceramic or porcelain tiles with an embossed wood finish that mimics the look of real hardwood.
Installing wood finish tile flooring can be a challenging project, but with the right preparation and knowledge, you can have a beautiful, long-lasting floor in no time. In this guide, we’ll walk you through the step-by-step process of installing and maintaining wood finish tile flooring in your home.
## Benefits of Wood Finish Tile Flooring
Before we get into the step-by-step installation process, let’s take a look at some of the benefits of wood finish tile flooring. Unlike traditional hardwood, wood finish tile offers a number of advantages that make it an attractive choice for homeowners.
First and foremost, wood finish tile is incredibly durable and long-lasting. The embossed tiles are resistant to scratches and dents, making them ideal for high-traffic areas like kitchens and hallways.
Another benefit of wood finish tile is that it’s easy to maintain. Unlike hardwood, wood finish tile doesn’t need to be refinished or resealed over time. All you need to do is sweep or vacuum regularly and mop occasionally with a mild detergent to keep it in tip top shape.
Finally, wood finish tile is an affordable alternative to hardwood. And because it comes in a variety of colors and styles, you can easily find one that matches your existing décor.
## Preparing for Installation
Now that you know some of the benefits of wood finish tile flooring, let’s move on to the installation process. Before you begin installing your new flooring, however, there are a few things you’ll need to do first:
First off, remove any existing carpet or hardwood from the area where you plan to install your new flooring. Once this is done, make sure the subfloor is level so your new floor won’t have any bumps or dips. If necessary, use self-leveling compound to level out any uneven areas.
Next, check the moisture levels in the subfloor with a moisture meter before laying down the tiles. You want to make sure the moisture content is below 3%, otherwise your tiles may crack over time due to moisture expansion.
Finally, measure the area where you plan to install your new tiles so you know how many tiles you need before heading out to buy them.
## Installing Wood Finish Tile Flooring
Once you’ve prepared your subfloor for installation, it’s time to start laying down your new wood finish tile flooring! Begin by laying out all of your tiles in the area where you plan to install them so you know exactly where each one should go. This will help ensure an even layout when it comes time to actually lay them down.
Once all your tiles are laid out, it’s time to begin installing them one by one using thinset mortar and a notched trowel. Be sure to press down firmly on each tile as you lay it down so it adheres properly to the subfloor. To prevent lippage (uneven grout lines between tiles), use spacers between each one as you lay them down.
Once all your tiles are laid down, allow them to dry overnight before grouting. Then use sanded grout with a rubber float and grout sponge to fill in all the gaps between each tile. Finally, seal your newly installed tile floor with penetrating sealer for extra protection against dirt and spills.
## Maintaining Your Wood Finish Tile Floor
Now that your new wood finish tile floor is installed correctly, it’s important to maintain it so it looks its best for years to come! Here are a