How To Repair Concrete Floor In Garage

Garage Floor Resurfacing: Fix a Pitted Garage Floor Family Handyman

How To Repair Concrete Floor In Garage – Flooring Ideas

Garage Floor Resurfacing: 4 Simple Steps My Decorative
Garage Floor Resurfacing: Fix a Pitted Garage Floor Family Handyman

The best and effective methods to cope with floor concrete cracks in 2020 Garage Ideas Design

DIY Concrete Crack Repair Family Handyman

Concrete Leveling – Garage Concrete Repair in Oklahoma City, Ok – Cracked Garage Floor in

How To Repair Large Cracks In Concrete Garage Floor – Utaheducationfacts.com
Garage Floor Resurfacing: Fix a Pitted Garage Floor Family Handyman
Garage Floor Repair, Merrimack, NH – Concrete Garage Slab Cracks

DIY Concrete Crack Repair Family Handyman

How To Repair Concrete Floor In Garage
- Outdoor Concrete Flooring Ideas
- Concrete Floor Polishing
- Interior Concrete Floor Paint Ideas
- Concrete Floor Epoxy Crack Filler
- Concrete Floor Basement Ideas
- Painting Concrete Floor With Epoxy
- Outdoor Concrete Floor Paint Ideas
- Concrete Floor Painting Tips
- Outdoor Concrete Floor Finishes
- Non Slip Concrete Floor
When it comes to garage floors, concrete is the most common material used. It is a durable and long-lasting material that can withstand heavy loads and wear and tear. Unfortunately, it is also prone to cracking and other damage due to water seepage, heavy loads, and other external factors. Fortunately, repairing a concrete garage floor is a straightforward and relatively easy task. With some basic supplies and tools, you can repair your cracked concrete floor in no time.
## What You Need To Repair a Concrete Floor
When it comes to repairing a concrete garage floor, the right tools are essential. This includes a hammer drill with masonry bit, a trowel, grinder, concrete patching compound, concrete sealant, and a paint brush. Other materials that may be necessary include wire brush, shop vacuum, and protective goggles.
## Steps For Repairing Concrete Floor In Garage
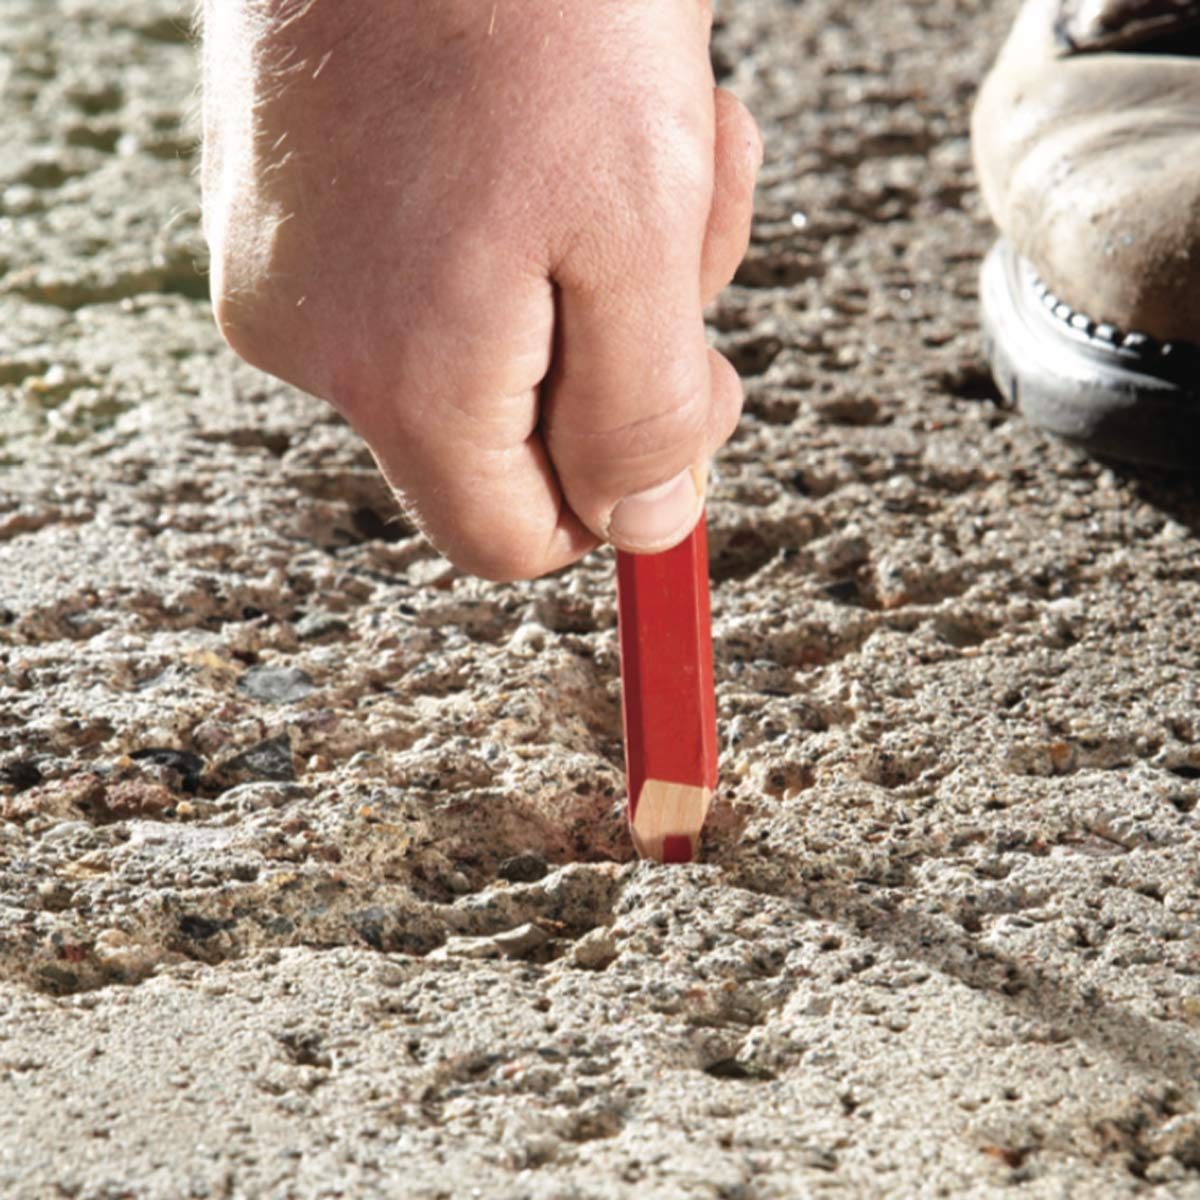
1. Start by cleaning the area of the damaged concrete. Use a wire brush or other cleaning tool to remove any loose particles and dirt from the surface. Vacuum up any debris left behind.
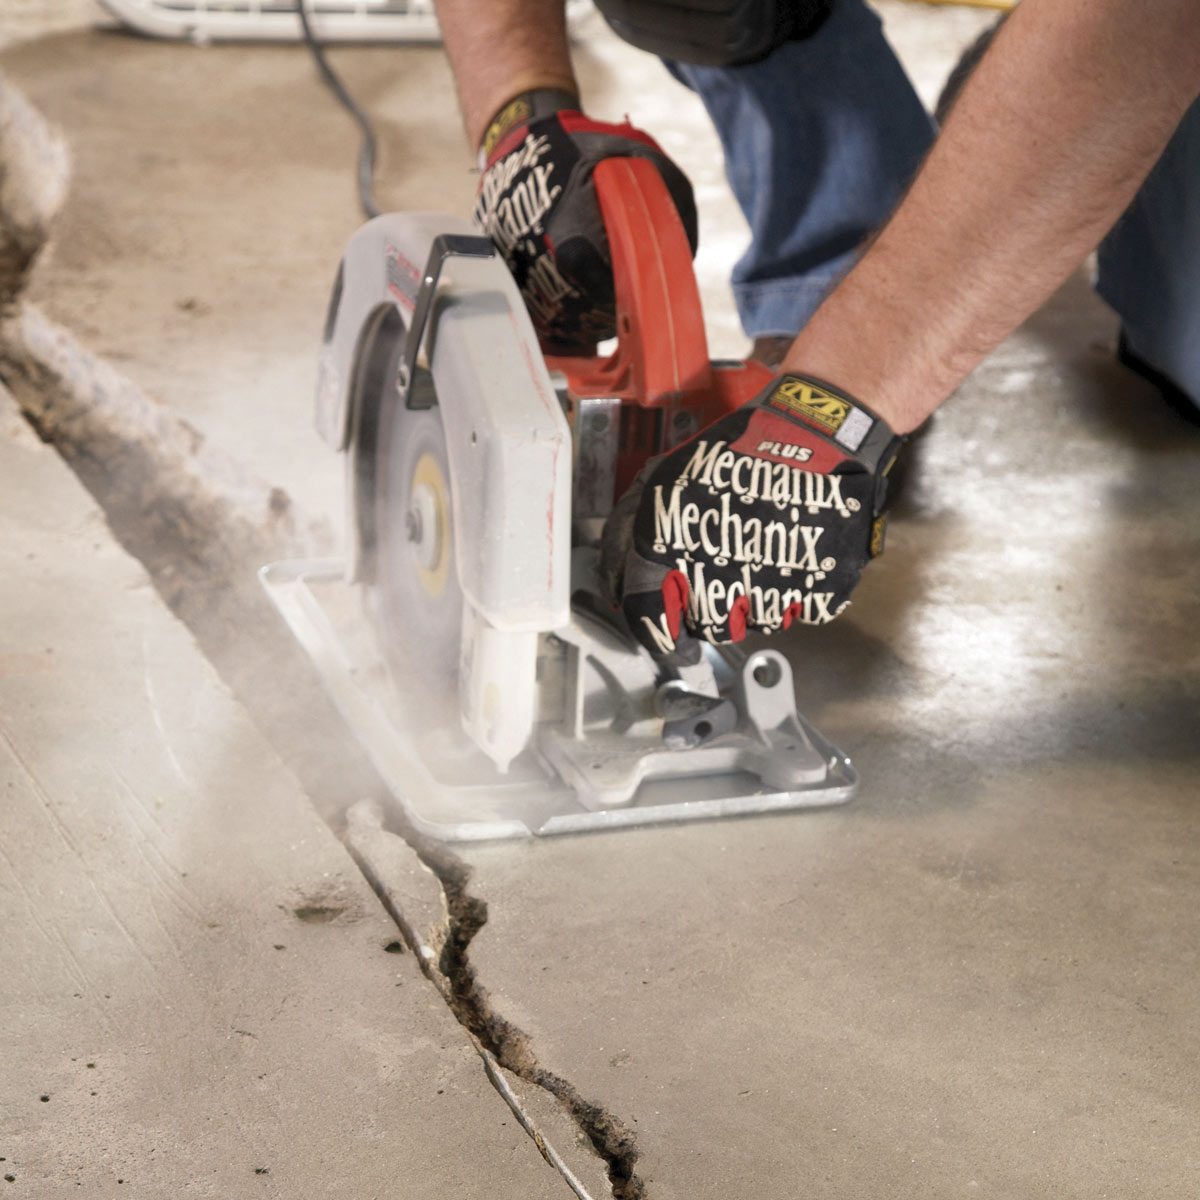
2. Next, use the hammer drill to create small holes around the edges of the damaged area. This will ensure that the patching compound has something to bond to when it is applied.
3. Apply the concrete patching compound into the holes using a trowel or other tool. Make sure that it is evenly distributed throughout the entire area. Allow the patching compound to dry completely before proceeding to the next step.
4. Once dry, use a grinder to smooth out any remaining rough edges in the patching compound. This will ensure that the surface is even once you apply the sealant in the next step.
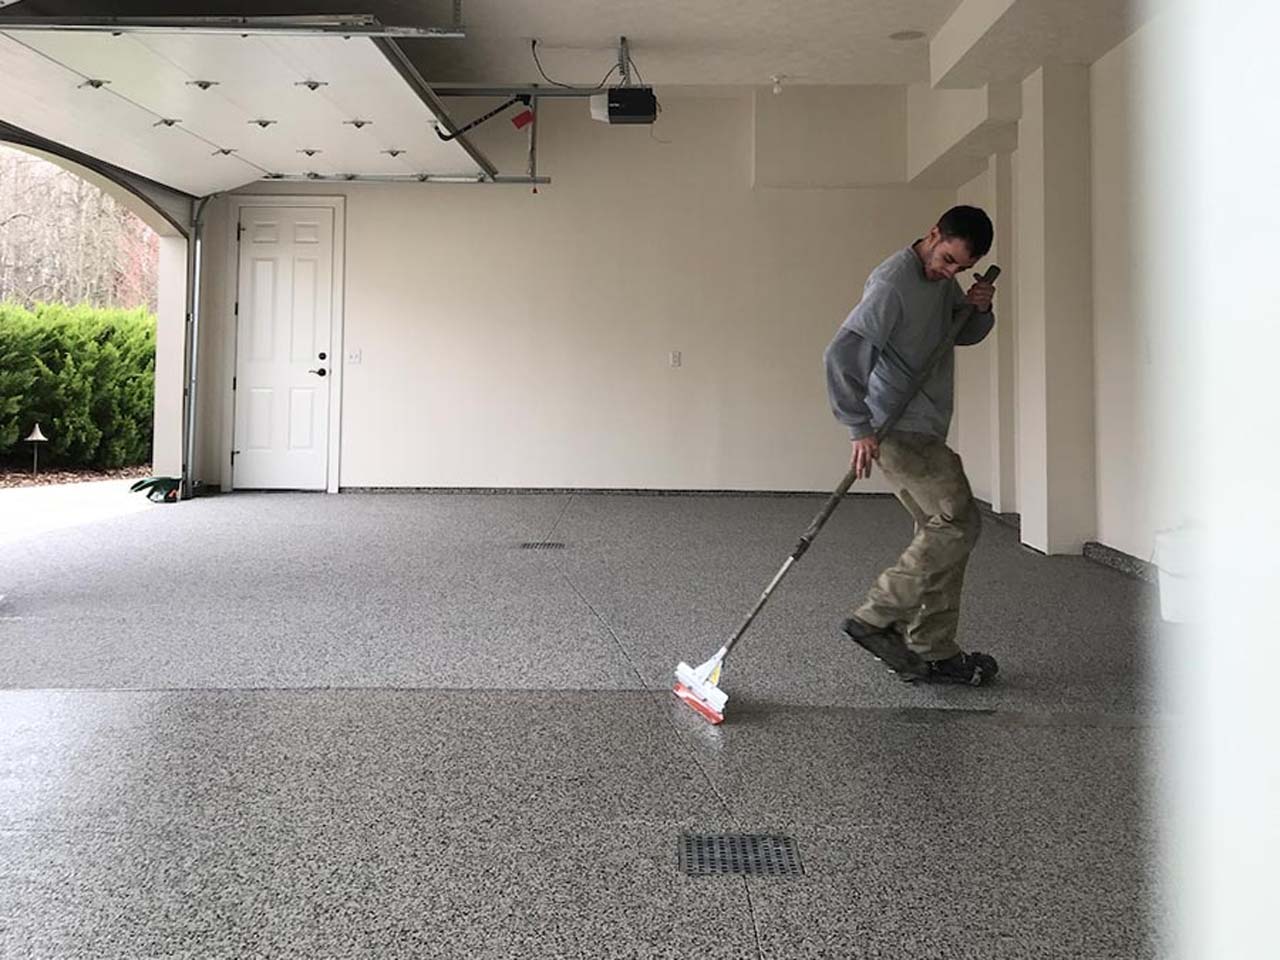
5. Seal the entire repaired area with a concrete sealant or waterproof epoxy paint according to manufacturer instructions. Allow this to dry thoroughly before painting or staining if desired.
## Conclusion
Repairing your concrete garage floor is an easy task with some basic tools and supplies. With these steps outlined above, you should have no trouble getting your garage floor back in top condition again in no time!
What tools are needed to repair a concrete garage floor?
-Wire brush-Hammer
-Chisel
-Masonry drill
-Masonry saw
-Level
-Angle grinder
-Cement or concrete patching compound
-Trowel
-Broom
-Wheelbarrow
-Shovel
-Concrete sealant
-Paint brush
-Shop vacuum
-Protective goggles