Advanced Epoxy Flooring
Gallery – Advanced Epoxy Flooring
Gallery – Advanced Epoxy Flooring
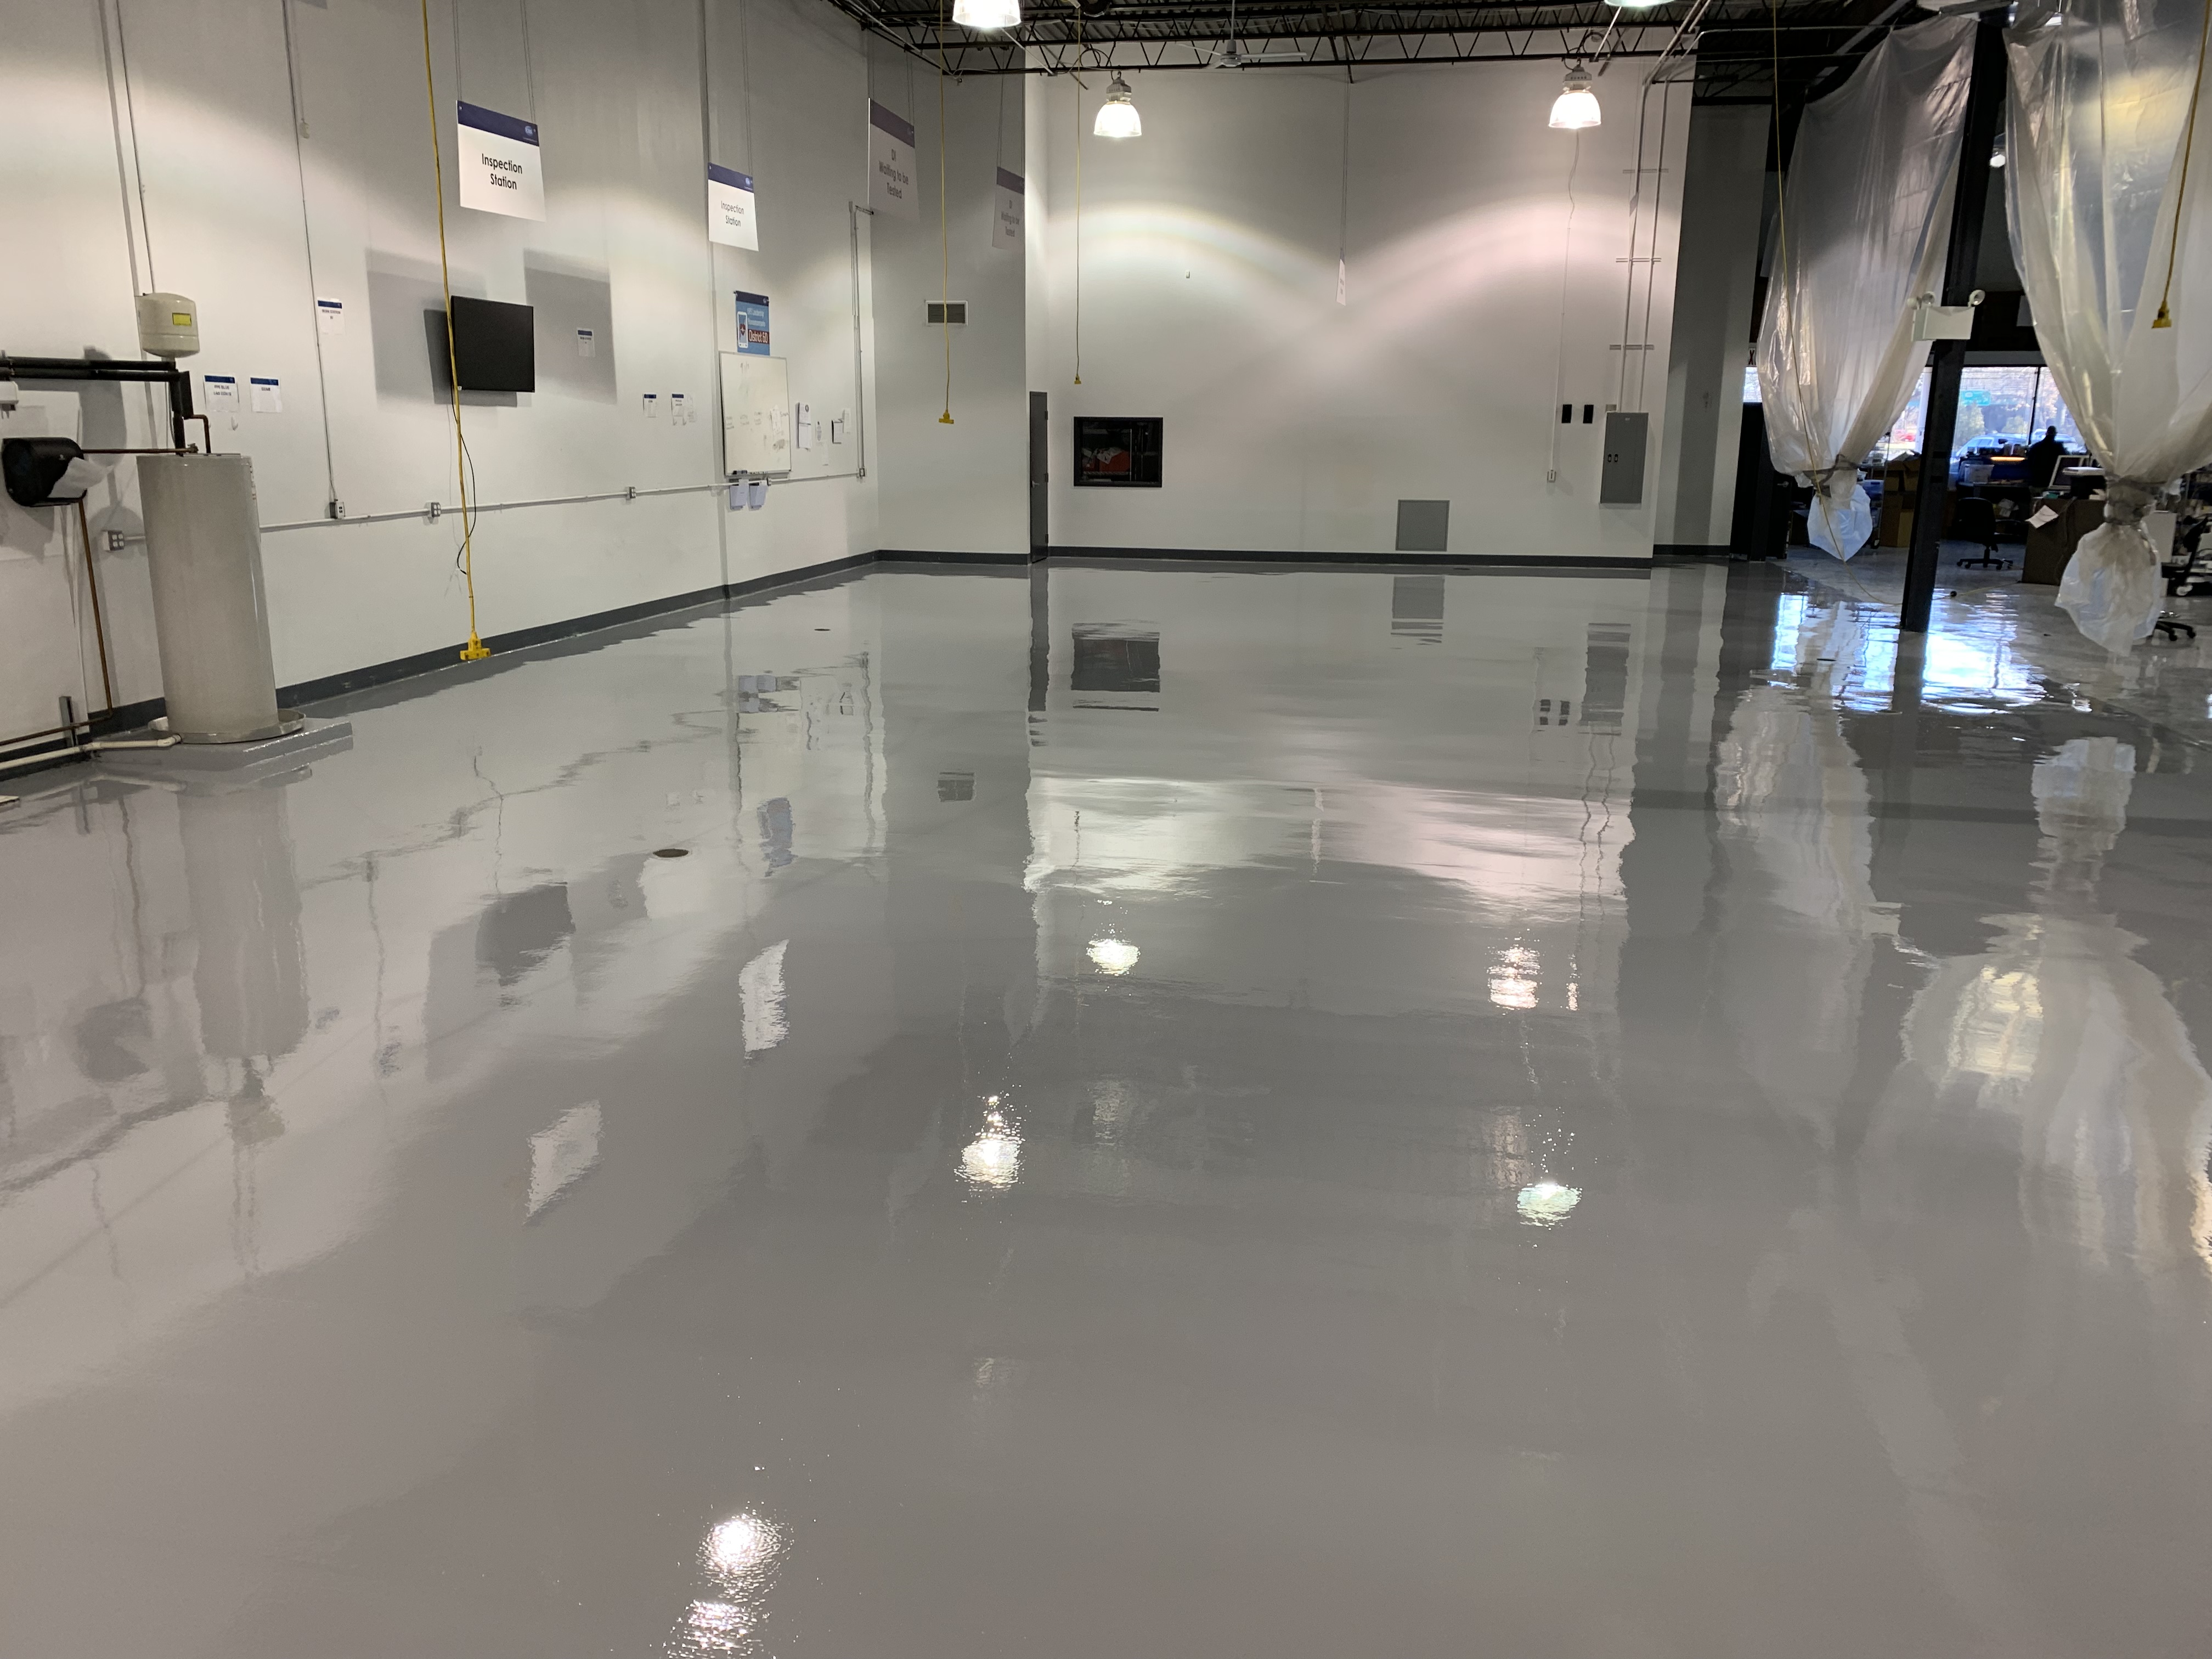
Advanced Epoxy Flooring – Commercial and Industrial Epoxy Flooring
Advanced Epoxy Flooring – Commercial and Industrial Epoxy Flooring

Gallery – Advanced Epoxy Flooring
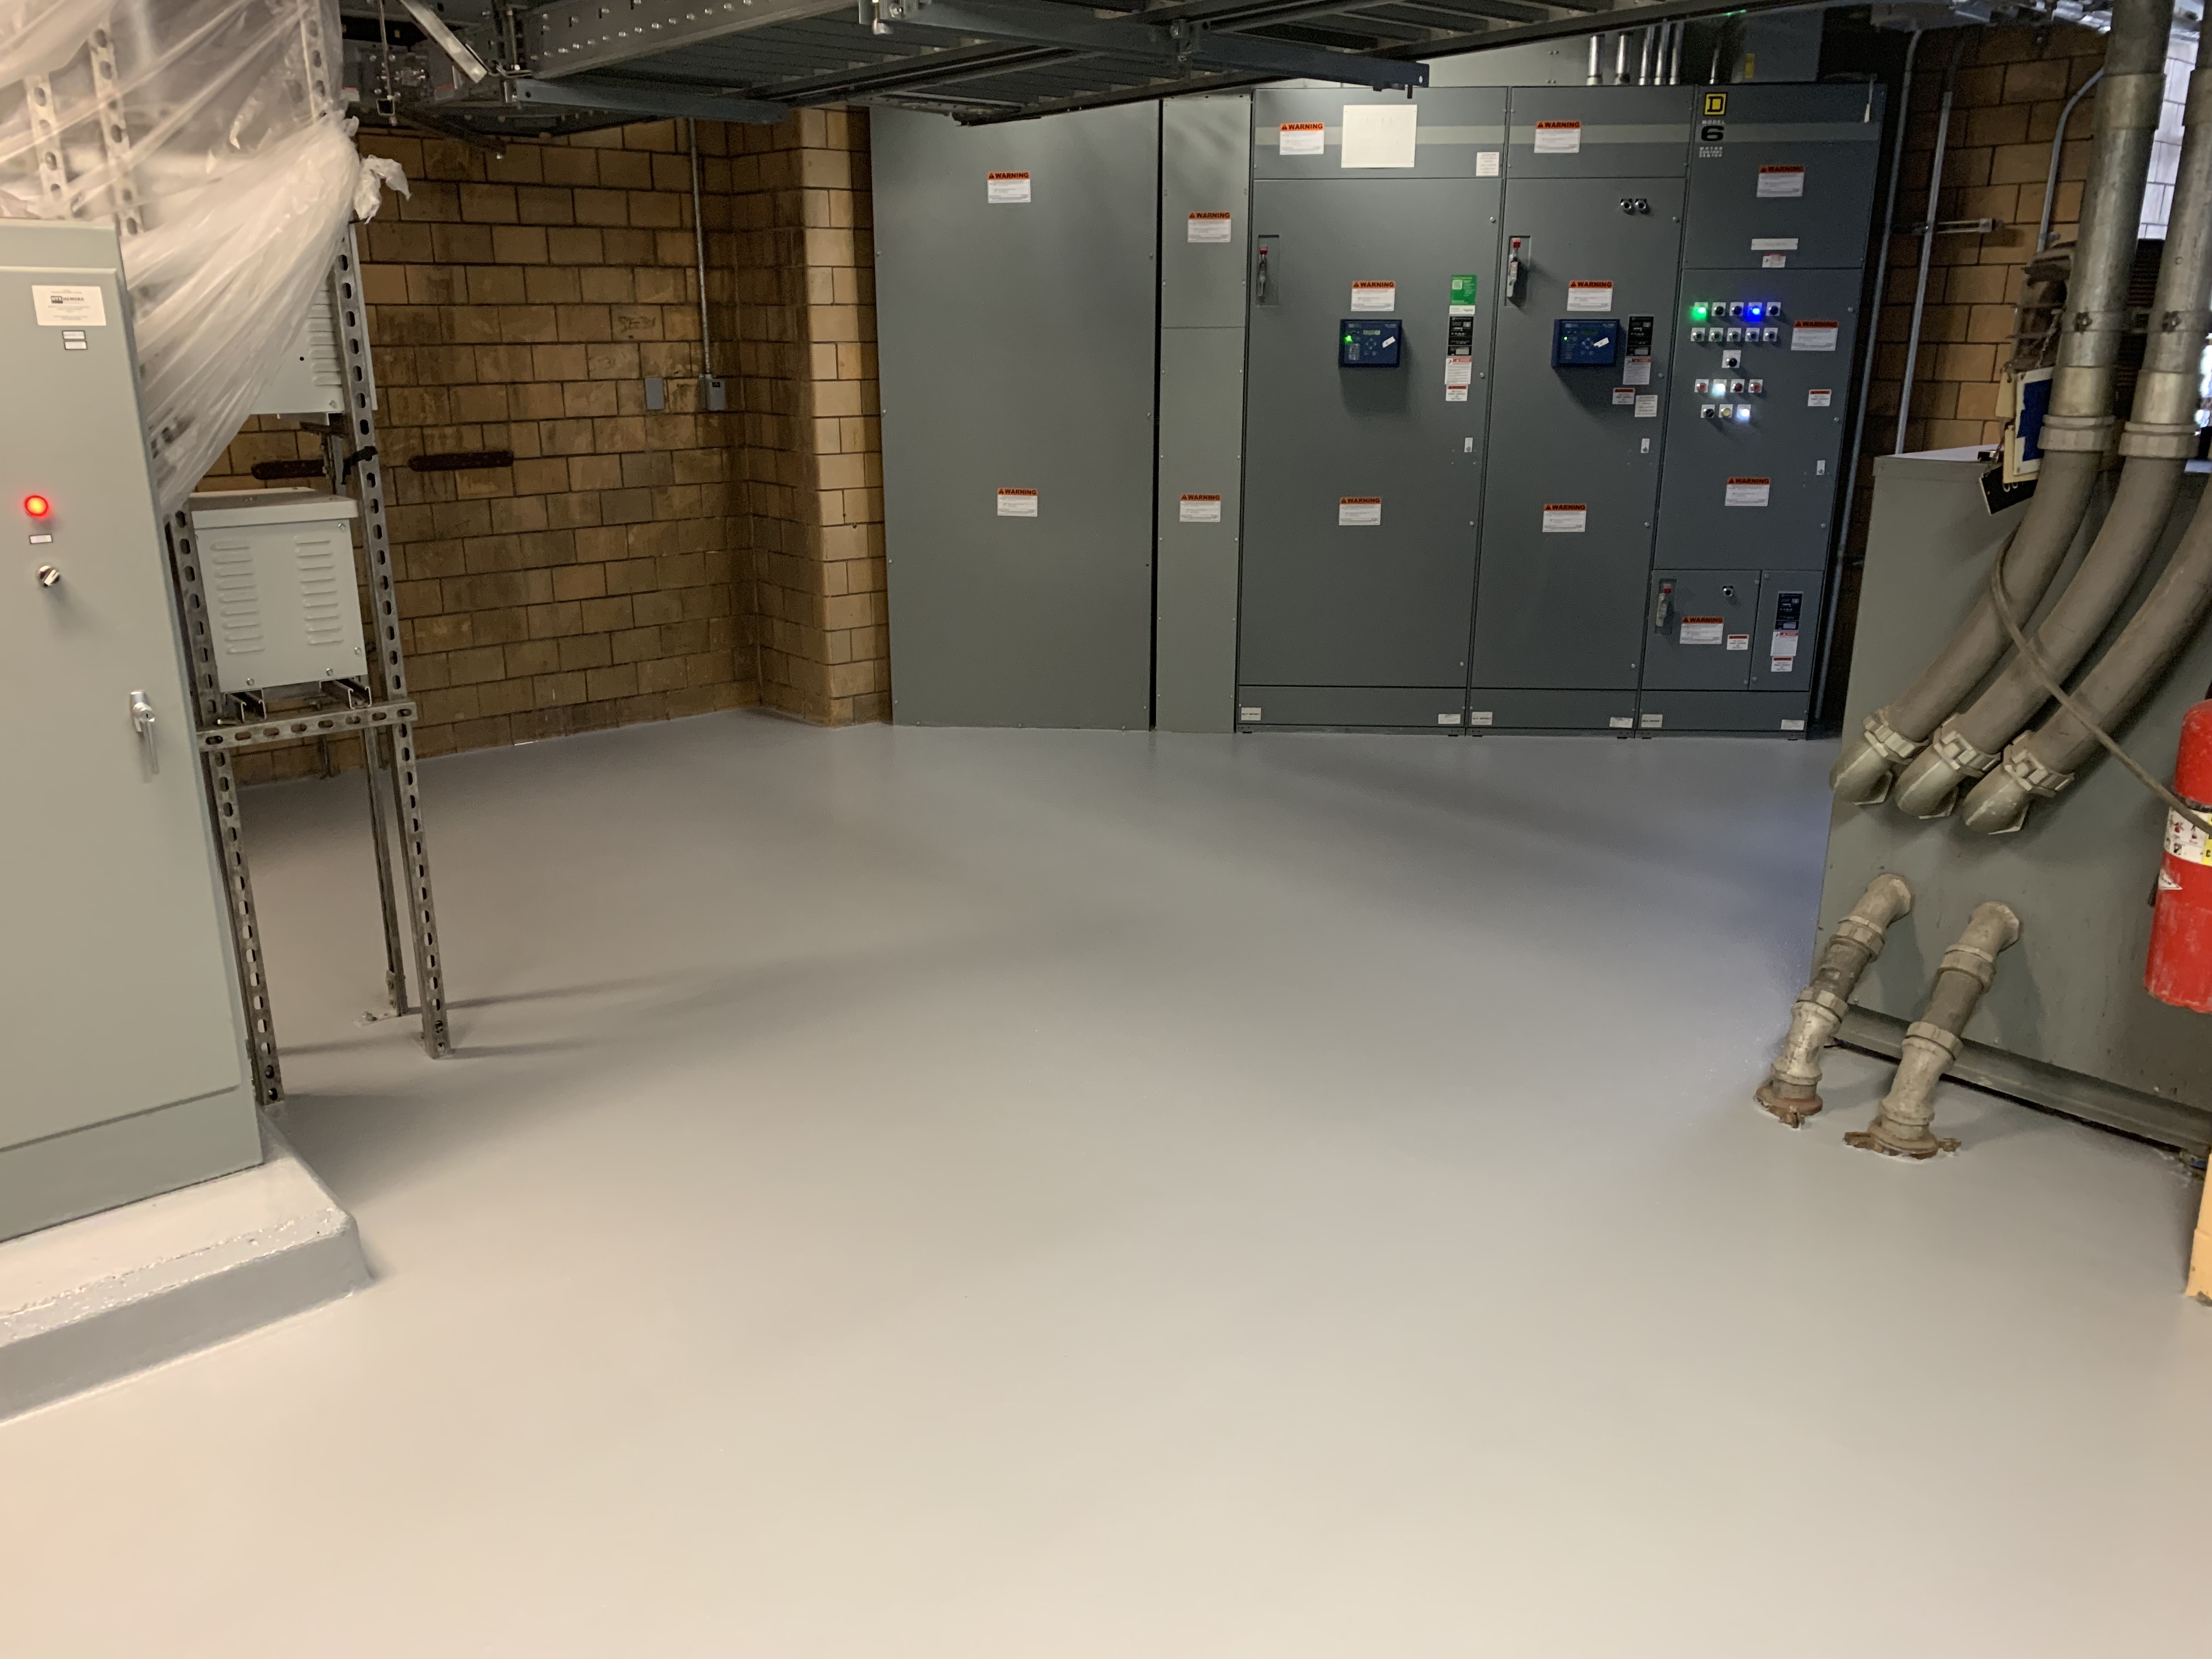
Advanced Epoxy Flooring – Commercial and Industrial Epoxy Flooring
Gallery – Advanced Epoxy Flooring
Advanced Epoxy Flooring – Commercial and Industrial Epoxy Flooring

Gallery – Advanced Epoxy Flooring
Gallery – Advanced Epoxy Flooring
Gallery – Advanced Epoxy Flooring
Related Posts:
- Fast Cure Epoxy Floor Coating
- Stone Hard Epoxy Flooring
- How To Epoxy Flooring Garage
- How To Repair Epoxy Floor Coating
- Non Slip Epoxy Flooring
- Solid Epoxy Garage Floor
- Quikrete Floor Epoxy
- Paint Flakes Epoxy Floor
- Cheap Epoxy Floor
- Rock Solid Epoxy Floor
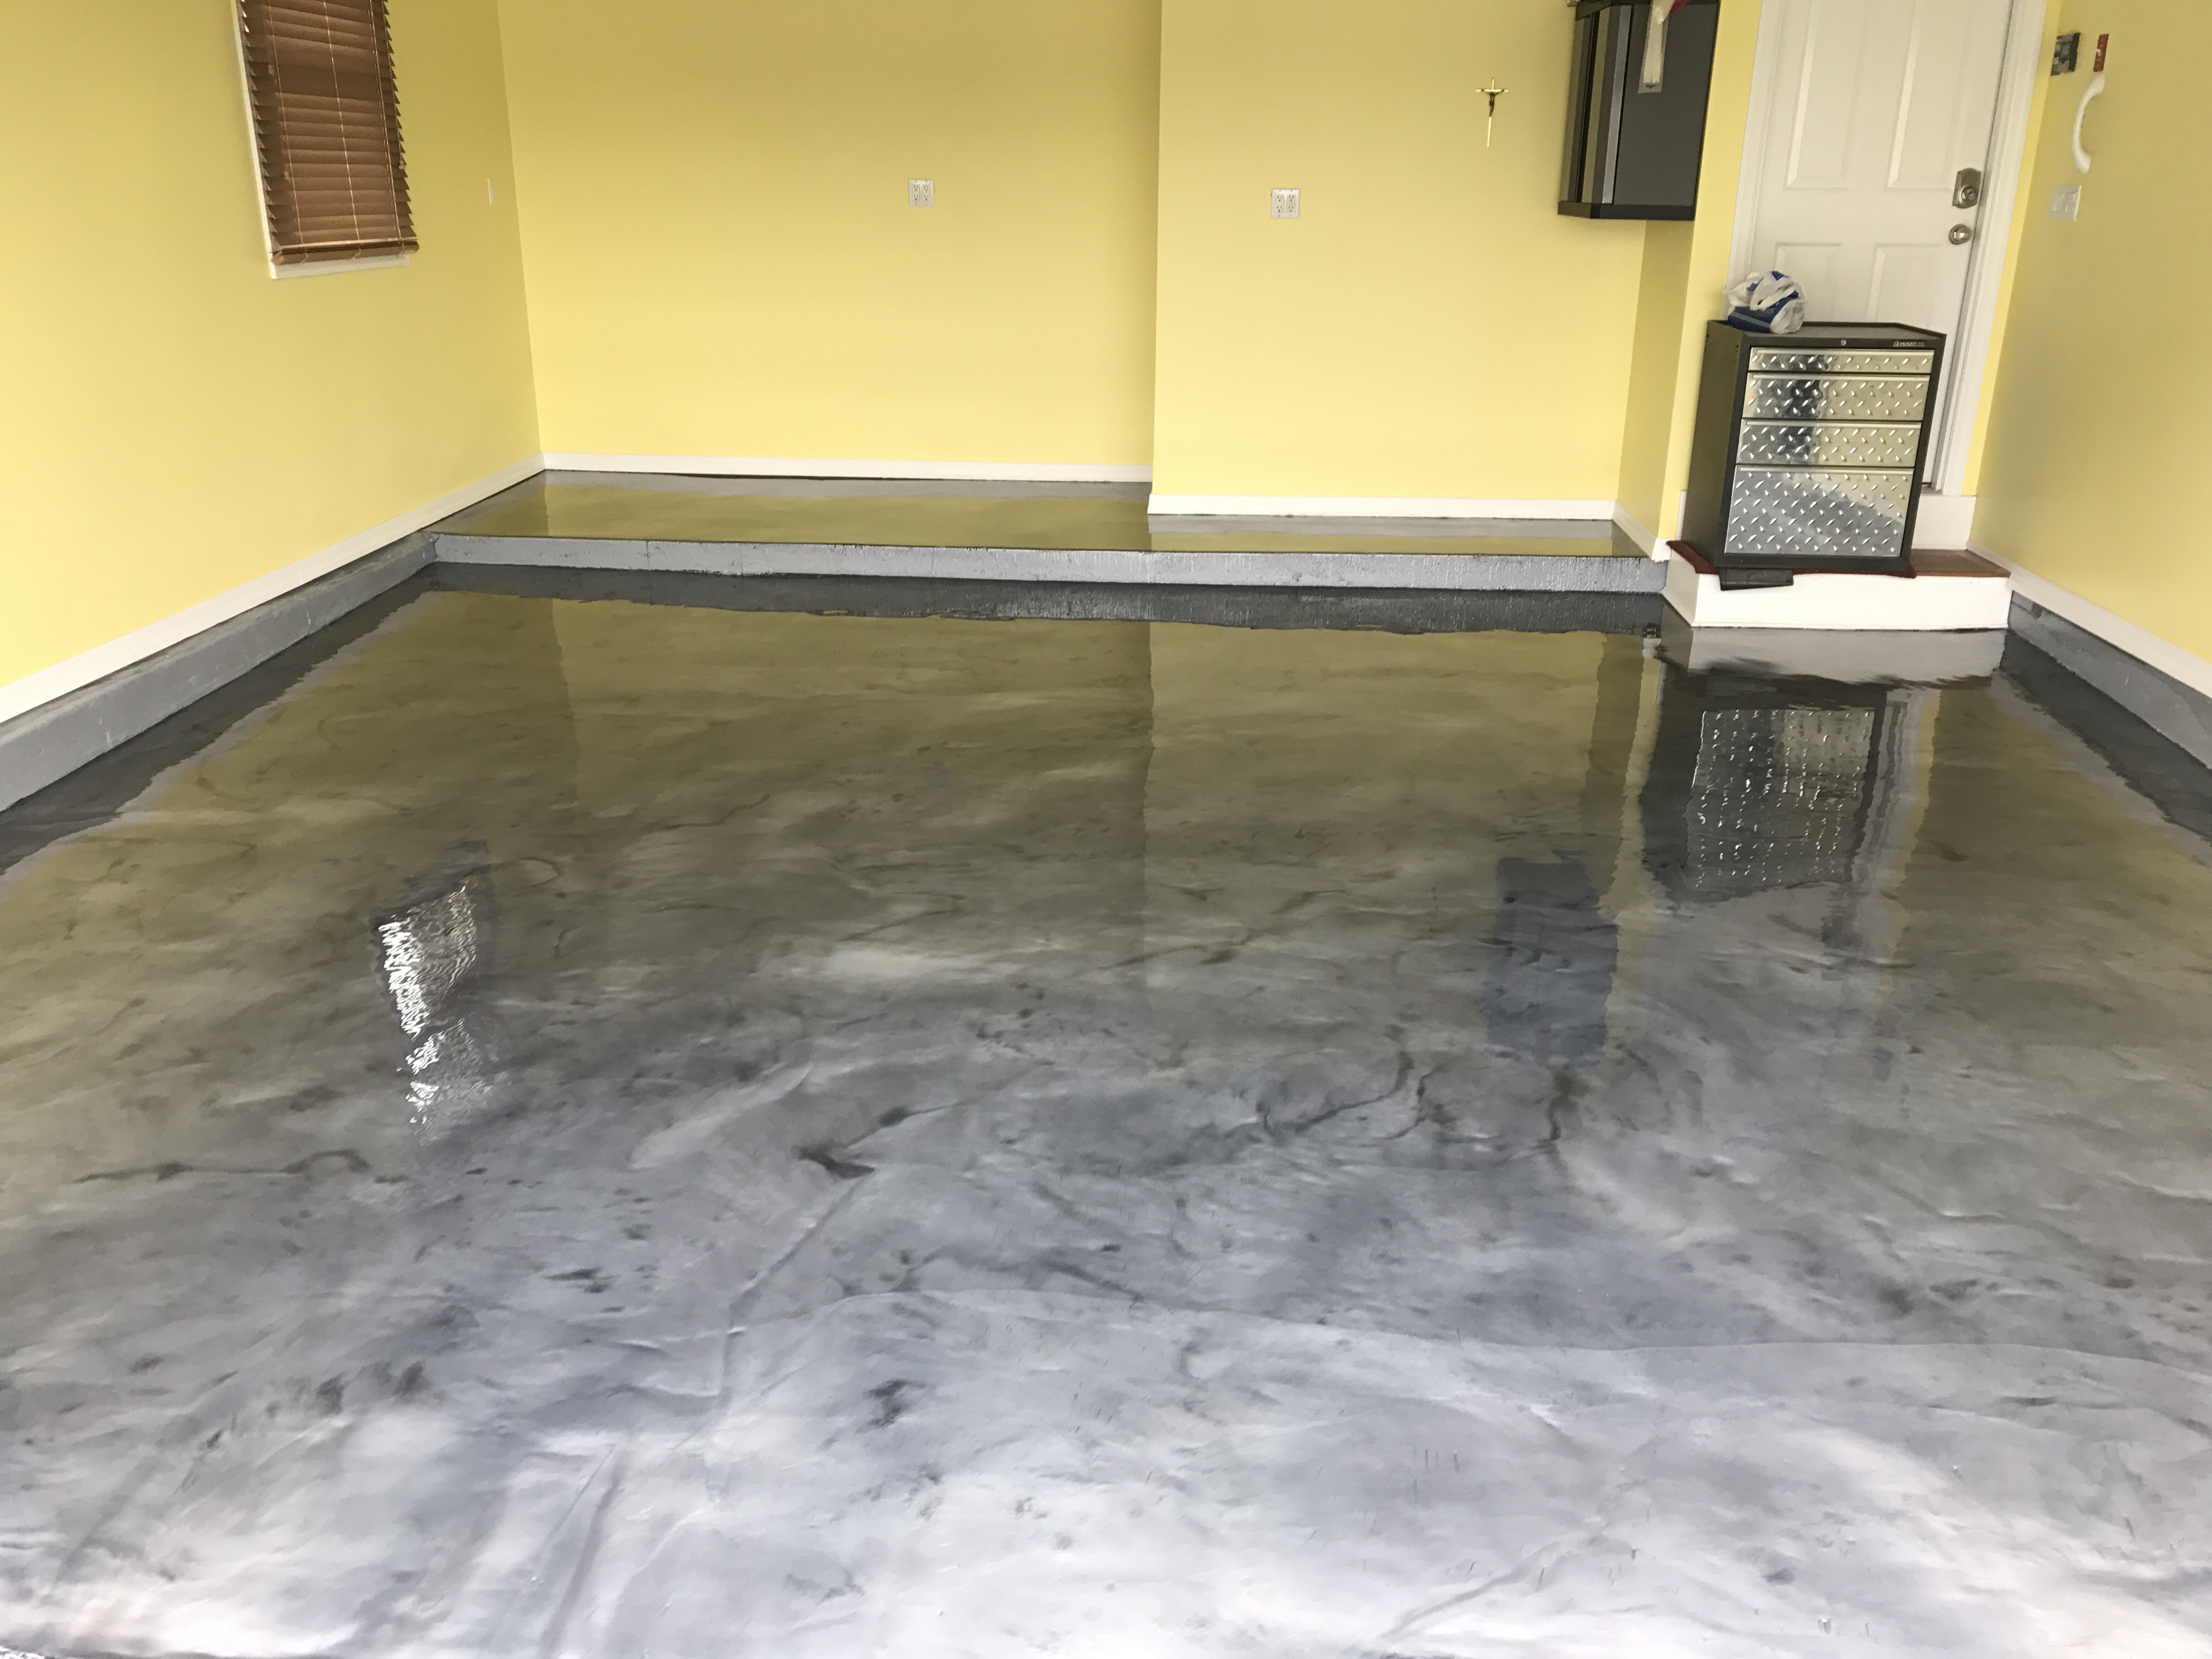
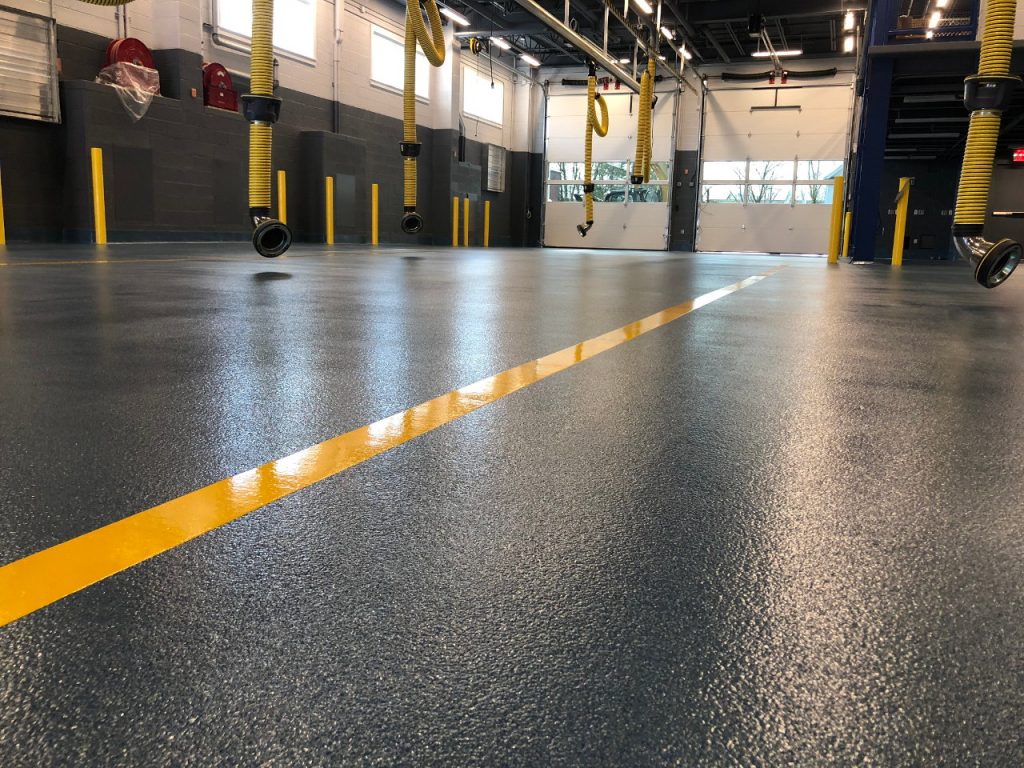
## Advanced Epoxy Flooring: How to Achieve Professional Results with DIY Installation
When it comes to flooring, epoxy is one of the most popular options due to its durability and low-maintenance requirements. Installing epoxy flooring can be a challenge for even experienced DIYers, as there are several factors to consider, from surface preparation to choosing the right product. This guide will provide you with the information you need to achieve professional results when installing your own epoxy flooring.
### Preparation Is Key to a Successful Epoxy Flooring Installation
Before beginning your epoxy flooring installation, it’s essential to properly prepare the surface. All dirt, dust, and debris must be removed from the area, as this will ensure that the epoxy adheres properly. If there are any cracks or holes in the existing concrete floor, they should be filled in and smoothed out before continuing. Additionally, the concrete must be sealed before applying the epoxy to prevent moisture from seeping through and creating an uneven surface.
### Choosing the Right Epoxy Flooring Product
When selecting an epoxy flooring product, there are a number of factors to consider. For starters, you’ll want to choose a product that is designed for the area in which you’re installing it. For example, if you’re installing in a garage or other automotive workspace, you’ll want to choose a product specifically designed for such an environment. Additionally, you’ll want to make sure that the product is of good quality and has a warranty so that you know it will last for years to come.
### Applying the Epoxy Flooring
Once you have chosen the right product and prepared the area, it’s time to start applying the epoxy. This process typically requires two coats of epoxy – one base coat and one top coat – so it’s important to allow each coat to dry completely before starting on the next one. When applying the base coat, be sure to apply it evenly using a roller or brush. The top coat should then be applied in thin layers using a squeegee or trowel until you have achieved a smooth finish.
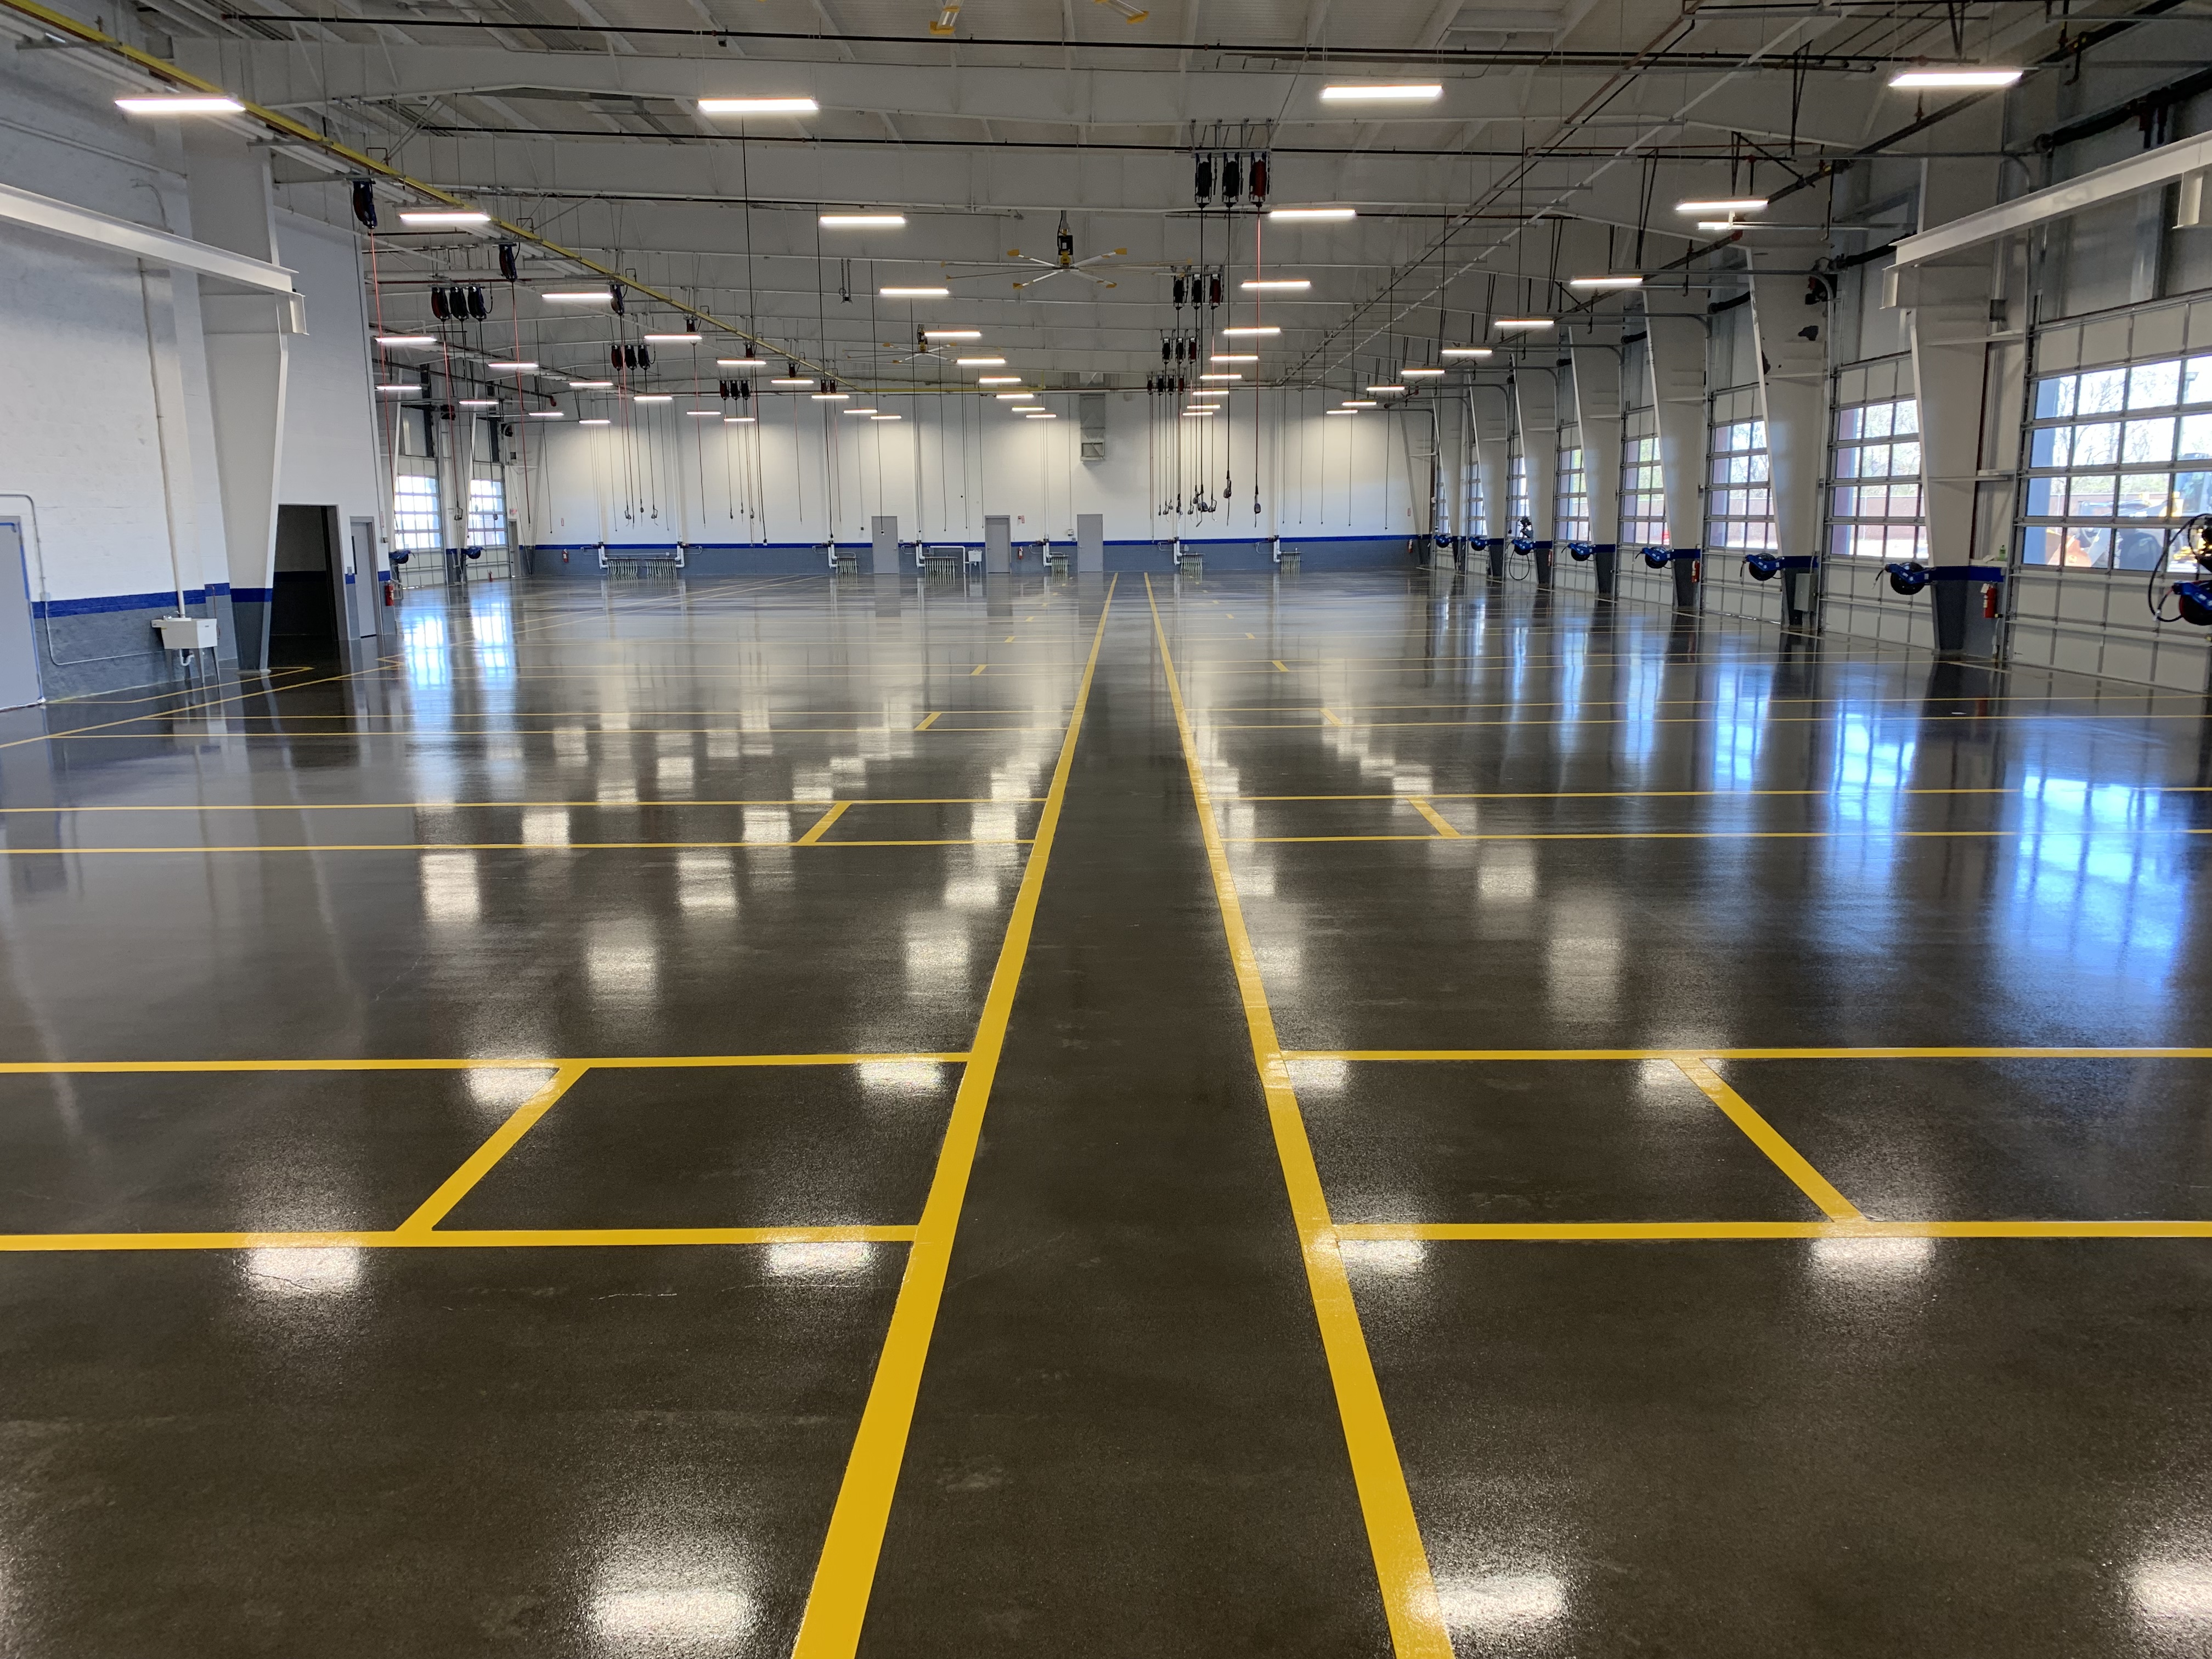
### Finishing Techniques for Professional Results
Once your epoxy flooring has dried completely, there are a few finishing techniques that you can use to achieve professional results. For example, you can use a diamond grinder or sander to smooth out any bumps or imperfections in the surface. Additionally, you can use decorative flakes or colors to add visual interest and depth. Finally, be sure to seal the floor with a high-quality sealer that will protect it from scratches and wear-and-tear.
Installing epoxy flooring can seem like an intimidating task at first but with proper preparation and careful application, anyone can achieve professional results with DIY installation. By following this guide and taking your time during each step of the process, you will be able to create an attractive and durable floor that will last for years to come.