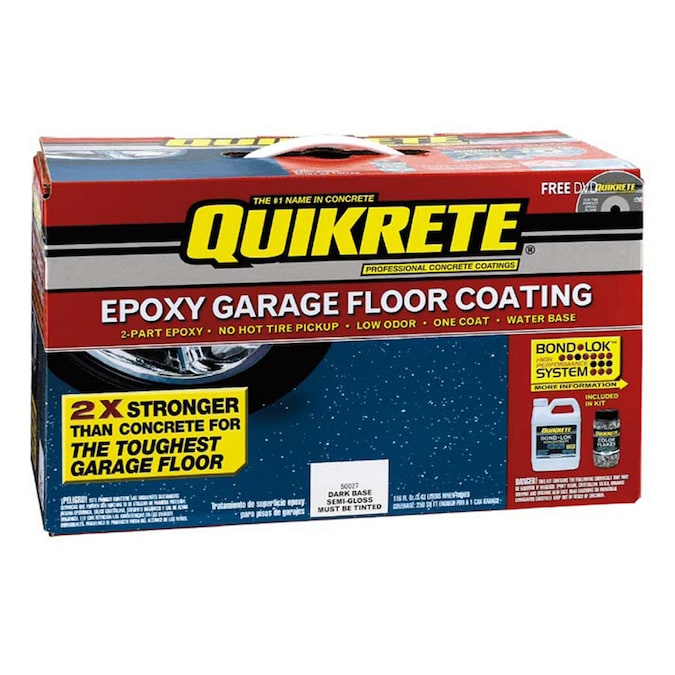
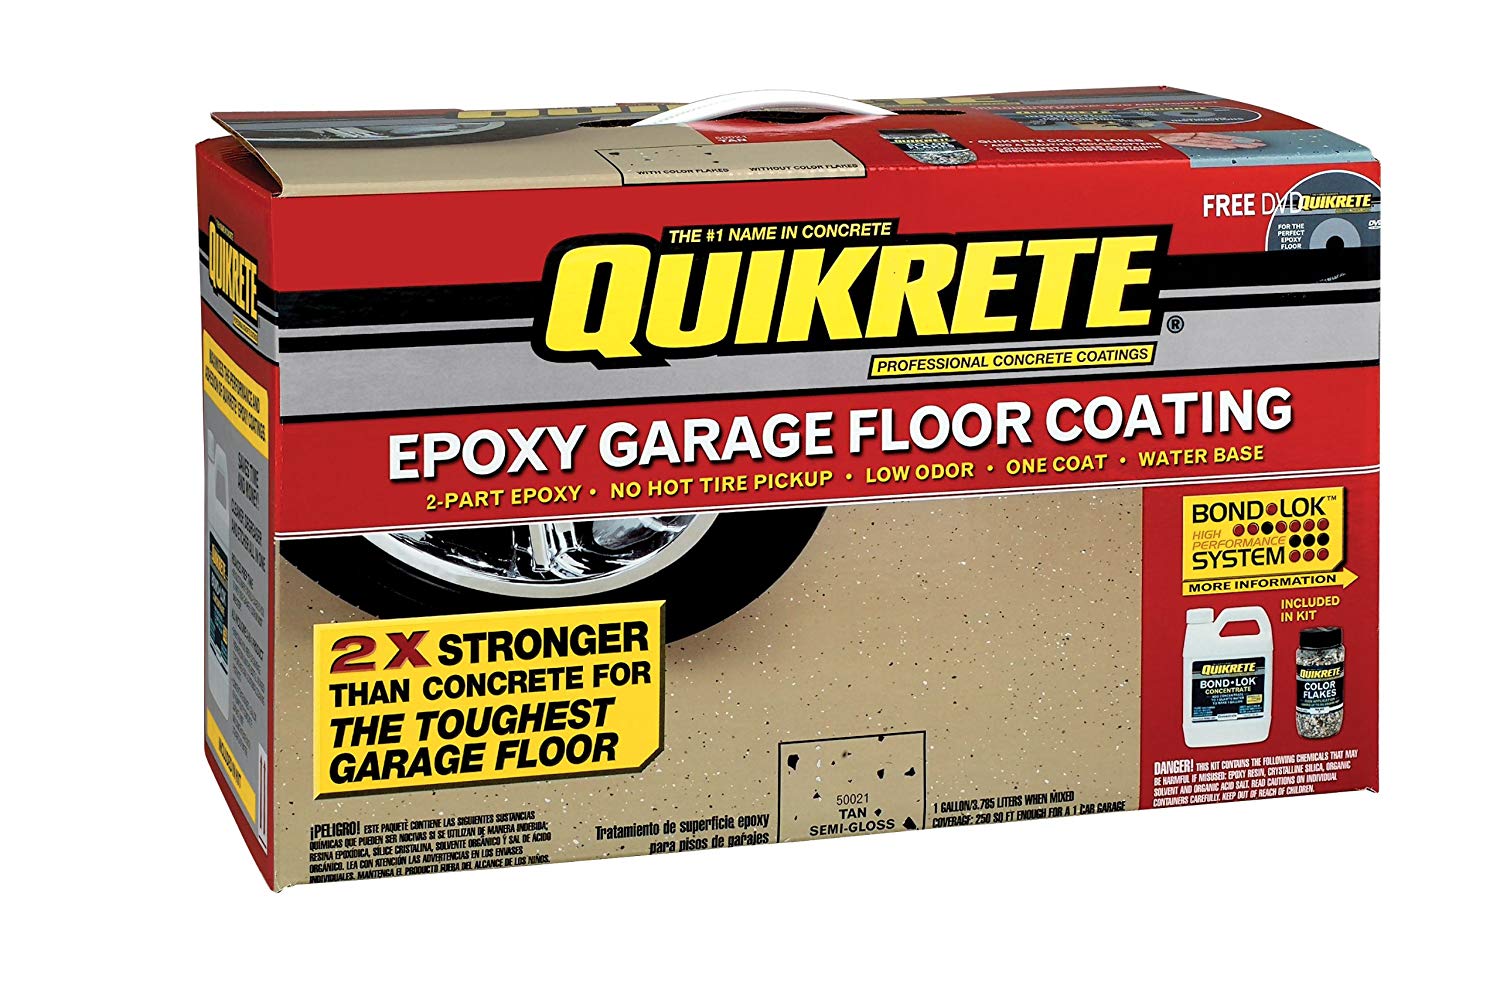
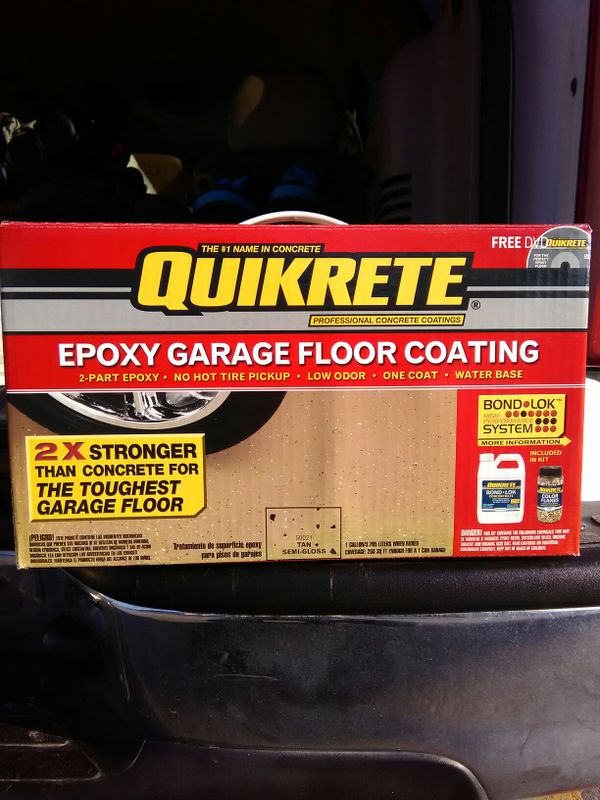
Quikrete Floor Epoxy
When I decided to upgrade my garage floor, I knew I wanted something durable, easy to clean, and visually appealing. After some research, I stumbled upon Quikrete Floor Epoxy, and it turned out to be exactly what I needed. Over the past couple of years, I’ve had the chance to use this product, and I’ve been thoroughly impressed with its performance. If you’re considering epoxy flooring for your garage, basement, or workshop, let me share my experience with Quikrete Floor Epoxy and why I think it’s a great choice.
What Is Quikrete Floor Epoxy?
Quikrete Floor Epoxy is a two-part epoxy coating designed to transform concrete floors into durable, high-performance surfaces. It’s made up of a resin and a hardener that, when mixed, creates a strong, adhesive coating that bonds to concrete. The result is a seamless, glossy finish that resists stains, chemicals, and heavy foot traffic.
What I love about Quikrete Floor Epoxy is its versatility. It’s available in a variety of colors and can be customized with decorative flakes or anti-slip additives. Whether you’re looking for a sleek, modern look or a more textured, functional surface, this product has you covered.

Why I Chose Quikrete Floor Epoxy
When I was exploring options for my garage floor, I had a few key priorities: durability, ease of maintenance, and aesthetics. Here’s why Quikrete Floor Epoxy stood out:
Durability
My garage sees a lot of activity—parking cars, DIY projects, and storage. I needed a flooring solution that could withstand heavy use without chipping or peeling. Quikrete Floor Epoxy has proven to be incredibly durable, holding up against dropped tools, car tires, and even the occasional oil spill.
Easy to Clean
Before applying the epoxy, my concrete floor was a magnet for dirt, oil, and stains. Cleaning it was a chore, and no matter how much I scrubbed, it never looked truly clean. With Quikrete Floor Epoxy, maintenance has become a breeze. A quick sweep and occasional mopping are all it takes to keep the floor looking spotless.
Aesthetic Appeal
I didn’t want my garage to feel like an afterthought. Quikrete Floor Epoxy allowed me to create a polished, professional-looking space. I chose a light gray color with decorative flakes, and the result is a floor that looks like it belongs in a high-end workshop.
Cost-Effective
Compared to other flooring options, Quikrete Floor Epoxy is relatively affordable, especially considering its longevity. I was able to complete the project myself, which saved me money on installation costs.
Quick and Simple Application
One of the things that drew me to Quikrete Floor Epoxy is how straightforward the application process is. The kit comes with everything you need, including detailed instructions, making it accessible even for DIY beginners like me.
My Experience Applying Quikrete Floor Epoxy
Applying Quikrete Floor Epoxy was a rewarding project that I tackled over the weekend. Here’s a step-by-step breakdown of my experience:
Preparation
The key to a successful epoxy application is thorough preparation. I started by clearing out my garage and giving the floor a deep clean. I used a degreaser to remove any oil stains and a concrete etcher to open up the pores of the concrete. This ensures the epoxy adheres properly.
Once the floor was clean and dry, I patched any cracks or holes using a concrete patching compound. This step is crucial because any imperfections in the concrete will show through the epoxy.
Mixing and Applying the Epoxy
The Quikrete Floor Epoxy kit includes two components: the resin and the hardener. I mixed them together according to the instructions, making sure to stir thoroughly to avoid any streaks or uneven spots.
Applying the epoxy was easier than I expected. I used a roller with an extension handle to spread the mixture evenly across the floor. The epoxy has a self-leveling property, which helps create a smooth, seamless finish.
Adding Decorative Flakes
To add some visual interest, I sprinkled decorative flakes onto the wet epoxy. This not only enhances the appearance but also provides additional texture and slip resistance. I made sure to distribute the flakes evenly for a balanced look.
Letting It Cure
After applying the epoxy, I allowed it to cure for the recommended time. This was the hardest part—waiting! But patience is essential to ensure the epoxy sets properly and achieves its full durability.
Applying the Topcoat
Once the base coat was fully cured, I applied a clear topcoat for added protection and shine. This step is optional, but I highly recommend it for extra durability and a polished finish.

Living with Quikrete Floor Epoxy
After living with Quikrete Floor Epoxy for a while, I can confidently say it’s been a game-changer for my garage. Here’s how it’s held up:
Durability
The epoxy coating has withstood everything I’ve thrown at it—heavy tools, car traffic, and even a few accidental spills. There are no chips or cracks, and the surface still looks as good as the day I applied it.
Easy Maintenance
Cleaning the floor is a breeze. Dirt and dust sweep up easily, and spills wipe away without leaving stains. I no longer dread cleaning my garage, which is a huge win in my book.
Aesthetic Appeal
The glossy finish and decorative flakes have transformed my garage into a space I’m proud of. It feels more like an extension of my home than a storage area, and I’ve even started using it as a workspace for DIY projects.
Comfort
While epoxy isn’t as soft as carpet, it’s more comfortable to stand on than bare concrete. I’ve noticed less fatigue when working on projects, and the slight texture from the flakes provides just enough grip to prevent slipping.
Tips for Using Quikrete Floor Epoxy
If you’re considering Quikrete Floor Epoxy for your space, here are a few tips based on my experience:
Take Your Time with Preparation
Proper preparation is the most important step in the process. Don’t rush through cleaning, etching, or patching the concrete. A well-prepared surface ensures the epoxy adheres properly and lasts for years.
Work in Small Sections
Epoxy dries quickly, so it’s best to work in small sections to avoid uneven application. I divided my garage into quadrants and tackled one at a time, which made the process more manageable.
Use Protective Gear
Epoxy can be messy, so I made sure to wear gloves, old clothes, and protective eyewear during the application process. I also opened the garage doors for ventilation to avoid inhaling fumes.
Consider a Topcoat
While the base coat provides excellent durability, a clear topcoat adds an extra layer of protection and enhances the glossy finish. It’s a small additional step that makes a big difference.
Allow Ample Curing Time
Resist the urge to use the space too soon. Letting the epoxy cure fully ensures it reaches its maximum strength and durability. I waited the full recommended time before parking my car or moving furniture back in.

Quikrete Epoxy Coatings, Flooring Kit, One-Gallon, Gray Shop Your Way: Online Shopping & Earn
Quikrete Epoxy Garage Floor Coating Kit – Flooring Site
Rust-Oleum EpoxyShield Concrete Floor Paint [PROFESSIONAL Review]
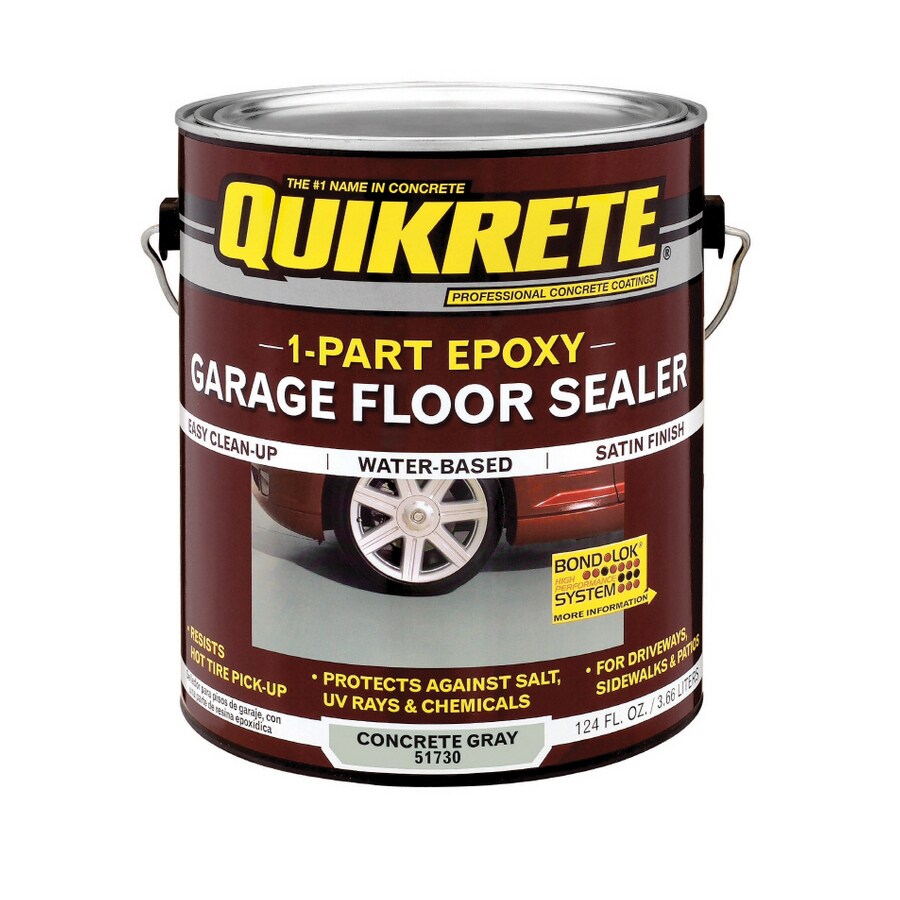
QUIKRETE 1-Gallon Water-Based 1-Part Epoxy Concrete Gray at Lowes.com
Quikrete Garage Floor Epoxy – Flooring Tips
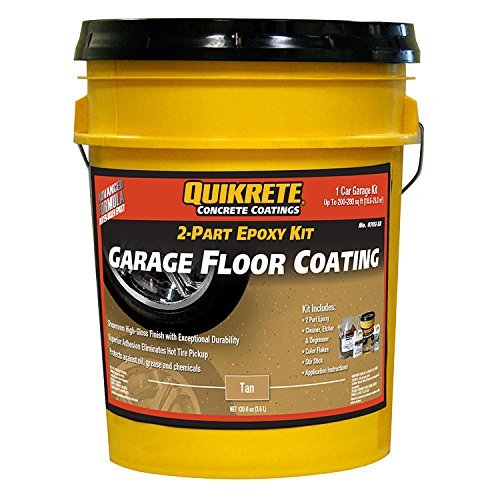
Quikrete Garage Floor 2-Part Epoxy Tan kit: Amazon.com: Industrial & Scientific
Related Posts: