Best Way To Prep Garage Floor For Epoxy (22 Photos)
How To Prepare Your Garage Floor For Epoxy Viewfloor.co
How To Prep A Garage Floor For Epoxy Coating Floor Shields
Prepping Garage Floor For Epoxy – Clsa Flooring Guide
How to Refinish a Garage Floor with Rust-Oleum EpoxyShield » Keys To Inspiration

Prep Garage Floor For Epoxy Paint – Leardo Marchesi

How To Prep Garage Floor For Epoxy

Garage Floor Epoxy Prep – Flooring Blog

One Part Epoxy Garage Floor Paint – Flooring Guide by Cinvex

How to Prepare A Garage Floor for Epoxy Paradigm Concrete
How to Prep Your Garage Floor for an Epoxy Coating
How to Refinish a Garage Floor with Rust-Oleum EpoxyShield » Keys To Inspiration

Related Posts:
- Fast Cure Epoxy Floor Coating
- Stone Hard Epoxy Flooring
- How To Epoxy Flooring Garage
- How To Repair Epoxy Floor Coating
- Non Slip Epoxy Flooring
- Solid Epoxy Garage Floor
- Quikrete Floor Epoxy
- Paint Flakes Epoxy Floor
- Cheap Epoxy Floor
- Rock Solid Epoxy Floor
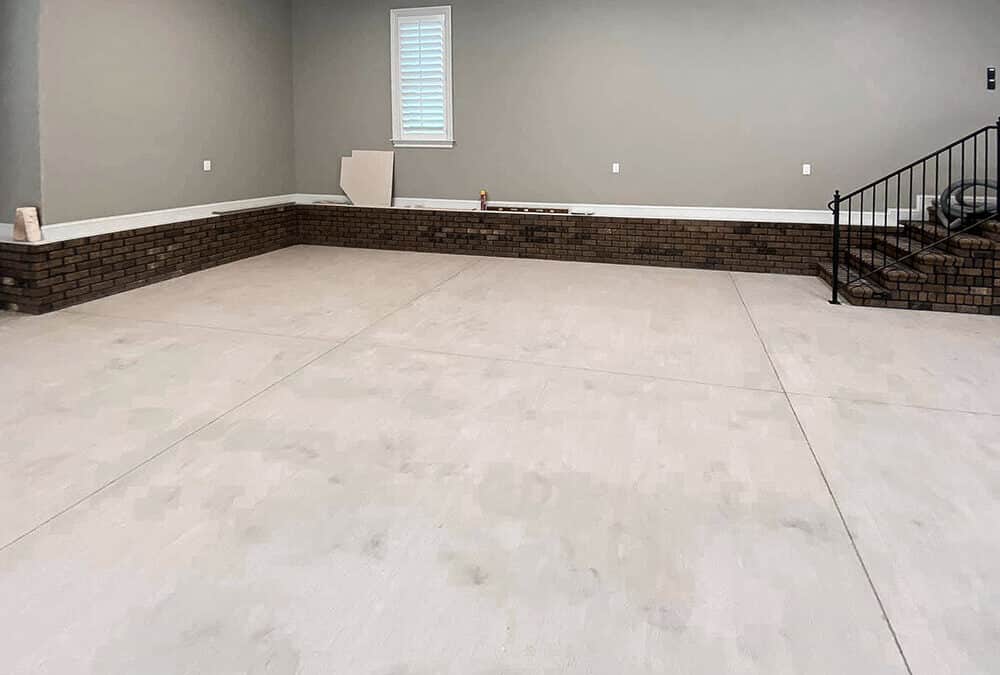
When it comes to adding an extra layer of protection to your garage floor, epoxy is a great option. Not only does it make the floor look more stylish, but it also adds an extra layer of protection from wear and tear. But before you can apply the epoxy, you need to make sure that your garage floor is properly prepped. Here are some of the best ways to prep your garage floor for epoxy.
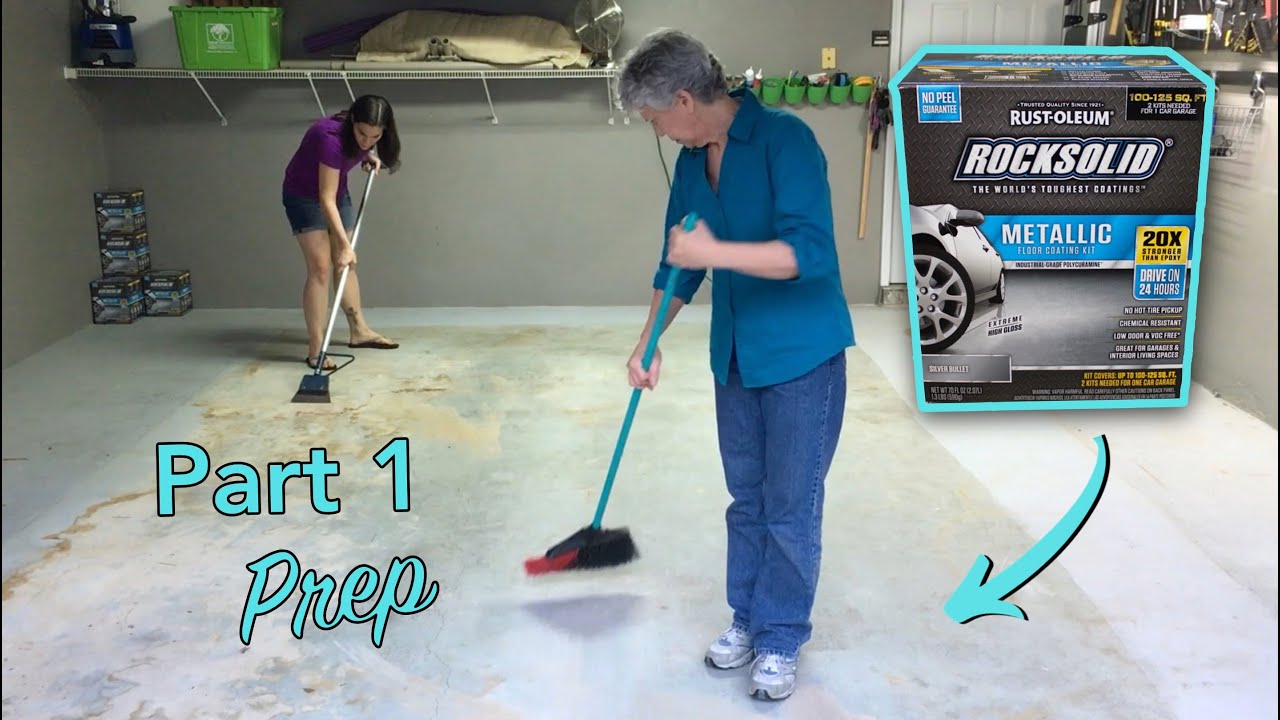
Clean and Degrease
The first step in prepping a garage floor for epoxy is to give it a thorough cleaning and degreasing. This will help remove dirt, dust, and other debris that could prevent the epoxy from adhering properly. Start by sweeping the entire floor with a broom and then use a degreaser to remove any grease or oil stains. Let the degreaser sit for a few minutes before scrubbing it off with a brush. Once you’ve finished, rinse the floor with water and let it dry completely before moving on to the next step.
Scrub and Etch
Once the floor is clean, you’ll need to prepare it for the epoxy by scrubbing and etching it. This process helps create a rough surface for the epoxy to adhere to. Start by mixing up a solution of trisodium phosphate (TSP) and water in a bucket according to the instructions on the package. Then, use a stiff-bristled brush or scrubber to scrub the entire garage floor with the TSP solution. Once you’ve finished scrubbing, allow the solution to sit for at least 15 minutes before rinsing it off with water, then let the floor dry completely.
Repair Cracks and Holes
Once you’ve scrubbed and etched the garage floor, inspect it for any cracks or holes that need to be repaired. Use a masonry patching compound to fill in any cracks or holes in the concrete surface. After filling in any cracks or holes, use a trowel to smooth out the surface and then let it dry completely before moving on to the next step.
Prime and Paint
After repairing any cracks or holes in your garage floor, you’ll need to prime it with an epoxy-compatible primer and paint it with an epoxy-compatible paint. Start by applying a thin layer of primer and then let it dry completely before applying two coats of paint. Allow each coat of paint to dry completely before moving on to the next step.
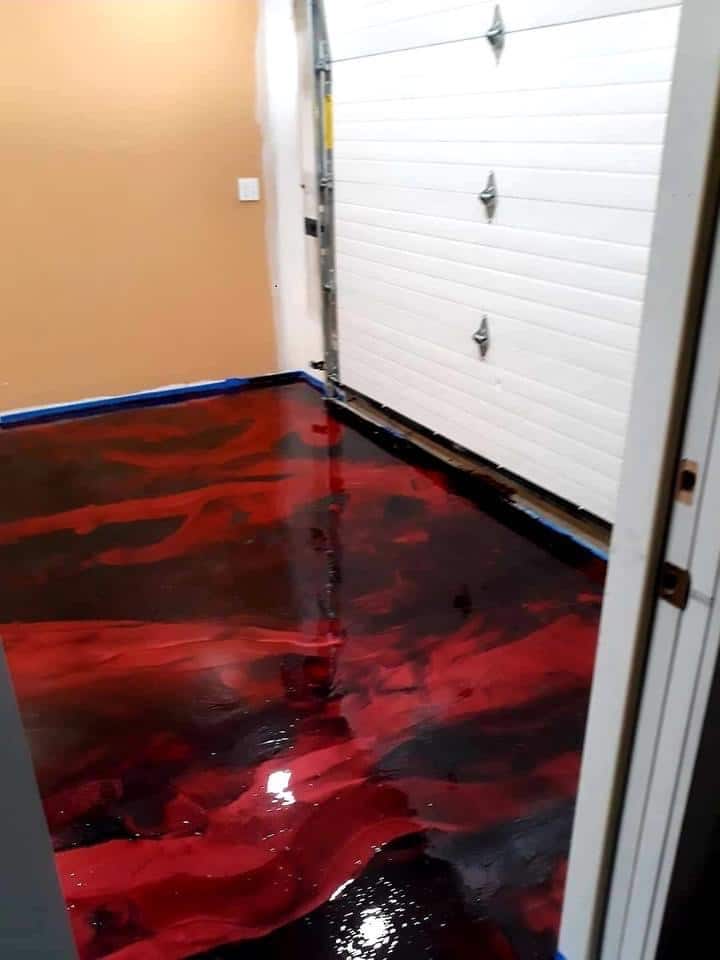
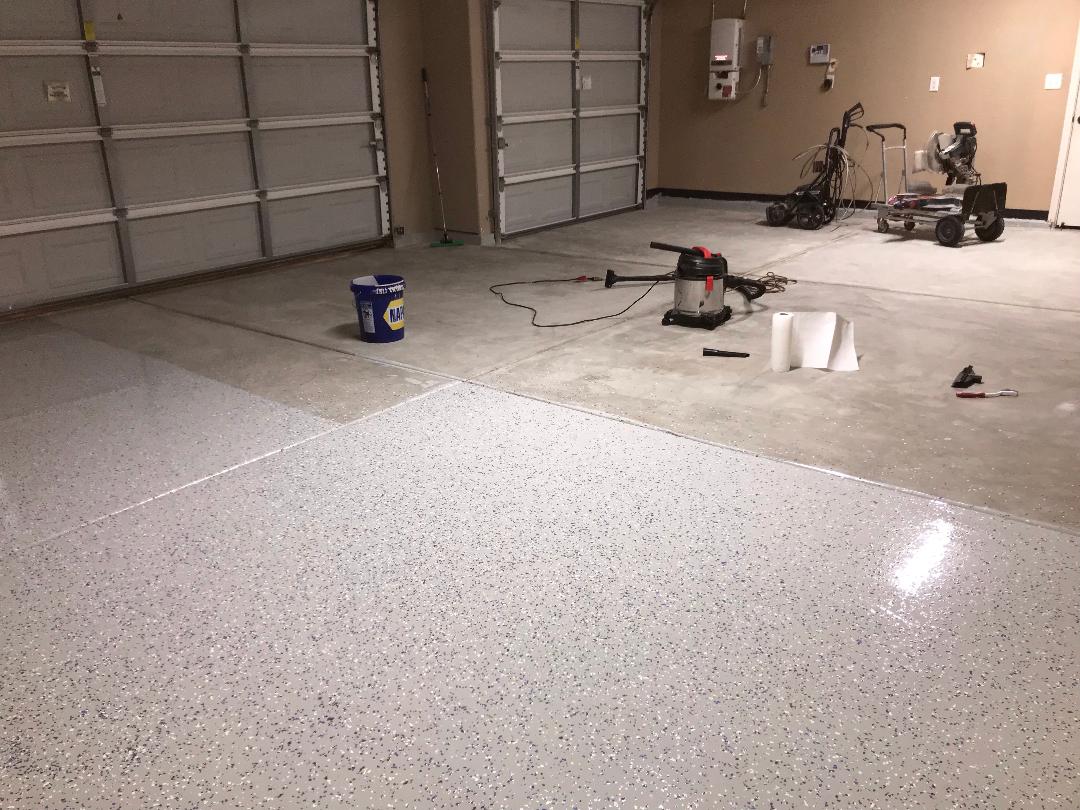
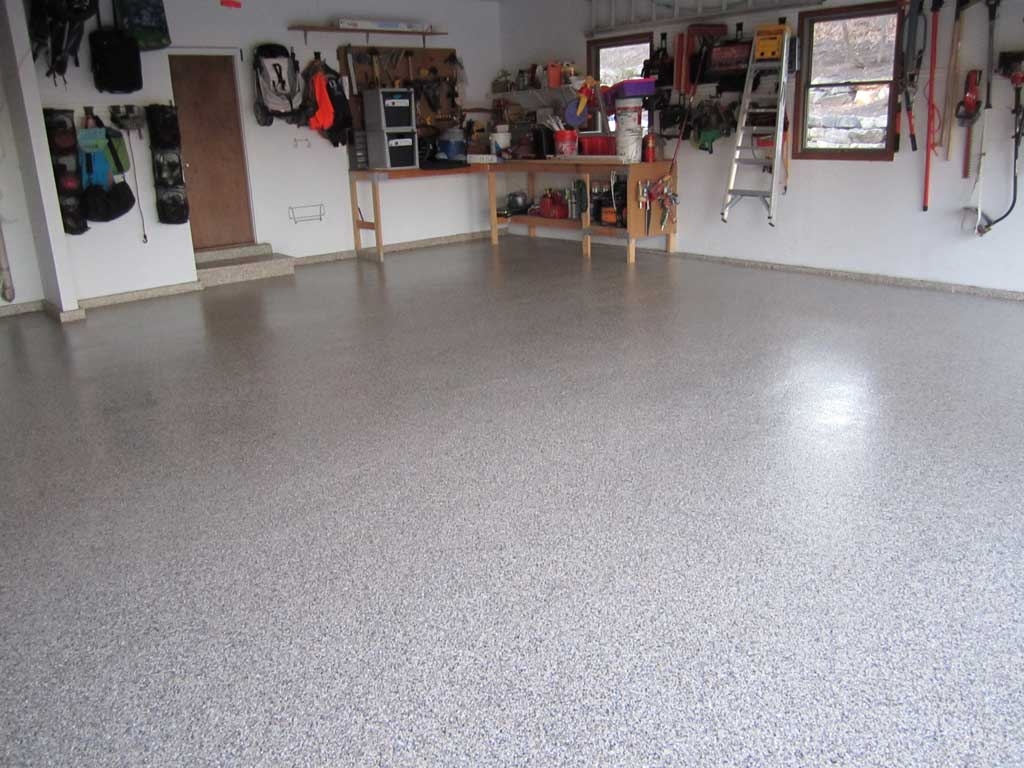
Apply Epoxy
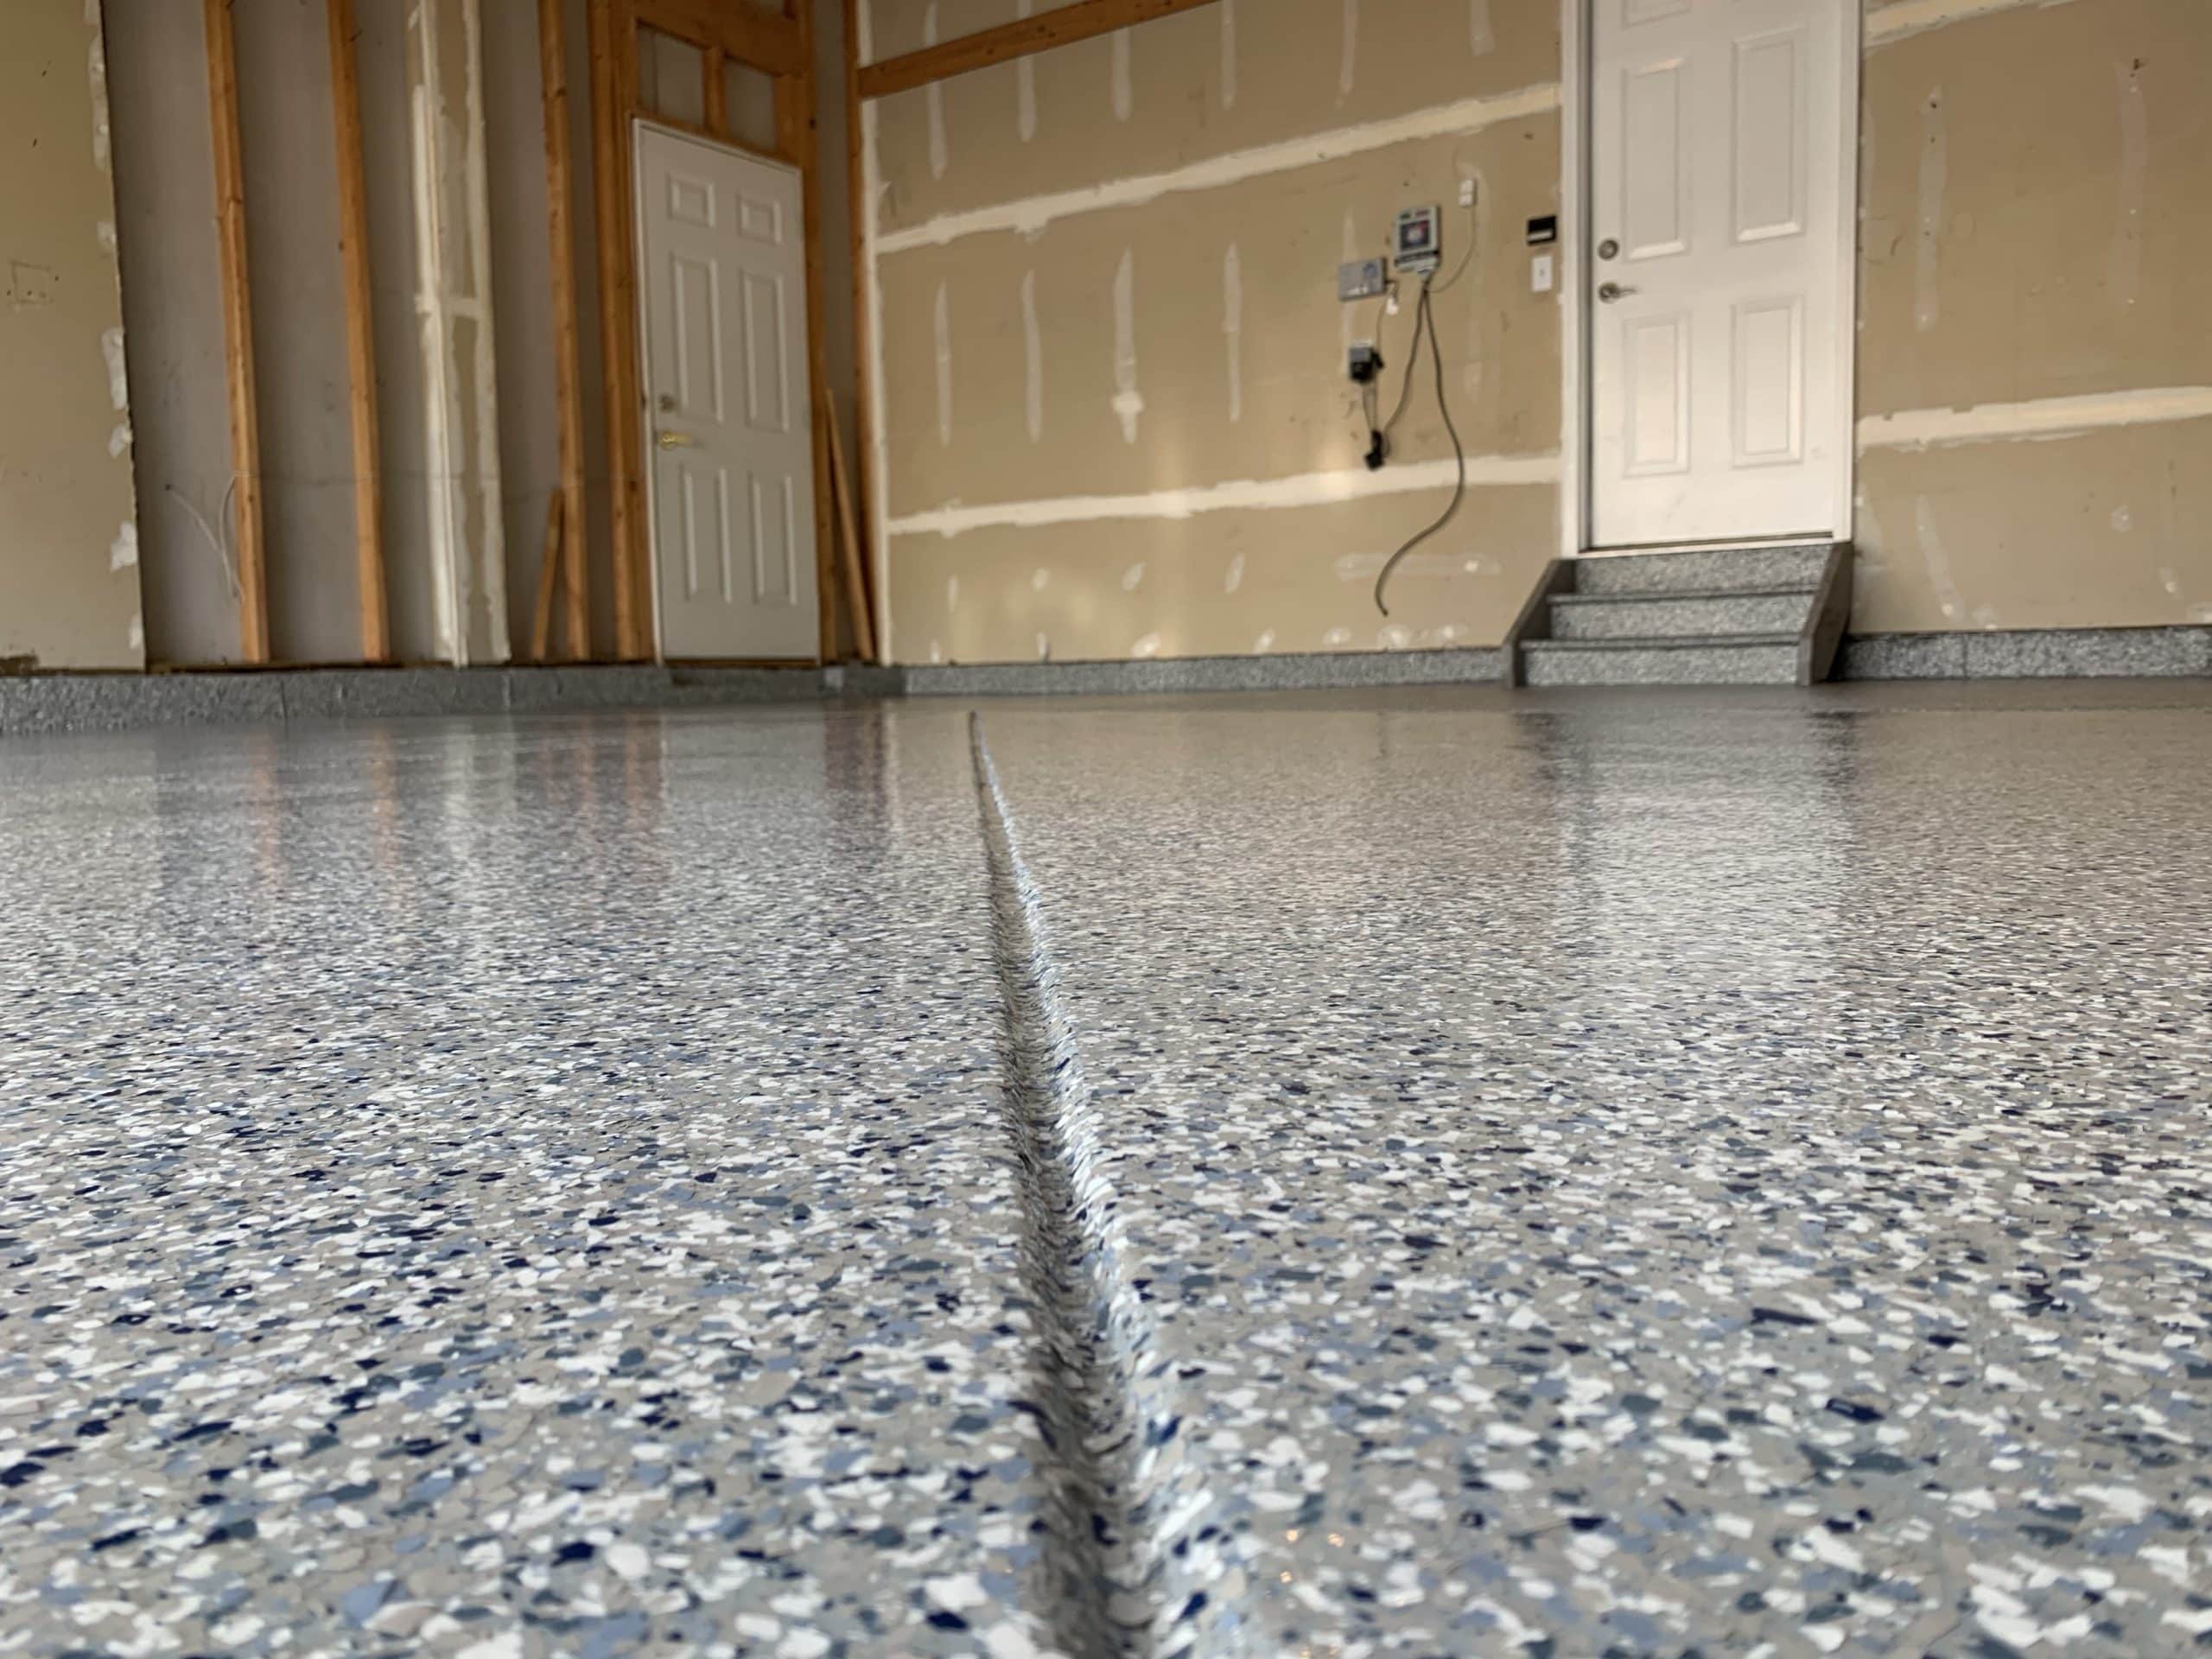
Once your garage floor is fully prepped, you’re ready to apply the epoxy coating. Start by mixing up enough epoxy according to the instructions on the package and then use a roller or brush to apply it evenly across the floor. Let it dry completely before walking on it and enjoy your newly protected garage floor!
With these steps, you can easily prep your garage floor for an epoxy coating and give yourself an extra layer of protection against wear and tear. Just make sure you take your time when completing each step so that you can get a great result that will last for years!