Epoxy Floor Diy Kit

Epoxy Resin floor. You can coat over wood, concrete, tile, etc. Get going on your epoxy project

EpoxyMaster Epoxy Floor Paint Coating Kit for Garages, Basements & More! Epoxy floor paint

DIY Metallic Epoxy coatings for floors With our super

Garage Floor – DIY Epoxy Floor Kit from Rust-oleum
white epoxy floor kit – Julieann Woodley

Epoxy Resin Floor Kit – flooring Designs

Epoxy Resin Floor Kit – flooring Designs

Epoxy Floor Garage DIY – Flooring Tips
List Of Metallic Epoxy Garage Floor Diy Ideas – Logopher

Do It Yourself Epoxy Floors / Epoxy Garage Floor Coating (amazing custom look) – Do It Yourself
Related Posts:
- Fast Cure Epoxy Floor Coating
- Stone Hard Epoxy Flooring
- How To Epoxy Flooring Garage
- How To Repair Epoxy Floor Coating
- Non Slip Epoxy Flooring
- Solid Epoxy Garage Floor
- Quikrete Floor Epoxy
- Paint Flakes Epoxy Floor
- Cheap Epoxy Floor
- Rock Solid Epoxy Floor
Owning a home means having the opportunity to customize and make your own living space. Decorating the interior of your home is one way to add your personal touch, but you can also create a statement in any room with a shining, durable epoxy floor.
Epoxy translates to “polyepoxide,” and it’s a plastic-like material that is made up of a mixture of resins and hardeners. It is known for its durability and strength, and it’s often used around the house in concrete floor coatings, in outdoor patios, and other areas where you need a hard surface.
If you are interested in creating your own epoxy floor, then you can purchase a DIY Epoxy Floor Kit. These kits provide you with all the materials you need to install your own epoxy flooring. Using these kits, you’ll be able to give any room or space an extra bold and stylish look.
## What Do DIY Epoxy Floor Kits Include?
When purchasing a DIY epoxy floor kit, you’ll get everything you need to install your own epoxy flooring. Different kits may come with different supplies included, but typically they will include:
* The main epoxy component including either a 4-part or 2-part system
* A kit of additives that will help determine the finish for your project
* A set of degreasers that will help to clean the floor before installation
* An epoxy sealer with which to coat the finished floor
* Installation instructions
* Protective gear to use while installing the floor
* Stencils or stamps to add decorative patterns and finishes to your floor
## Installing Your DIY Epoxy Flooring
Once you have your kit in hand, you can begin the process of installing your epoxy flooring. Here are some tips for successful installation on any surface for durable results:
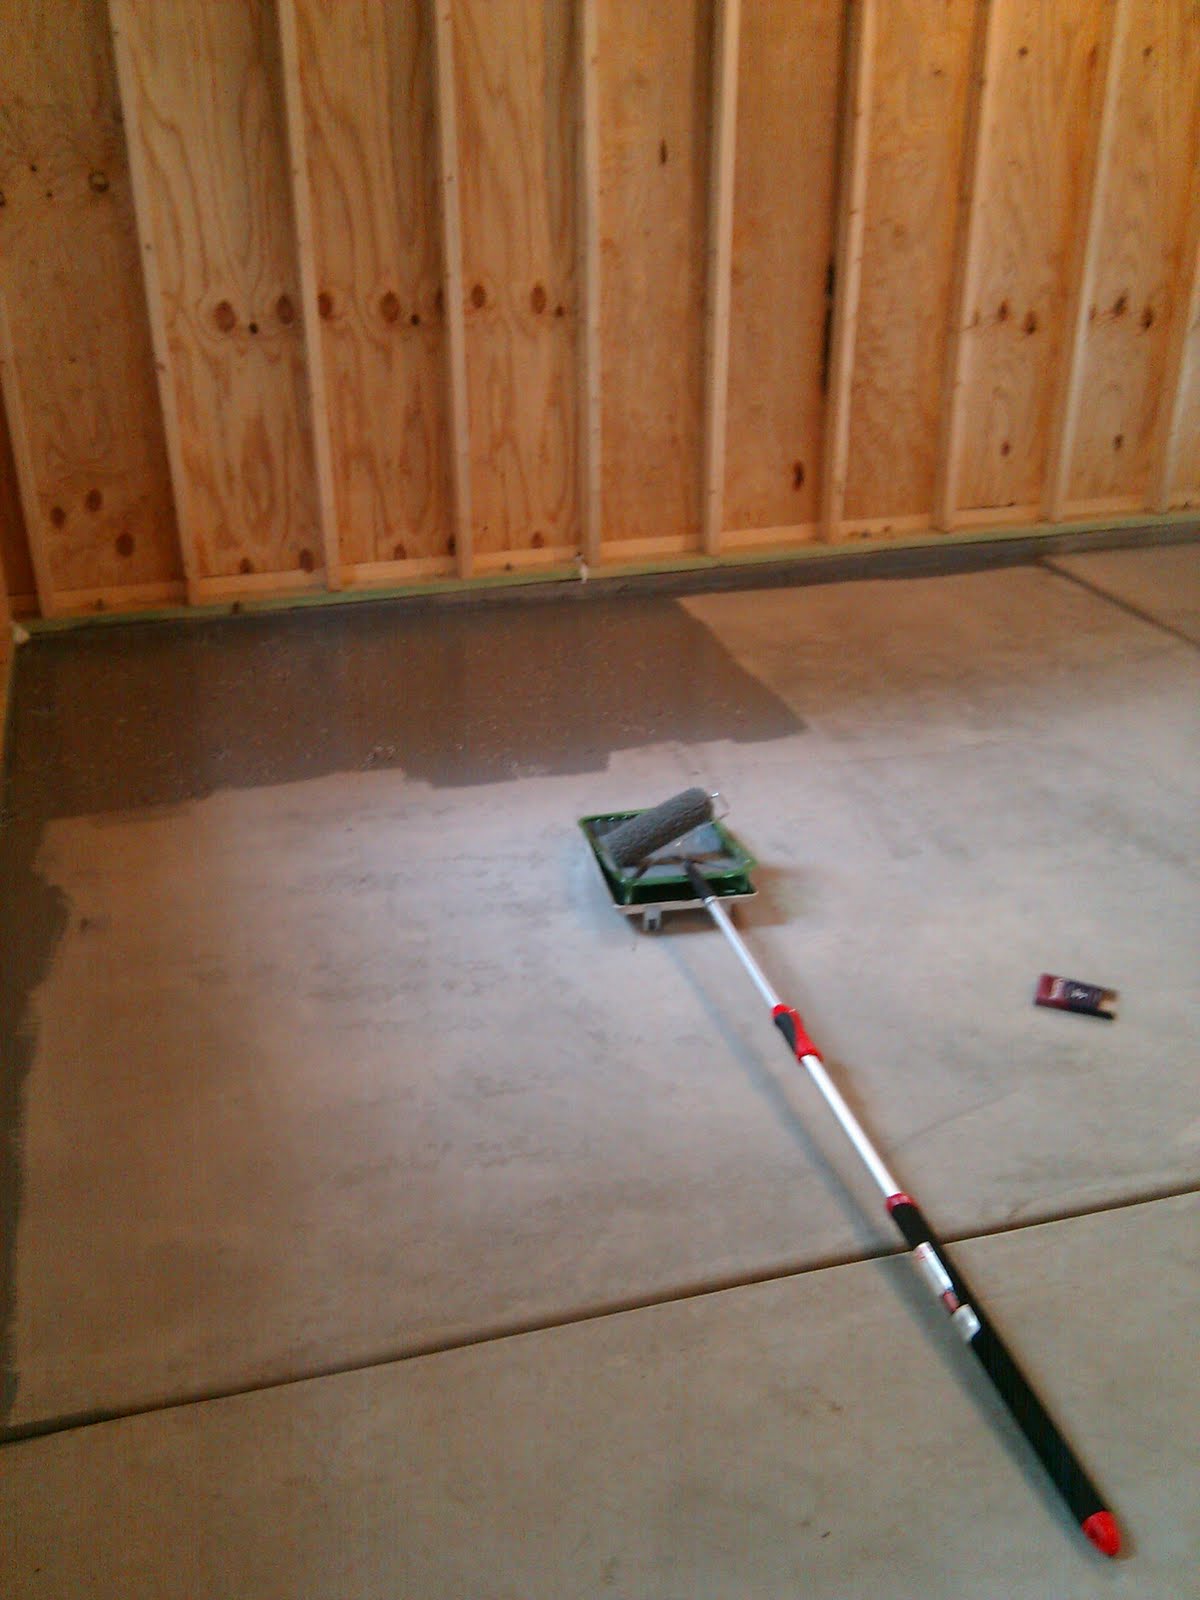
1. Make sure the surface is fully clean and free of dirt or debris before beginning installation. Use the degreaser provided in the kit along with water or other cleaning supplies, if necessary, to make sure the surface is completely spotless. Wipe away any dust and dirt or grime that could get in the way of adhesion.
2. Once the surface has dried, use sandpaper or a wire brush to roughen the surface slightly so that it better adheres to the epoxy. Primer may also be used before applying the epoxy component if desired.
3. Mix together the components as per manufacturer’s instructions. Take into account proper mixing times and measurements for optimal results when combining components and stirring together with a drill mixer or stirring rod. As an alternative, get pre-mixed kits for an easier installation experience.
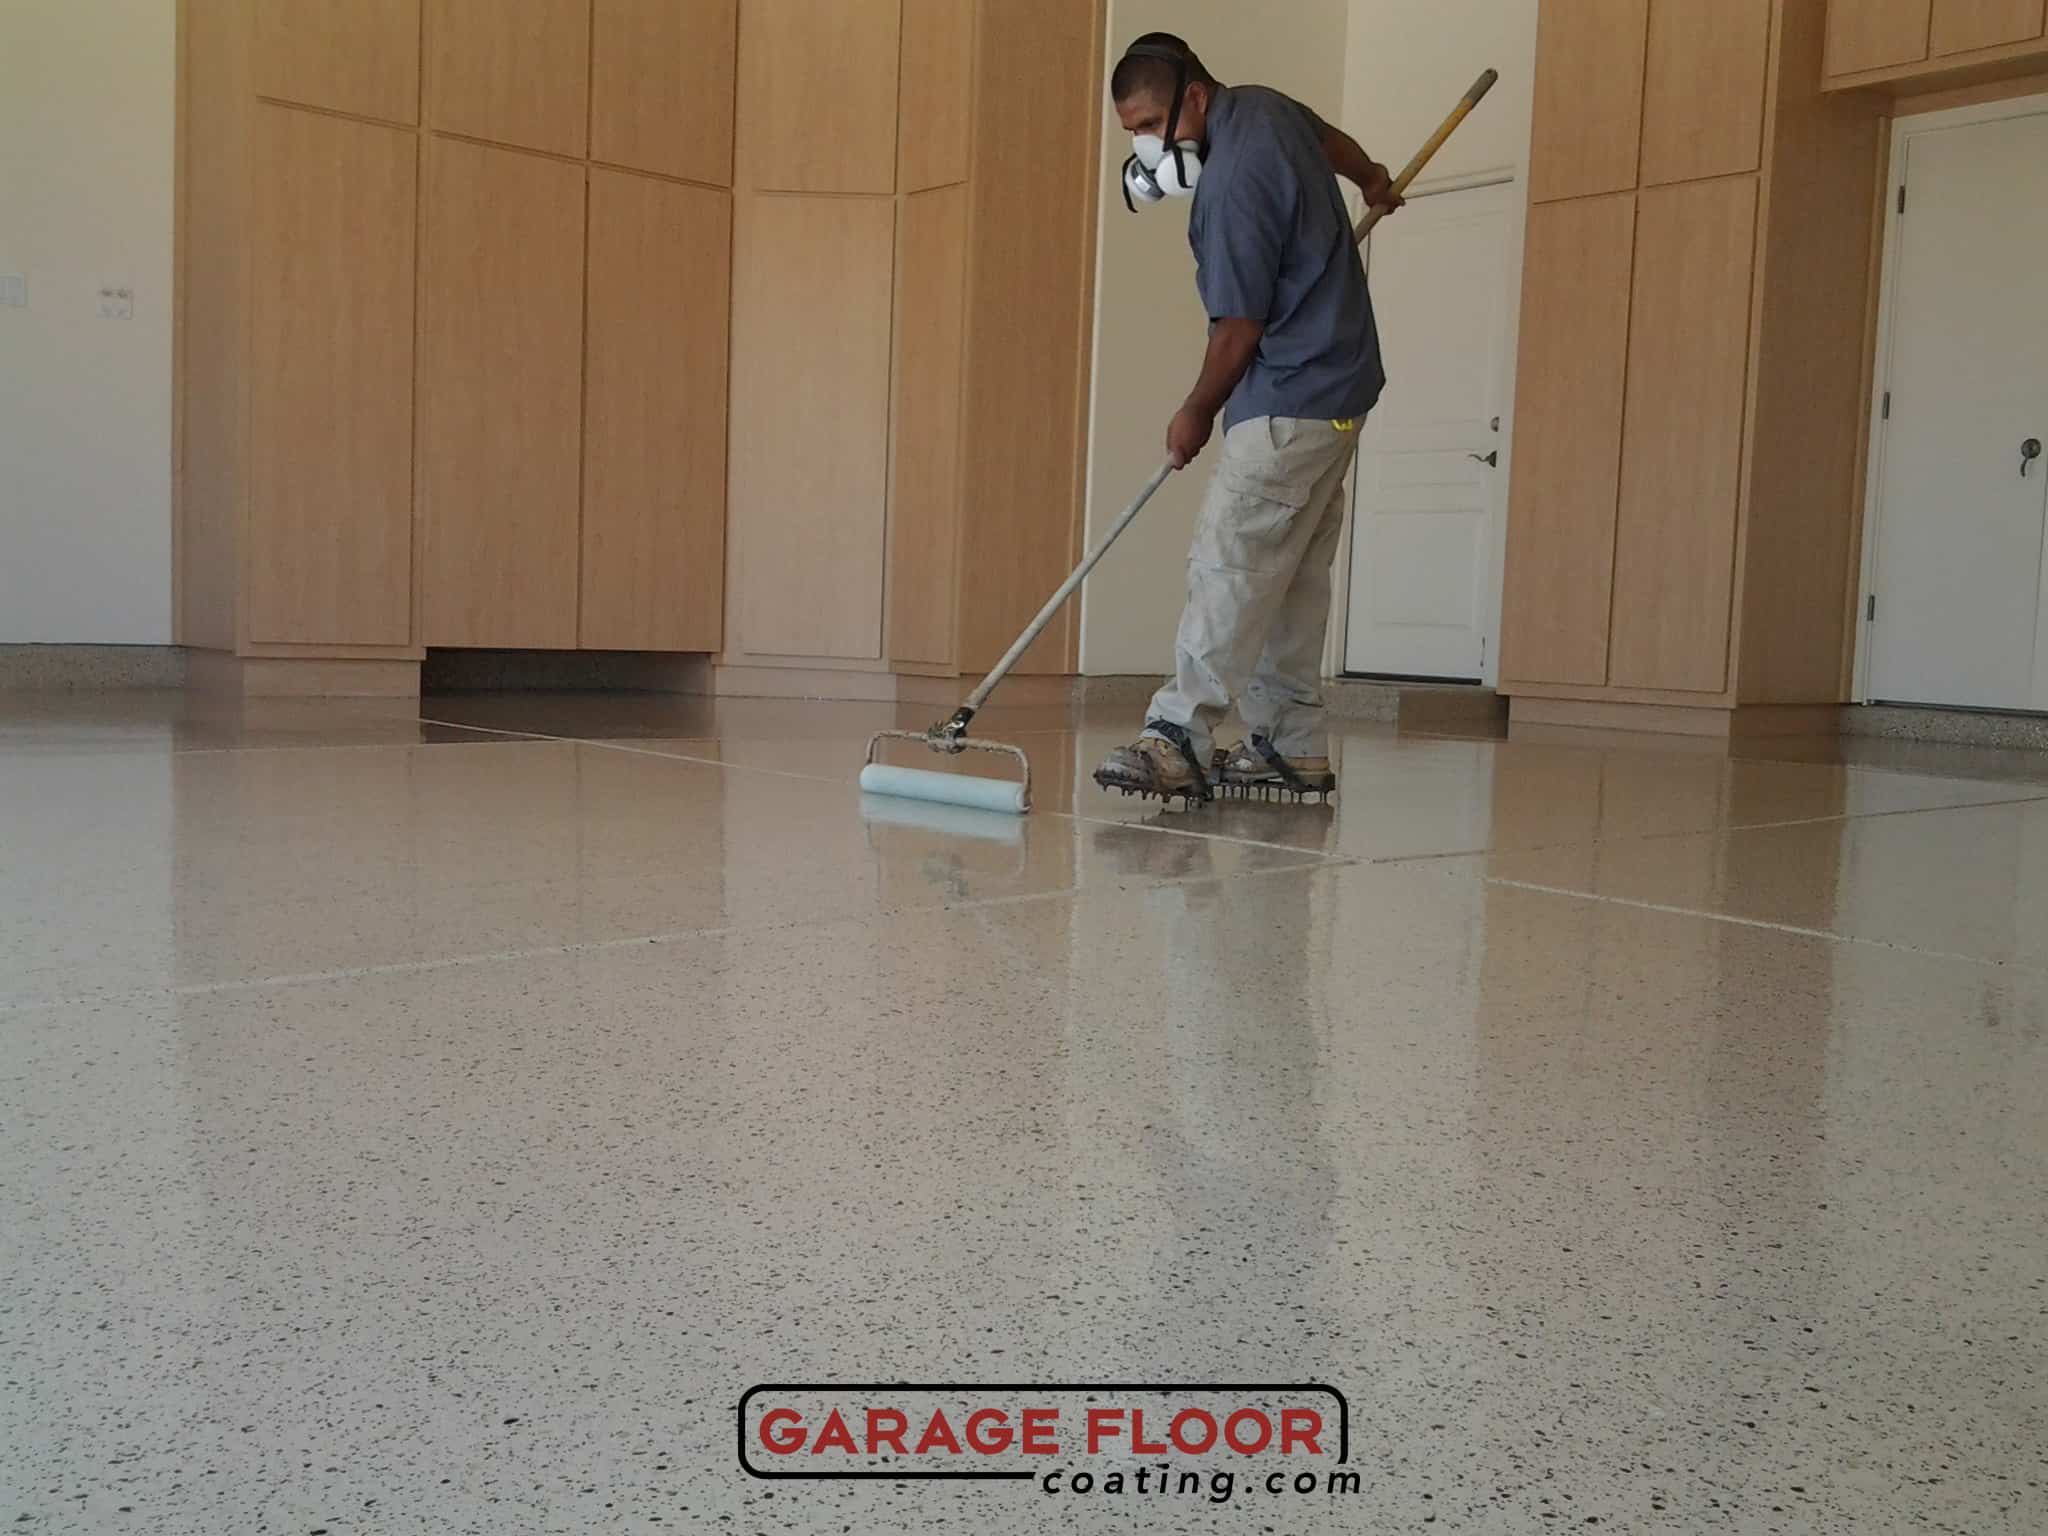
4. Apply the epoxy mixture onto your floors as evenly as possible using a standard paint roller or specialty latex roller designed specifically for use with epoxies. Be sure to keep a wet edge during application and avoid overworking it to get better results. If desired, you can roll on decorative colors and flakes once the base coat has been completely settled onto the floors prior to installation of additional coats for added style and texture in your floors.
5. Once finished and dried, seal the floors with an epoxy sealer using a long-handled brush for more even coverage in larger areas and shorter nap roller for touch-ups in smaller spots; this will provide further protection against wear and tear while helping maintain its shine for longer over time.
6. Once finished, it’s important to properly maintain your epoxy floors in order to maximize its lifespan and continue enjoying its sleek beauty over time. Regular cleaning activities should be carried out regularly with soap and water mixtures as needed; avoid harsh detergents that could damage its shine and color. In addition, applying floor wax occasionally can also help protect your floors against scratches or scuffs from regular wear and tear activities around the home.
Installing an epoxy floor can be daunting if done by yourself, but using DIY Epoxy Floor Kits can make things much easier; they provide everything you need for installation as well as detailed instructions on how to do so properly so that everything looks professional upon completion of your projects! Whether you’re renovating an Entire room or just doing a smaller touch-up project, you’re sure to get the results you desire with a DIY epoxy floor kit on hand!
What tools are needed for an epoxy floor DIY kit?
1. Epoxy Coating – This is the main component of your epoxy flooring kit. Be sure to purchase a high-quality epoxy that is designed for floor coatings.2. Primer – Used as an optional step prior to applying the epoxy coating, a primer can help prepare the surface for optimal adhesion of your epoxy finish.
3. Mixing Container – You’ll need something to mix your epoxy and other components in. A container with a wide base is ideal for mixing larger batches.
4. Stir Stick – A long wooden stick or paddle can be used to stir and mix the components of your epoxy kit together.
5. Brush/ Roller/ Squeegee – Depending on the size of your job, you will want to choose the correct applicator for evenly spreading the epoxy onto your floor.
6. Drop Cloths – To protect any surfaces and adjacent areas from accidental spills or overspray, be sure to lay down some drop cloths before you begin.
7. Safety Gear – Make sure you are wearing protective eye wear and gloves when working with epoxy kits, as the chemicals in these products can be dangerous if exposed to skin or eyes.
What is the estimated cost of an epoxy floor DIY kit?
The cost of a DIY epoxy floor kit can vary greatly depending on the size of the area that you are covering and the quality of materials you choose. Generally, DIY epoxy floor kits range in price from around $200 to $2,500. Before purchasing your kit, be sure to calculate the size of your space and the amount of epoxy you will need for coverage in order to get an accurate price estimate.What tools are needed for a DIY epoxy floor installation?
1. Epoxy floor coating kit2. Masking tape
3. Paint roller and tray
4. Paint brush
5. Roller frames and extension poles
6. Safety goggles and mask
7. Stirring stick and paint pail
8. Drop cloths
9. Paint scraper or putty knife
10. Degreaser or detergent
11. Sandpaper and sanding block
12. Shop vacuum
13. Heat gun and caulking gun (optional)
Installing an epoxy floor is an easy and cost-effective way to upgrade your interior décor. With a DIY epoxy floor kit, you can bring durable, beautiful style to any room in your home. With the right tools and a bit of patience, you can achieve professional looking results that will last for many years to come.