How To Clean Kitchen Floor Vinyl

What Kind Of Vinegar To Clean Vinyl Floors – how to paint on vinyl floor
My Secret Tip- How to Clean Vinyl Floors – Easily! Cleaning vinyl floors, Vinyl flooring

The Importance of Good Kitchen Flooring: Vinyl Is Back! How Important
Vinyl Flooring in the Kitchen Kitchen flooring, Diy kitchen flooring, Vinyl flooring kitchen

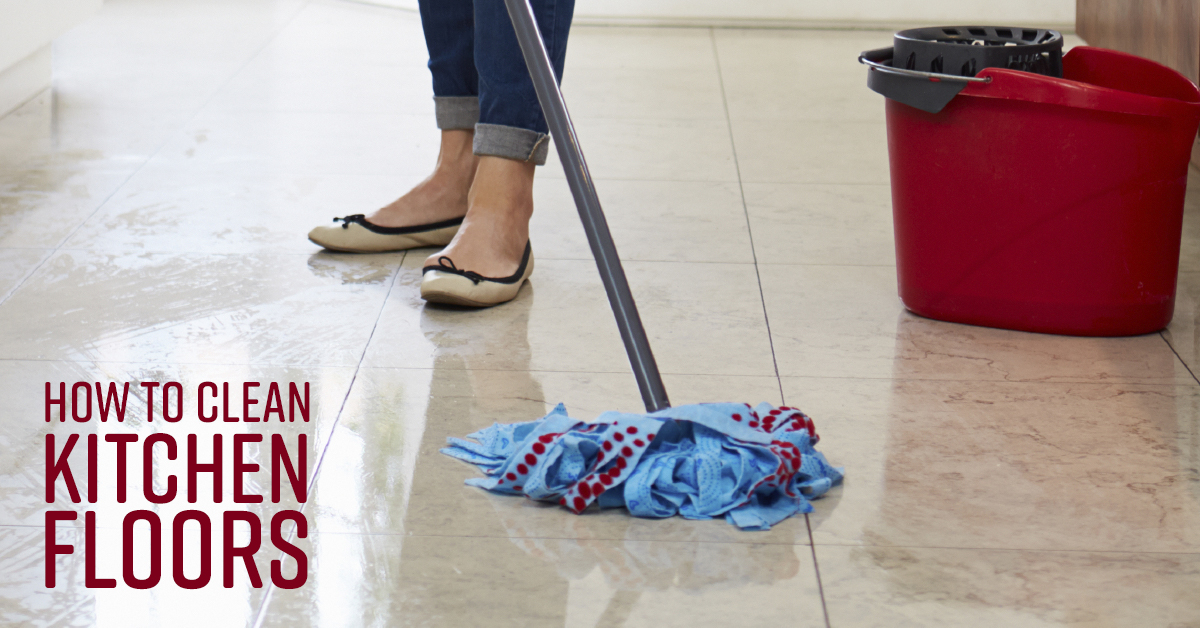
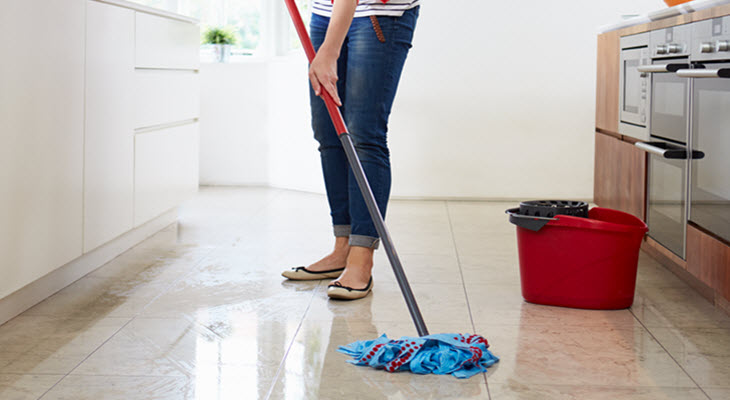
How to Clean a Kitchen Floor

How to Clean Vinyl Plank Flooring – 5 Methods of Cleaning Vinyl plank flooring, Plank flooring

How To Clean Kitchen Floors?

Deep Cleaning Kitchen and bathroom Vinyl floors in Worcester Park Tile Cleaners Tile Cleaning
What Causes Scratches and Dents in My Kitchen Floor? Kitchen Emporium
How to Clean Vinyl Floors (and How to Keep Them Clean)
How to Clean Kitchen Floors

Related Posts:
- Small Kitchen Floor Plan Ideas
- Laminate Flooring In Kitchen
- Black Slate Tile Kitchen Floor
- How To Lay Tile In Kitchen Floor
- Red Kitchen Floor
- Cheap Kitchen Laminate Flooring
- Decorative Kitchen Floor Mats
- Contemporary Kitchen Flooring Ideas
- Kitchen Ceramic Tile Floor
- Quarry Tile Kitchen Floor
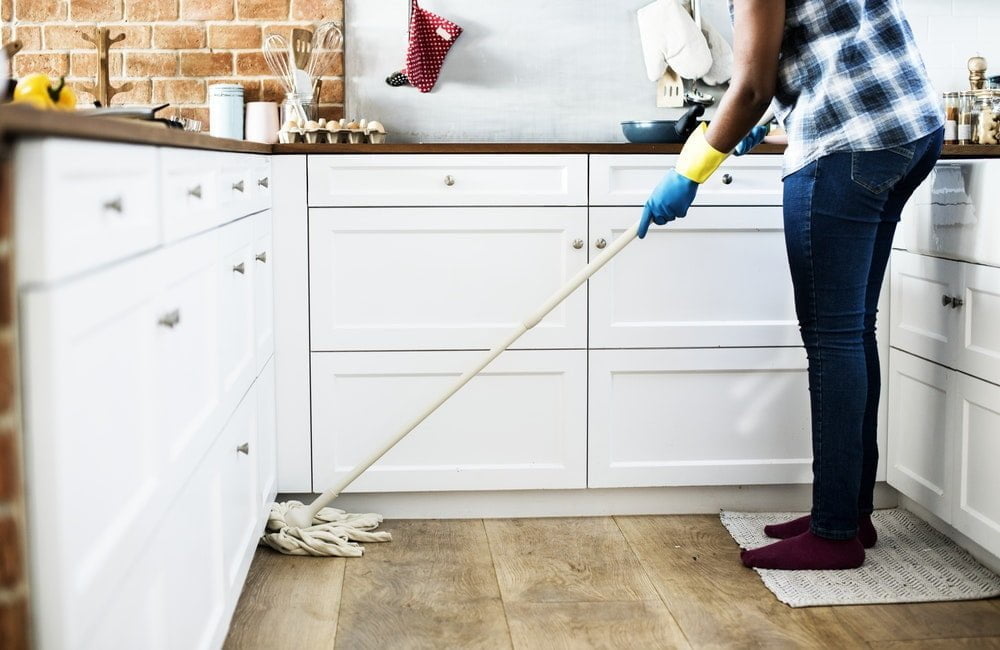
Vinyl flooring is a popular choice for many kitchens, as it’s durable, affordable and easy to clean. Keeping your kitchen floor vinyl looking its best requires a bit of regular maintenance, but the good news is that it doesn’t have to be time-consuming or overly complicated. In this article, we’ll walk you through a few easy steps for cleaning kitchen floor vinyl, which will help keep your kitchen looking clean and beautiful.
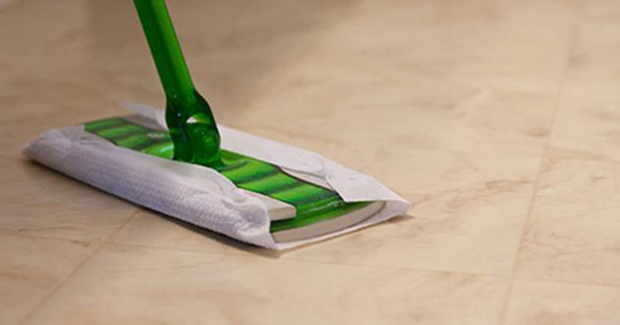
Step 1: Vacuum and Sweep
The first step in cleaning kitchen floor vinyl is to vacuum and sweep the area. This will help remove any loose dirt, dust and debris that can accumulate over time. If you don’t have a vacuum, a broom and dustpan can also be used for this purpose. Be sure to get into all the corners and crevices, as dirt can build up in these areas if not properly removed.
Step 2: Mop the Floor
Once you’ve removed all the loose debris from the floor, the next step is mopping the vinyl surface. Start by filling a bucket with warm water, adding a few drops of mild dish soap or other cleaning detergent. Use a soft mop head to apply the solution to the surface of the vinyl flooring, working in small sections and using circular motions to ensure all areas are adequately cleaned. For particularly tough stains or spots, use a soft scrub brush to gently remove them. Once finished, rinse the mop head with clean water and then wring it out before continuing with additional sections of the floor.
Step 3: Dry the Floor
Once you’ve finished mopping the vinyl flooring, it’s important to dry the surface completely in order to prevent any residue from being left behind. Mop up any standing water with a dry towel or cloth, and then use a clean microfiber cloth or mop head to dry the floor completely. This will help ensure that no streaks are left on the vinyl surface.
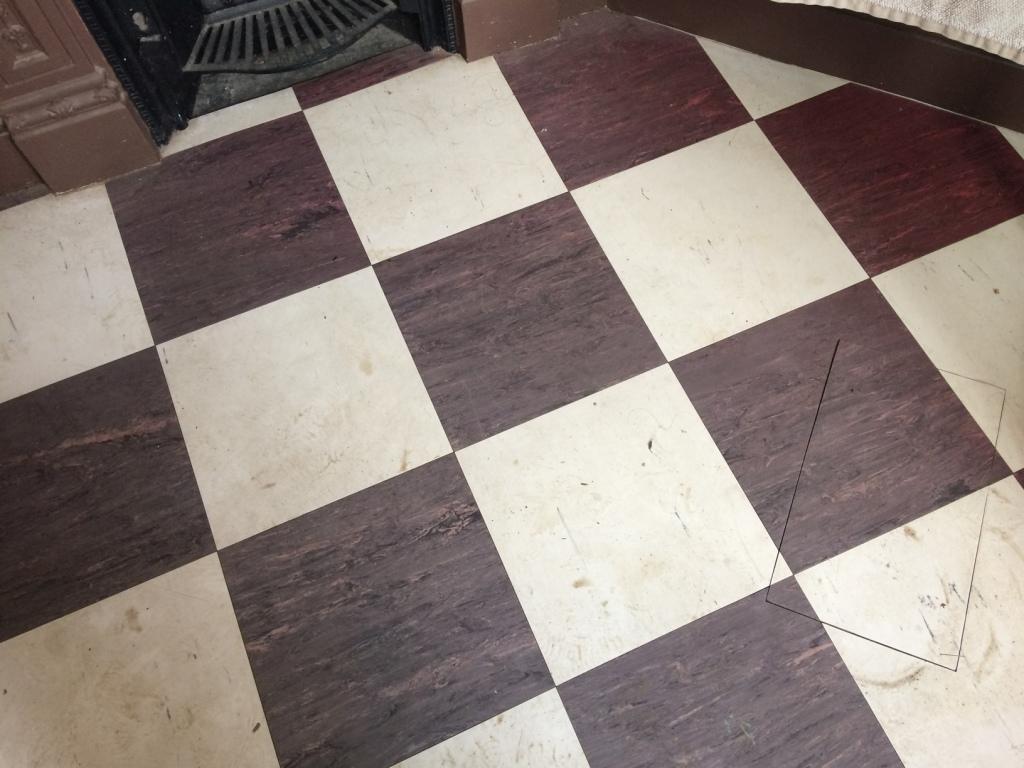
Step 4: Clean Grout Lines
For tile floors with grout lines, it’s important to clean these areas periodically in order to keep them looking their best. To do this, mix equal parts of warm water and white vinegar in a bowl, and then dip an old toothbrush into the solution and scrub along each grout line. This will help remove any dirt or debris that has built up over time, leaving your grout lines looking clean and fresh again.
Step 5: Finish Up
Once you’ve finished cleaning your kitchen floor vinyl, finish up by wiping down all surfaces with a damp cloth or damp mop head. This will help remove any remaining traces of dirt or debris from the area. Then, ensure that all windows and doors are open for proper ventilation before leaving the room.
By following these easy steps for cleaning kitchen floor vinyl, you’ll be able to keep your kitchen looking its best for years to come! With just a bit of regular maintenance and care, your kitchen floor vinyl will remain beautiful and shiny for years to come.