How To Epoxy A Garage Floor With Kit

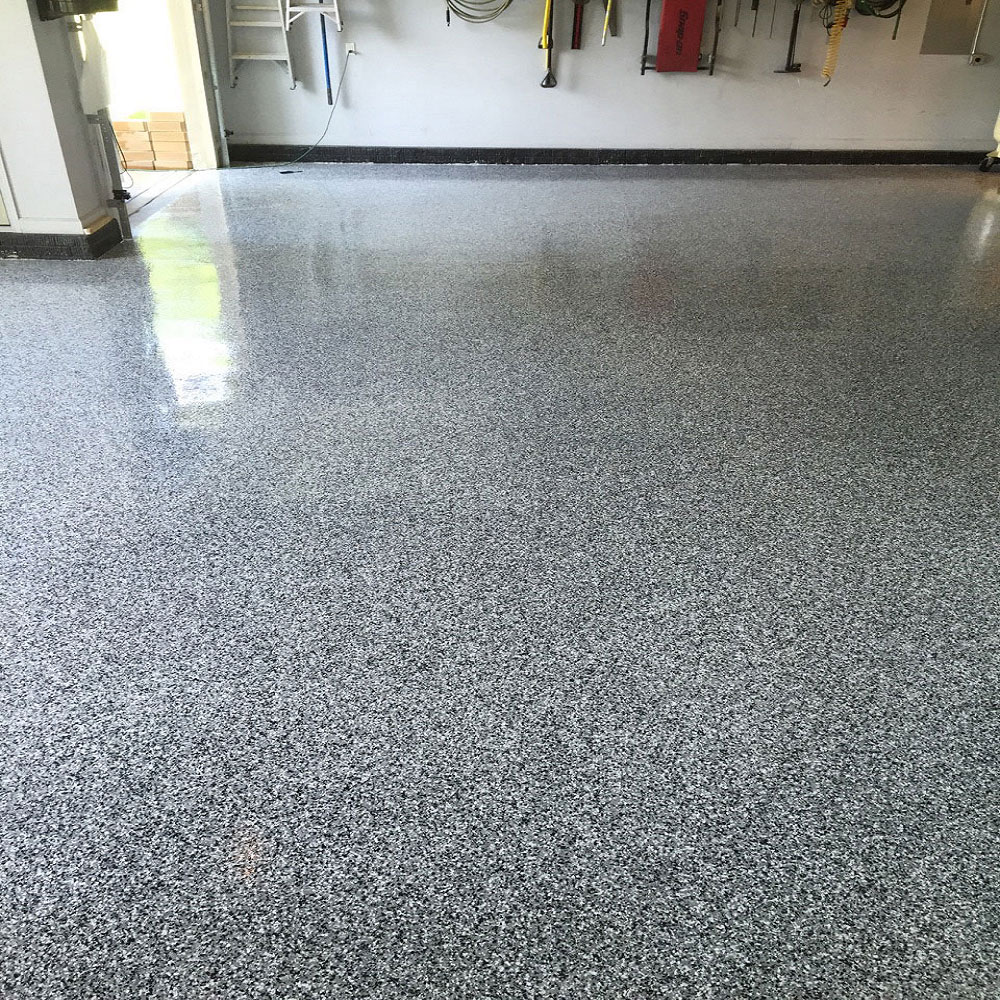
DIY Epoxy Garage Floors

Garage Floor Epoxy Kits ArmorGarage

Garage Floor Epoxy Kit For 1-3 Car Garage Original Color Chips
Amazon.com: Rust-Oleum 261846 50 Voc – 2.5 Car Epoxy Shield Garage Floor Kit, Tan: Home Improvement

Armor Chip Garage Epoxy Kit for Flooring ArmorGarage Garage epoxy, Garage makeover, Garage

First time DIY Epoxy garage floor : r/garageporn
Garage Floor Epoxy Kit Canada – Armor Coat Epoxy Garage Floor Coating, Semi-Gloss Grey
Garage Floor Epoxy Kits ArmorGarage

Garage Floor Epoxy Kits Epoxy Flooring Coating And Paint Garage floor epoxy, Garage floor

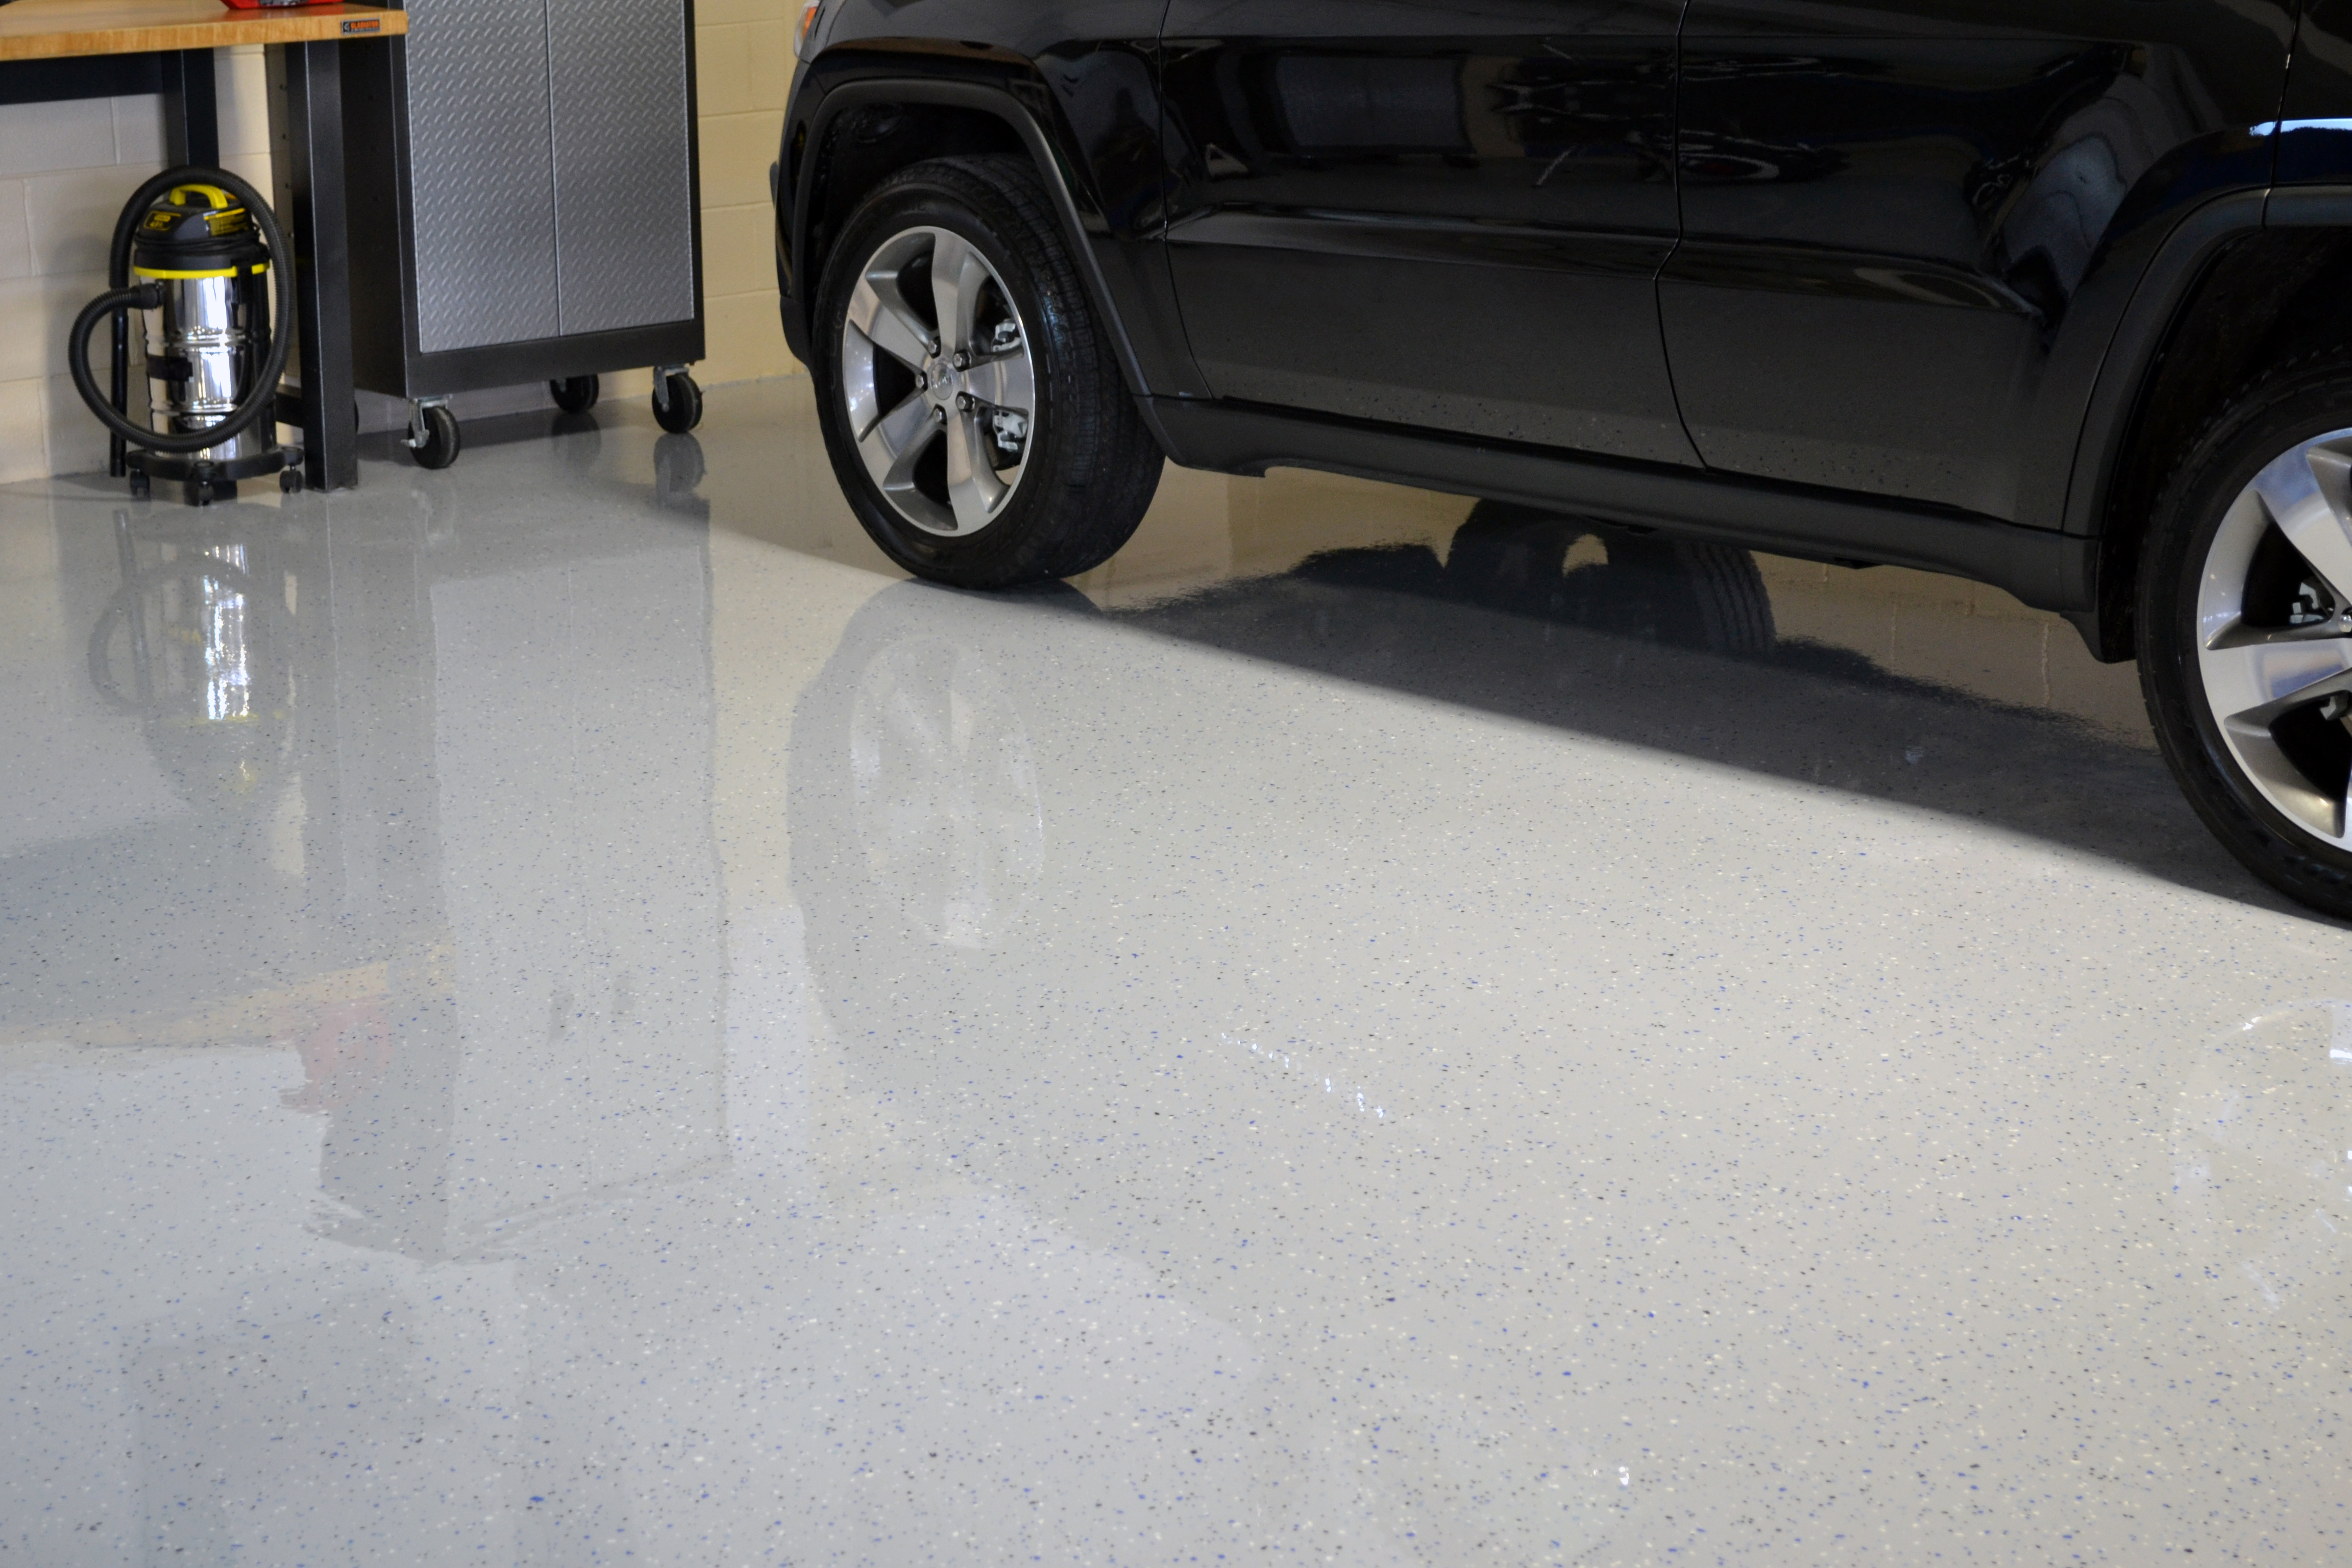
Epoxy Floor Coating A Garage In Eagle Idaho

DIY Epoxy Garage Floors Garage floor epoxy, Garage floors diy, Garage floor

Related Posts:
- Fast Cure Epoxy Floor Coating
- Stone Hard Epoxy Flooring
- How To Epoxy Flooring Garage
- How To Repair Epoxy Floor Coating
- Non Slip Epoxy Flooring
- Solid Epoxy Garage Floor
- Quikrete Floor Epoxy
- Paint Flakes Epoxy Floor
- Cheap Epoxy Floor
- Rock Solid Epoxy Floor
Garages are the perfect spot for tackling projects, from car maintenance and repairs to woodworking and other DIY projects. But, they can quickly become a cluttered, dingy mess if not kept up properly. One way to keep your garage looking great and make it easier to keep clean is by installing an epoxy flooring kit. The following guide will help you do just that.
## What You’ll Need
Before you begin, make sure to gather all of the proper materials. You’ll need an epoxy flooring kit, which usually includes both an epoxy coat and a top coat. Additionally, you’ll need some basic supplies such as a paint roller, paintbrush, tape measure, gloves, a dustpan and broom, and a sponge mop or squeegee.
## Preparing Your Garage
The first step is to properly prepare your garage for the installation of your epoxy flooring kit. This means cleaning the floor thoroughly and removing any debris or dirt that may be present. Additionally, you’ll want to check for any cracks in the concrete that may need to be filled in. If so, use a concrete patching compound to fill in any cracks before beginning the installation process.
## Applying the Epoxy Coat
Once your garage is prepped and ready to go, it’s time to apply the epoxy coat. First, mix the epoxy according to the directions on the package. Then, using a paintbrush or roller, begin applying the epoxy to the floor. Make sure to work in even strokes and cover the entire surface area with a nice even coat of epoxy. Allow to dry completely before moving on to the next step.
## Applying the Top Coat
Once your epoxy coat has dried completely, it’s time to apply your top coat. Again, mix according to directions on the package and apply with either a paintbrush or roller. Make sure to cover all areas evenly and allow to dry completely before moving on.
## Finishing Up
Once your top coat has dried completely, it’s time for the finishing touches. Begin by applying a non-skid additive to your epoxy floors for added safety. Next, use painter’s tape along walls and other areas where you don’t want epoxy applied such as door frames or baseboards. Finally, add a few drop cloths around areas where you don’t want epoxy splattering while you work.
## Enjoy Your New Garage Floor!
Congrats! You’ve just successfully installed an epoxy flooring kit in your garage! It’s now ready for whatever projects you have planned for it; from car maintenance and repair work to woodworking and other DIY projects – your garage will now look great and be much easier to keep clean thanks to its new epoxy flooring!