How To Install Epoxy Garage Floor

garage with epoxy floor coating in 2020 Garage floor, Garage floor coatings, Rustoleum garage

Garage Floor Epoxy Installation How To Install An Epoxy Floors

How Much To Install Epoxy Garage Floor Epoxy Floor

Epoxy Flooring Installation Process – Garage Floor Coating Install

Epoxy Flooring Installation Process – Garage Floor Coating Install

Epoxy Flooring Installation Process – Garage Floor Coating Install

Epoxy Floor Installation – YouTube
The Benefits of Epoxy Garage Floor Coatings All Garage Floors
5 Things You Need To Know When You Epoxy Your Garage Floor Garage floor, Flooring, Garage

How To Install Epoxy Garage Floor Coating Lifehacker Australia
Pin on DIY

Related Posts:
- Fast Cure Epoxy Floor Coating
- Stone Hard Epoxy Flooring
- How To Epoxy Flooring Garage
- How To Repair Epoxy Floor Coating
- Non Slip Epoxy Flooring
- Solid Epoxy Garage Floor
- Quikrete Floor Epoxy
- Paint Flakes Epoxy Floor
- Cheap Epoxy Floor
- Rock Solid Epoxy Floor
If you’re looking to give your garage a facelift, then installing epoxy flooring is a great way to do it. Not only is epoxy flooring durable and attractive, but it also helps to protect your garage floor from damage. Plus, it’s relatively easy to install and maintain. Here, we’ll break down the process of how to install epoxy garage flooring in 10 easy steps.
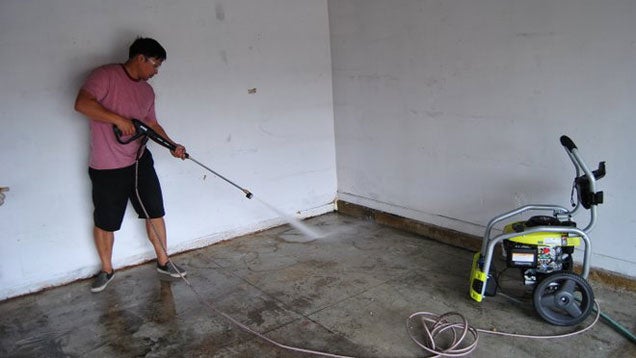
## Step 1: Prepare the Floor
Before you start with the installation, you need to prepare the floor. Make sure the surface is clean and free of debris. You can use a broom or vacuum to remove any dust, dirt, or other particles that may be on the floor. Additionally, you’ll want to check for any cracks or holes in the floor and repair them before continuing with the installation.
## Step 2: Apply Etching Solution
Once your floor is prepped, it’s time to apply an etching solution. This will help the epoxy adhere better to the surface of the garage floor. Make sure you read and follow all directions on the etching solution carefully and wear protective gear while applying the solution. Allow the etching solution to sit on the floor for at least 10 minutes before wiping it up with a damp cloth.
## Step 3: Apply Primer
After you’ve applied and wiped up the etching solution, you can move on to applying a primer. This will help create an even surface for the epoxy to adhere to better. Make sure you read and follow all directions on the primer carefully and wear protective gear while applying it. Allow the primer to sit on the floor for at least 10 minutes before moving on to the next step.
## Step 4: Mix Epoxy
Once the primer has been allowed time to set, you can move on to mixing your epoxy. Make sure you read and follow all instructions on the epoxy carefully before mixing it together. Once mixed, you’ll need to work quickly as epoxy sets fast!
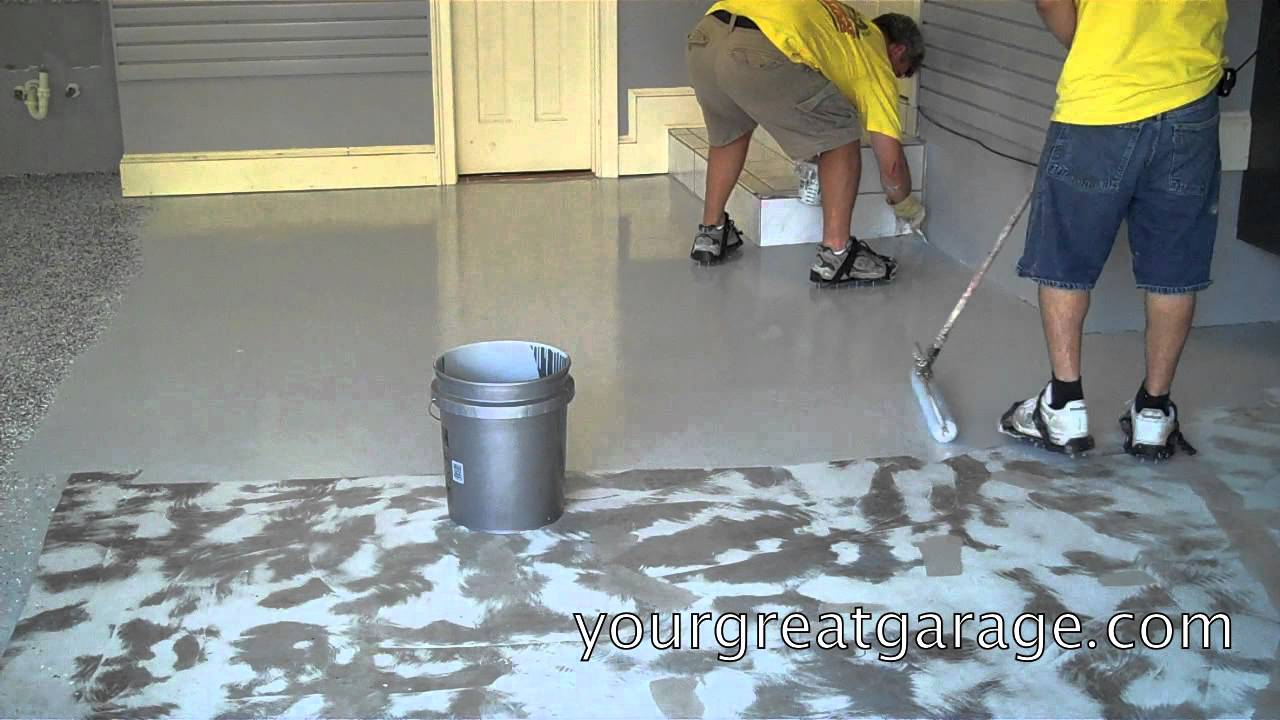
## Step 5: Apply Epoxy
Using a roller, begin applying your epoxy mixture onto your garage floor in small sections. Make sure you spread it evenly across the area and get good coverage as this will help create a smooth finish. Allow your first coat of epoxy to set before moving on to adding additional coats if desired.
## Step 6: Add Color Chips (Optional)
If desired, you can add color chips into your epoxy mixture for added color and texture. Simply mix in your desired amount of color chips into your epoxy mixture before applying it onto your garage floor in small sections as mentioned in step 5.
## Step 7: Add Top Coat (Optional)
Once your base coat of epoxy has been applied, allow it time to set before deciding if you’d like to add a top coat or not. Adding a top coat can add shine and durability to your epoxy flooring but is not necessary for every installation. If desired, mix your top coat according to instructions and apply it evenly across your garage floor using a roller or brush as needed.
## Step 8: Cleanup
Once all coats have been applied and had time to set properly, make sure you clean up any remaining materials that were used during installation such as etching solution, primer, or extra color chips that didn’t get used up during application. Additionally, make sure all tools used during installation are cleaned properly so they can be reused in future projects if needed.
## Step 9: Let Cure
Once all materials have been cleaned up, allow your epoxy garage flooring time to cure completely before walking or driving across it. This can take anywhere from 24-48 hours depending on temperature and humidity levels so make sure you plan accordingly when installing your new epoxy flooring.
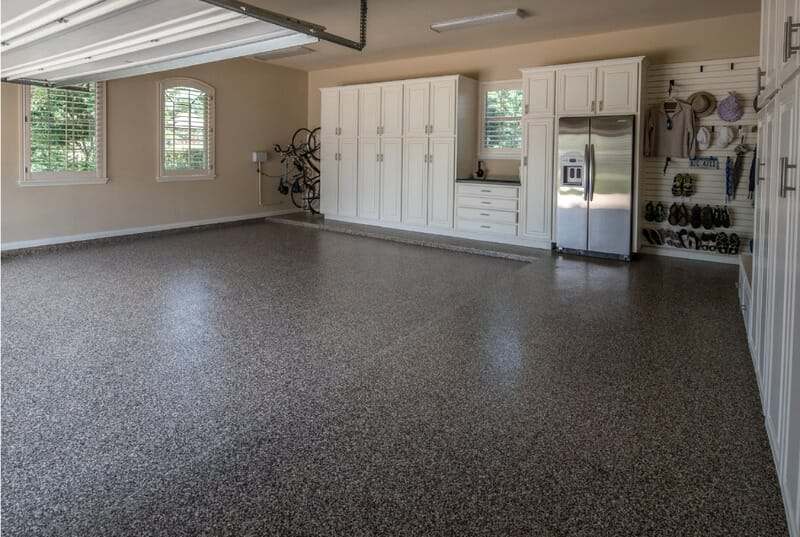
## Step 10: Enjoy Your New Garage Floor!
Once your new epoxy garage floor has had time to cure completely, enjoy its beauty! Your new garage floor should look great for years with proper care and maintenance so make sure you take care of it by sweeping it regularly and cleaning any spills immediately.
With these 10 easy steps, installing epoxy garage flooring is easier than