How Do You Install Epoxy Natural Stone Flooring

How To Install Epoxy Flooring

Natural Stone Flooring: Steps to Install Epoxy

How-To Install Epoxy Natural Stone Flooring – YouTube
[Video] How to install natural stone tiles on a floor

Epoxy Natural Stone Flooring: Get It Done Yourself!

Understand the Installation Process for Garage Floors – YouTube
How to install epoxy stone on a garage floor

How to Install Epoxy Natural Stone Flooring

How to install epoxy stone on a garage floor

How to install epoxy stone on a garage floor

How to Install Epoxy Natural Stone Flooring
Related Posts:
- Fast Cure Epoxy Floor Coating
- Stone Hard Epoxy Flooring
- How To Epoxy Flooring Garage
- How To Repair Epoxy Floor Coating
- Non Slip Epoxy Flooring
- Solid Epoxy Garage Floor
- Quikrete Floor Epoxy
- Paint Flakes Epoxy Floor
- Cheap Epoxy Floor
- Rock Solid Epoxy Floor
When it comes to home renovations and remodeling, one of the most popular materials used for flooring is epoxy natural stone. This is because it is an attractive and durable option that can be used in a variety of applications. It is also relatively easy to install and maintain, making it an ideal choice for any homeowner looking to spruce up the look of their home.
If you’re considering installing epoxy natural stone flooring in your home, there are a few things you should know before getting started. In this article, we’ll provide a step-by-step guide on how to properly install epoxy natural stone flooring so that you can achieve the best possible results.
## Preparing the Subfloor
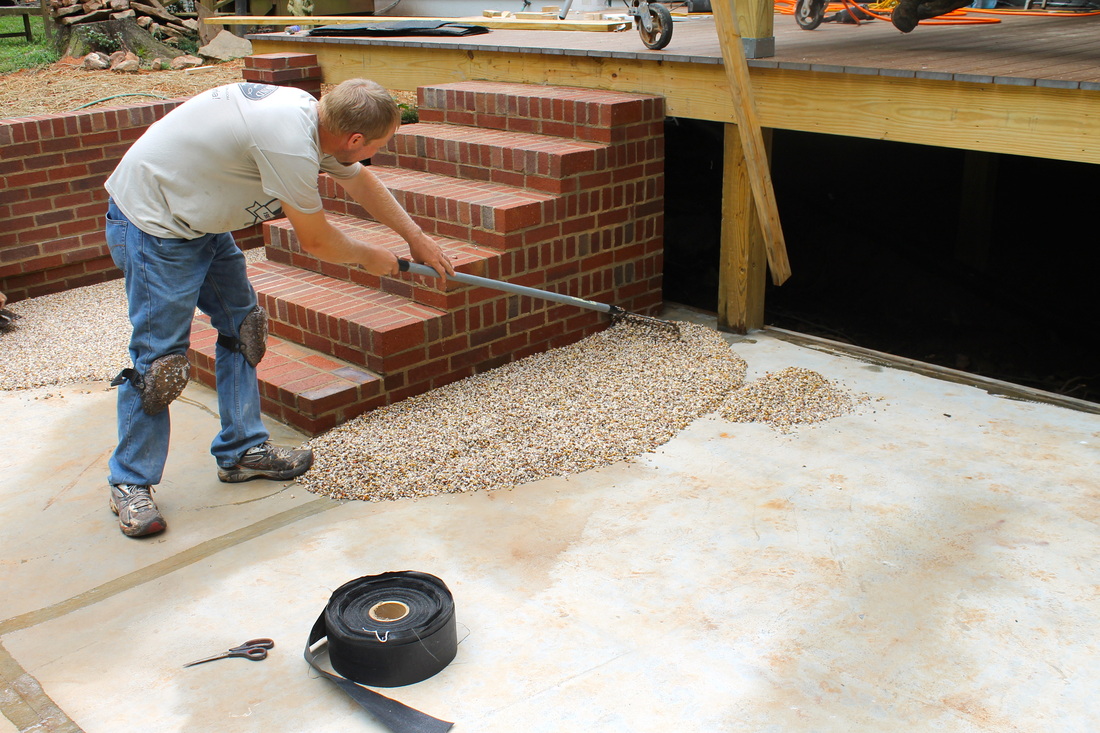
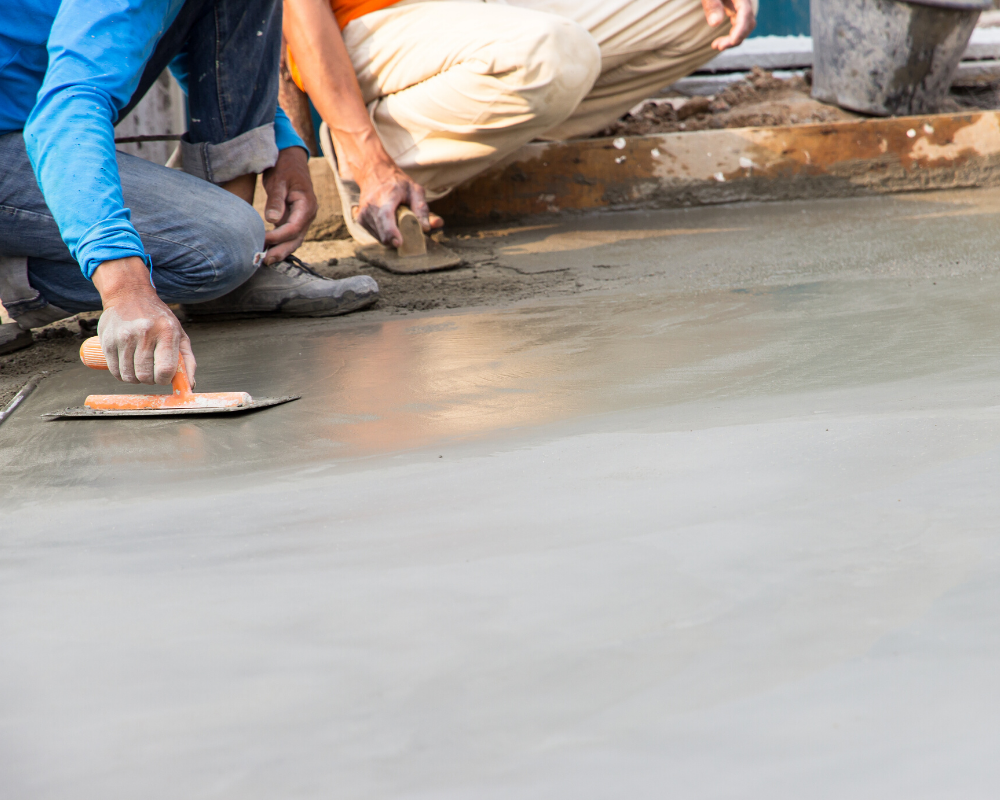
The first step in installing epoxy natural stone flooring is to prepare the subfloor. This involves cleaning the surface with a vacuum or broom and removing any debris or dirt that may be present. Once the floor has been thoroughly cleaned, you will need to apply a primer to the subfloor in order to ensure that the epoxy adheres properly. You can then proceed with applying the epoxy natural stone tiles to the primed subfloor.
## Applying Epoxy Natural Stone
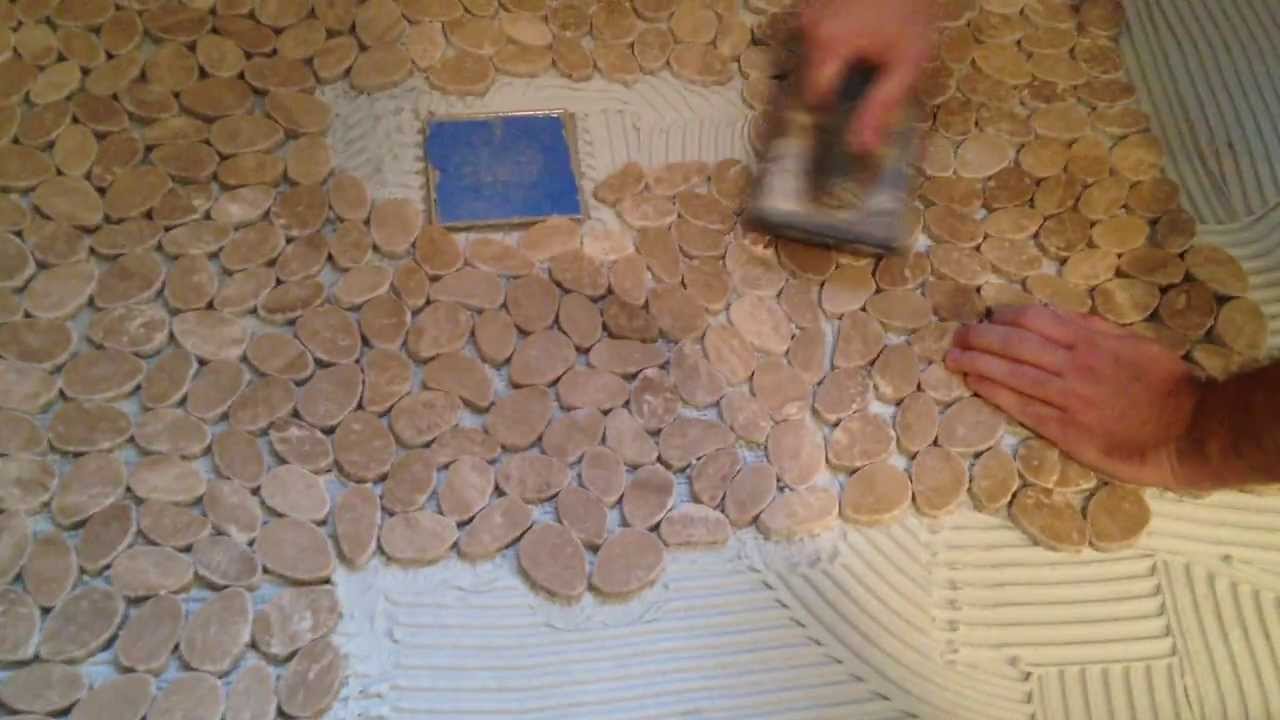
Once your subfloor has been prepared and primed, it’s time to begin applying the epoxy natural stone tiles. The easiest way to do this is by using a trowel to spread out the adhesive onto the subfloor. Afterward, you can begin laying out the tiles one by one in a pattern of your choice. Be sure to press down firmly on each tile as you lay it out in order to ensure that it sticks properly to the subfloor.
## Finishing Touches
Once all of your tiles have been laid out, you can begin adding any finishing touches such as grout or sealant. Depending on the type of epoxy natural stone flooring you have chosen, you may need to apply a sealant in order to protect it from moisture and stains. Additionally, if you have chosen a grouted option, you will need to apply grout between each tile for a finished look.
## Caring for Your Epoxy Natural Stone Floor
Now that your epoxy natural stone floor is installed and finished, it’s important to properly care for it so that it lasts for many years to come. The best way to do this is by regularly sweeping and mopping the floor with a mild detergent and water solution. Additionally, be sure not to use harsh chemical cleaning products on your epoxy natural stone floor as these can damage or discolor the material over time.
Installing epoxy natural stone flooring is a great way to add beauty and durability to any home renovation project. By following these steps, you can ensure that your new flooring will look great and last for many years to come. Good luck!