How To Install Hardwood Floors Around Kitchen Cabinets
Which Comes First: Flooring or Cabinets? Installing kitchen cabinets, Wood floors wide plank

Awasome Install Hardwood Flooring Around Kitchen Cabinets For Small Space Flooring Decor and

How to Install Hardwood Floors Around Kitchen Cabinets (3 Easy Steps)
How To Install Floor Tile Around A Kitchen Island With Wood Look Plank You
Hardwood floor sanding, kitchen cabinets! – YouTube

FLOATING KITCHEN FLOORING INSTALLATION LAMINATE WOOD FLOORING – YouTube
Can You Install Cabinets On Top Of Laminate Flooring – Todd Jeannine

Everything Designers want you to know about COREtec — Savvy Interiors Tile floor diy, Diy

How to Install Laminate Flooring Around Kitchen Cabinets – Global Cool
Laminate Flooring in Kitchens, Do it Yourself installation
Should Hardwood Be Installed Under Kitchen Cabinets? eHow Hardwood, Kitchen cabinets

Related Posts:
- Small Kitchen Floor Plan Ideas
- Laminate Flooring In Kitchen
- Black Slate Tile Kitchen Floor
- How To Lay Tile In Kitchen Floor
- Red Kitchen Floor
- Cheap Kitchen Laminate Flooring
- Decorative Kitchen Floor Mats
- Contemporary Kitchen Flooring Ideas
- Kitchen Ceramic Tile Floor
- Quarry Tile Kitchen Floor
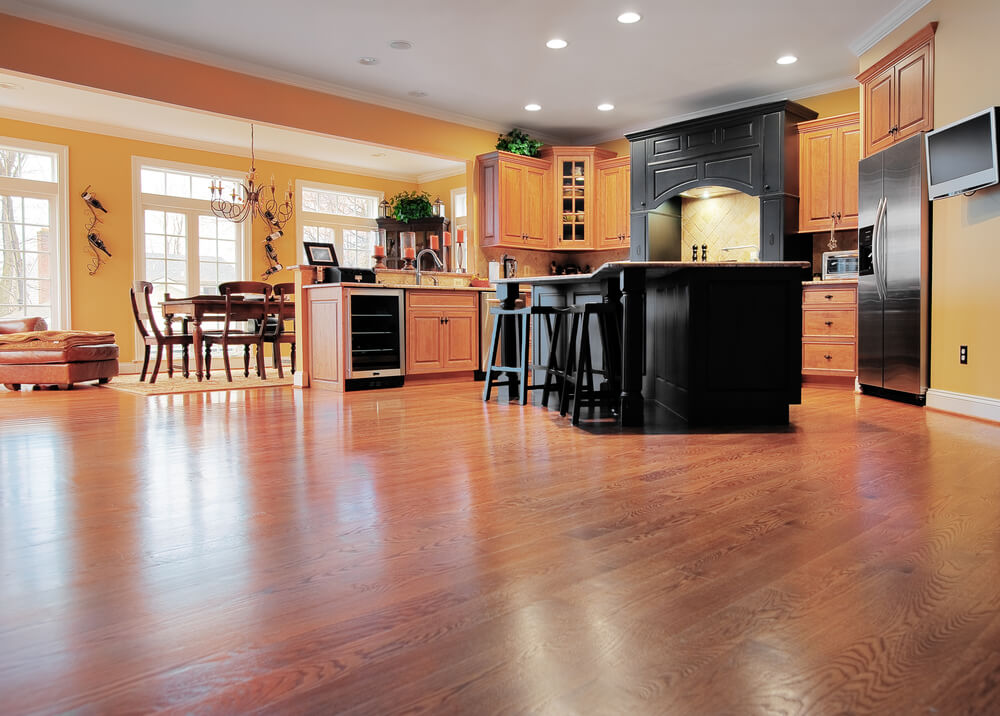
Installing hardwood floors around kitchen cabinets is a great way of sprucing up your home while bringing long-lasting value. Hardwood is strong, durable and designed to stand the test of time. Not only that, but its natural beauty and warmth add charm and character to any room.
However, installing hardwood floors around kitchen cabinets is not an easy task. It requires patience, precision and some special tools, so it’s important to do your research before diving in. In this guide, we’ll walk you through the essential steps of installing hardwood flooring around kitchen cabinets step-by-step, to help make the process easier.
## Preparing for Installation
The key to successfully installing hardwood floors around kitchen cabinets is preparation. Before starting the project, you’ll need to measure the space and make sure you have all of the necessary tools and materials on hand. Here’s what to do before beginning:
* Measure the dimensions of the room and order the required number of floor boards accordingly. You’ll need enough extra material for any cutouts or wastage due to expansion/contracting over time.
* Make sure you have the right tools for cutting the hardwood planks, such as a tile saw or miter saw.
* Gather any additional items required for installation such as wood glue and an edge nailing machine.
* If you’re using prefabricated tongue-and-groove floorboards, make sure they are all the same length before beginning the project.
## Installing Hardwood Floors Around Kitchen Cabinets
Once you’ve prepared everything required for installation, it’s time to begin layering your new hardwood flooring. Here’s a detailed overview:
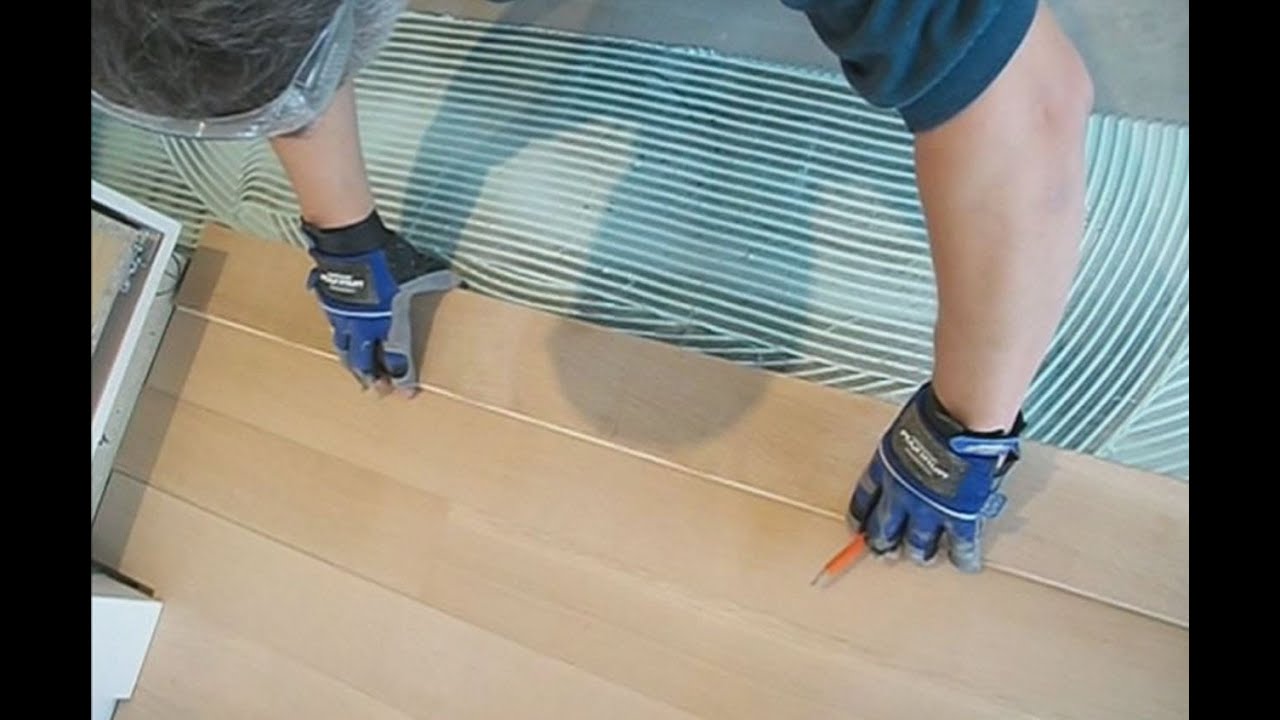
* Begin by laying out your planks from left to right in accordance with your measurements and configuration options (e.g., staggered joints).
* Apply wood glue along the edges of each plank and attach them together using a tongue-and-groove system or an edge nailing machine. Be sure to apply pressure evenly so that the planks fit snugly without gaps.
* After finishing a section, take a few extra minutes to examine the alignment and confirm it meets your standards. Make any necessary adjustments now rather than later down the road!
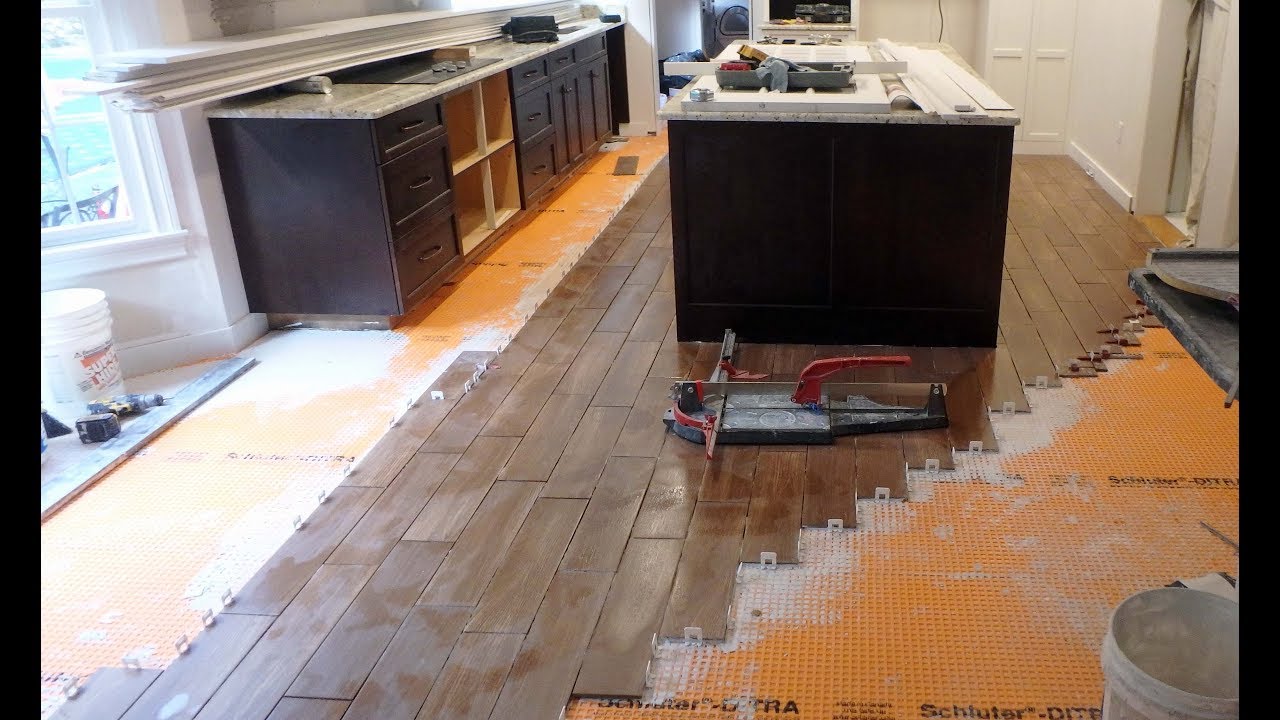
* When it comes time to install hardwood floors around kitchen cabinets, pay special attention to preventing any gaps or elevated edges where they meet. To do so, use a coping saw or jig saw to cut away small sections of the floorboards until they fit perfectly flush against the cabinet frames.
* Finally, apply wood putty or liquid filler into any gaps between planks or around edges before sanding and varnishing. This will ensure a smooth finish that looks great and lasts for years!
## Finishing Touches
Once you’ve finished installing your new hardwood floors around kitchen cabinets, there are a few final touches to consider:
* Apply polyurethane varnish or some other protective sealant in order to preserve its appearance over time and prevent scratches caused by foot traffic or pets.
* Consider adding area rugs or carpets in specific parts of the room if needed for comfort or aesthetic reasons.
* Install shoe molding along baseboards to help create a neat finish and cover up any uneven edges of exposed floorboards near doorways or other areas of high traffic.
Taking on a DIY project like installing hardwood floors around kitchen cabinets can be daunting at first – but with careful preparation and attention to detail, you too can achieve great results! With these simple steps as your guide, you should now have enough knowledge and confidence to start your own successful installation project with ease.