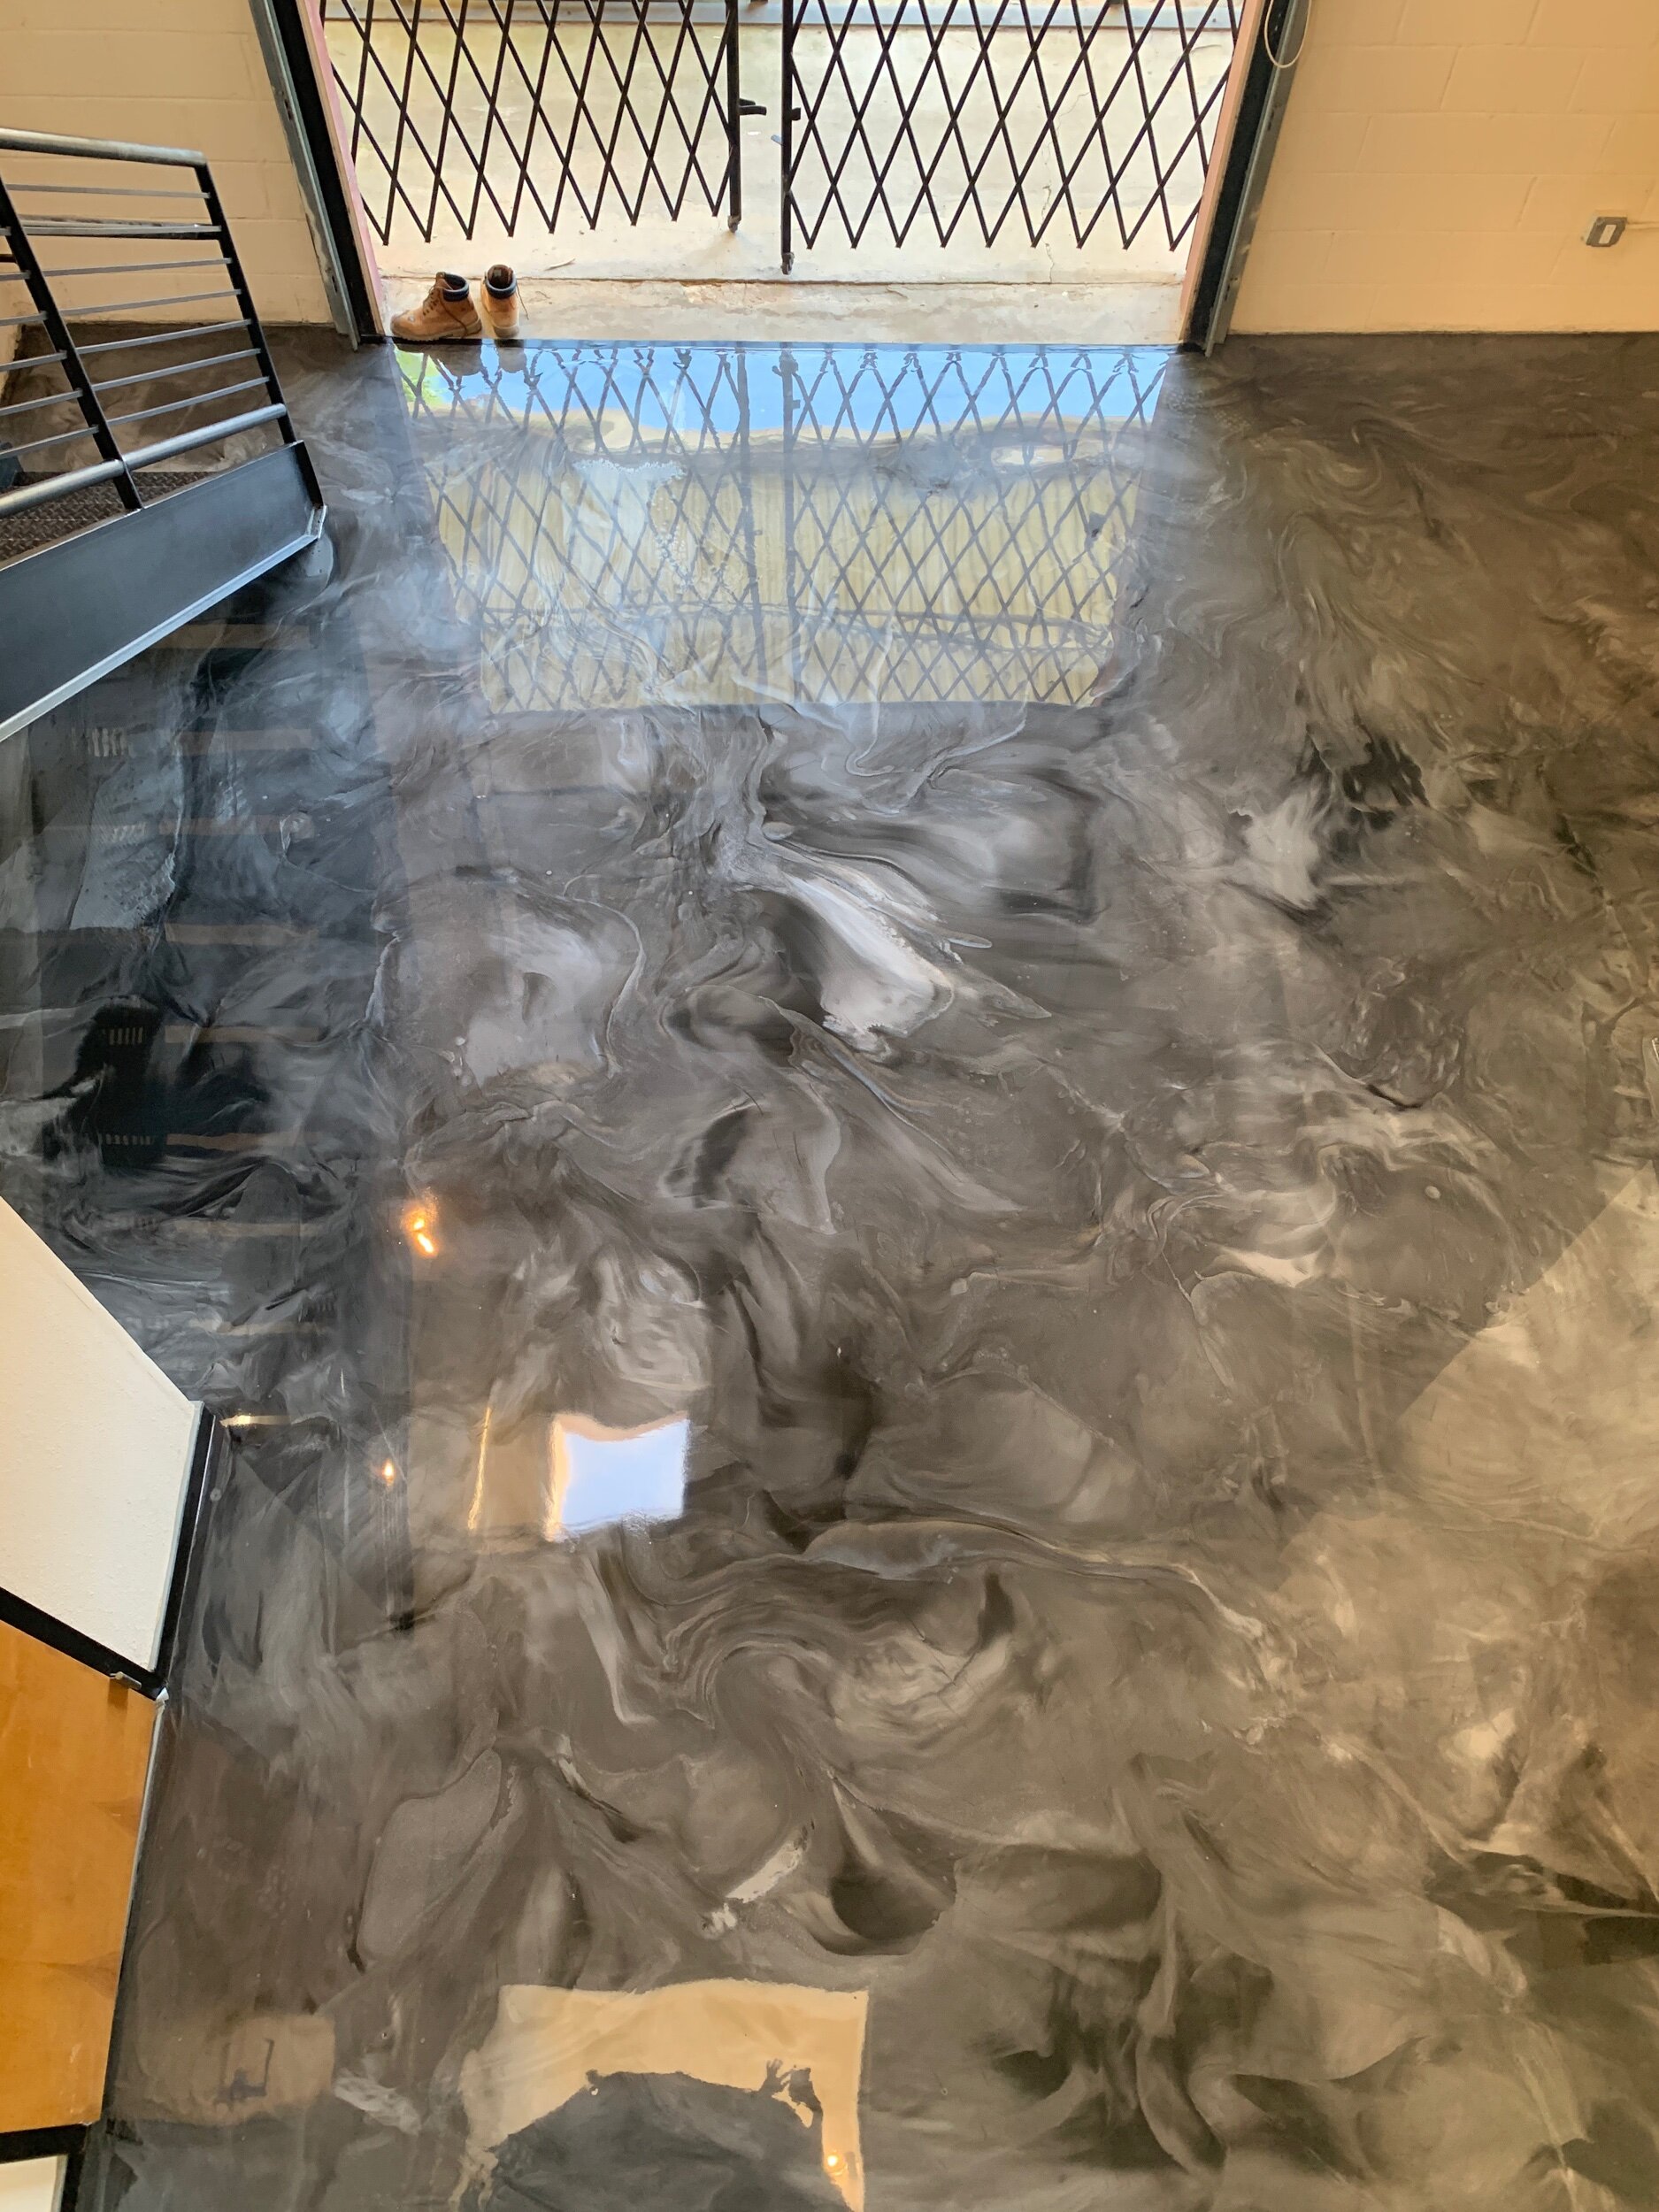
How To Install Metallic Epoxy Flooring

DESIGNER METALLIC EPOXY FLOOR INSTALLATION – YouTube
DESIGNER METALLIC EPOXY FLOOR INSTALLATION – YouTube

Designer Metallic Epoxy Floor Installations – YouTube

See How Buckets of Metallic Epoxy Create The Most Stunning Floors. DIY Like No Other Epoxy

Learn more about Designer Metallic Epoxy Floor Installation – YouTube
Metallic Epoxy Resin Floor Installation UK – YouTube

Learn To Install Metallic Epoxy – YouTube
Learn To Install Metallic Epoxy Floors Like The Pros Start To Finish – YouTube

How To Do Amazing Metallic Epoxy Floor! – YouTube
Metallic Epoxy Flooring in Atlanta — Grindkings Flooring
Epoxy Flooring Installation Process – Garage Floor Coating Install

Related Posts:
- Fast Cure Epoxy Floor Coating
- Stone Hard Epoxy Flooring
- How To Epoxy Flooring Garage
- How To Repair Epoxy Floor Coating
- Non Slip Epoxy Flooring
- Solid Epoxy Garage Floor
- Quikrete Floor Epoxy
- Paint Flakes Epoxy Floor
- Cheap Epoxy Floor
- Rock Solid Epoxy Floor
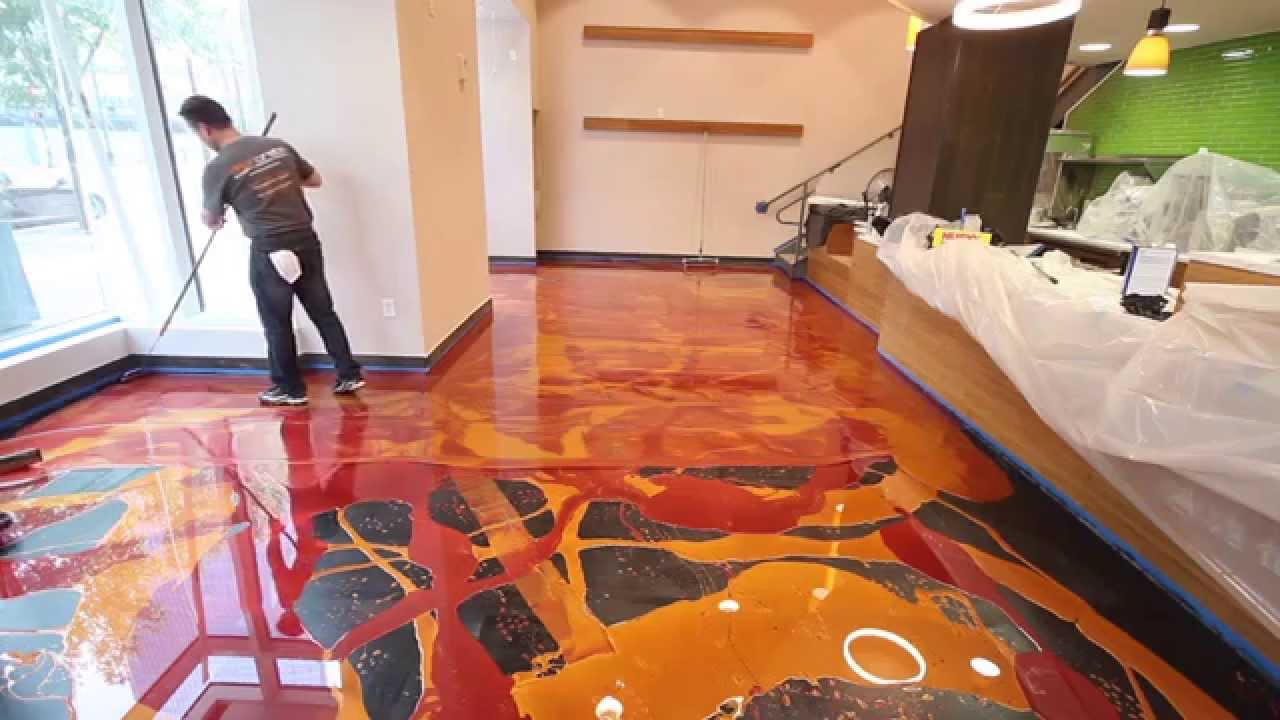
If you’re looking to add a unique and modern flair to your flooring, metallic epoxy is the perfect choice. Metallic epoxy flooring offers an attractive and durable solution to standard flooring options and can be installed easily with the right tools and materials.
This guide will walk you through the basic steps of installing metallic epoxy flooring, so that you can create a stunning look for your home or office.
## What You’ll Need to Install Metallic Epoxy Flooring
Before you get started, make sure that you have all the necessary tools and materials to install your new metallic epoxy flooring. You’ll need the following items:
– Metallic epoxy kit
– Floor primer
– Paint roller
– Paint trays
– Painter’s tape
– Microfiber mop
– Respirator mask
– Eye protection
– Work gloves
Once you have all the necessary items, you’re ready to begin installing your new metallic epoxy flooring!
## Step 1: Prepare the Floor
Before you can start installing your metallic epoxy flooring, you need to prepare the surface. Start by sweeping and vacuuming the floor thoroughly to remove any dirt and debris. You should also use a damp cloth to remove any oily residue from the surface. Next, apply a layer of primer to the floor and let it dry completely. This will help ensure that your metallic epoxy adheres properly.
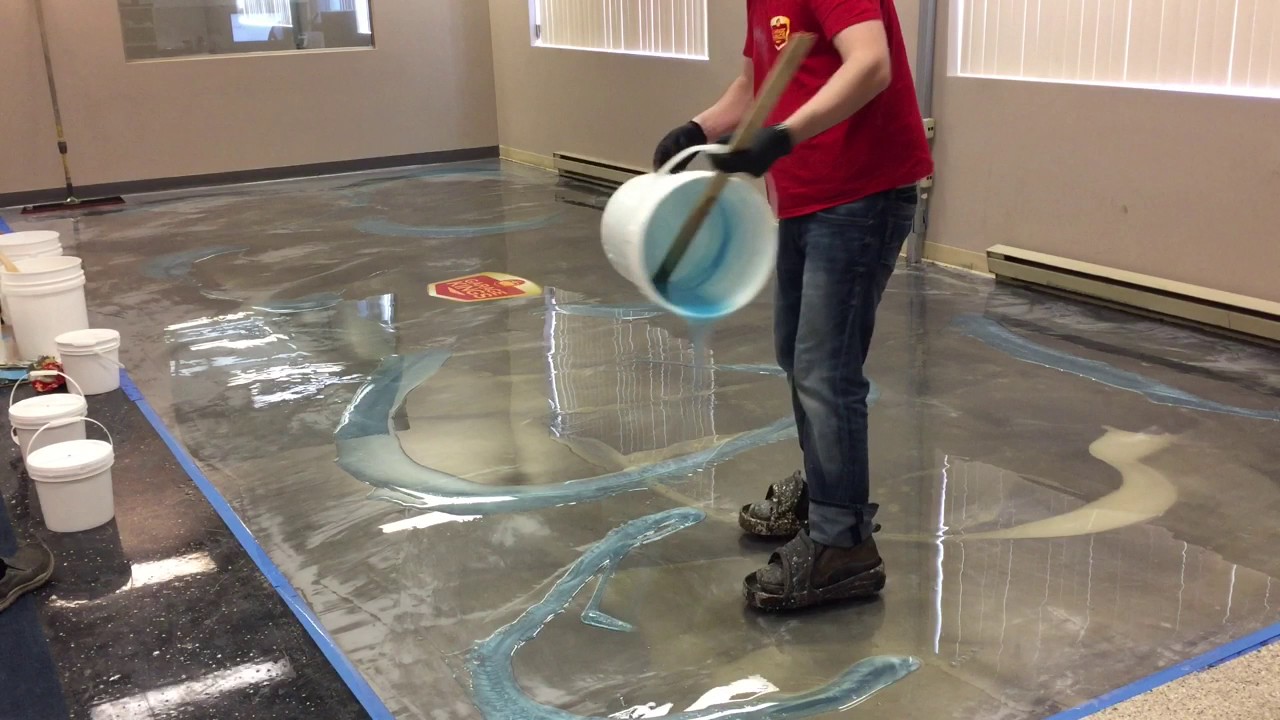
## Step 2: Mix the Metallic Epoxy Coating
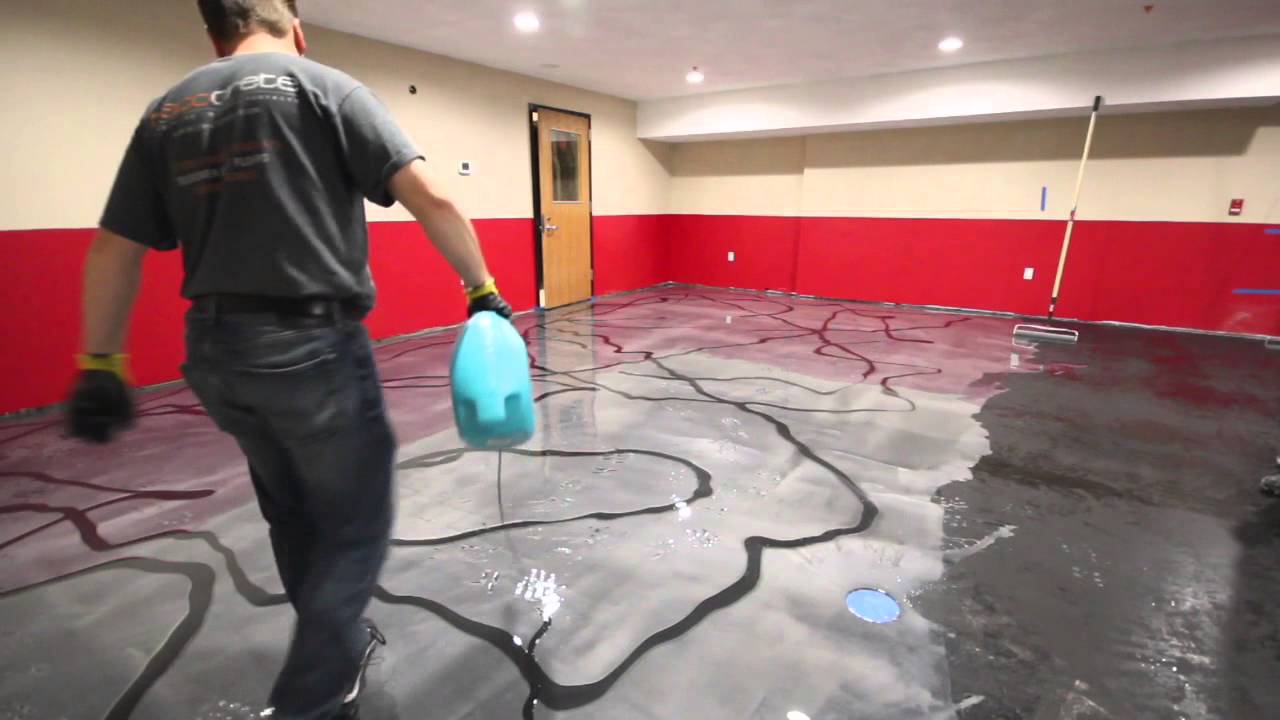
Once your floor is prepared and dry, it’s time to mix your metallic epoxy coating. Follow the instructions on the package for mixing the coating correctly. Make sure to wear protective gear such as a respirator mask and eye protection when mixing and applying metallic epoxy. Once your mixture is ready, pour it into a paint tray and use a paint roller or brush to apply it evenly across the floor. Let it dry for several hours until it’s completely dry.
## Step 3: Add Colorants and Additives
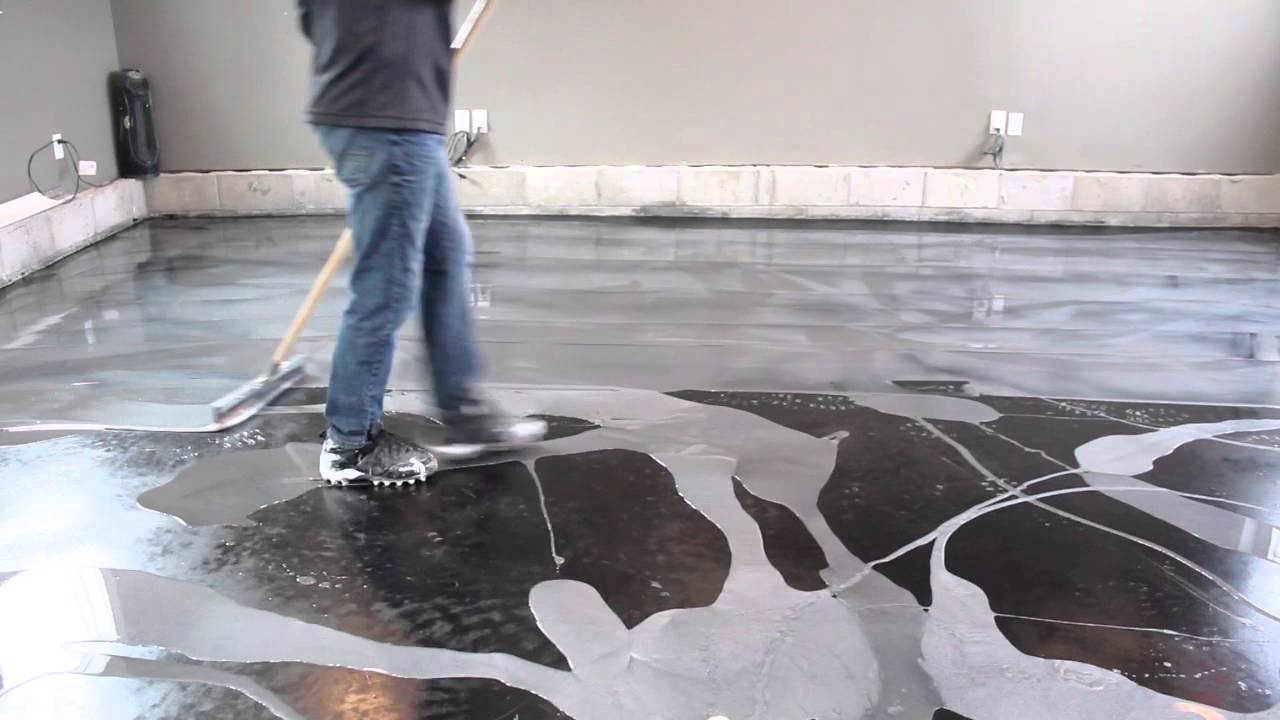
Once your base coat is dry, you can add colorants and additives to create a unique look for your metallic epoxy flooring. Use a paint brush or foam brush to apply the colorants evenly across the floor. You can also choose to add additives like glitter or mica to add extra sparkle to your floor. Let the colorants dry completely before moving on to the next step.
## Step 4: Apply a Clear Coat
Once your colorants have dried, it’s time to apply a clear coat of sealant over the entire floor. This will help protect your metallic epoxy from wear and tear and keep it looking great for years to come. Use a microfiber mop or sponge mop to apply an even layer of sealant across the entire floor. Let it dry completely before walking on it or using it for any purpose.
## Conclusion
Installing metallic epoxy flooring is an easy process that can be done in just a few simple steps. With the right tools and materials, you can create a unique and modern look for any room in your home or office. If you follow this guide carefully, you’ll be able to create a stunning metallic epoxy floor that will last for years!