Installing Wood Floors In Kitchen

7 Advantages of Installing Hardwood Flooring in Your Kitchen – LV Hardwood Flooring Toronto
How to Install Hardwood Flooring in a Kitchen HGTV
7 Advantages of Installing Hardwood Flooring in Your Kitchen – LV Hardwood Flooring Toronto
How To Install Hardwood Floors around Kitchen Cabinets DIY Mryoucandoityourself – YouTube

Large Kitchen Upgrades. Part 1

Installing Laminate Flooring Around Kitchen Cabinets

How to install laminate floors (kitchen remodel pt 2) – YouTube

Installing Kitchen Flooring – localsitesdesigner

How to Install Laminate Flooring on Concrete in the Kitchen Mryoucandoityourself – YouTube

How to Install a Hardwood Floor HGTV

How to Install Hardwood Flooring in a Kitchen HGTV
Related Posts:
- Small Kitchen Floor Plan Ideas
- Laminate Flooring In Kitchen
- Black Slate Tile Kitchen Floor
- How To Lay Tile In Kitchen Floor
- Red Kitchen Floor
- Cheap Kitchen Laminate Flooring
- Decorative Kitchen Floor Mats
- Contemporary Kitchen Flooring Ideas
- Kitchen Ceramic Tile Floor
- Quarry Tile Kitchen Floor
If you’re looking to update the look and feel of your kitchen, installing wood floors is a great way to do so. Not only do wood floors add a touch of sophistication to any kitchen, they can also help increase the overall value of your home. In this comprehensive guide, we’ll walk you through the process of installing wood floors in your kitchen, from start to finish.
## Choosing the Right Type of Wood Floor
The first step in installing wood floors in your kitchen is to choose the right type of flooring. There are a variety of different types of wood flooring that can be used in a kitchen, and it’s important to choose one that will suit your needs and style. Hardwood floors are an excellent choice for a kitchen due to their durability and classic look. They come in a variety of colors and grains, so you’re sure to find one that will match the rest of your kitchen décor. If hardwood isn’t an option for you, there are also laminate and engineered wood flooring options available.
## Preparing the Subfloor
Once you’ve chosen your new flooring, it’s time to begin prepping the subfloor. This is an important step that must be completed before installation can begin. The subfloor needs to be level and free from any debris or dirt that could interfere with the installation process. You’ll want to use a level and a broom or vacuum to make sure the area is as clean as possible before proceeding.
## Laying Down the Underlayment
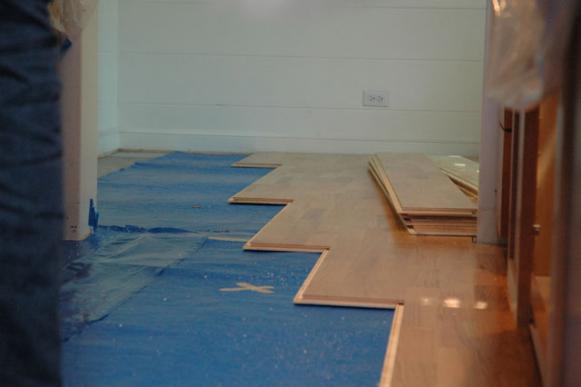
The next step in the installation process is laying down the underlayment. This is a layer of material that goes between the subfloor and your new wood flooring. It serves two purposes: it helps protect your flooring from moisture, and it provides cushioning between the two layers. You’ll want to make sure that you use a quality underlayment that is specifically designed for wood flooring installations.
## Installing the Flooring
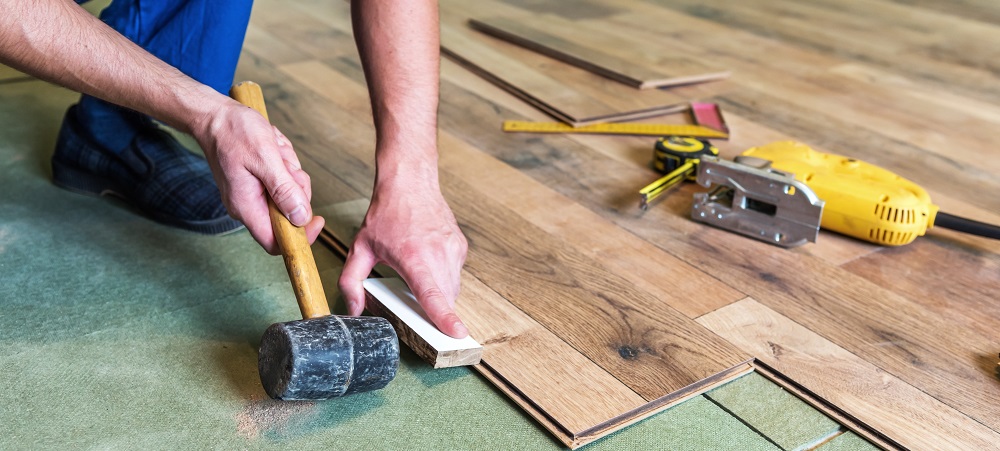
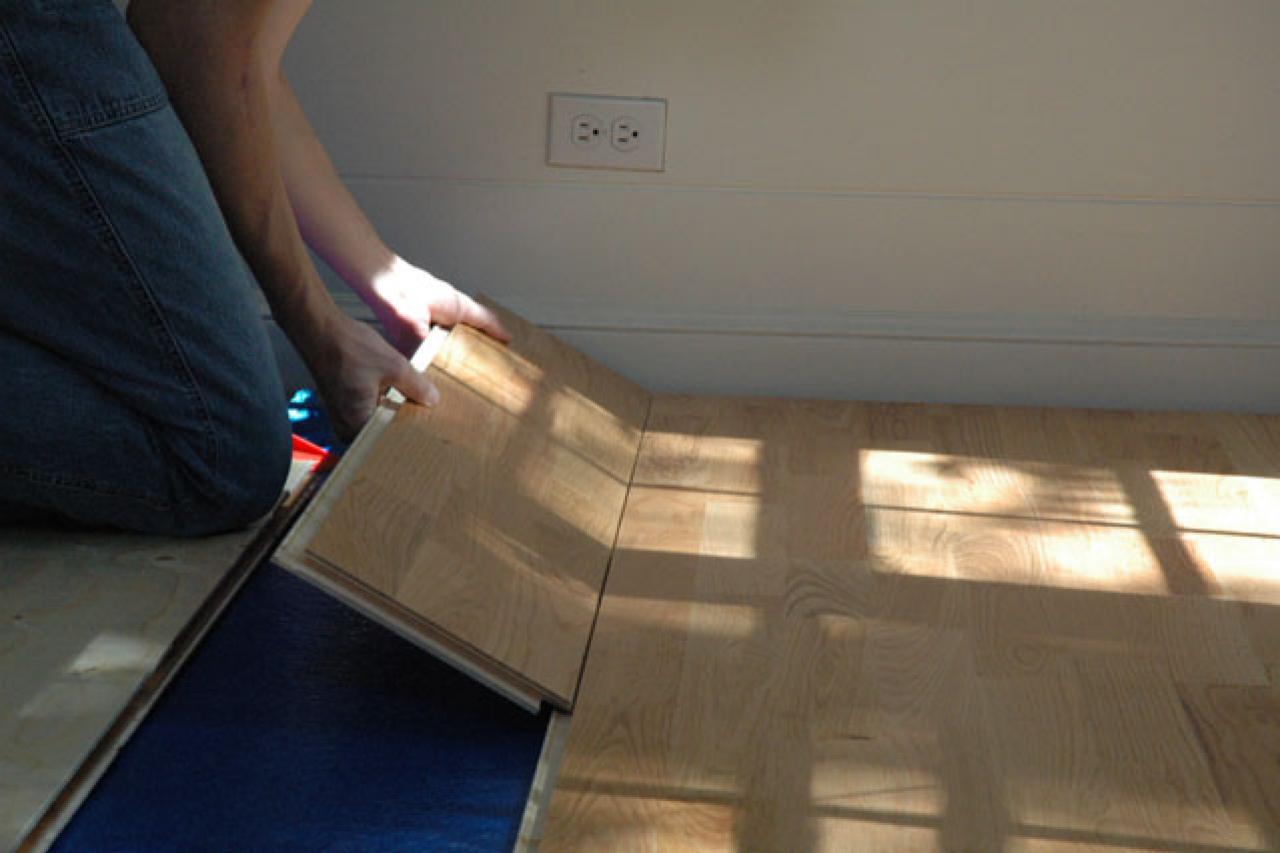
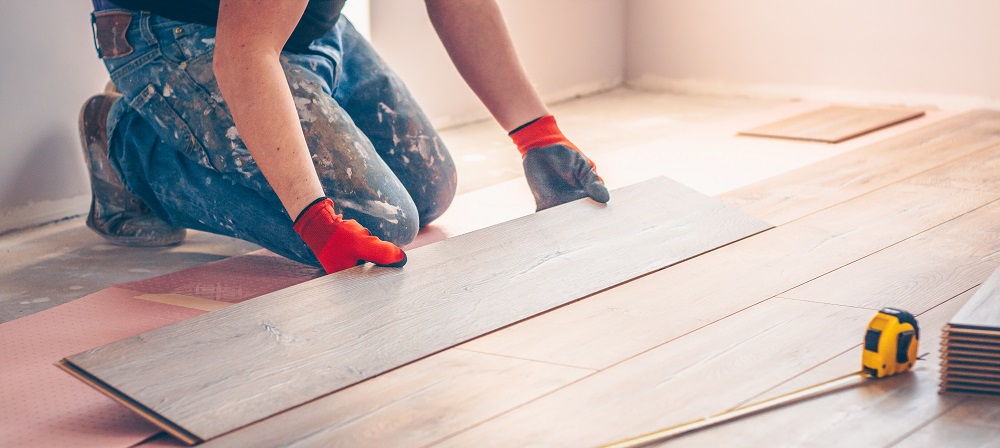
Once the subfloor has been prepared and the underlayment has been laid down, it’s time to begin installing the flooring itself. You’ll want to start at one corner of the room and work your way outwards, using wood spacers to ensure that you have an even gap between each board. Once all of the boards have been installed, you’ll want to use a hammer and nails (or staples if applicable) to secure them in place.
## Finishing Touches
The final step in installing wood floors in your kitchen is adding any finishing touches that you may want. This could include trim around the edges or borders along certain areas of the room. You may also want to consider staining or sealing your new flooring for added protection against wear and tear.
Installing wood floors in your kitchen can be an exciting and rewarding project, but it’s important to make sure that it’s done correctly so that you can enjoy it for years to come. With careful planning and preparation, you can transform your kitchen into a beautiful space with durable and stylish wood floors.