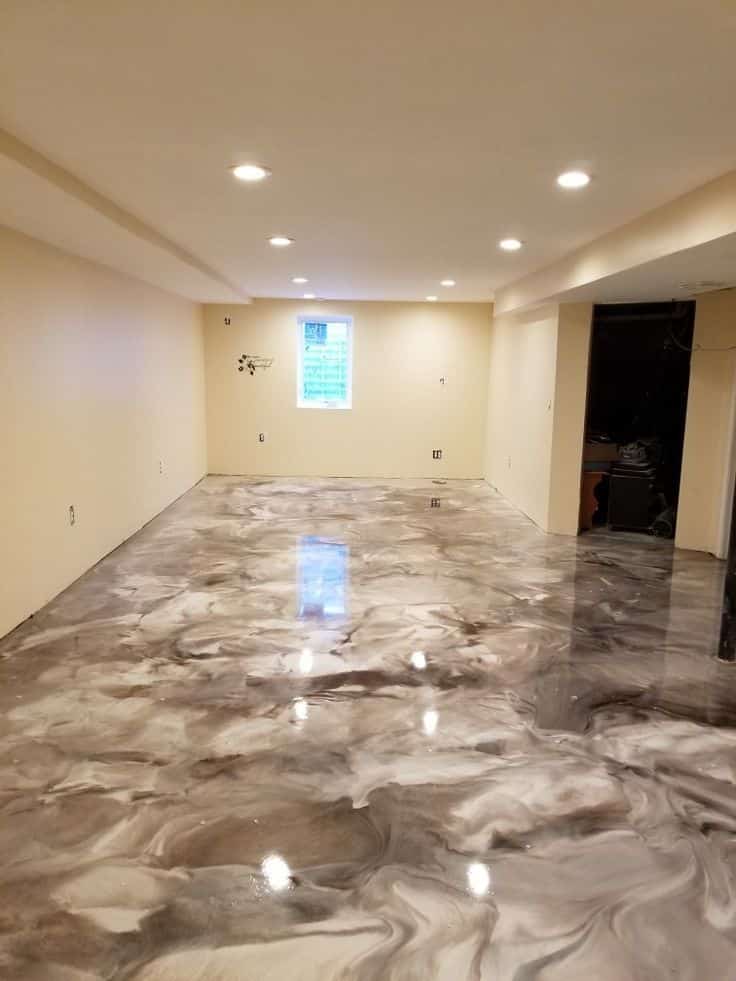
Metallic Epoxy Basement Floor
Metallic Epoxy Floor Coatings Q u0026 A Dreamcoat Flooring Phoenix

Metallic Epoxy Flooring in Columbus, OH – Premier Concrete Coatings

Epoxy Flooring Contractor The Concrete, Etc. MD
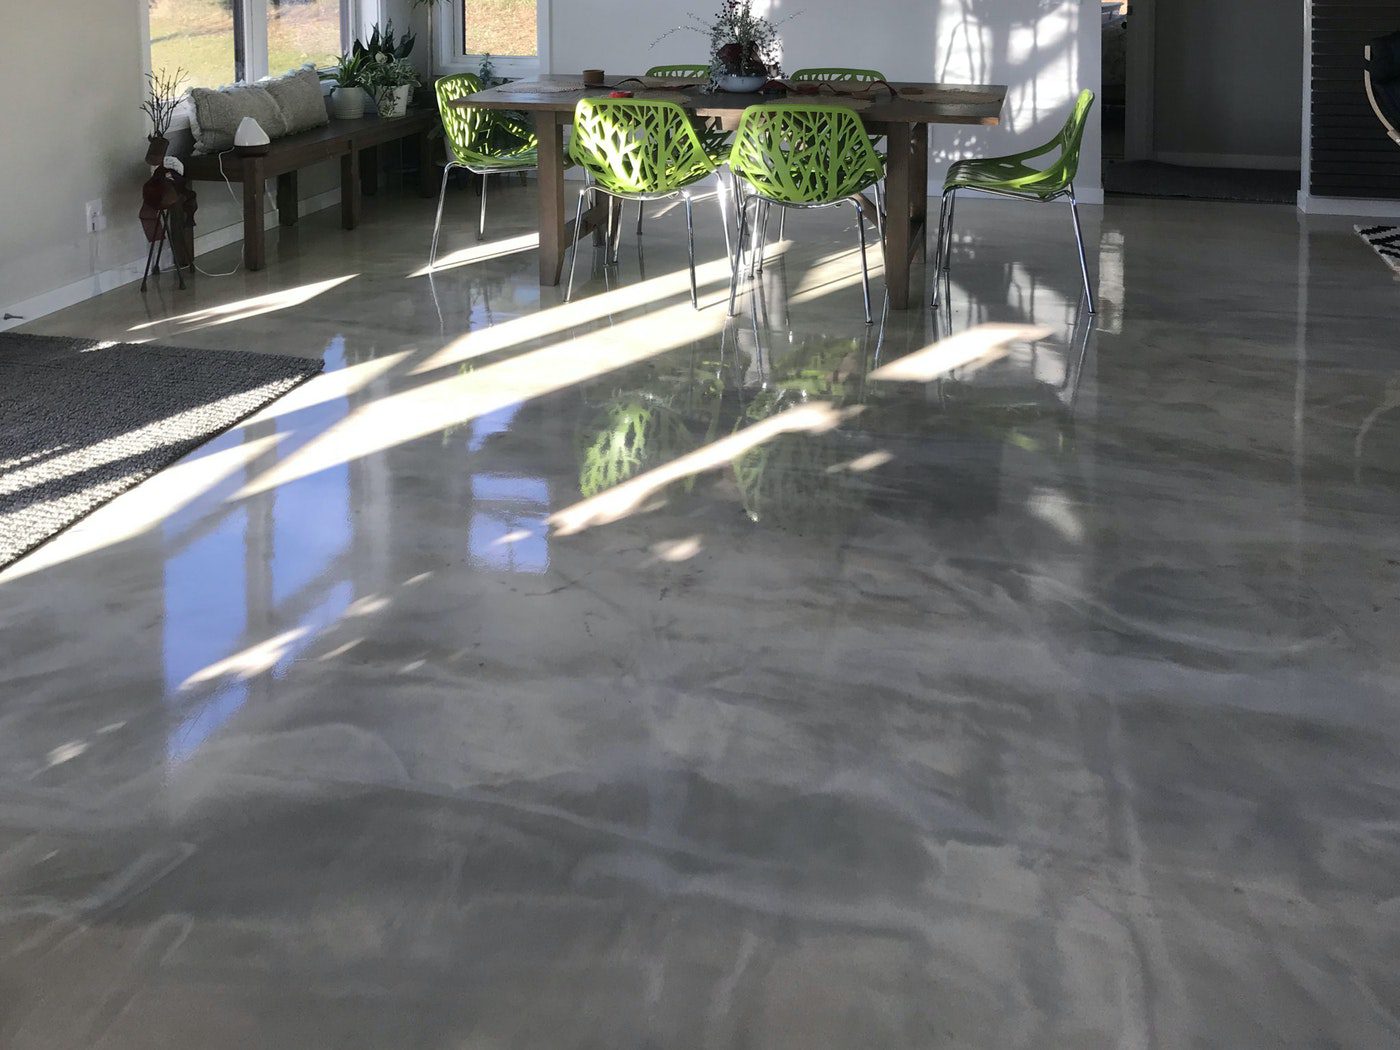
Epoxy Metallic Concrete Floors gallery – epoxy concrete floor coatings

Chicagoland Metallic Epoxy Flooring Pros – Metallic Epoxy Experts

Homeowner Installs Metallic Epoxy on Gypcrete Subfloor in Michigan
Epoxy Basement Floor Cost In Columbia, MO

Homeowner Installs Metallic Epoxy on Gypcrete Subfloor in Michigan
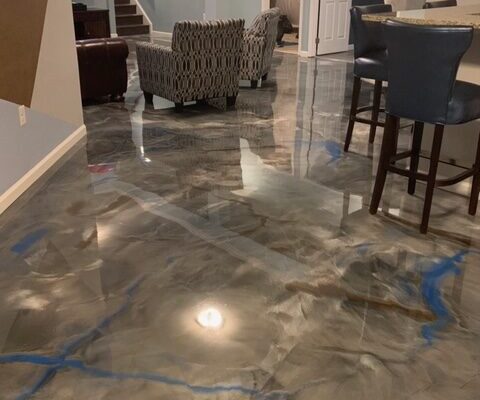
Designer epoxy basement floor in Manassas, VA. #reflector

Metallic Epoxy Floor Coatings Q u0026 A Dreamcoat Flooring Phoenix

Related Posts:
- Fast Cure Epoxy Floor Coating
- Stone Hard Epoxy Flooring
- How To Epoxy Flooring Garage
- How To Repair Epoxy Floor Coating
- Non Slip Epoxy Flooring
- Solid Epoxy Garage Floor
- Quikrete Floor Epoxy
- Paint Flakes Epoxy Floor
- Cheap Epoxy Floor
- Rock Solid Epoxy Floor
Creating a metallic epoxy basement floor is one of the best ways to add a unique and eye-catching look to your home. Whether you are looking for a fun and creative way to spruce up your basement or you want to increase the value of your home, an epoxy-coated basement floor is an excellent option. In this article, we will discuss the steps involved in creating a metallic epoxy basement floor and cover the materials, tools, and techniques you need to get the job done right.
What You’ll Need For A Metallic Epoxy Basement Floor
Before you begin working on your project, it’s important to make sure you have all the necessary materials and tools to complete the job safely and efficiently. These items include:
• Epoxy coating
• Roller brush
• Paint brush
• Masking tape
• Gloves
• Protective eyewear
• Drop cloths
Preparing the Basement Floor For Coating
Before you can begin applying the epoxy coating, you will need to make sure that the surface of the basement floor is prepared properly. Make sure that the floor is clean and free of dirt, dust, and debris. If there are any cracks or holes in the floor, these should be filled with a patching compound before you begin coating. Once the surface is prepared, you can begin applying the epoxy coating.
Applying the Epoxy Coating
Once the floor is ready for coating, it’s time to begin applying the epoxy paint. Start by pouring some of the epoxy paint into a roller pan and use a roller brush to apply it evenly across the surface of the basement floor. Make sure that you are using long, even strokes when applying the paint. Once you have applied a coat of paint to the entire area, let it dry for at least 24 hours before continuing.
Adding a Metallic Sheen To The Basement Floor
Once the initial coat of epoxy paint has dried completely, it’s time to add a metallic sheen. Start by mixing some metallic paint with some clear enamel and stirring until they are thoroughly combined. Apply this mixture over the top of the epoxy paint in thin layers until you have achieved your desired look. Allow this layer to dry completely before continuing.
Adding Additional Layers Of Coating
Once you have achieved your desired look with your metallic epoxy basement floor, it’s time to add additional layers of protection. Use a high-quality sealant or clear coat to protect your floor from water damage or wear and tear over time. Make sure that all coats are dry before applying subsequent coats, as this will ensure that they adhere properly and provide maximum protection from moisture or damage.
Finishing Touches To Your Metallic Epoxy Basement Floor
The last step in creating a metallic epoxy basement floor is adding finishing touches such as trim pieces or a border around the edges of the room. Use masking tape to create a straight line around the edges of the room and then use a paint brush to apply trim pieces along this line. Allow these pieces to dry before removing any masks or tape from around them. This will ensure that they stay in place and provide an attractive finish to your project.
Conclusion
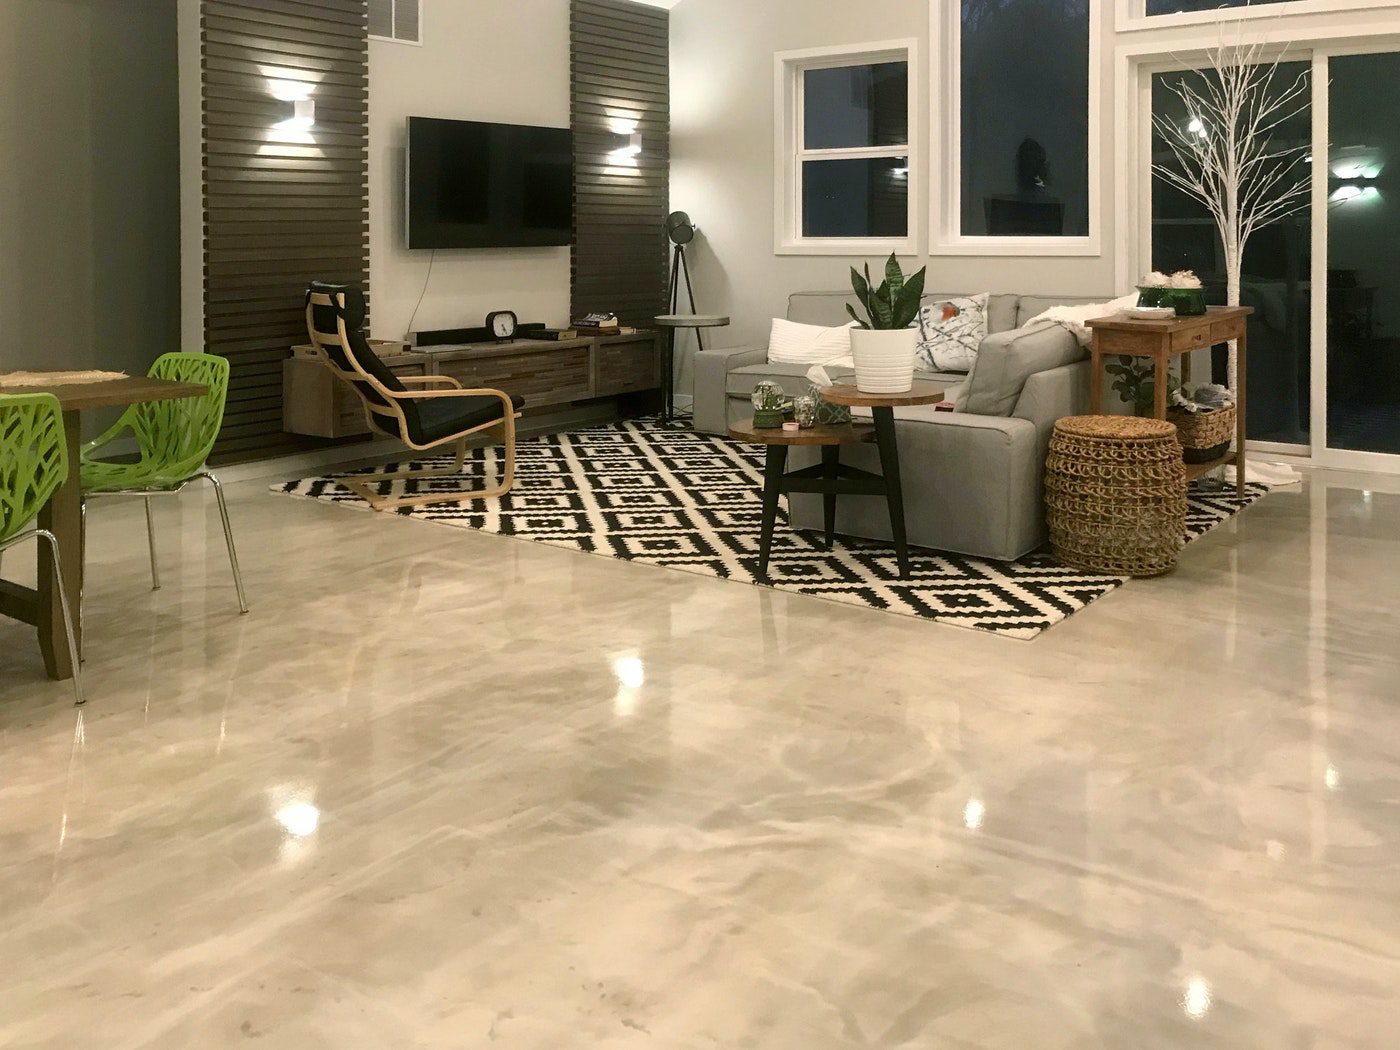
Creating a metallic epoxy basement floor is an excellent way to increase both the aesthetic appeal and value of your home. By following these steps, you can easily achieve professional-looking results without breaking your budget or sacrificing quality. Be sure to use all necessary safety precautions when working with epoxies and always follow manufacturer instructions for best results. With just a few simple steps and some patience, you can quickly create beautiful results that will last for years!