Rubber Tile Flooring For Kitchen
My rubber floor tiles from The Colour Flooring Company have been down a few days and I am still

Rubber Flooring Kitchen / Rubber Room Portable Kitchen Tiles Living In A Nutshell – Homeadvisor

20 Marvelous Rubber Kitchen Flooring – Home, Family, Style and Art Ideas

Kitchen Flooring Ideas The Top 12 Trends of The Year – Décor Aid
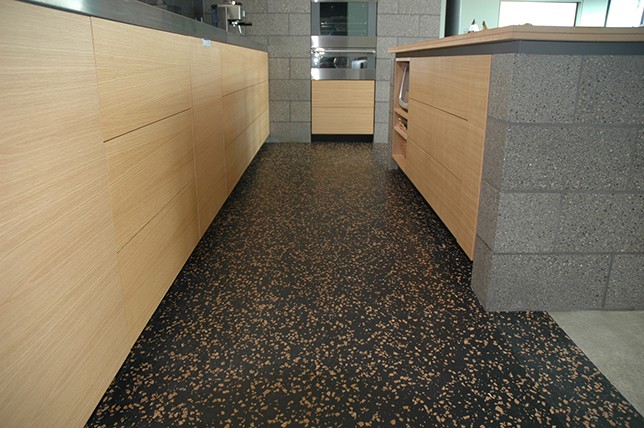
XCR4 Cork Rubber Flooring Kitchen flooring trends, Kitchen flooring, Resilient flooring

19 Flooring Transitions From Wood to Tile – fancydecors House flooring, Kitchen flooring

All About: Rubber Kitchen Floors Kitchn
9+ Kitchen Flooring Ideas Rubber flooring kitchen, Kitchen flooring, Rubber flooring

20 Fascinating Rubber Flooring for Kitchen – Home Decoration and Inspiration Ideas
Kitchen Flooring Ideas – Our gorgeous deluxe plastic and also rubber floors are the ideal

Rubber Flooring Kitchen / Rubber Room Portable Kitchen Tiles Living In A Nutshell – Homeadvisor

Related Posts:
- Small Kitchen Floor Plan Ideas
- Laminate Flooring In Kitchen
- Black Slate Tile Kitchen Floor
- How To Lay Tile In Kitchen Floor
- Red Kitchen Floor
- Cheap Kitchen Laminate Flooring
- Decorative Kitchen Floor Mats
- Contemporary Kitchen Flooring Ideas
- Kitchen Ceramic Tile Floor
- Quarry Tile Kitchen Floor
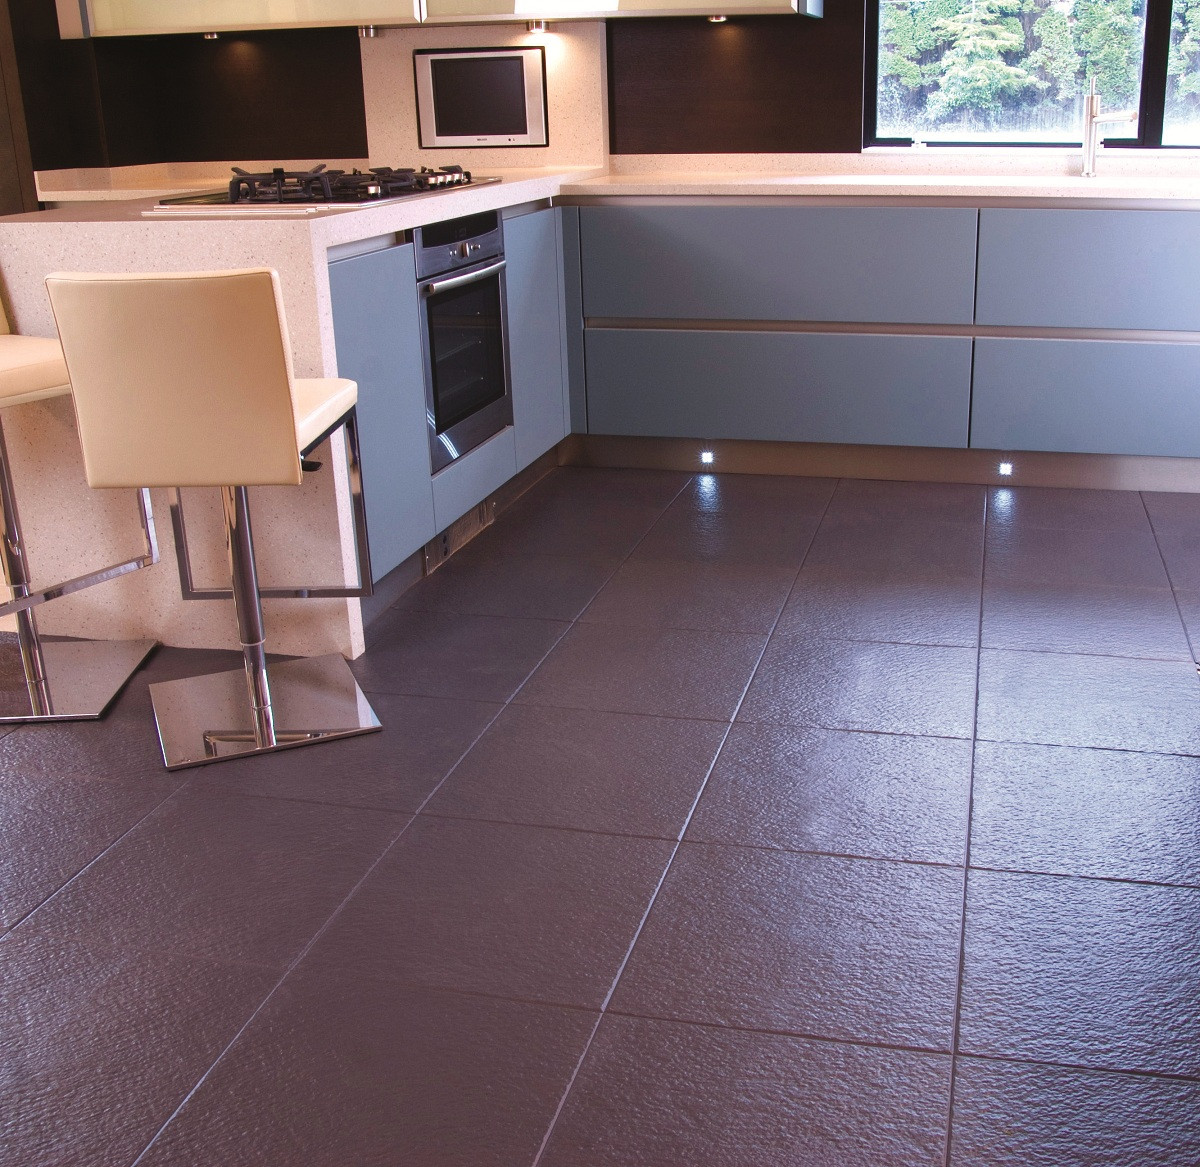
If you’re looking for a durable, sustainable, and stylish flooring option for your kitchen, rubber tile flooring is an excellent choice. Rubber tiles are incredibly versatile and come in a wide variety of textures, colors, and patterns. Not only do they have a great aesthetic but they are also incredibly durable and easy to maintain. They are also slip-resistant, making them ideal for busy kitchens. In this comprehensive guide, we’ll explore the benefits of rubber tile flooring for kitchens, as well as how to install it and how to care for it.
## What is Rubber Tile Flooring?
Rubber tile flooring is a resilient flooring option that is made from recycled or synthetic rubber. It comes in a variety of styles and colors and can be used in all types of spaces, including kitchens. The tiles are highly durable and resistant to scratches, water damage, and stains. They are also slip-resistant, making them ideal for kitchens where spills are common.
## Benefits of Rubber Tile Flooring for Kitchens
There are many benefits to installing rubber tile flooring in your kitchen. Here are just a few:
– Durability: Rubber tile flooring is incredibly durable and can stand up to everyday wear and tear. It’s also resistant to scratches, water damage, and stains.
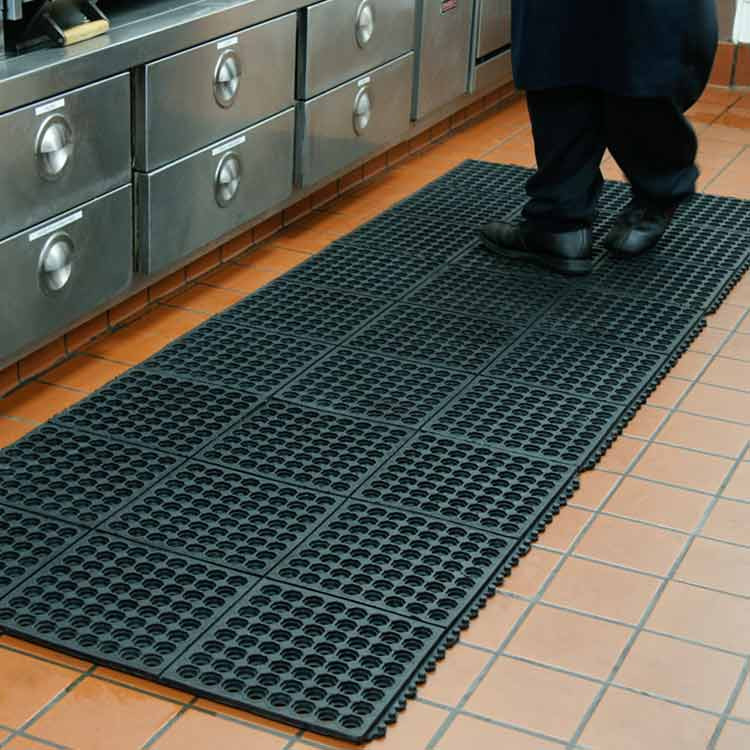
– Safety: Rubber tile flooring is slip-resistant, making it an ideal choice for busy kitchens.
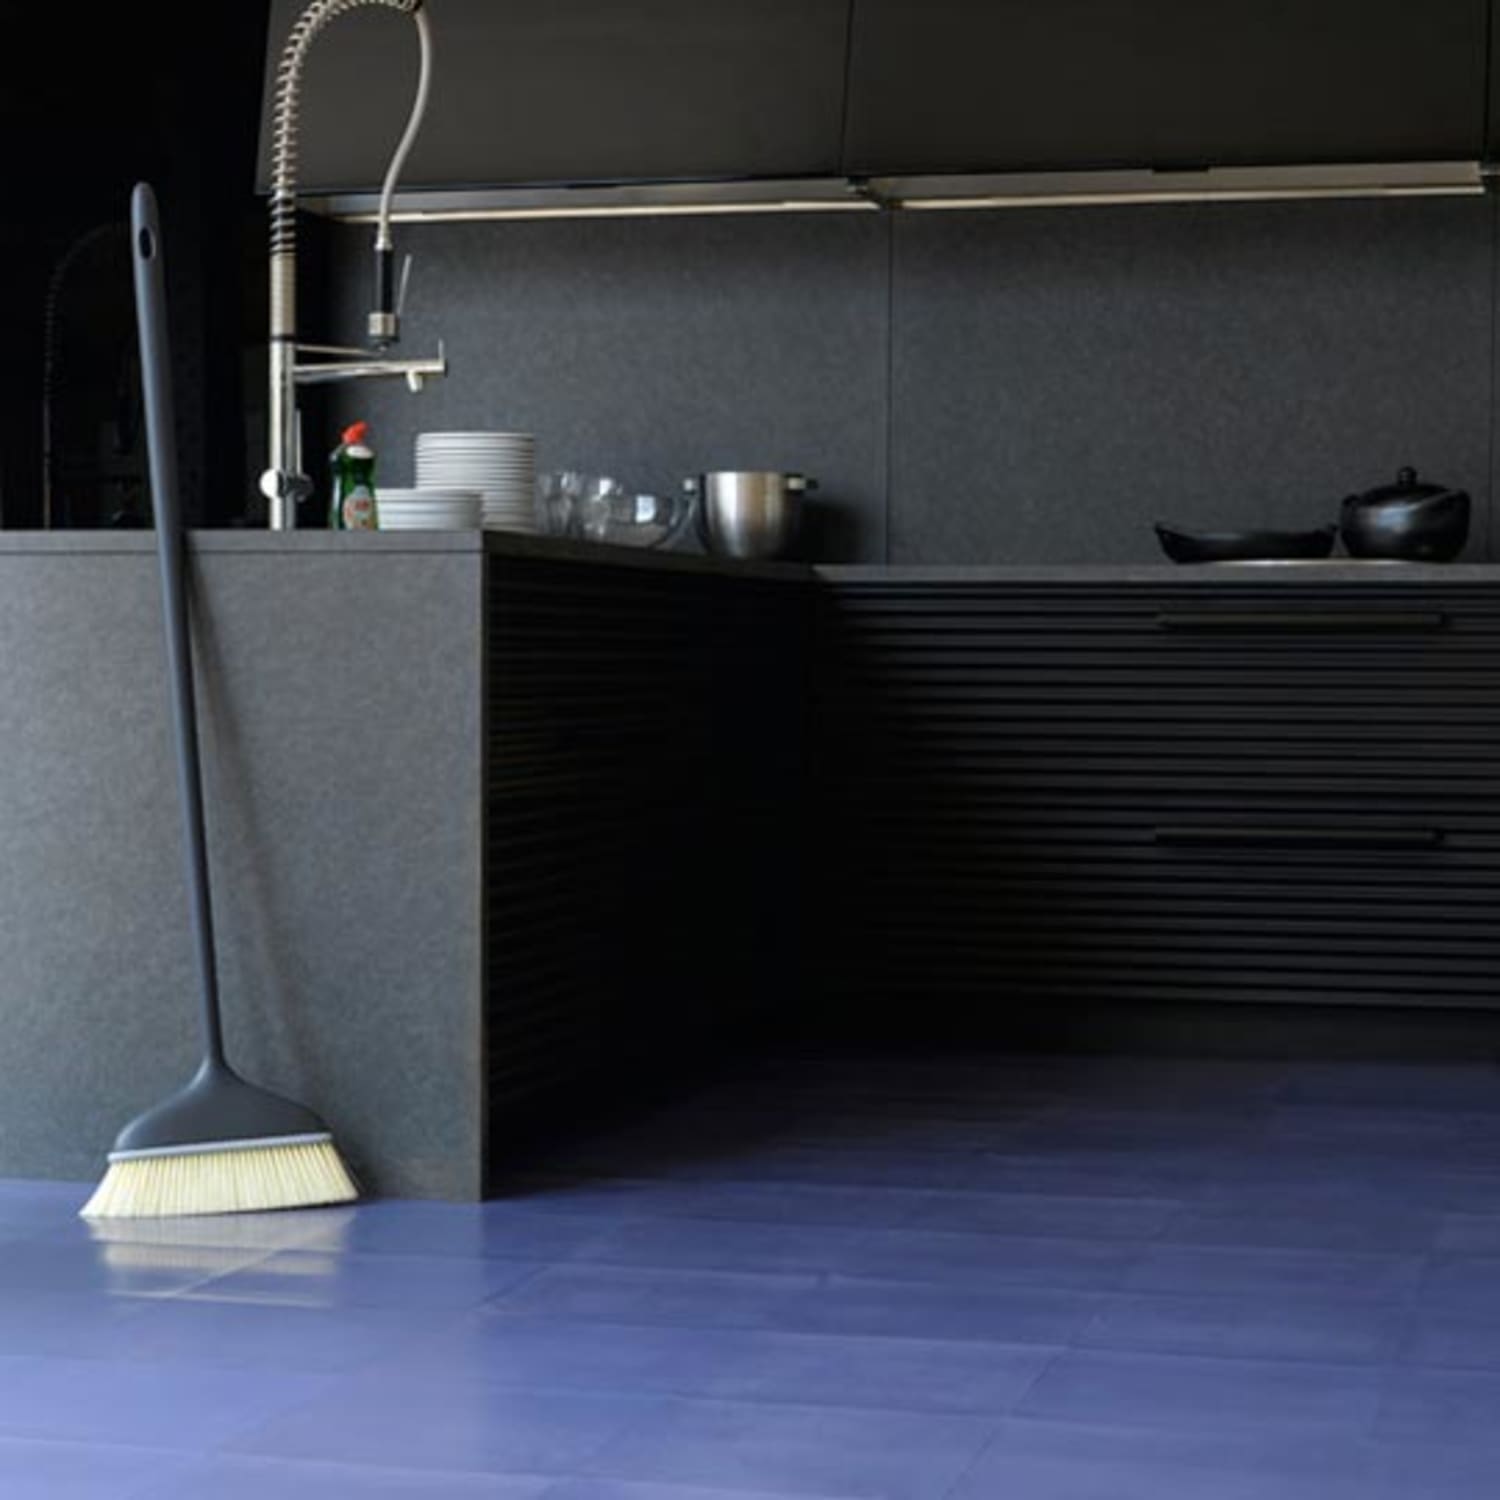
– Aesthetic: Rubber tiles come in a variety of textures, colors, and patterns. They can also be combined with other materials such as stone or wood for an even more unique look.
– Easy Maintenance: Rubber tiles are easy to clean and maintain. Simply sweep or vacuum regularly and mop when necessary.
– Affordable: Rubber tiles are an affordable flooring option that won’t break the bank.
## How to Install Rubber Tile Flooring in Your Kitchen
Installing rubber tile flooring in your kitchen is a fairly simple process that most homeowners can do on their own. Here’s what you’ll need:
– Rubber tile flooring
– Underlayment
– Adhesive
– Trowel
– Utility knife
– Tape measure
– Straight edge
– Chalk line
– Hammer
– Nails
– Caulk gun
Once you have all of your supplies gathered, follow these steps to install your rubber tile flooring:
1. Measure the area you’re going to be working in and make sure your rubber tiles will fit properly before proceeding with installation.
2. If necessary, lay down an appropriate underlayment before beginning installation. This will add extra cushioning and reduce noise from foot traffic in your kitchen.
3. Apply adhesive to the back of each tile using a trowel. Make sure the adhesive is spread evenly across the entire back of each tile.
4. Place the tiles onto the subfloor one at a time, pressing lightly to ensure that they stick firmly together.
5. Use a straight edge or chalk line to ensure that all tiles are level with each other before allowing the adhesive to dry completely (this should take about 24 hours).
6. Once everything is dry, use nails or staples around the perimeter of the room to secure the tiles in place if necessary.
7. Finally, use caulk around the edges of the tiles and around any seams that may have formed during installation to ensure that there are no gaps or weak spots in your rubber tile flooring installation.
8. Allow the caulk to dry completely before walking on the new flooring or adding furniture back into the room.
Congratulations! You’ve successfully installed rubber tile flooring in your kitchen! Now all that’s left is learning how to care for it properly so it lasts for years to come (see below).
## How to Care For Rubber Tile Flooring In Kitchens
Now that you’ve installed your new rubber tile flooring in your kitchen, it’s important to know how to care for it properly so it lasts for years to come. Here are a few tips:
– Sweep or vacuum regularly to remove dirt and debris from the surface of your