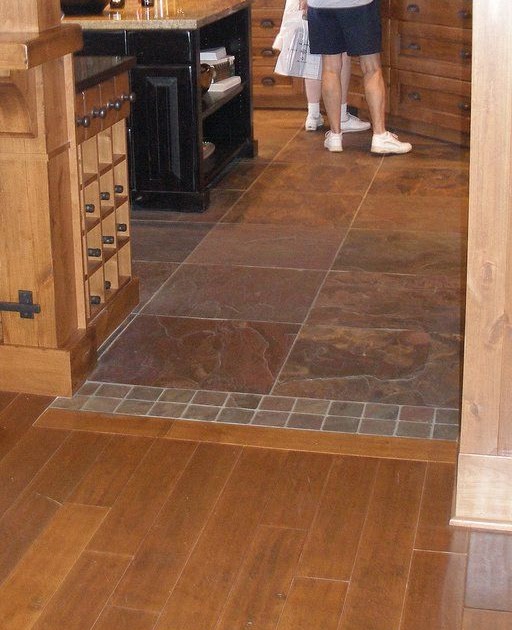
Tiling Kitchen Floor Without Removing Cabinets
How To Redo Kitchen Floor Without Removing Cabinets And Drawers www.cintronbeveragegroup.com
Replacing Kitchen Floor Without Removing Cabinets – Image to u

Tiling Kitchen Floor With or Without Removing Cabinets? Pros and Cons
Tiling Kitchen Floor Without Removing Cabinets – Anipinan Kitchen

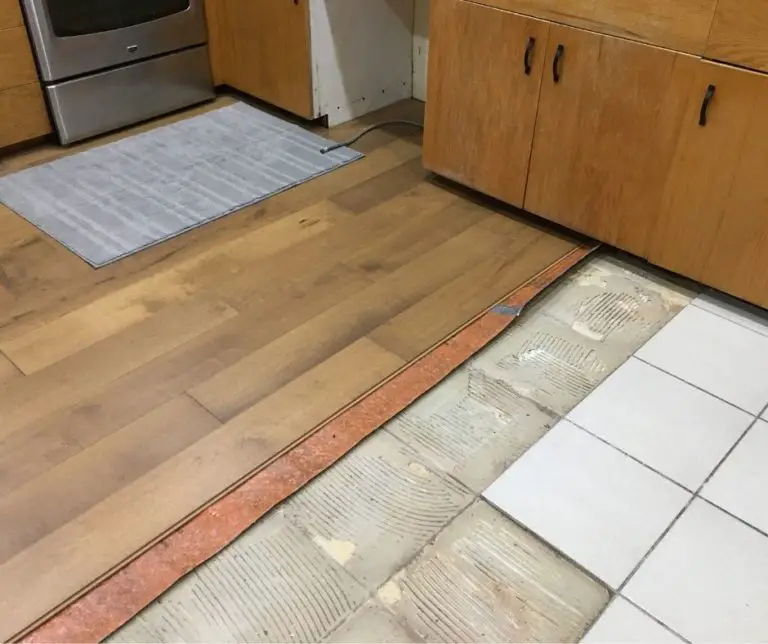
Trend Home 2021: Tiling Kitchen Floor Without Removing Cabinets / How To Remove Tile Floors The
Re Tile Kitchen Floor Without Removing Cabinets – Etexlasto Kitchen Ideas

How to Replace Kitchen Tiles Without Removing Cabinets? – Home Decoratory
How To Redo Kitchen Floor Without Removing Cabinets www.cintronbeveragegroup.com

New Kitchen Floor Without Removing Cabinets / DIY Gel Stain Cabinets (No heavy sanding or

How To Replace Kitchen Tiles Without Removing Cabinets – Things In The Kitchen
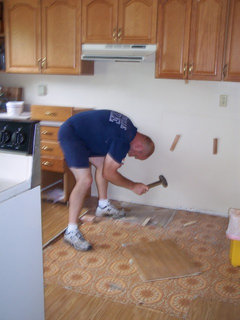
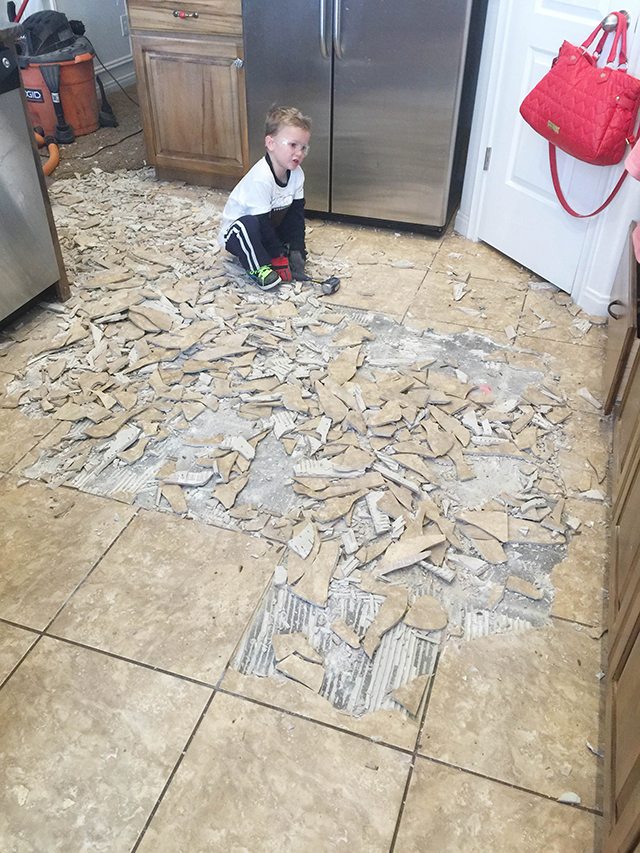
How To Remove Tile Flooring Yourself With Tips And Tricks All Things Thrifty
Related Posts:
- Small Kitchen Floor Plan Ideas
- Laminate Flooring In Kitchen
- Black Slate Tile Kitchen Floor
- How To Lay Tile In Kitchen Floor
- Red Kitchen Floor
- Cheap Kitchen Laminate Flooring
- Decorative Kitchen Floor Mats
- Contemporary Kitchen Flooring Ideas
- Kitchen Ceramic Tile Floor
- Quarry Tile Kitchen Floor
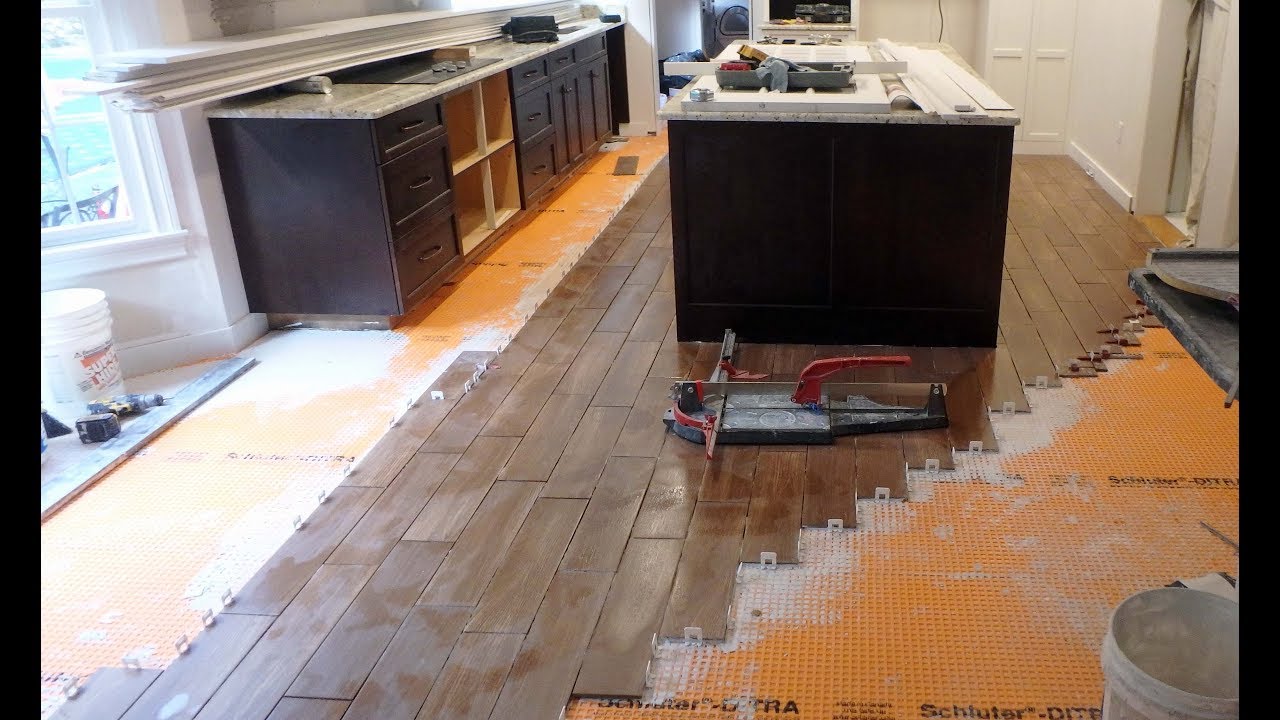
5 Easy Steps to Tile a Kitchen Floor Without Removing Cabinets
## Tiling Kitchen Floor Without Removing Cabinets
Tiling a kitchen floor can be an intimidating prospect for even the most experienced do-it-yourselfer. Not only can it be time consuming, but it can also be difficult to get the job done without removing your cabinets. Fortunately, it is possible to tile a kitchen floor without having to remove your cabinets. With the right supplies and some patience, you can get professional-looking results without the hassle of having to take down your cabinetry.
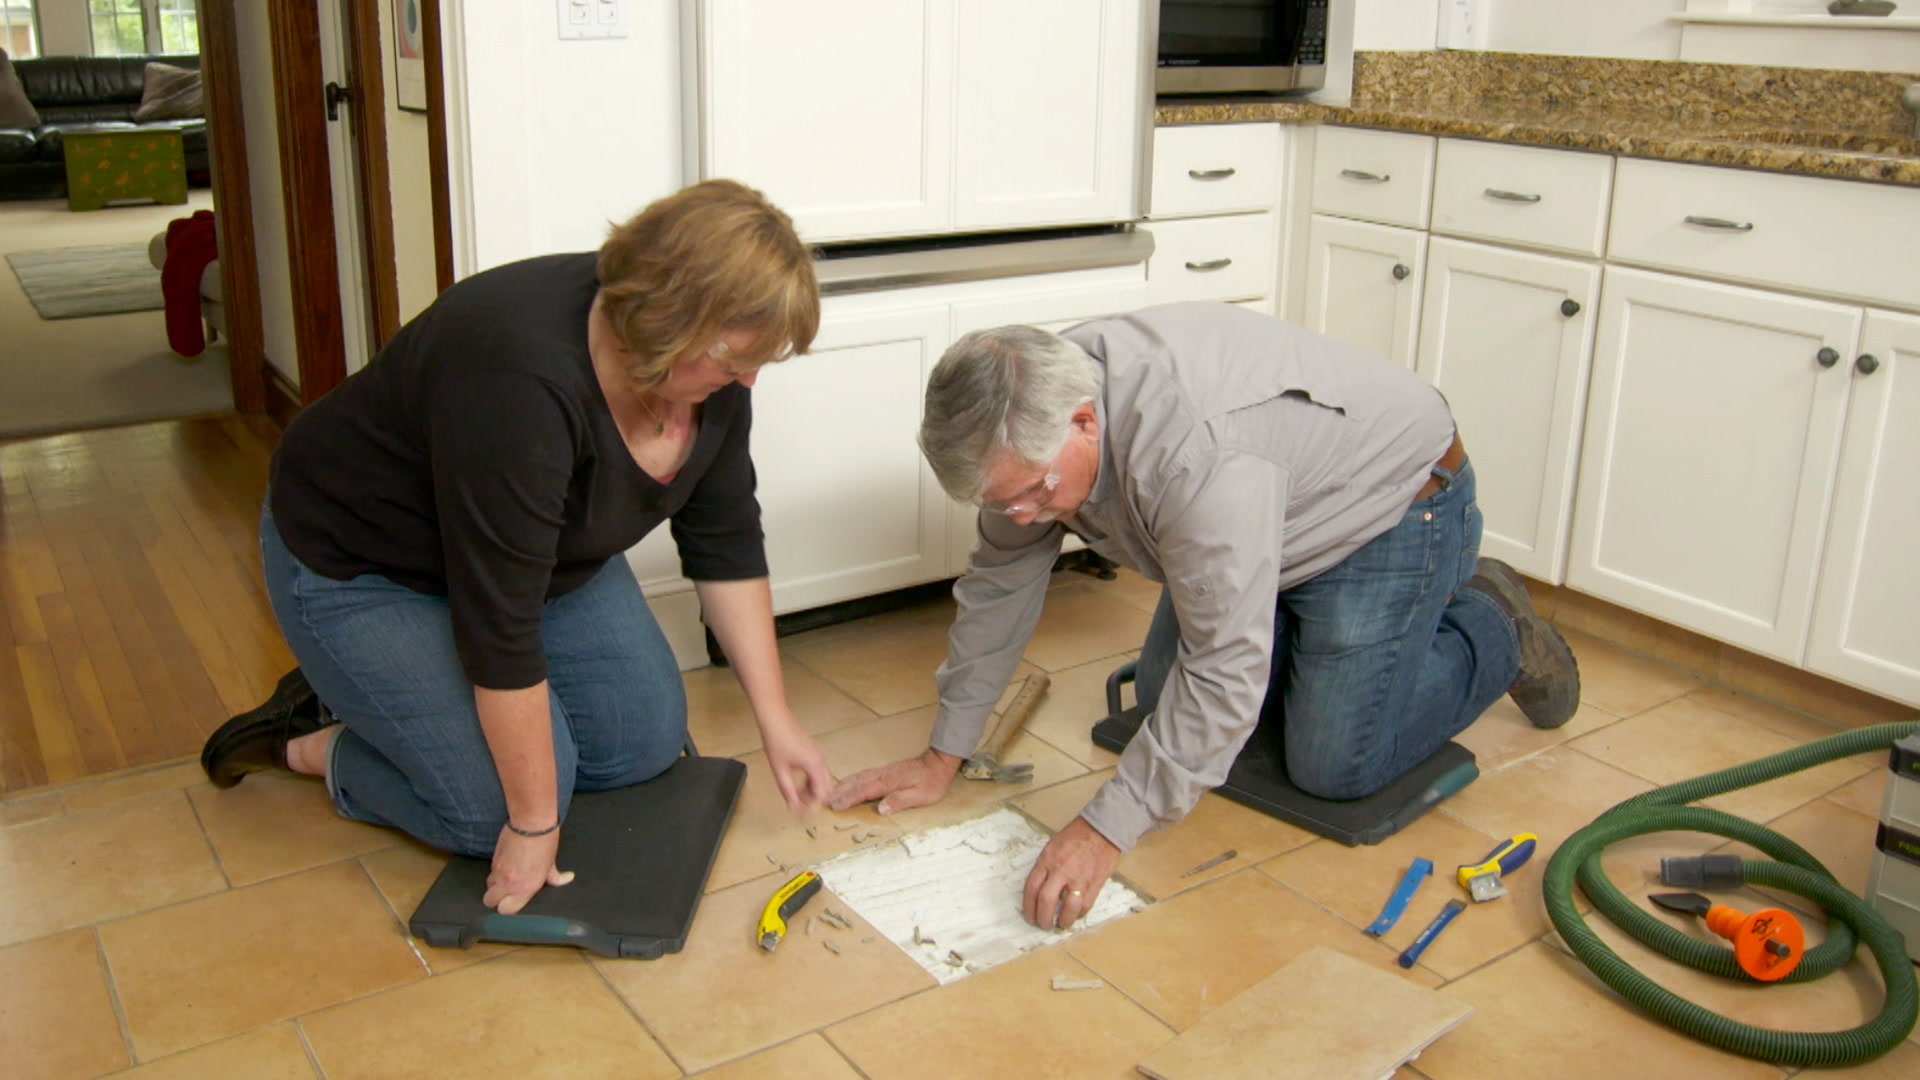
### Step 1: Prepare the Surface
Before you begin tiling, you must make sure that the surface is ready for tiling. Begin by sweeping the floor thoroughly and then vacuum it to remove any dust or debris that may have been left behind. Next, use painter’s tape to cover any trim or molding that is near the area you will be tiling. Then, use a level and chalk line to mark where you want your tiles to go. Finally, apply a thin layer of mortar over the area that you will be tiling and allow it to dry according to package instructions.
### Step 2: Measure and Cut Tiles
Once your surface is prepared for tiling, you will need to measure and cut your tiles so they fit around your cabinets. Start by laying out your tiles in their desired pattern on the floor. Make sure that all of the tiles are placed evenly and securely against each other. Once you have determined where each tile should go, use a measuring tape and pencil to measure each tile individually. When measuring, make sure that you add an extra 1/8 inch so there is enough room between each tile for grout. Once all of the tiles have been measured, use a wet saw or tile cutter to cut them according to your measurements.
### Step 3: Apply Adhesive and Position Tiles
It’s now time for you to begin applying adhesive and positioning the tiles around your cabinets. Start by applying adhesive with a notched trowel over the area that you will be tiling. Make sure that you spread it evenly and in one direction. As you apply adhesive, position the tiles onto the floor one at a time, starting from one corner of the room and working your way out towards the other side. When placing each tile, make sure that it is secure against its neighbors and that it fits snugly against any cabinets or walls in the room.
### Step 4: Let Adhesive Dry
Once all of your tiles have been placed onto the adhesive, allow them to dry for 24 hours before moving on with the project. During this time, make sure that no one steps on the tiles as this could cause damage or cause them to become loose. At this point, you can also check all of your tiles to make sure that none of them need to be readjusted or replaced due to misplacement or damage during installation.
### Step 5: Grout
Once all of your tiles have had time to dry, it’s time for you to grout them into place. Start by mixing up grout according to its instructions and then apply it with a rubber float in an even layer over all of your tiles. Then use a damp sponge to wipe away excess grout from between each tile before allowing it to dry completely according to package instructions. Finally, buff away any remaining grout residue with a soft cloth and then enjoy your newly tiled kitchen floor!
Tiling a kitchen floor without removing cabinets is possible with some patience and dedication! By following these five easy steps, you will be able to achieve professional-looking results without having to take down any cabinetry along the way! With just a few supplies and some basic know-how, you can create a beautiful new look for your kitchen without any hassle whatsoever!